Spacebring captures all users who have logged in to your network at least once and allows the owner to view, manage and export them from the Network settings > Users page:Documentation Index
Fetch the complete documentation index at: https://www.spacebring.com/docs/llms.txt
Use this file to discover all available pages before exploring further.
- Add a user as member or nonmember to any location in one click
- Track which of users you invited have activated their accounts
- Check when each user was last active, and more.
View all users in your network
As an owner:- Click your network name top left.
- Go to Network settings > Users.
- Review the list of all users across your network.
- Created — the date you first invited the user or the user logged in to your member portal by themselves.
- Last active — the date when the user was last active in your member web portal or mobile app.
- Terms accepted — the date the user accepted your terms of use.
- Locations — shows whether the user is a member or nonmember of any location. Click a location name to open their profile there.
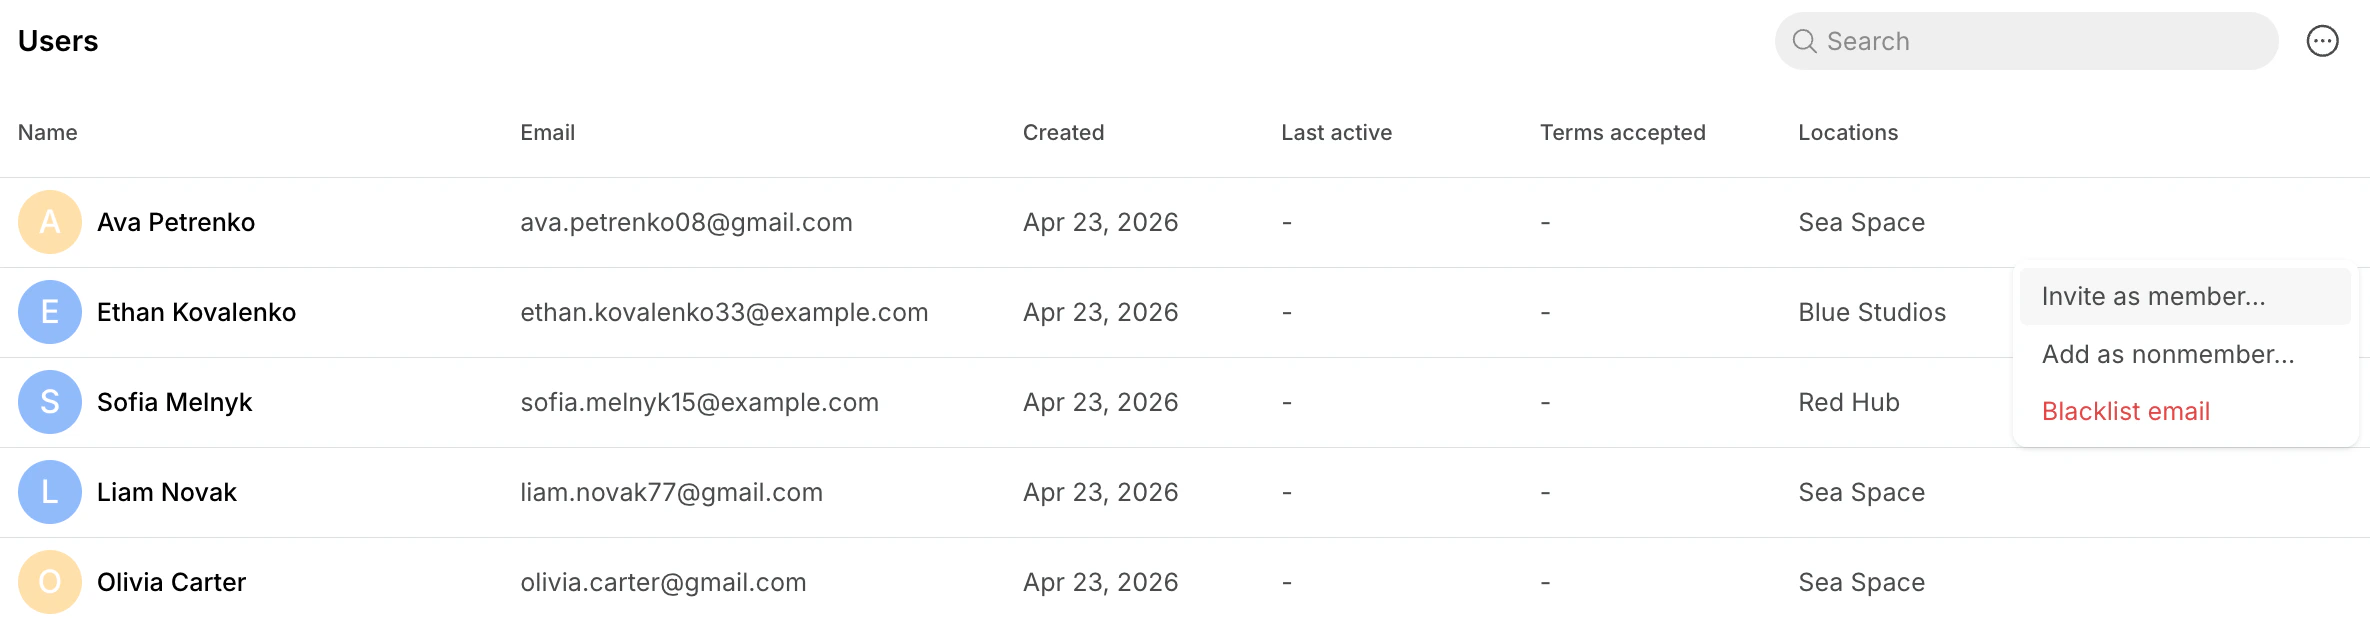
- Click the (…) menu next to a user to:
- Add them as a nonmember to any location
- Invite them as member to any location
- Blacklist the user’s email
- Click (…) >
Export as CSVtop right to export your user list.
Blacklist users
To maintain strong security in your member portal, the owner can block abusive users by adding them to a blacklist.Add users to a blacklist
- Click your network name top left.
- Go to Network settings > Users.
- Find the necessary user and click (…) >
Blacklist emailnext to them.
- Go to Network settings > Privacy and security.
- Switch to the
Blacklisttab. - In the “Email” field, type the user’s email address.
- Click
Add, and confirm.
How the blacklist works
- Once blacklisted, the user is immediately logged out of all active sessions.
- They can no longer log in to the member web portal or mobile apps.
- Blacklisting applies across your entire network (if you have multiple locations), but does not extend to other networks.
- On the Users page, blacklisted users are marked with a red shield icon with a slash.
- You can remove a user from the blacklist at any time by clicking (…) >
Remove email from blacklistnext to them.