Add a location
The owner needs to follow these steps:- On the left-side panel, click your network name > Network settings > Locations page.
- Press
Add location, and enter the details:- Name
- Country
- Timezone
- Language — the default location language used for invoice and receipt PDFs, visit invitations, and in a few more places.
- Currency — a currency used for all prices in the location.
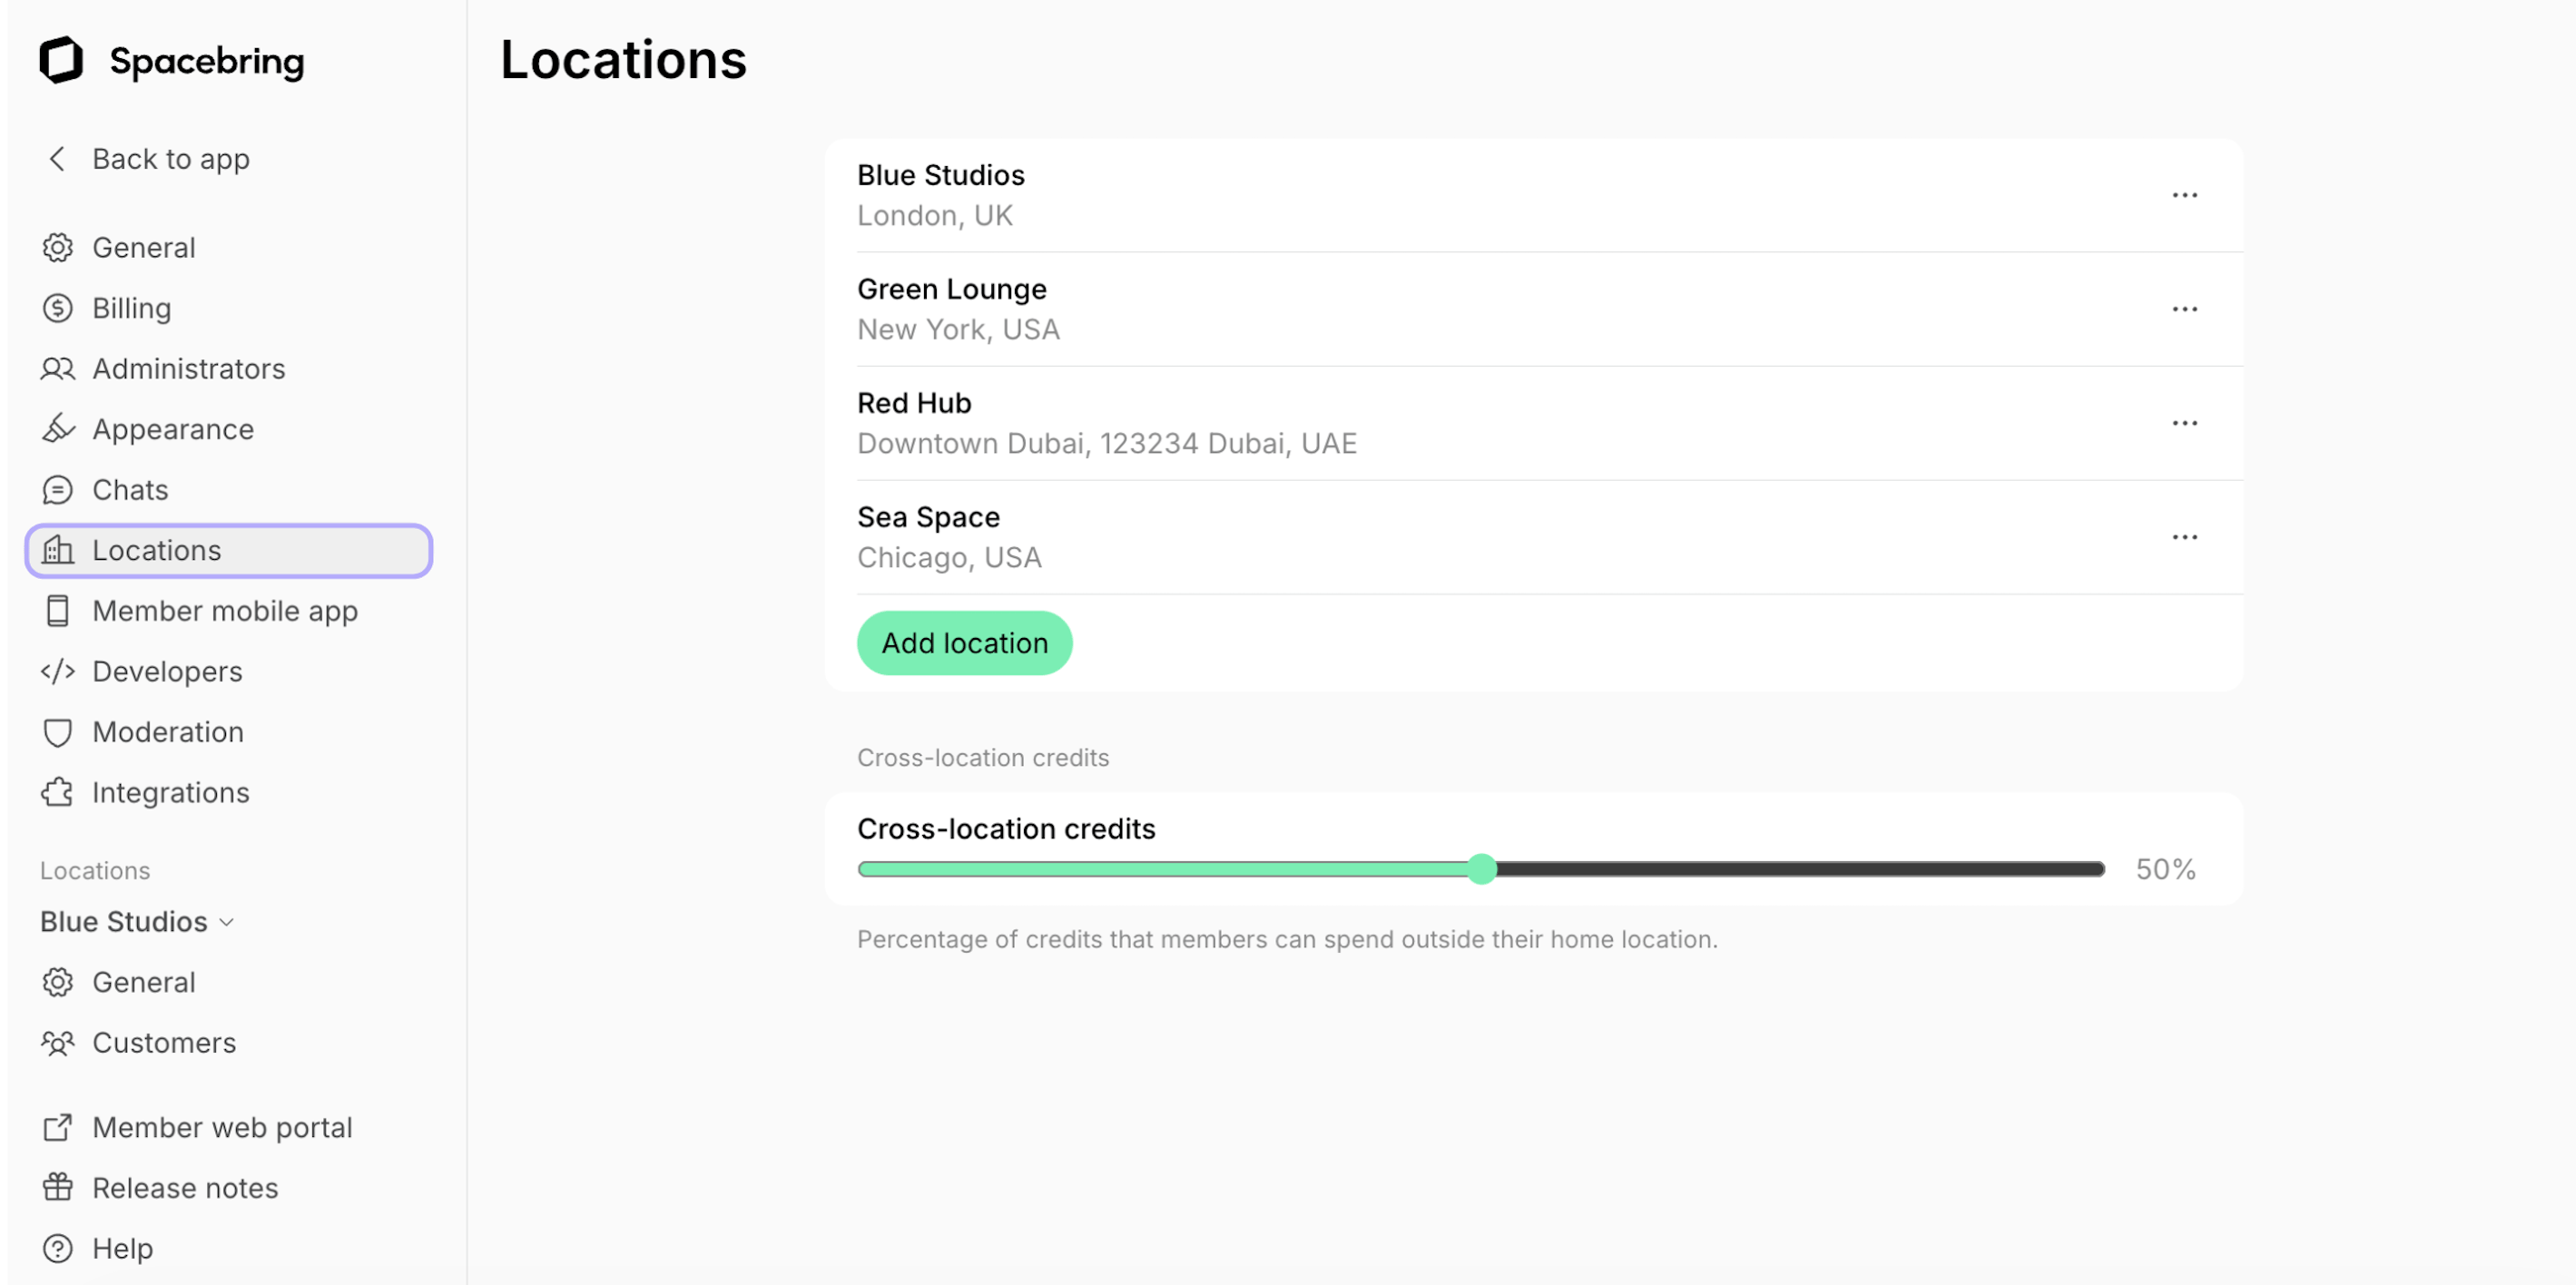
- Press
Create.
Adding more locations is available on the Pro plan and above in Spacebring legacy plans and on the new Business plan.
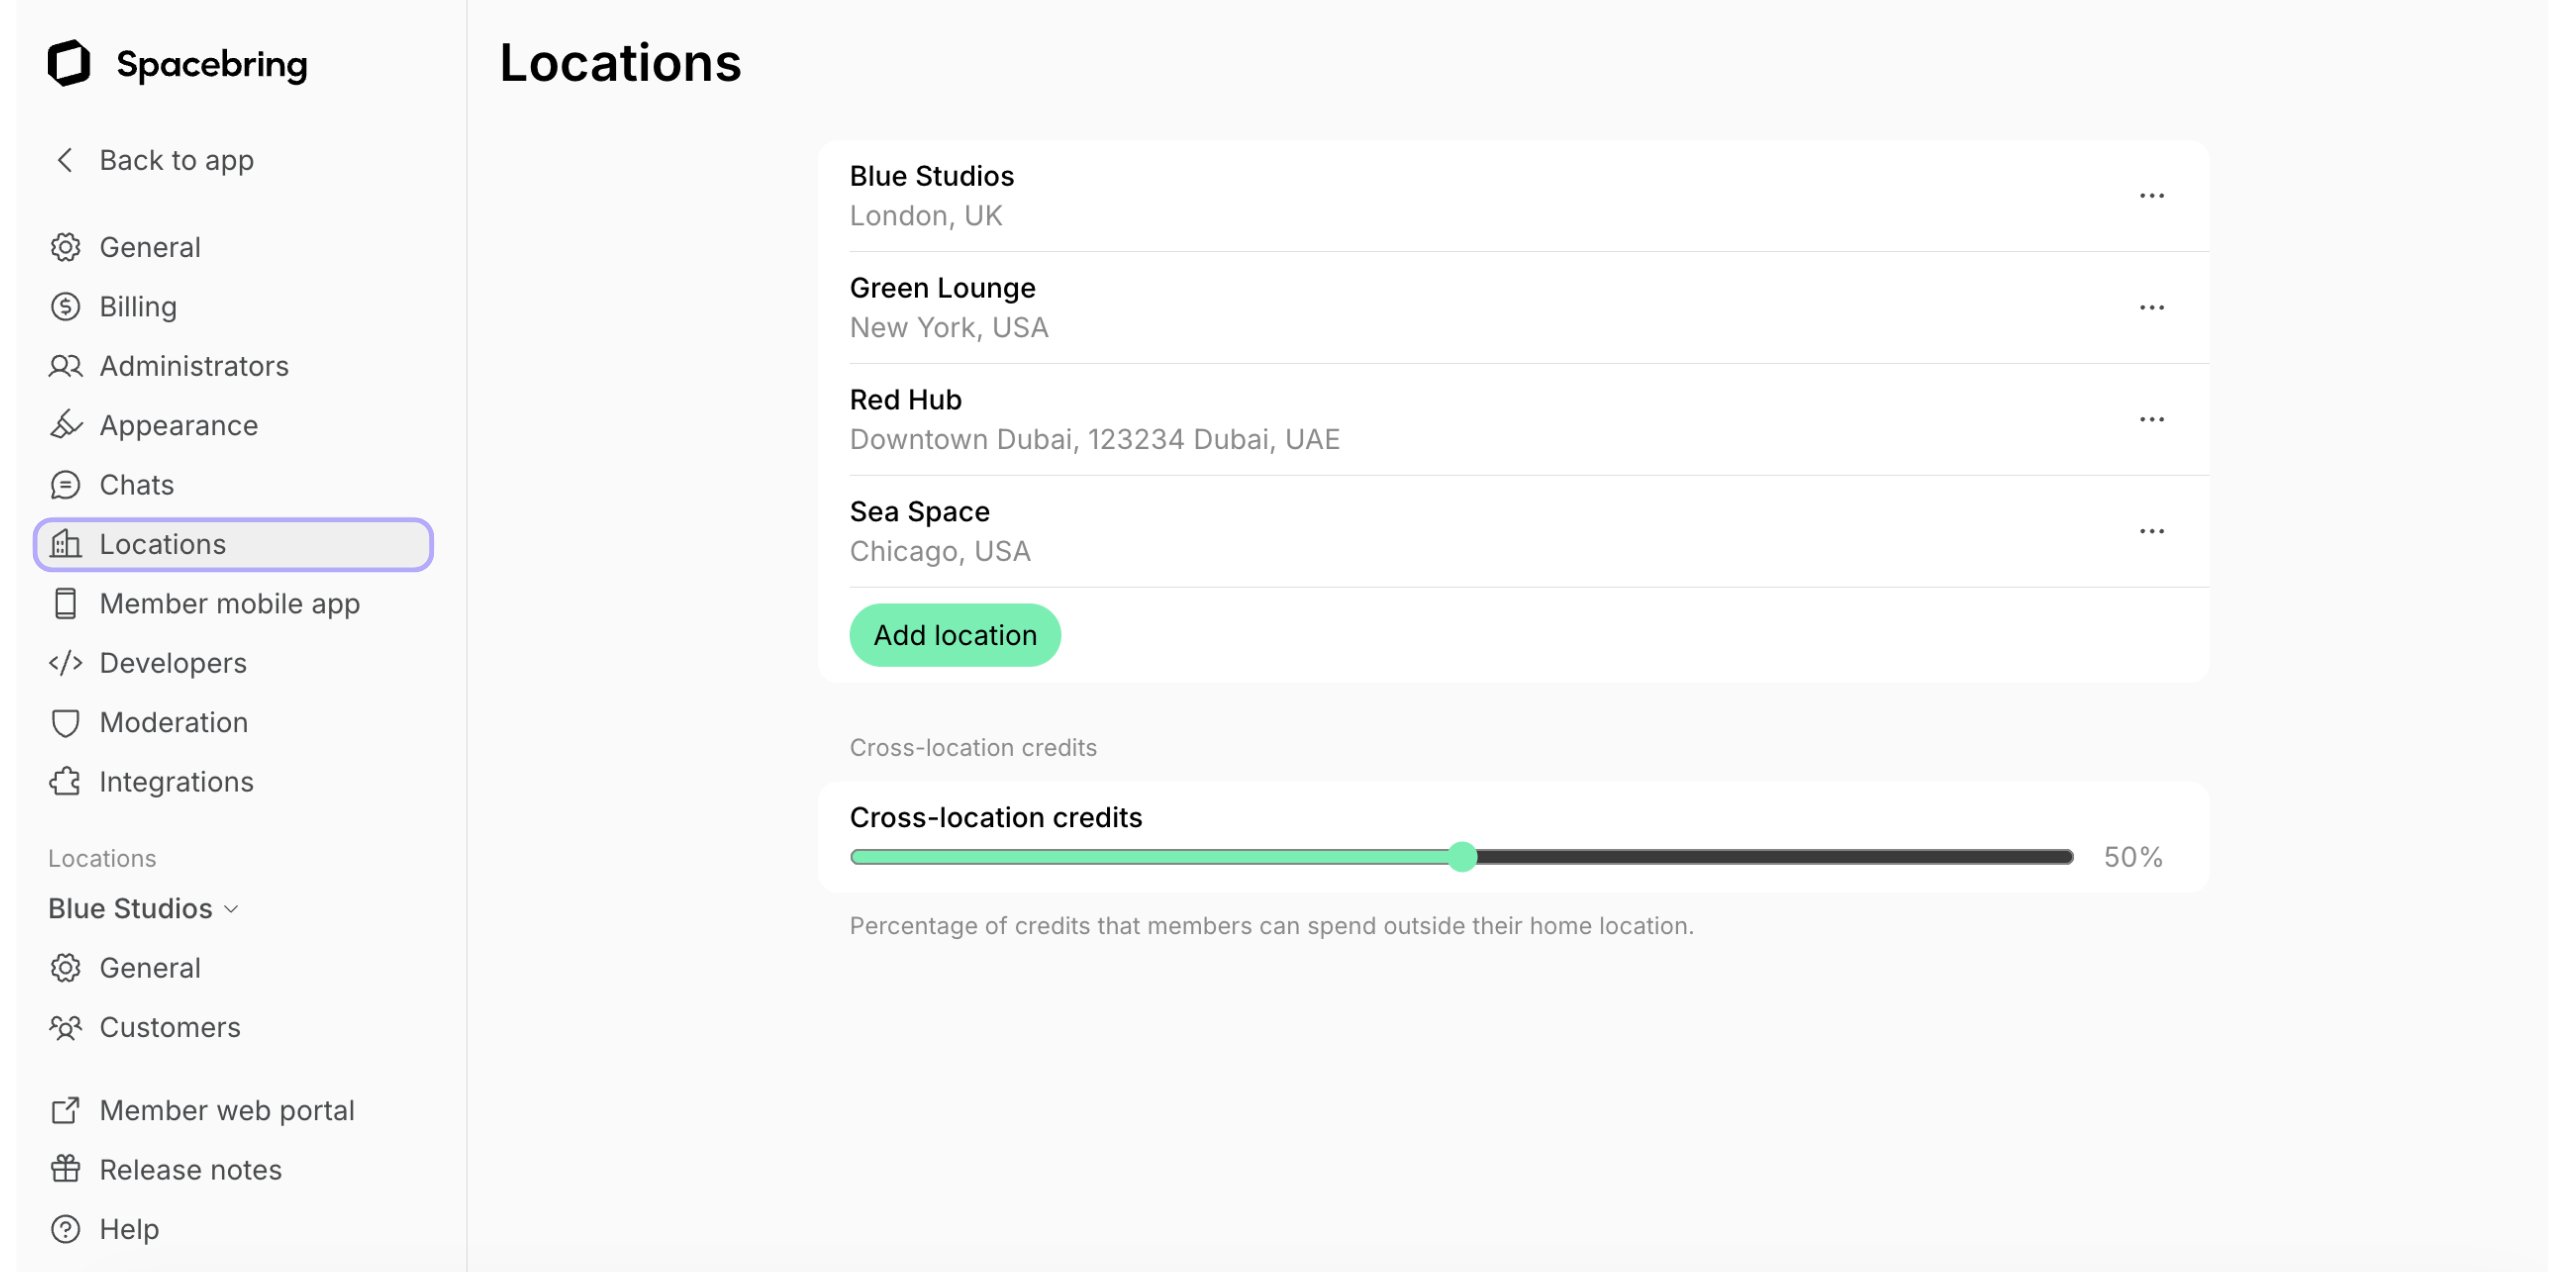
Edit a location
To rename a location, modify your location’s language or timezone, administrators follow these steps:- On the left-side panel, select the location > click (…) next to it > Location settings > General.
- Make your changes and leave the page. The changes will apply immediately.

The location currency cannot be changed after the location has been created.
Delete a location
The owner needs to follow these steps:- On the left-side panel, click your network name > Network settings > Locations page.
- Press (…) >
Deletenext to the location you’d like to delete, and confirm your choice.
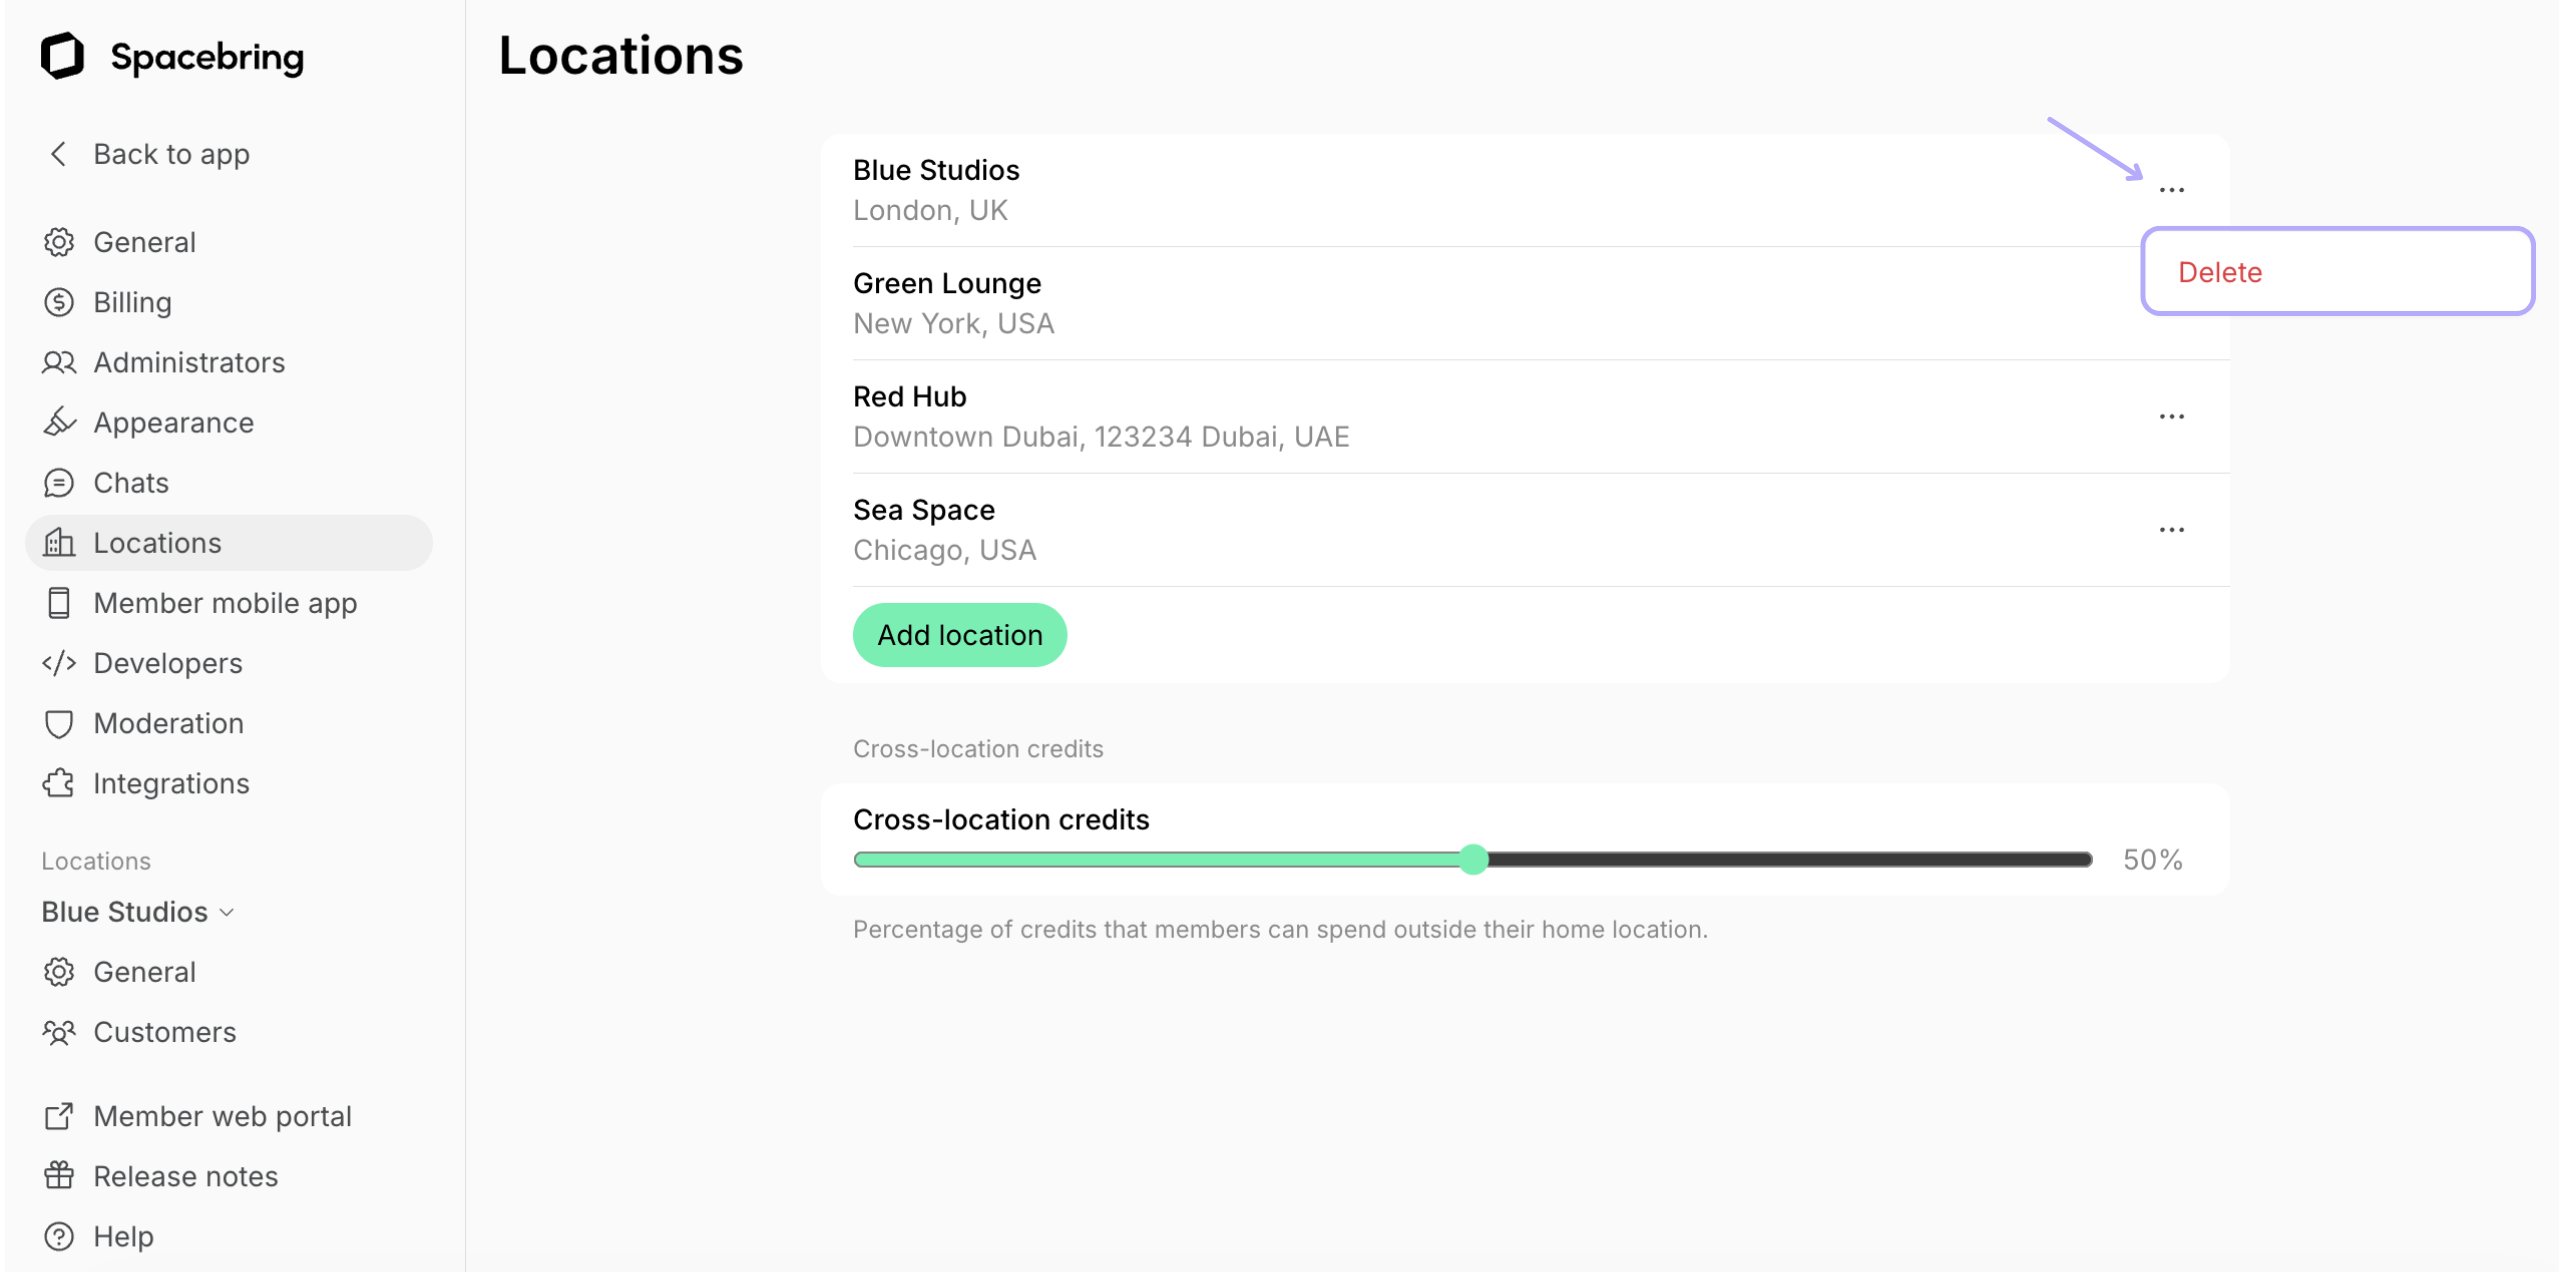
Deleting a location is permanent and irreversible. Even our engineers can’t recover your data.
Multi-location management tips
Configure visibility
Set visibility for all your resources and services in all locations to “Network members” or “Public”. This way, members can see all your locations and services in them and book and purchase services across your entire network. “Public” visibility helps not only your existing members to discover other locations but also first-time customers.Enable cross-location credits and day passes
By enabling cross-location credits and day passes, you allow members to use credits and day passes received in one location in other network locations. Members can spend their personal or company credits and day passes across locations, giving them more flexibility and a consistent experience wherever they go.How to duplicate members to a second location?
How to duplicate members to a second location?
You do not need to migrate or duplicate members manually. By using the “Network members” visibility setting and cross-location credits and day passes, you can grant members access to both locations automatically.
How are locations ordered for customers?
How are locations ordered for customers?
On the landing pageLocations on the **landing page **are ordered alphabetically by their title.On the Locations pageThe order of the locations on the main **Locations **page in the member web portal and mobile apps depends on the user’s geolocation. If the user allowed tracking their geolocation, the locations are sorted in the following order:
- The location where the user is a member (if the user is a member of any location) is at the top of the page.
- Other locations are arranged from nearest to furthest based on the user’s geolocation.
- Locations where a user has either an administrator or a member role.
- All other locations.