

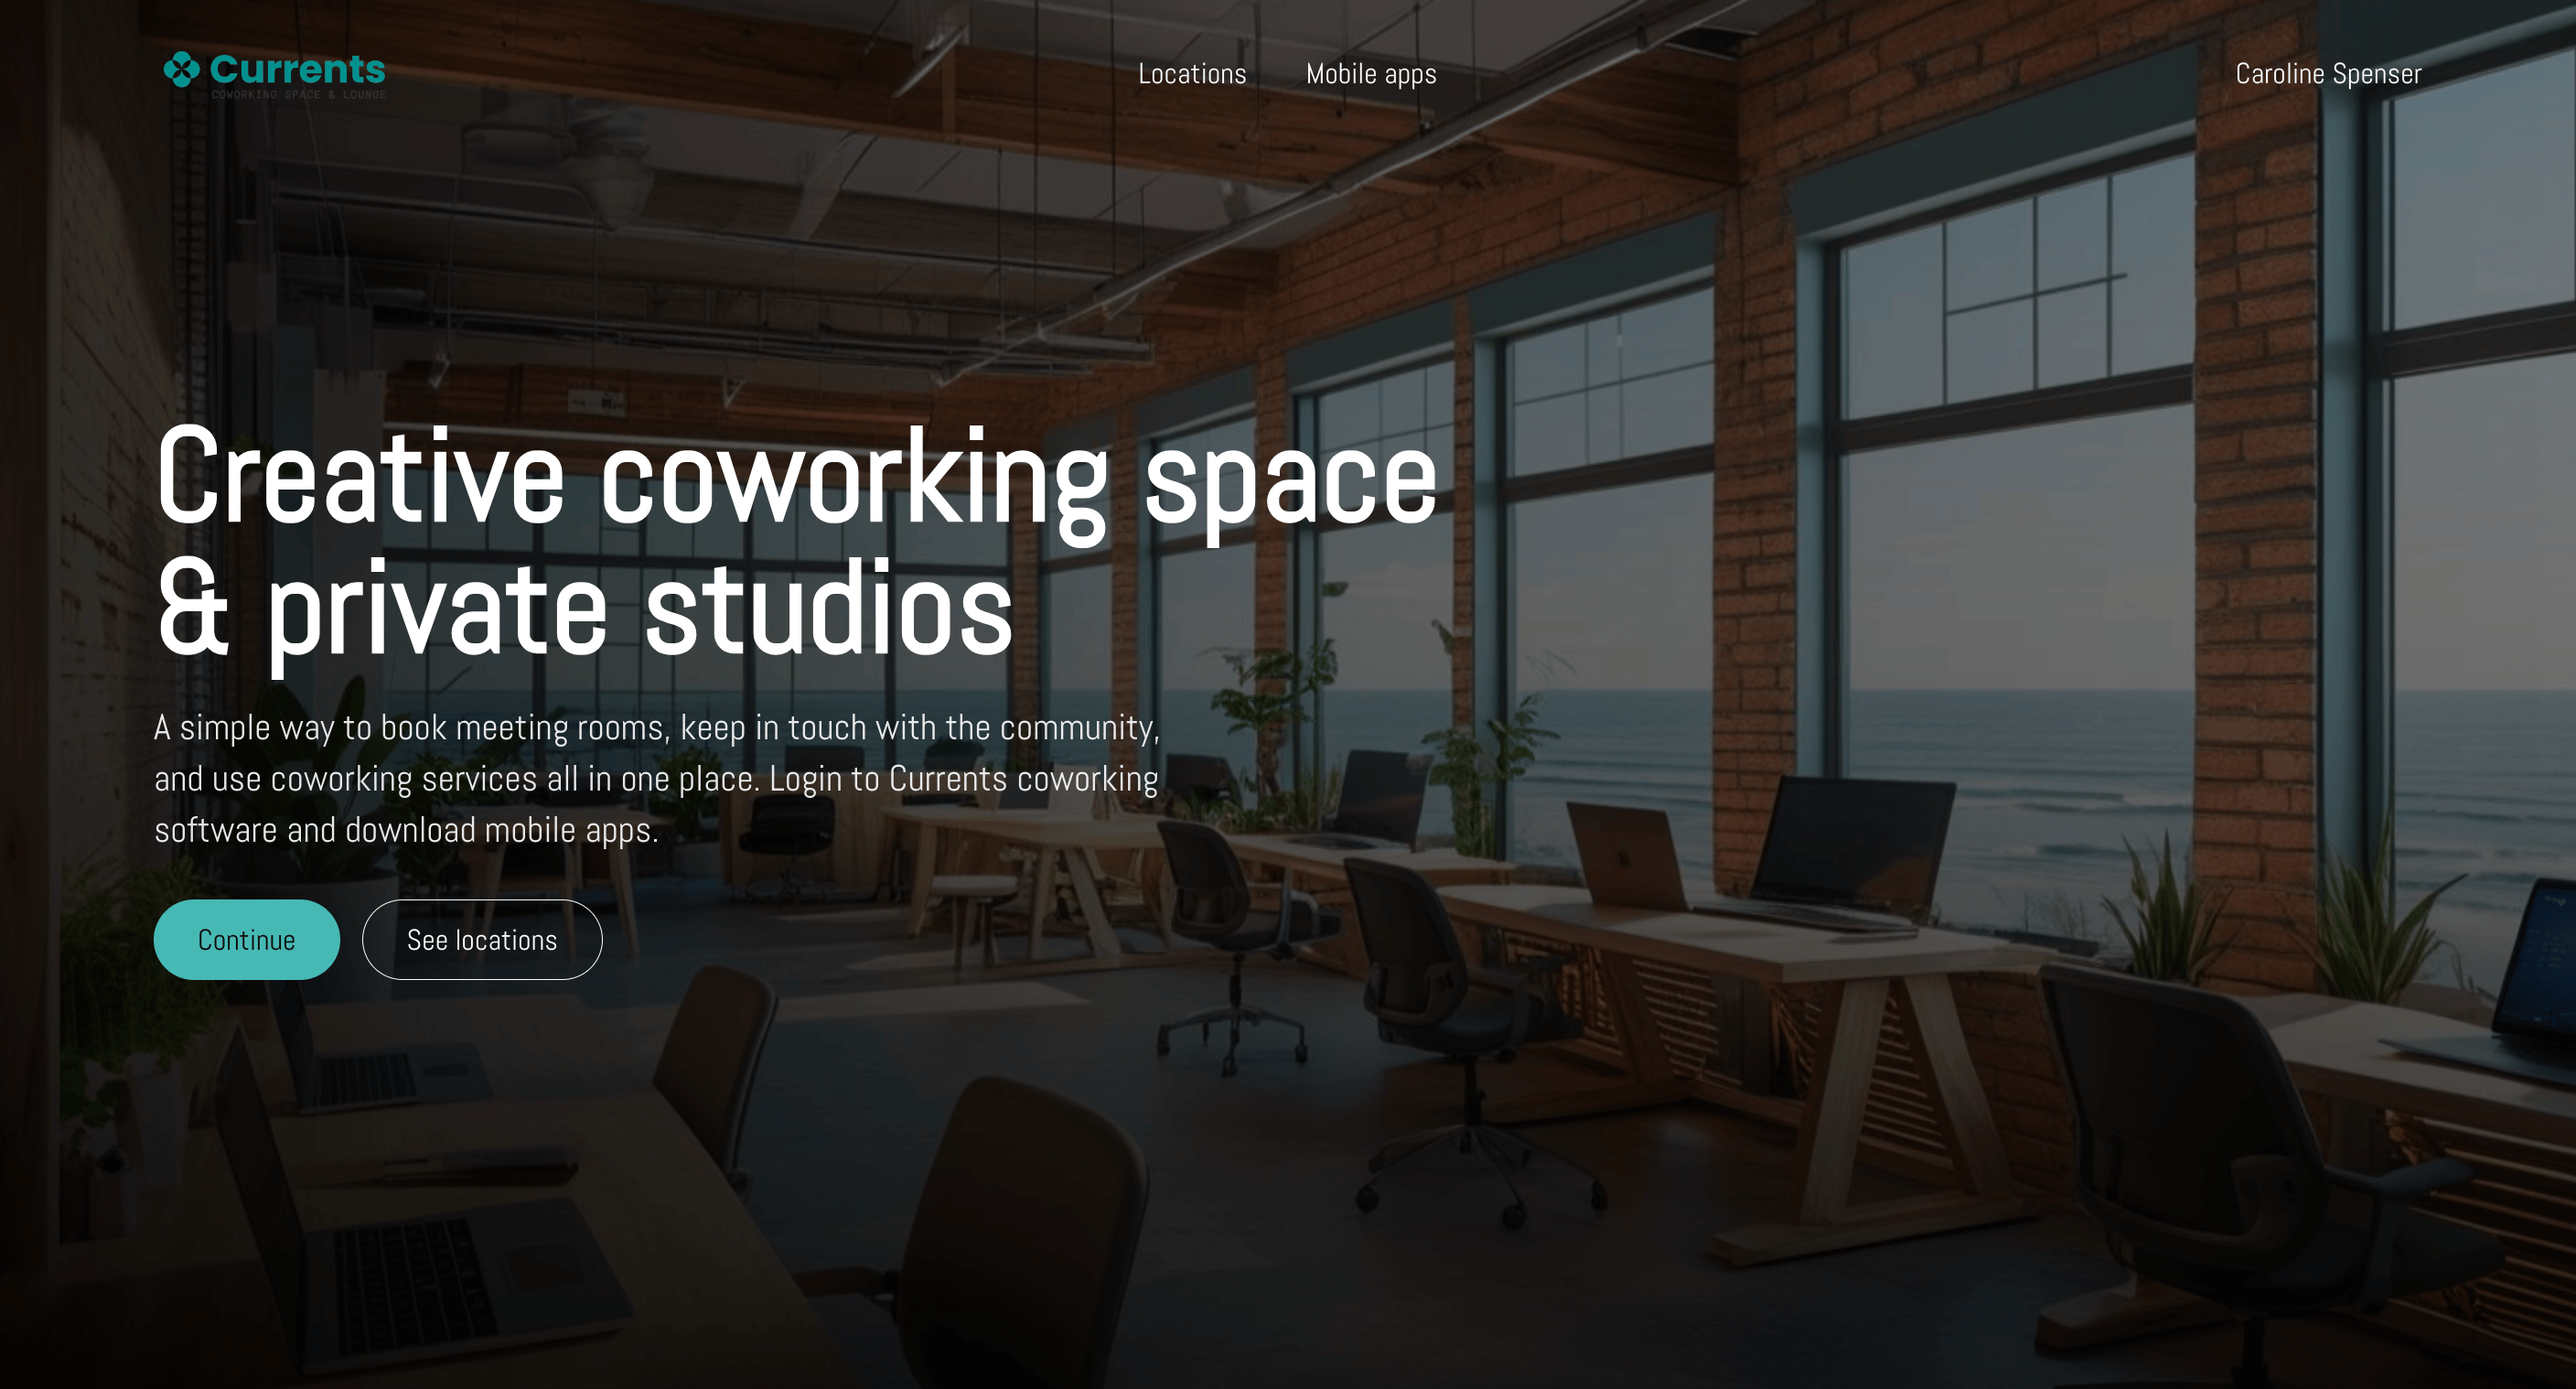
Open the landing page
- Click Member web portal at the bottom left of the admin portal. Your landing page opens in a new browser tab.
- Copy the address from that tab to share your landing page or promote it through your marketing channels.
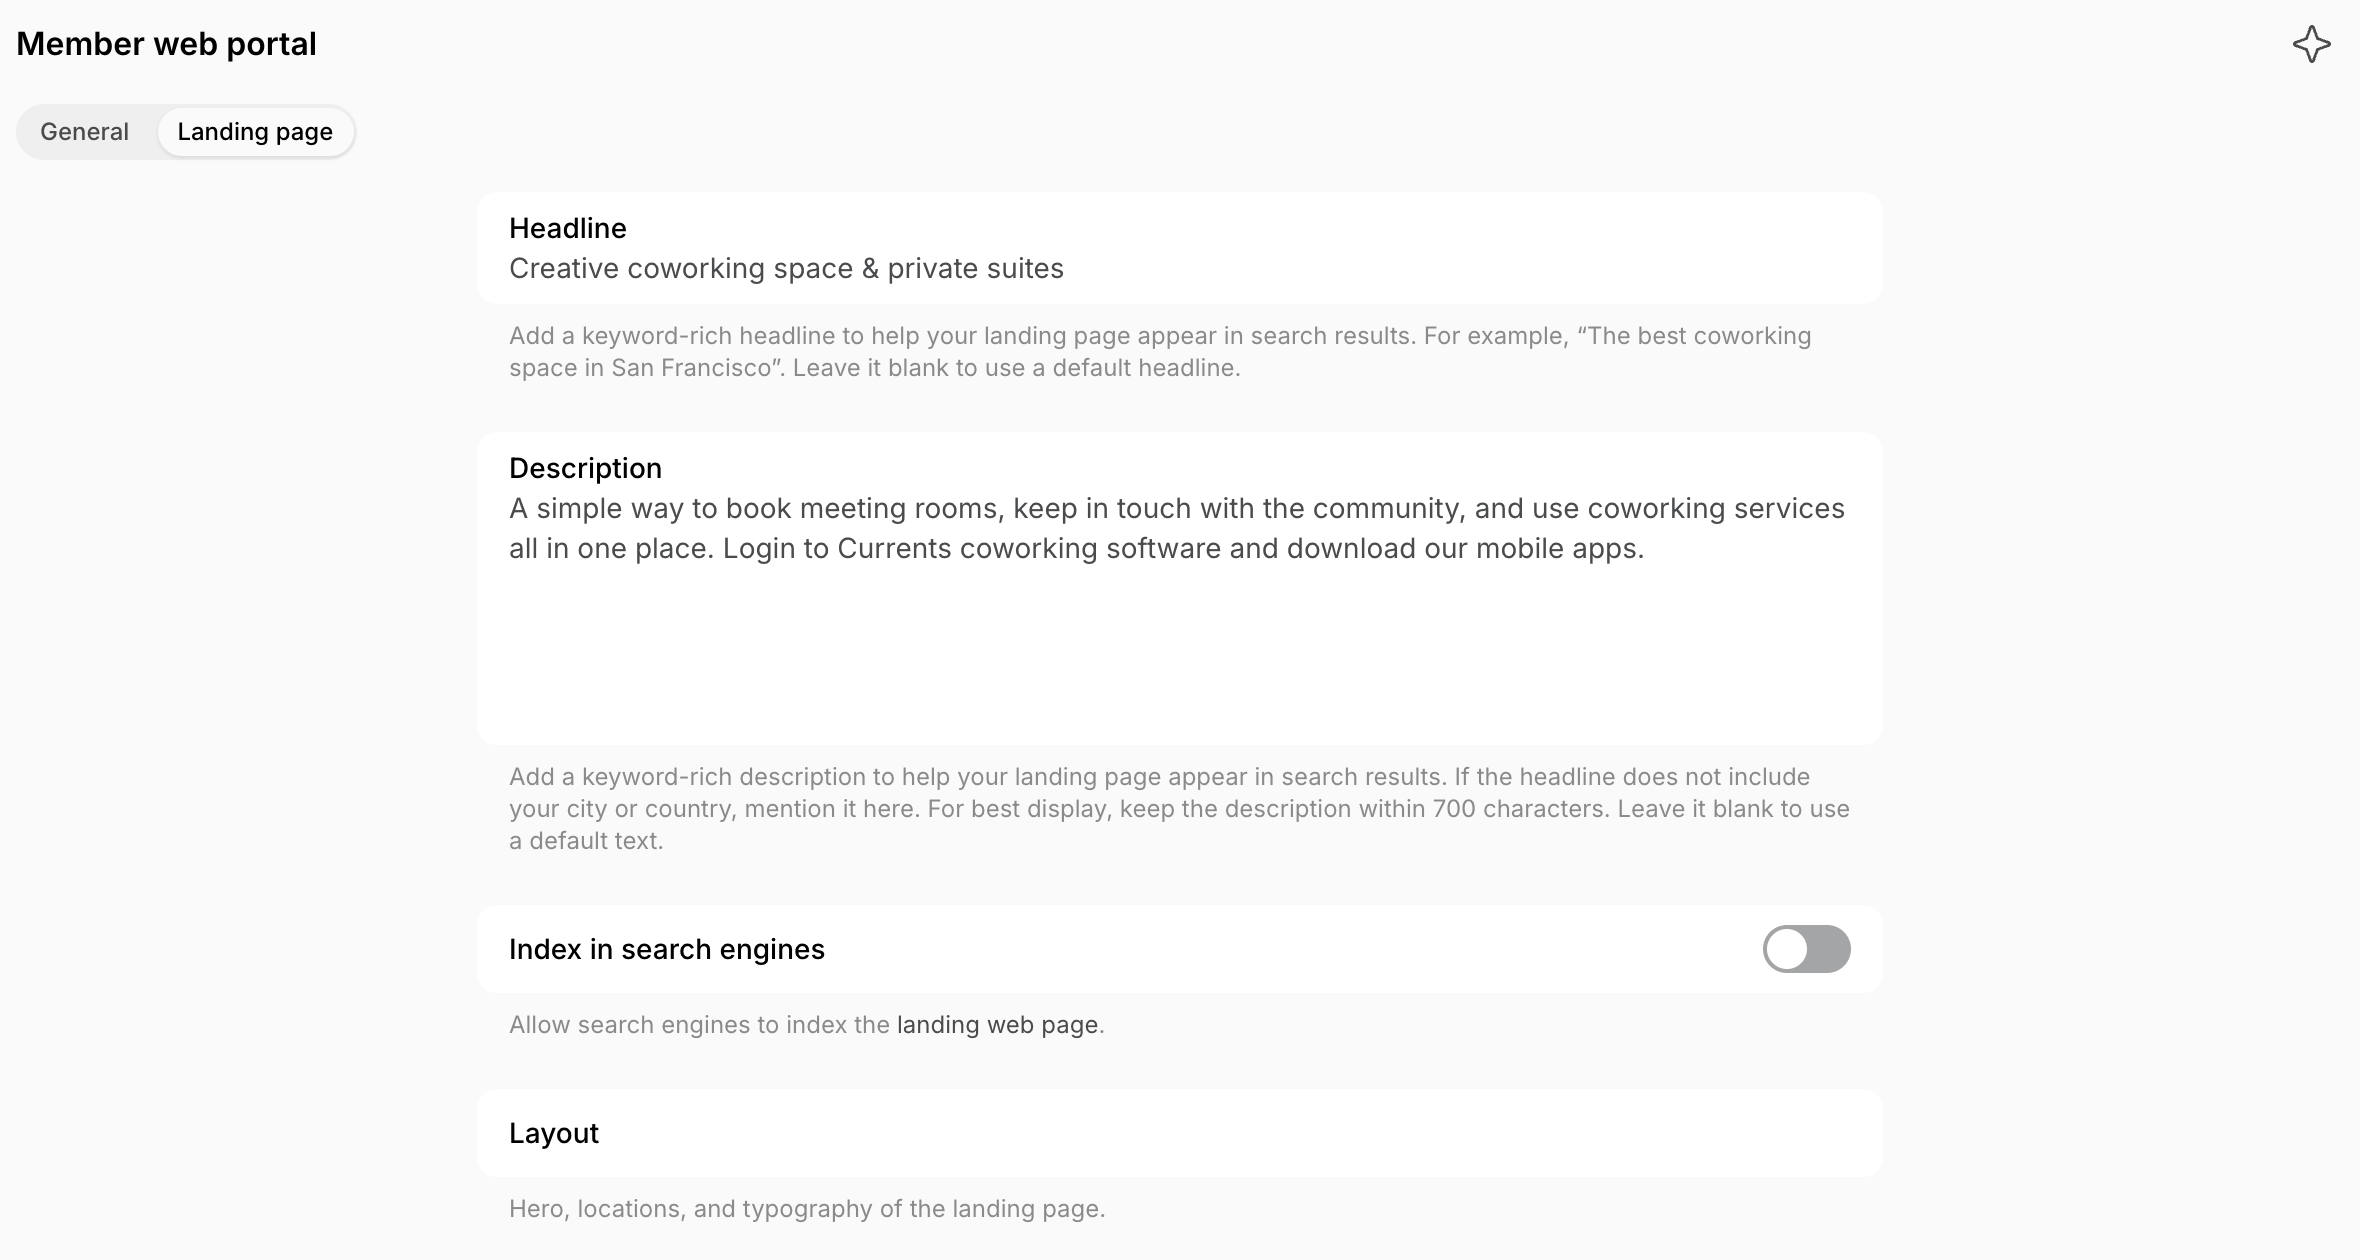
Write the headline and description
- Go to Spacebring as an owner.
- On the left-side panel, click your network name top left > Network settings.
- Go to Member web portal > Landing page.
- Enter a Headline. Use keywords that help your landing page appear in search results, for example “The best coworking space in San Francisco”. Leave it blank to use “Welcome to” followed by your network name.
- Enter a Description. It appears under the headline and is also the text search engines show, so mention your city or country if the headline does not. Keep it within 700 characters for the best display, or leave it blank to use a default text.
Set the layout
- Go to Network settings > Member web portal > Landing page.
- Click Layout.
- Change each setting to customize the layout of your landing page. Each change appears in the preview immediately.
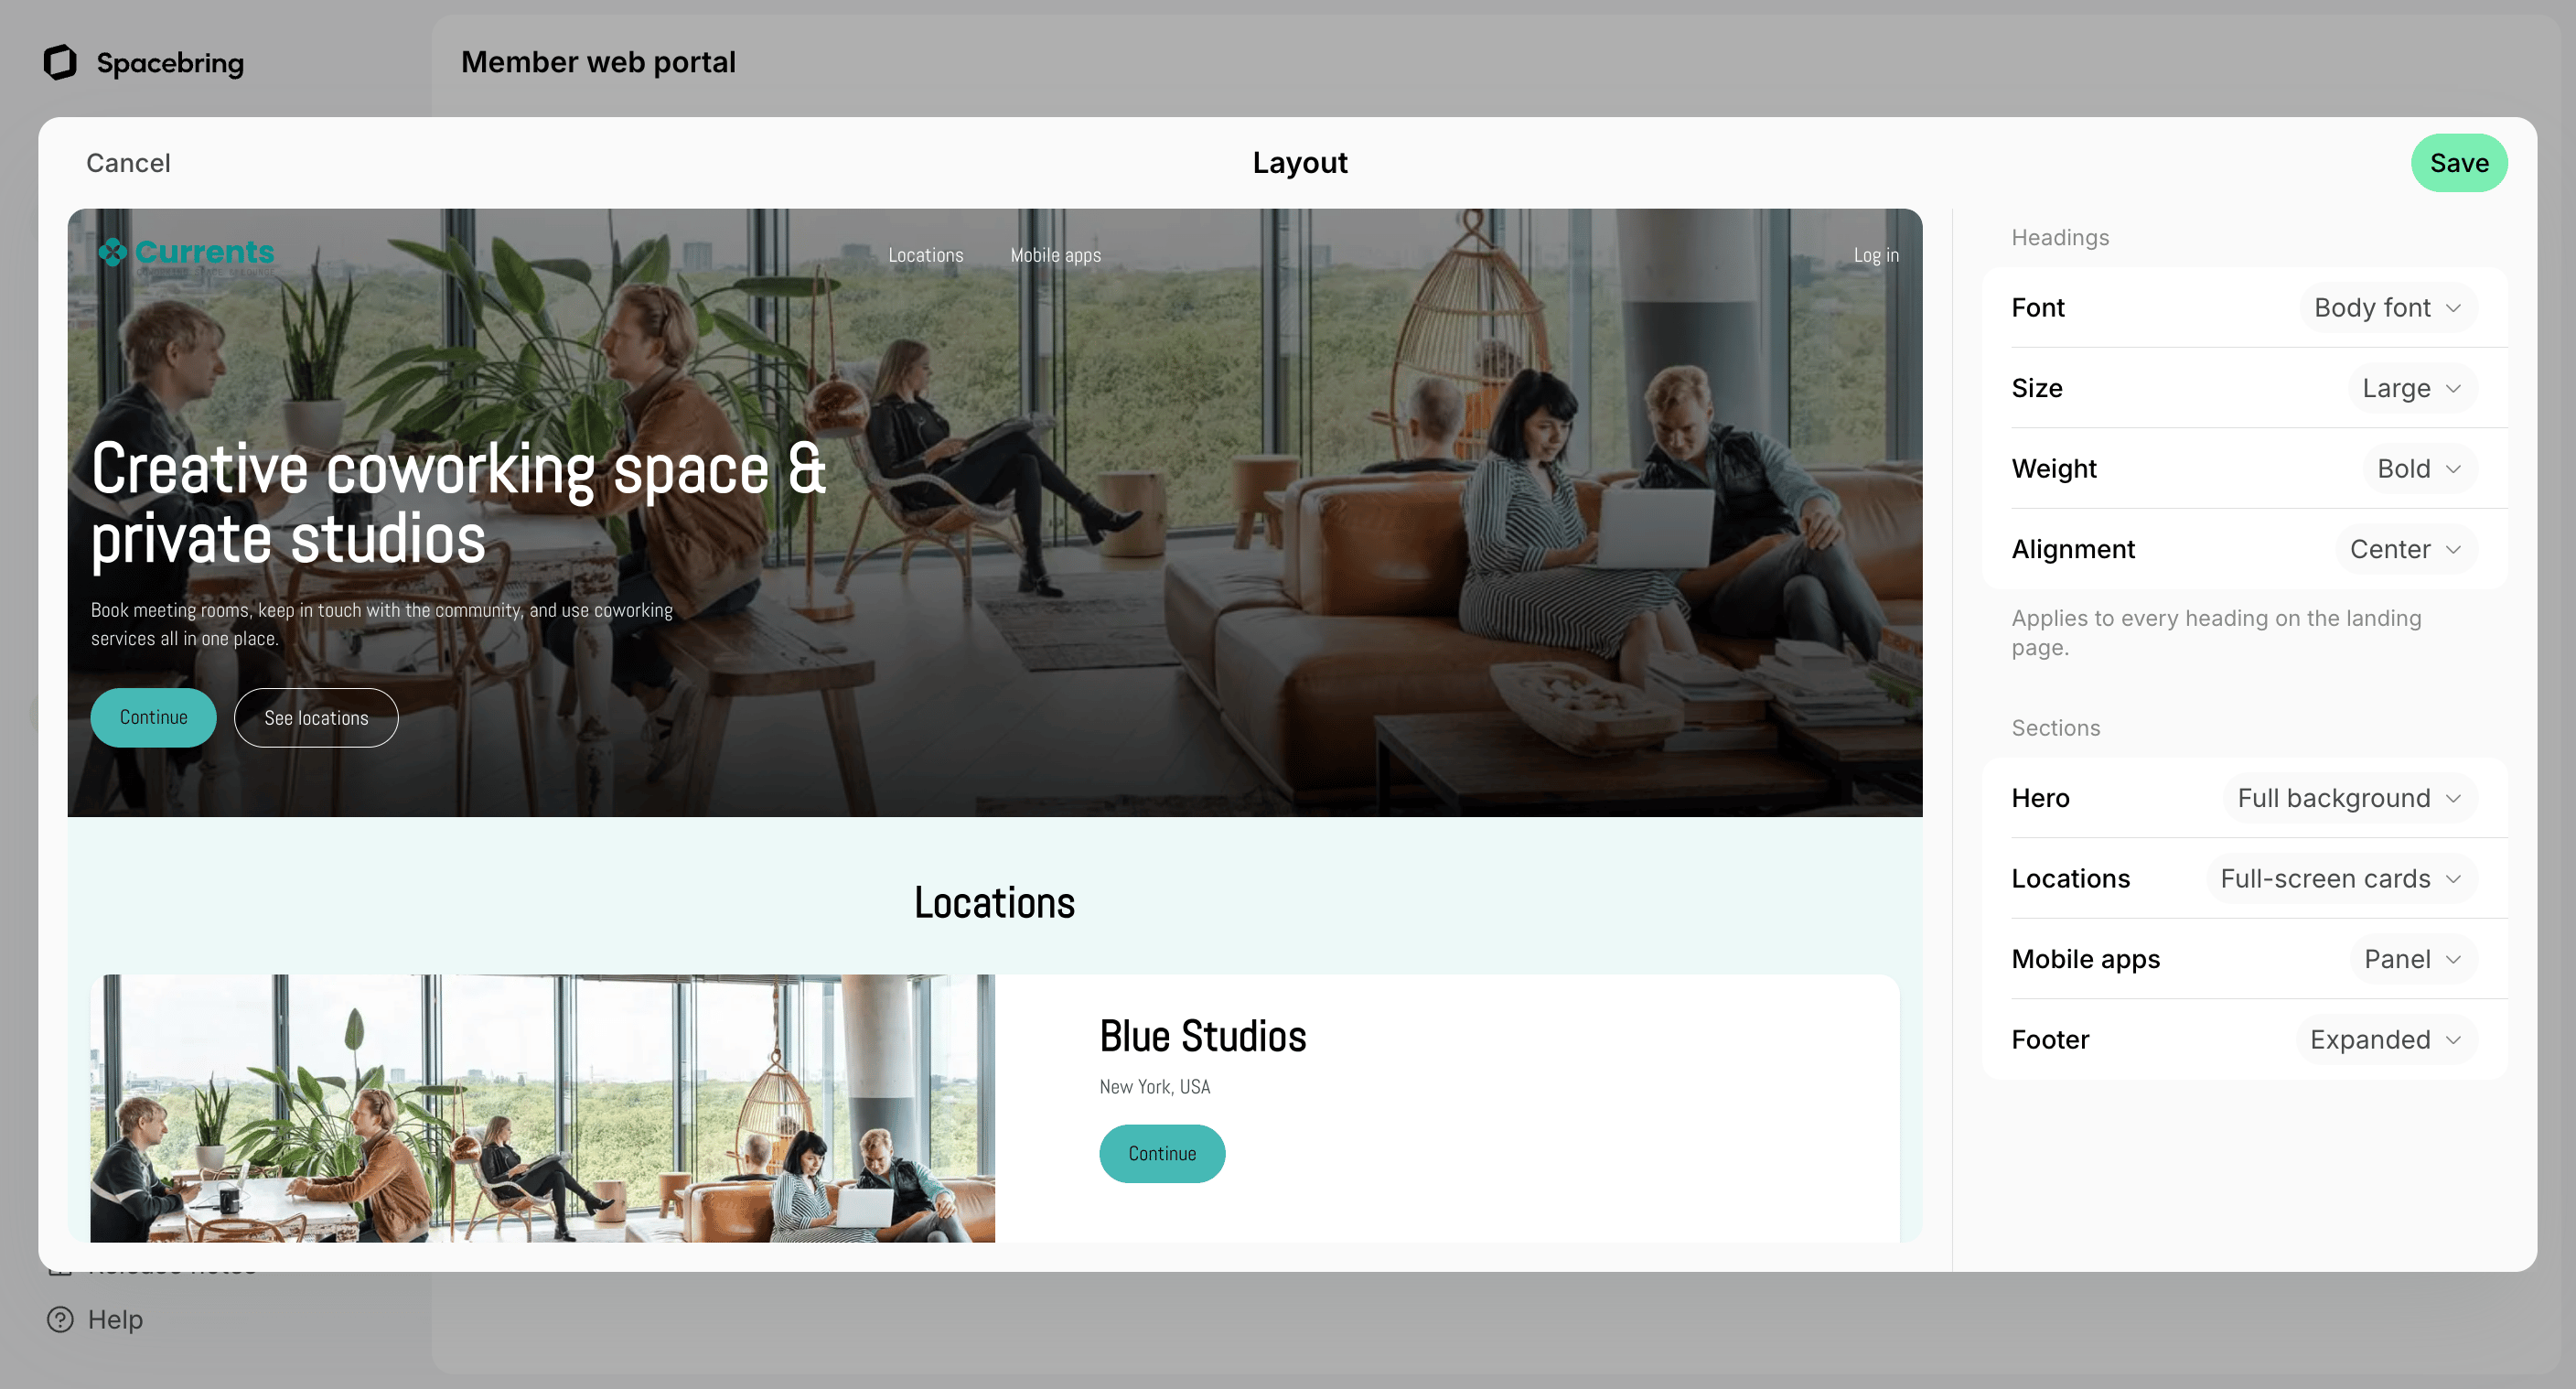
- Font — the font of every heading on the page.
- Size — how large the headings are.
- Weight — how thick the heading text is.
- Alignment — whether section titles sit in the center or on the left.
- Hero — the top of the page, with your headline, description, and location media.
- Locations — how your locations are listed.
- Mobile apps — the block with your app store badges.
- Footer — what the footer contains.
- Click Save to apply all changes at once, or Cancel to discard them.
The Layout settings shape the landing page only, not the rest of the member web portal.
The landing page is shown to every visitor in your network language.
Add the content the landing page shows
Most of the content on your landing page comes from the locations and plans you added.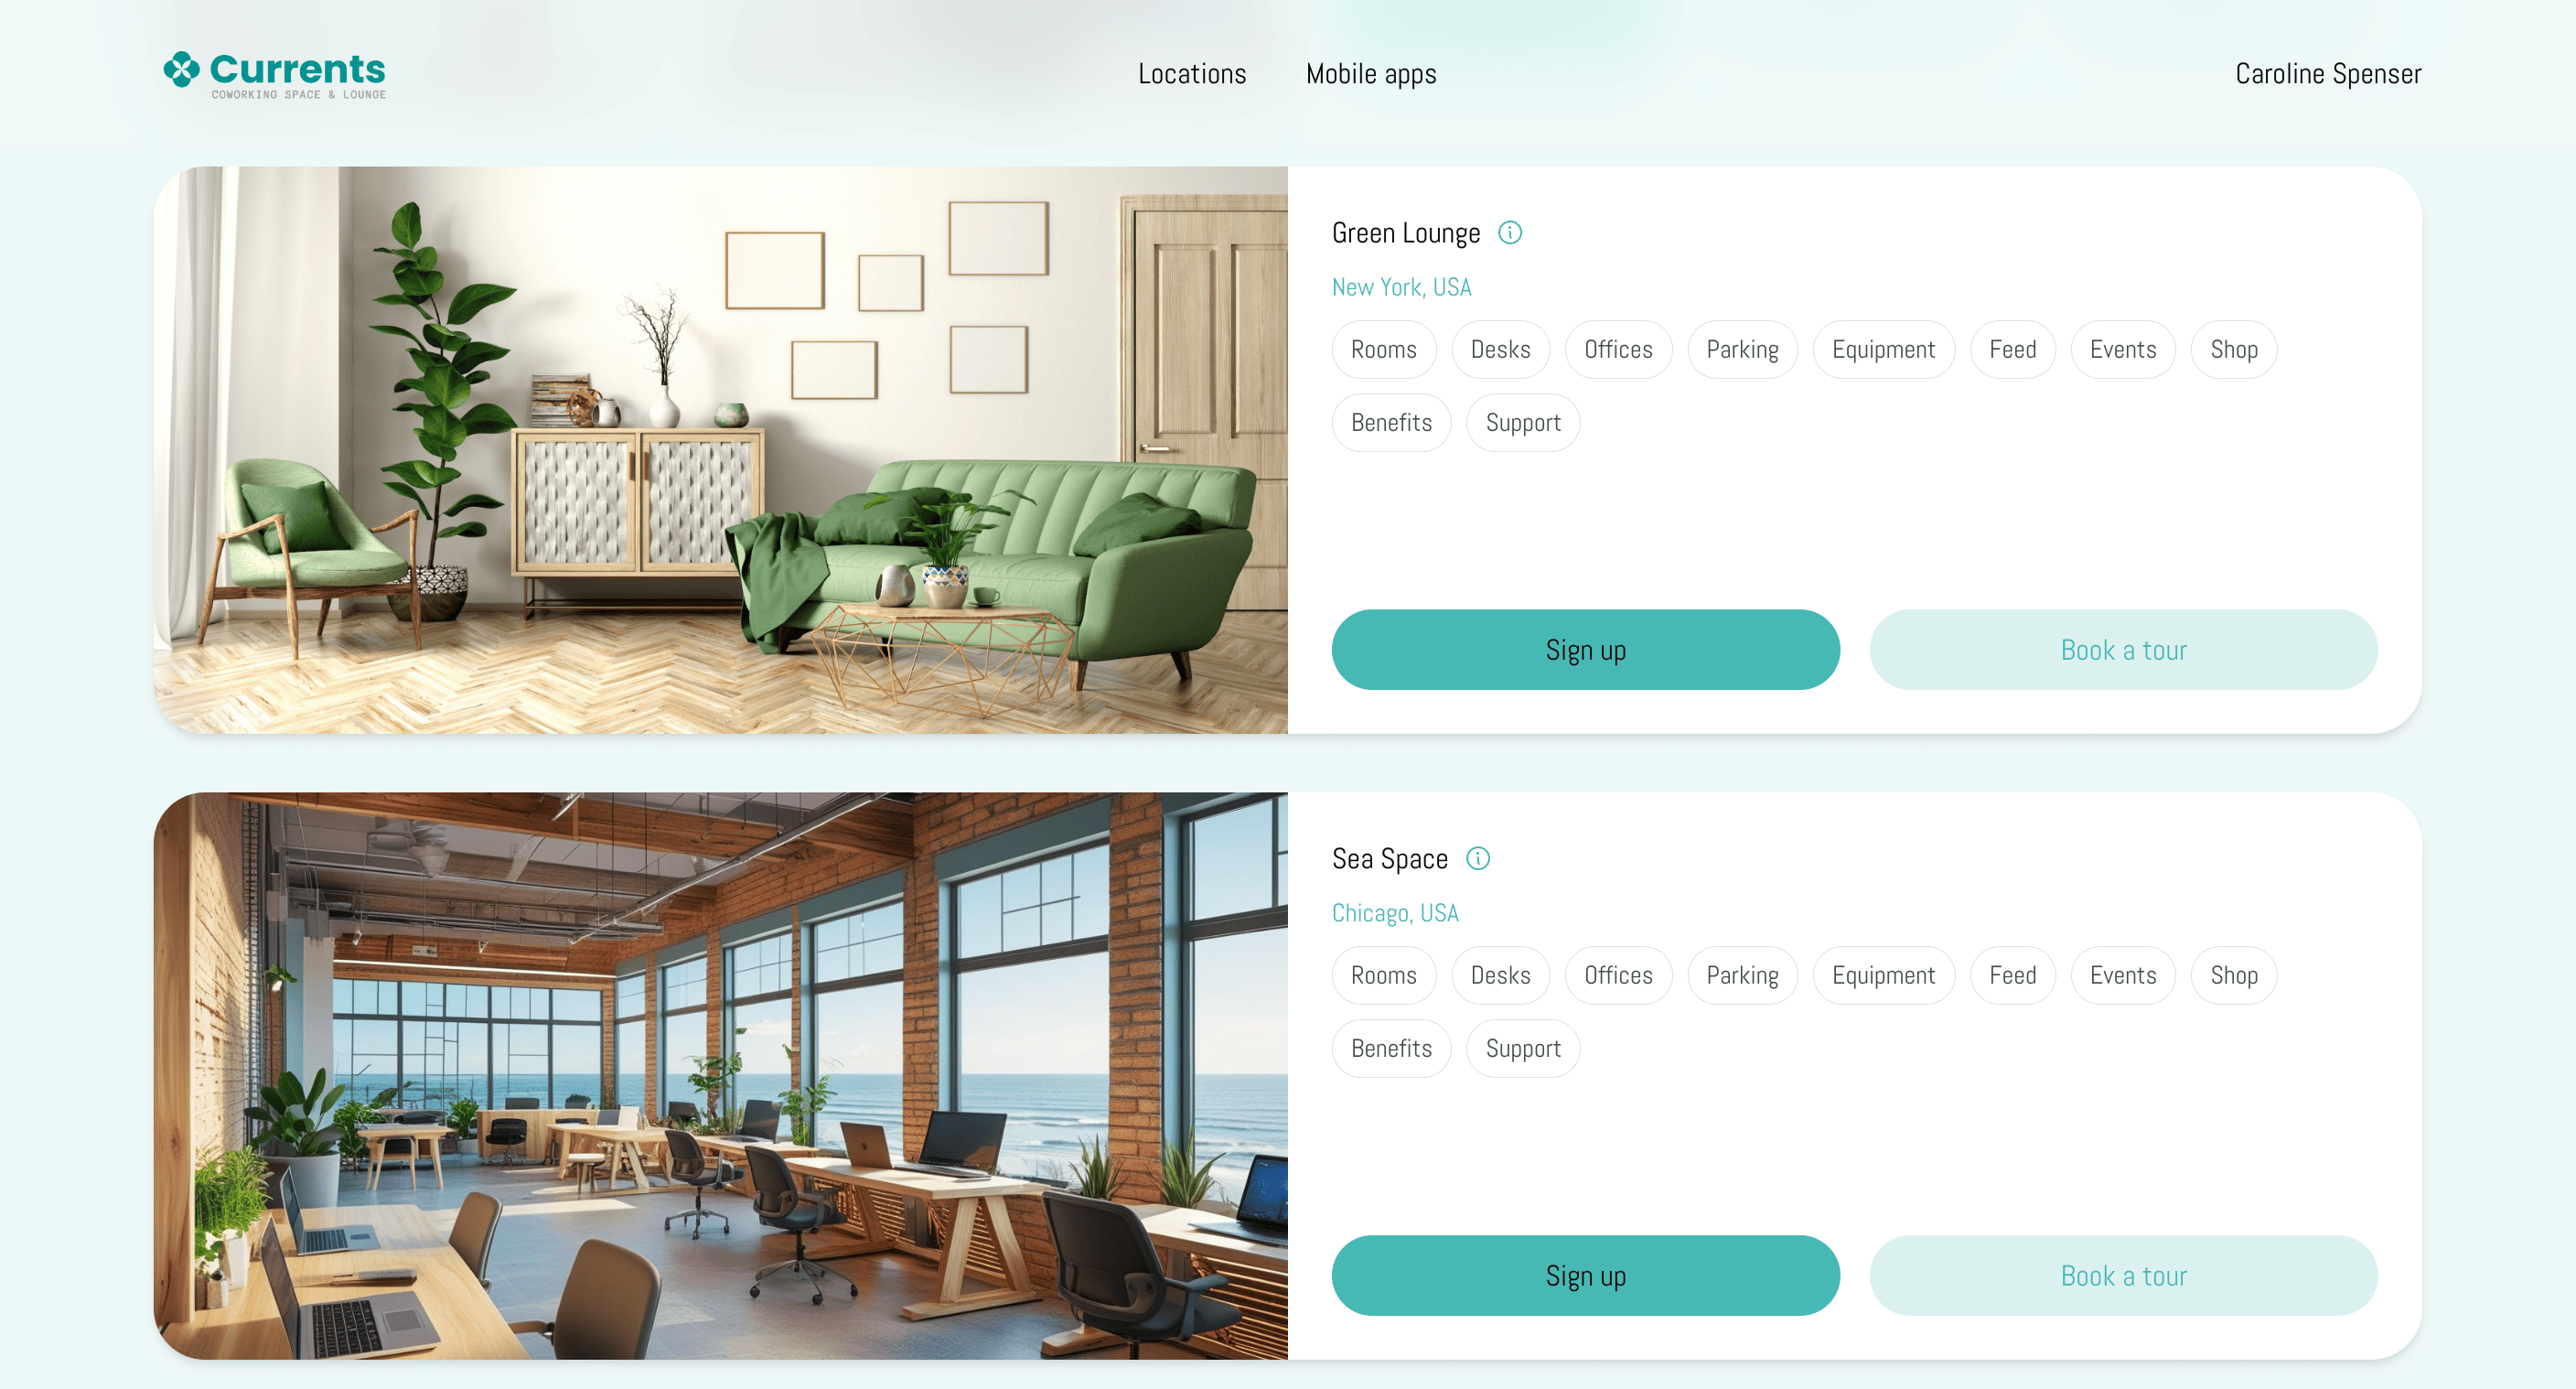
- Upload cover photos and videos for each location. All cover media across your locations plays as a slideshow in the hero, and the first item appears under the location’s name in the Our locations section.
- Visitors can click a location’s photo to view all of its photos and videos full screen.
- Update each location’s address on the same page, so it appears under the location’s name.
- Create membership plans for the location and turn on their Sign-up switch, so a Sign up button appears for that location.
- Enable other pages and set their visibility to Public, or add content with public visibility to them, so they appear as buttons under the location’s name. The name itself opens the location’s Home page.
- Connect Calendly or the HubSpot Meeting Scheduler to each location, so a Book a tour button appears and lets interested people book a tour of your space.
- Order the member mobile app, so the App Store and Google Play badges appear.
Control search engine visibility
Your landing page is visible to search engines by default.- Go to Network settings > Member web portal > Landing page.
- Turn the Index in search engines switch on to let search engines list your landing page in their results, so new customers can find you.
- Turn it off to keep the landing page out of search results and reachable only by a direct link.
After you turn the switch off, search engines may take time to remove your landing page from their results.