

Member invitations and invitation reminders
When you invite a new member, they receive a default invitation email: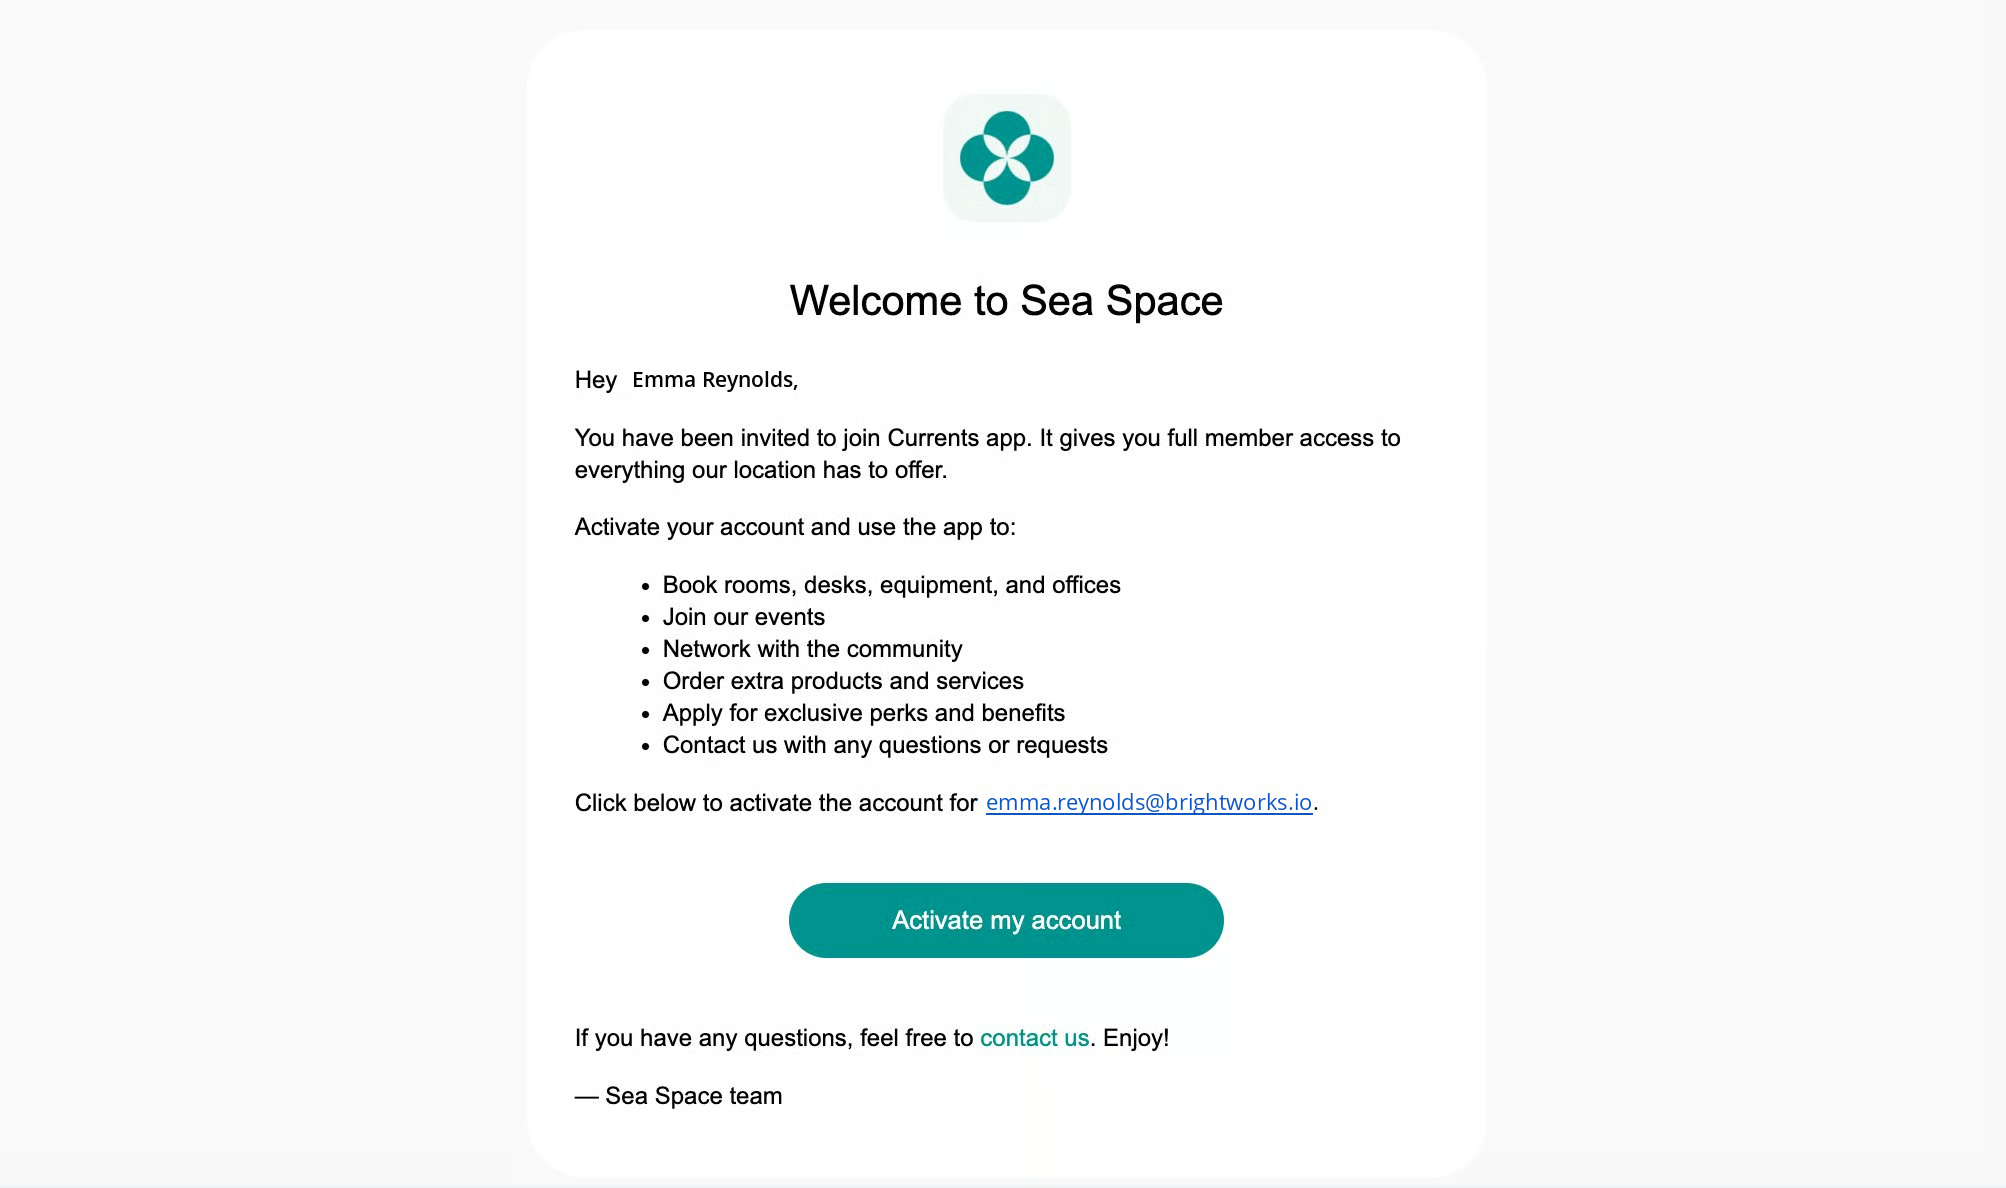
- Go to Location settings > Customers page.
- In the Custom emails section, enable Invitation.
- Paste your custom email text.
- The invitation email always includes:
- A greeting at the beginning
- A call-to-action at the end for the user to sign in with their email address.
- Your custom text will replace the middle section of the email.
- The invitation email always includes:

- Enable Invitation reminder to customize it as well, if preferred. This reminder is automatically sent 3 days after the initial invitation if the user has not yet activated their account.
Booking confirmations
By default, users do not receive a booking confirmation email. They only receive a payment confirmation (receipt) if they paid via a payment gateway:
- Go to Resources > Rooms, Desks, Parking, or Equipment.
- When creating or editing a resource, open the Booking tab and find the Confirmation email property.
-
Choose for which bookings the email should be sent. You can choose more than one option:
- Administrators — bookings made by an administrator.
- Location members — bookings made by members of this location.
- Network members — bookings made by members of another location in your network.
- Nonmembers — bookings made by nonmembers.
The email always goes to the customer the booking is for, never to the person who made it. Tick Administrators so customers also receive the confirmation email when you book for them. -
Paste your custom text.
- The booking confirmation email, by default, includes:
- A ‘Thank you’ for the booking
- Booking date and time
- The check-in code, when the booking has one
- Your custom text will be inserted in the middle.
- The booking confirmation email, by default, includes:

Event joining confirmations
By default, for event tickets, users do not receive confirmation emails. They only receive a payment confirmation (receipt) if they paid via a payment gateway. To send your custom confirmation emails to event attendees:- Go to the Events page.
- When creating or editing an event, enable Confirmation email and paste your email text.
- The event joining confirmation email, by default, includes:
- A ‘Thank you’ for joining the event
- Event date, time, and venue
- The check-in code, unless the Event tickets check-in switch is off
- Your custom text will be inserted in the middle.
- The event joining confirmation email, by default, includes:

Shop order confirmations
By default, for shop orders, users do not receive confirmation emails. They only receive a payment confirmation (receipt) if they paid via a payment gateway. To send your custom confirmation email to users after all orders:- Go to the Location settings > Catalog page
- Enable Order confirmation email, and paste your email text.
- The shop order confirmation email, by default, includes:
- A ‘Thank you’ for the order
- Purchase details: order number, products, and total amount paid.
- Your custom text will be inserted in the middle.
- The shop order confirmation email, by default, includes:

Separate confirmation emails for each product have been replaced by one confirmation email for all shop orders. To configure individual emails for the specific product, use Zapier.
Benefit application confirmations
By default, for benefit applications, users do not receive confirmation emails. To send your custom confirmation emails to benefit applicants:- Go to the Benefits page.
- When creating or editing a benefit, enable Confirmation email and paste your email text.

- The benefit application email, by default, includes a ‘Thank you’ for applying for the benefit.
- Your custom text will be pasted after it.
Visit invitations
When members invite a visitor, they receive a default invitation email:
- Go to Location settings > Front desk page > Visitors tab
- In the Custom emails section, enable Invitation.
- Paste your custom email text.
- The visit invitation email, by default, includes:
- The invitation to visit your space
- Date and time of the visit
- Visit code
- Your custom text will be pasted after it.
- The visit invitation email, by default, includes:

FAQs
Where can I see all notifications and email notifications sent to my customers?
Where can I see all notifications and email notifications sent to my customers?
To view the list of notifications and emails users receive, refer to the Understand user notifications doc.
How can I customize notifications or emails that aren't directly customizable in Spacebring?
How can I customize notifications or emails that aren't directly customizable in Spacebring?
Use Zapier integration to customize other notifications, not included on this list of customizable emails. It supports a wide range of Spacebring trigger events, allowing you to send your own custom notifications or emails to customers based on those events.
How do I send new members a welcome email with onboarding instructions?
How do I send new members a welcome email with onboarding instructions?
You don’t need to write an email yourself. When you invite a member from the admin portal, Spacebring automatically sends them a default invitation email that already covers what a new member needs to get started: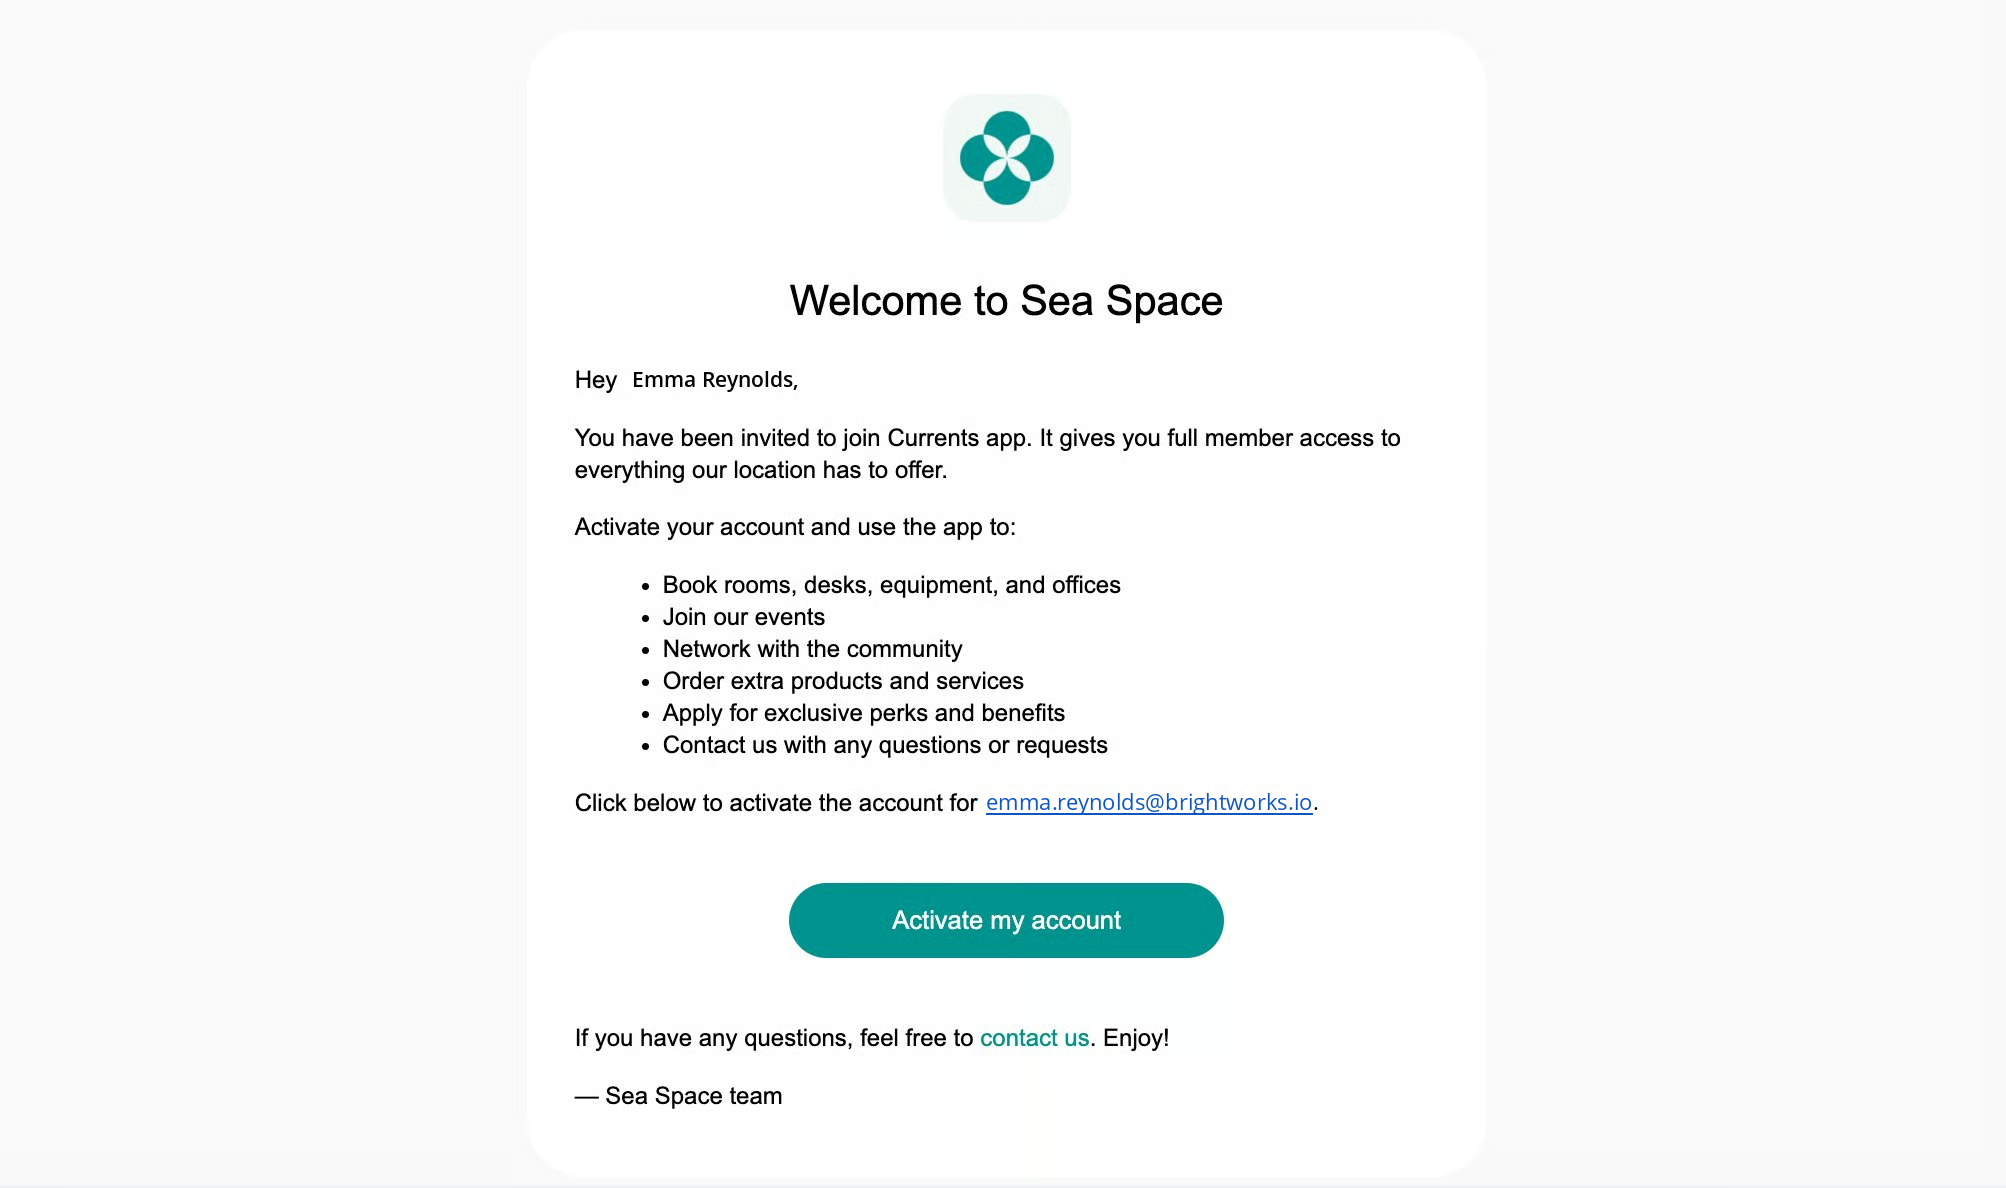
- Go to Location settings > Customers.
- In the Custom emails section, enable Invitation.
- Paste your custom text. It replaces the middle of the email, between the greeting and the activation button.