

Set up your space with Lem AI
Lem AI can set up Spacebring for you automatically, working from your website or from details you give it yourself. It can create your resources, membership plans, location guides, shop products, events, benefits, and discounts, change your network settings, and publish a welcome feed post.- Open Lem AI top left and start a chat.
- Give Lem AI what to work from: the link to your website, a file with your resources, prices, and plans, or just paste those details into the chat.
- Answer the questions Lem AI asks before it creates anything.
- Review what Lem AI prepared, then click the button that names each action, such as Create resource, or click Reject.
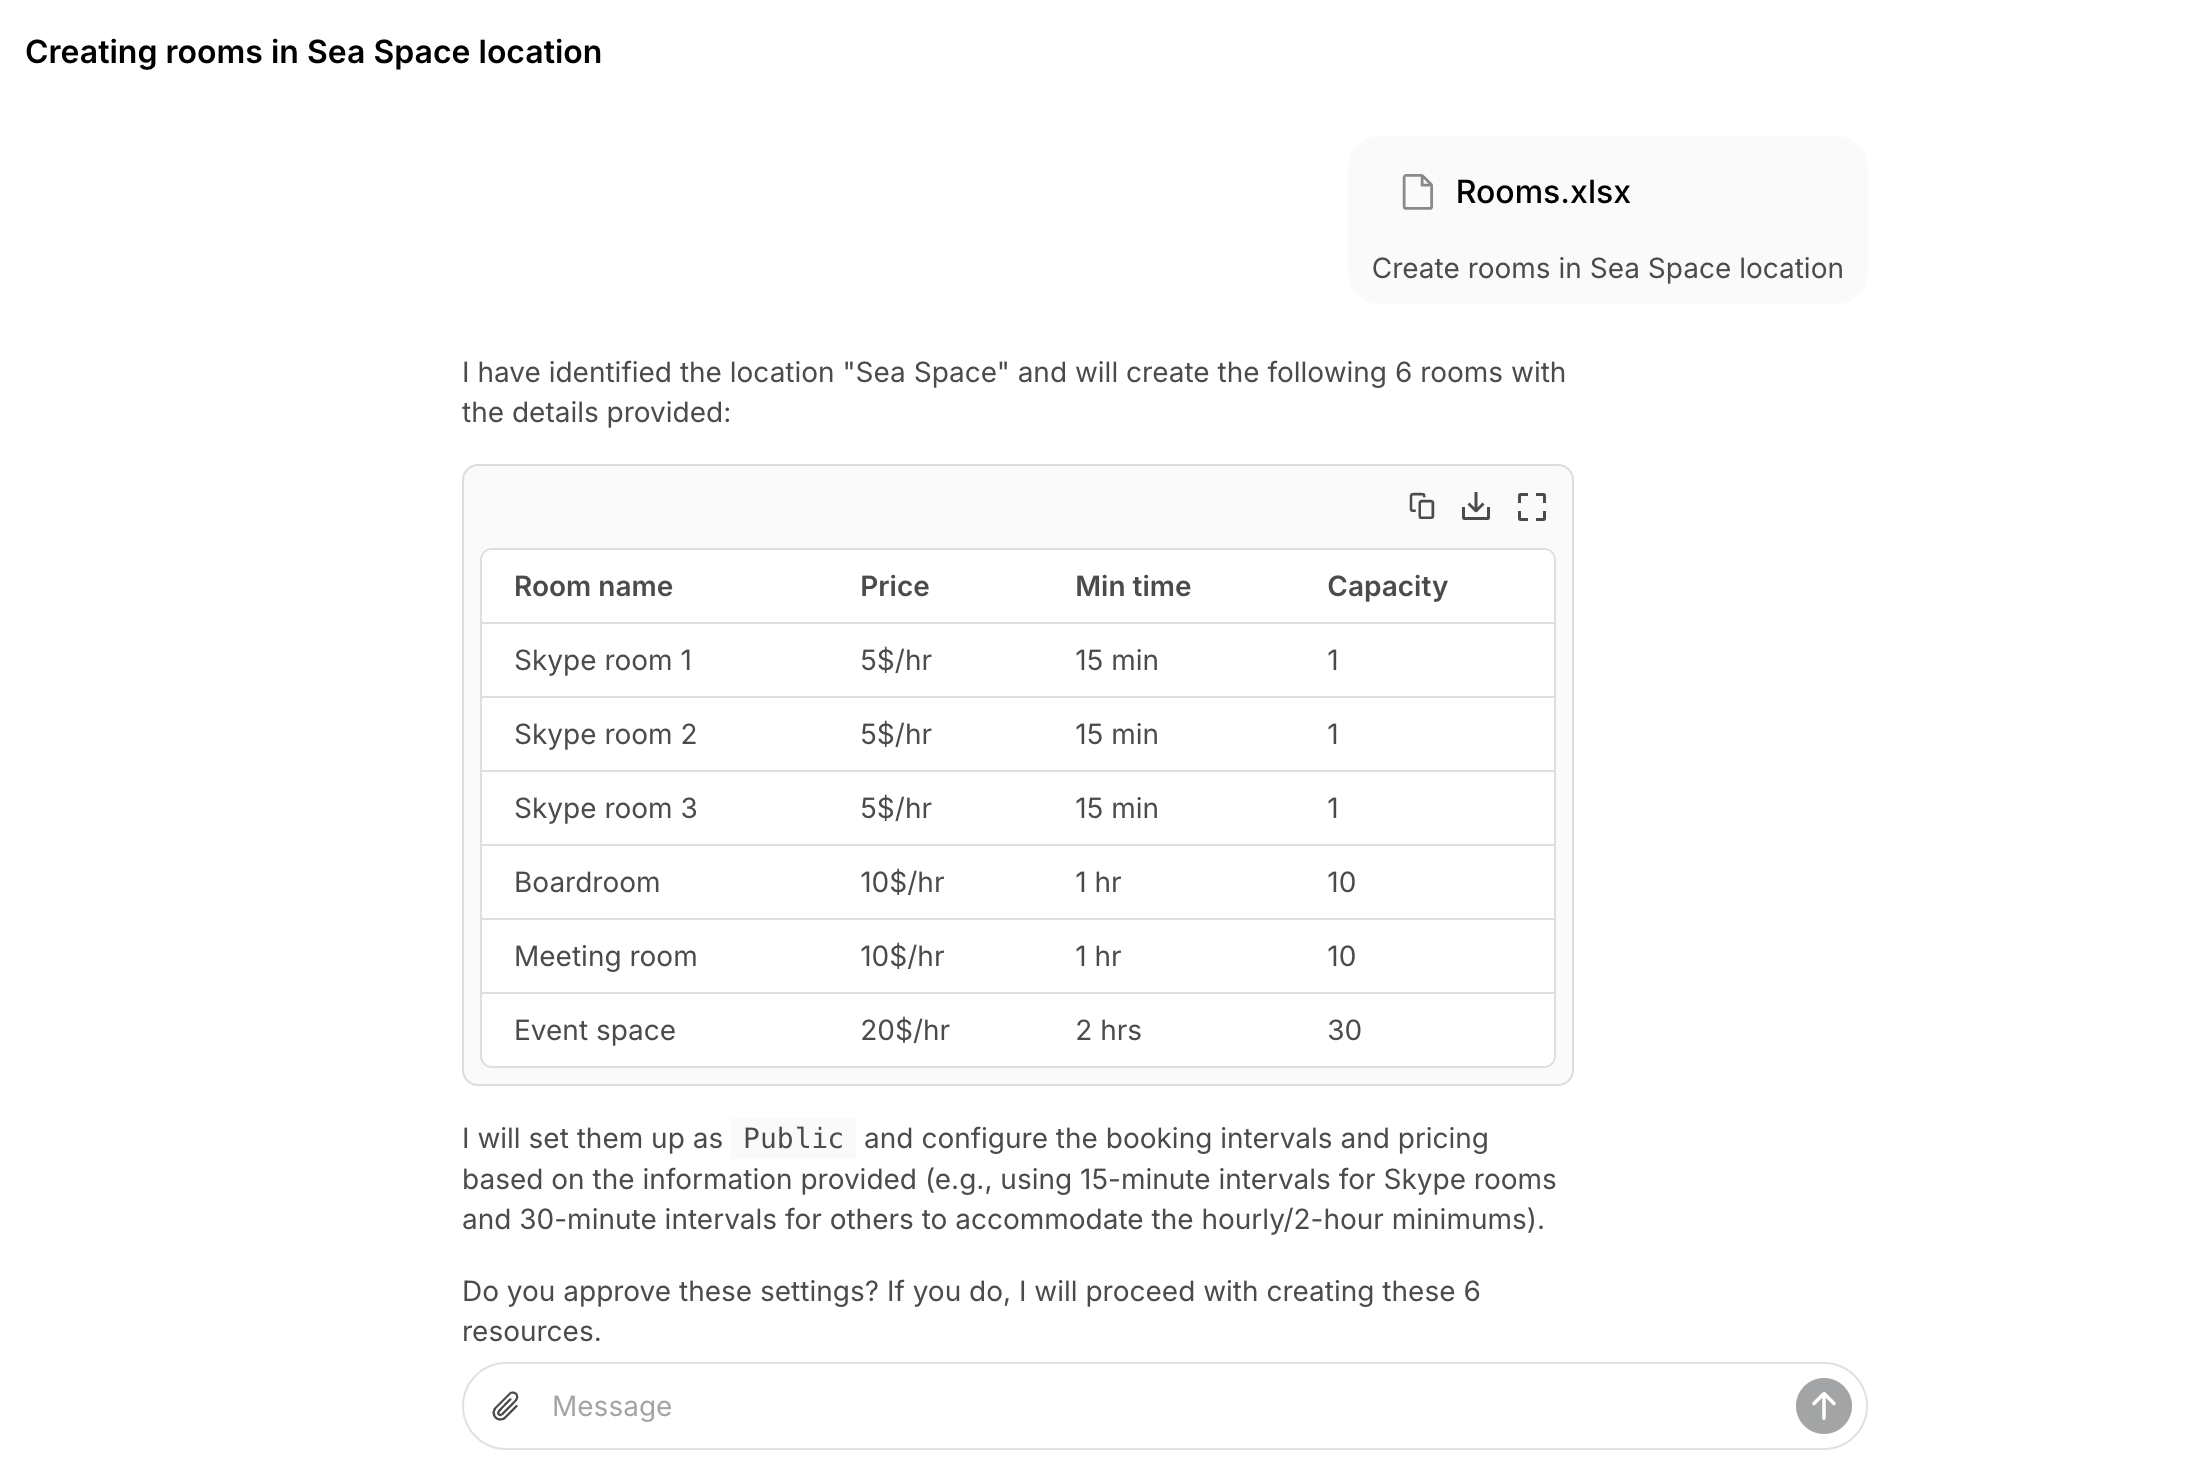
Only the owner can ask Lem AI to change network settings.
Set up on your own
Follow these sections in order to configure everything by hand, or to finish what Lem AI left for you.Set up your network
Total time: 10 minutes Before you start, prepare:- Your business’s brand materials (square logo, colors).
- Access to your domain name’s control panel to set up a custom domain.
- Your privacy policy and terms of use text.
- A description for your member web portal.
- Log in as an owner to Spacebring.
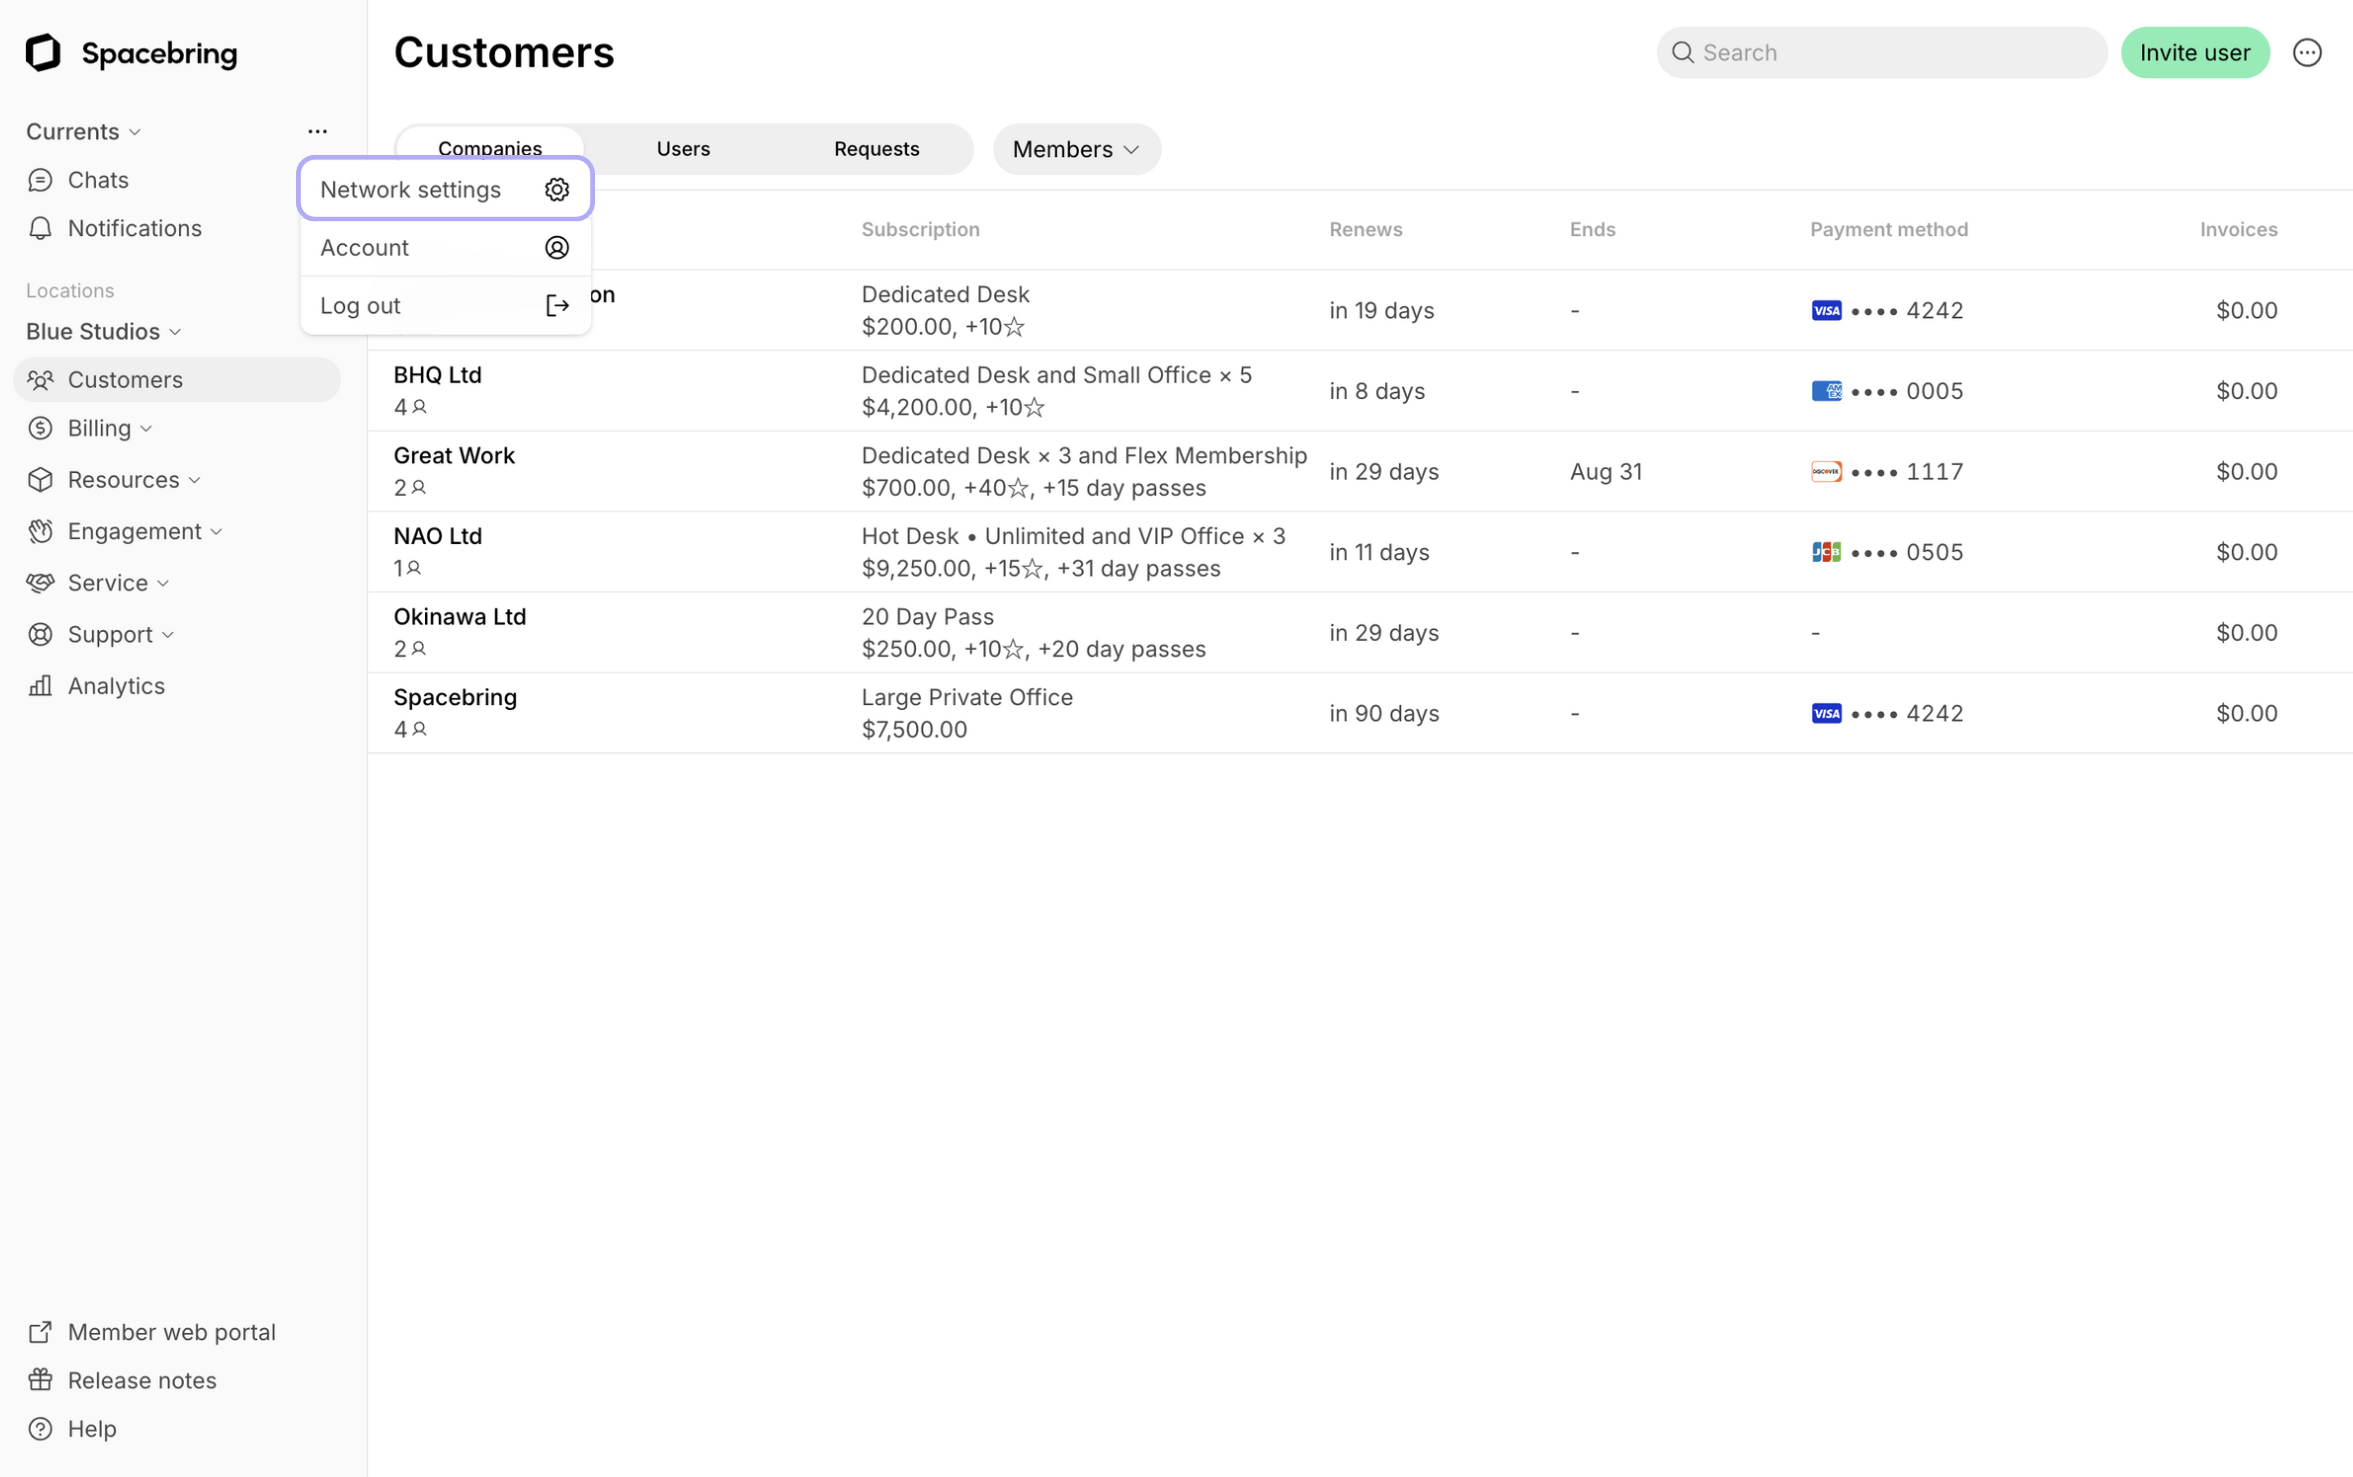
- On the left-side panel, click (…) next to your network name > Network settings.
- Go to General > Information to set your network details, privacy policy, and terms of use.
- Go to General > Branding to set your logo and brand style.
- Go to Member web portal to set your language, custom domain, and landing page.
Set up your locations
Total time: 15 minutes Before you start, prepare:- Basic location information (name, address, description, contacts, photo, or video).
- Your business’s billing and bank details.
- Local sales or VAT tax rate.
- As an owner, add all locations.
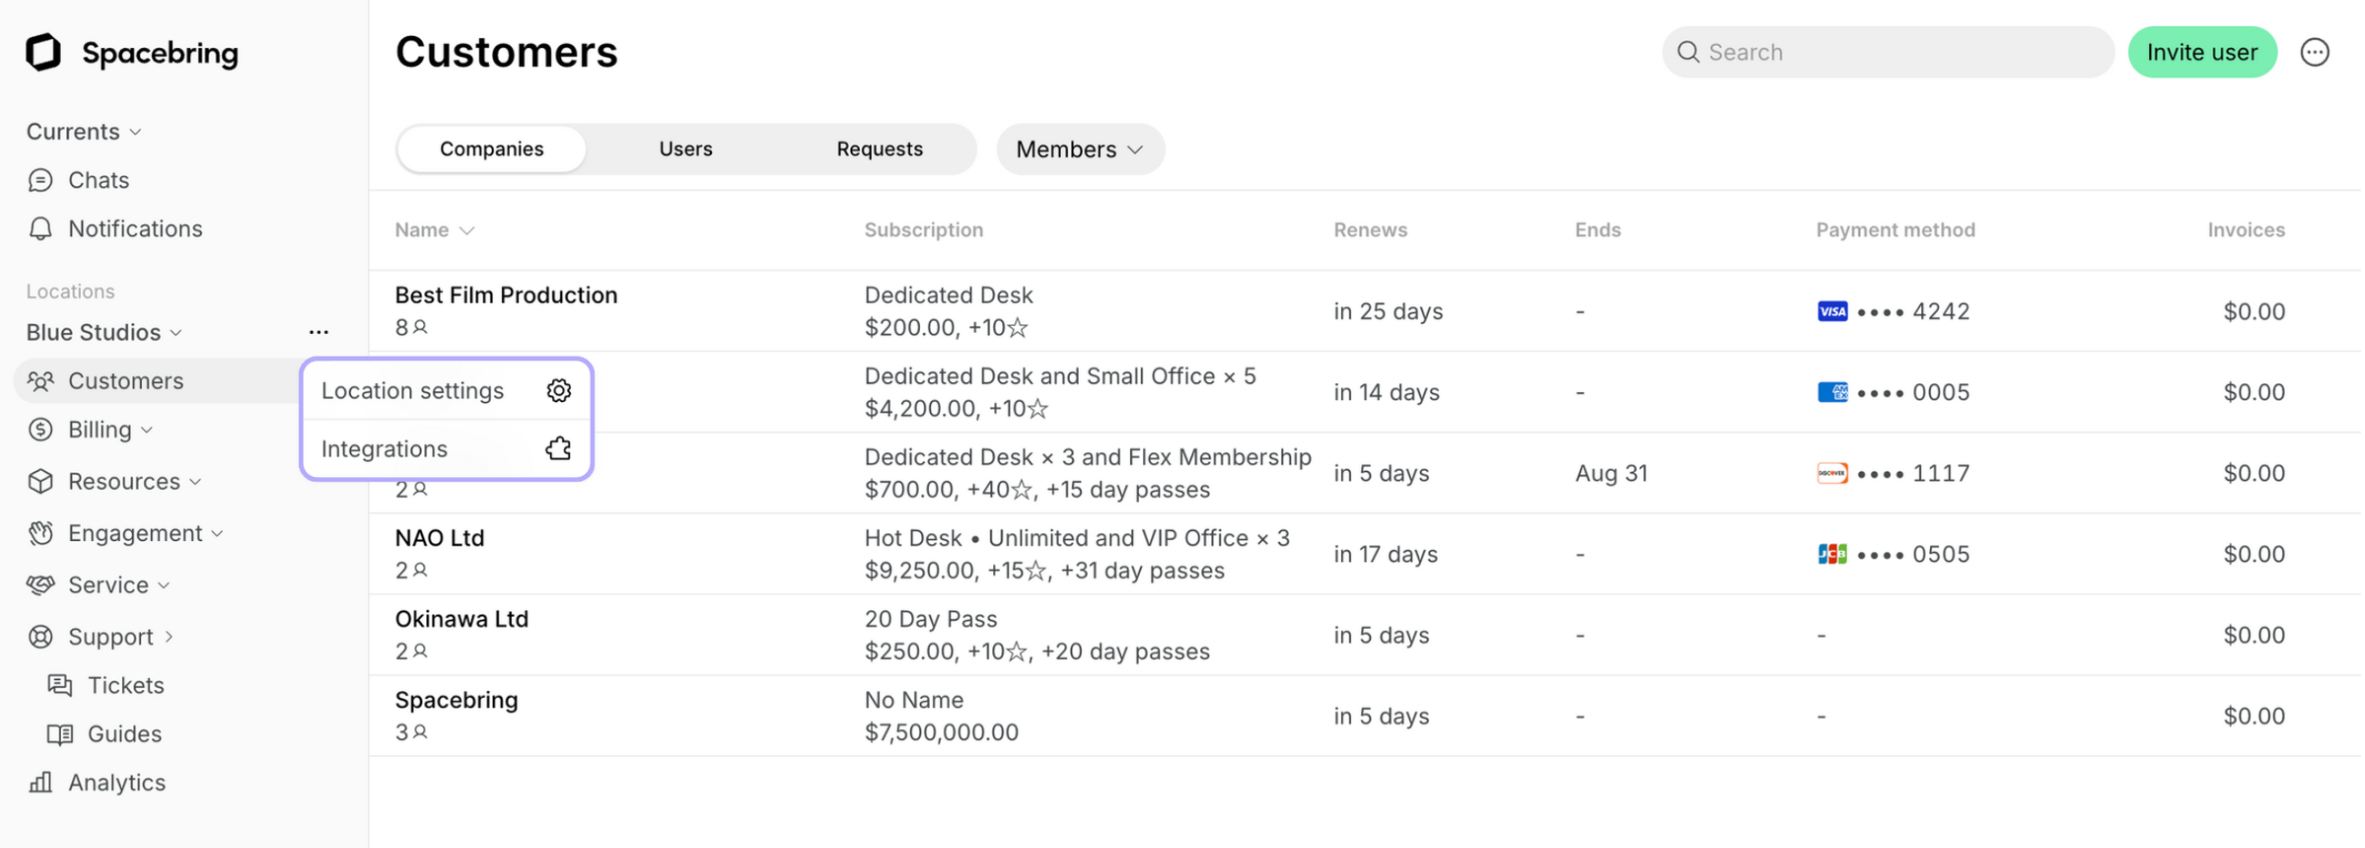
- As an administrator, select the location on the left-side panel > click (…) next to it > Location settings.
- Configure general location settings, billing, and enable the modules you’ll need.
- Click (…) next to the location on the left-side panel > Integrations > connect integrations such as a payment gateway.
Set up your resources
Total time: 1 hour Before you start, prepare:- Cover photos for rooms, desks, offices, and any other services you provide.
- Prices for your resources.
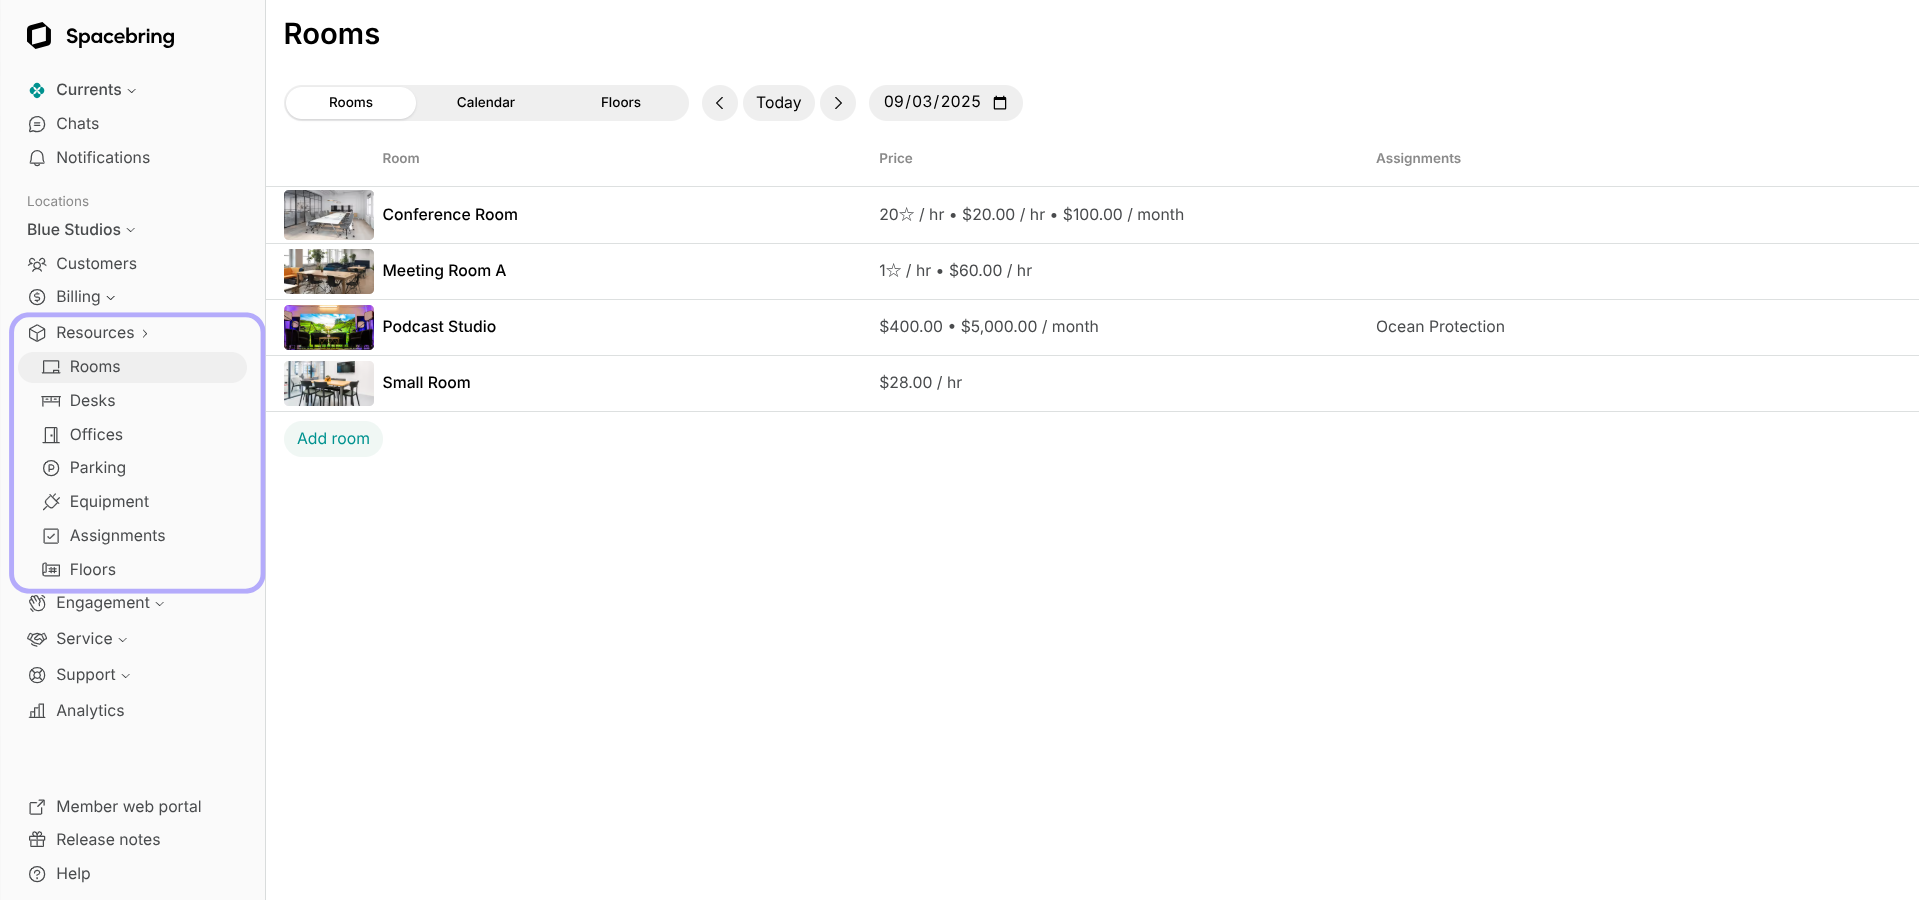
- Go to Resources and open the page for each resource type you offer: rooms, desks, offices, parking, or equipment.
- Create your resources, following the setup steps for each type in Resources.
Set up plans and contracts
Total time: 30 minutes Before you start, prepare:- A list of your membership plans with titles, prices, descriptions, and allowances.
- Contract templates for individual agreements with your customers.
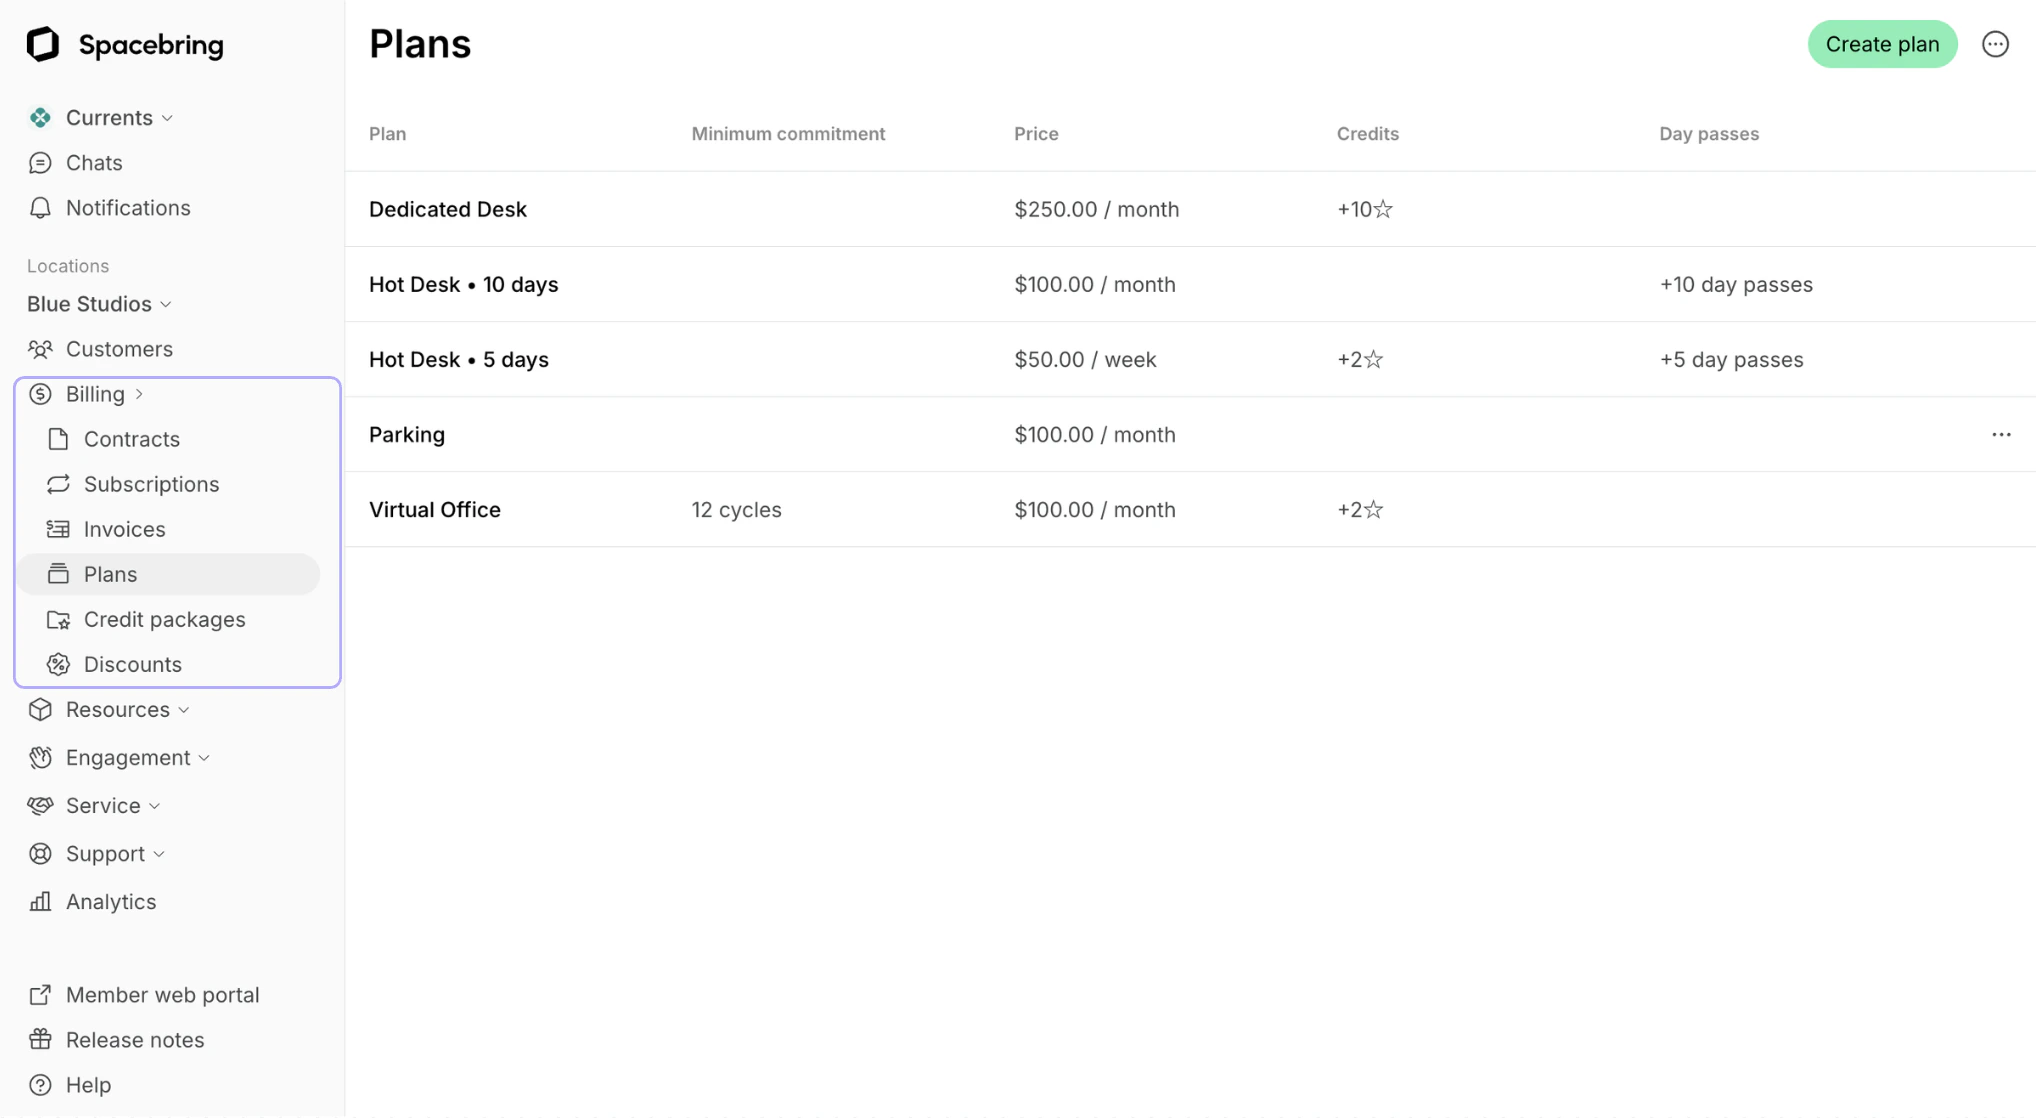
- Go to Billing > Plans and create plans.
- Add packages of credits and day passes, and discounts, if necessary.
- Upload contract templates.
- Click Member web portal on the left-side panel to check how your services appear to members.
Invite members
Total time: 5 minutes per account Before you start, prepare a spreadsheet with members’ names, emails, and information about their subscriptions.- Create companies.
- Invite members using a mass invitation file.
- Create subscriptions.
- Introduce what your member web portal can do for your members via Feed, a newsletter, and by promoting it on social media and your marketing site.