Set up test environment
- Sign up for the Test environment add-on from Network settings > Billing.
- Enter the name, timezone, and currency for your sandbox, then confirm your upgrade.
- The test environment is created instantly. Click
Open test environmentto begin testing and development.
How test environment works
The test environment fully mirrors the functionality of the main environment, with a few exceptions:- You can connect Stripe, Mollie integrations, as well as a sandbox PayPal account to the test environment. Other integrations are not available for connection.
- Setting up a custom domain is disabled.
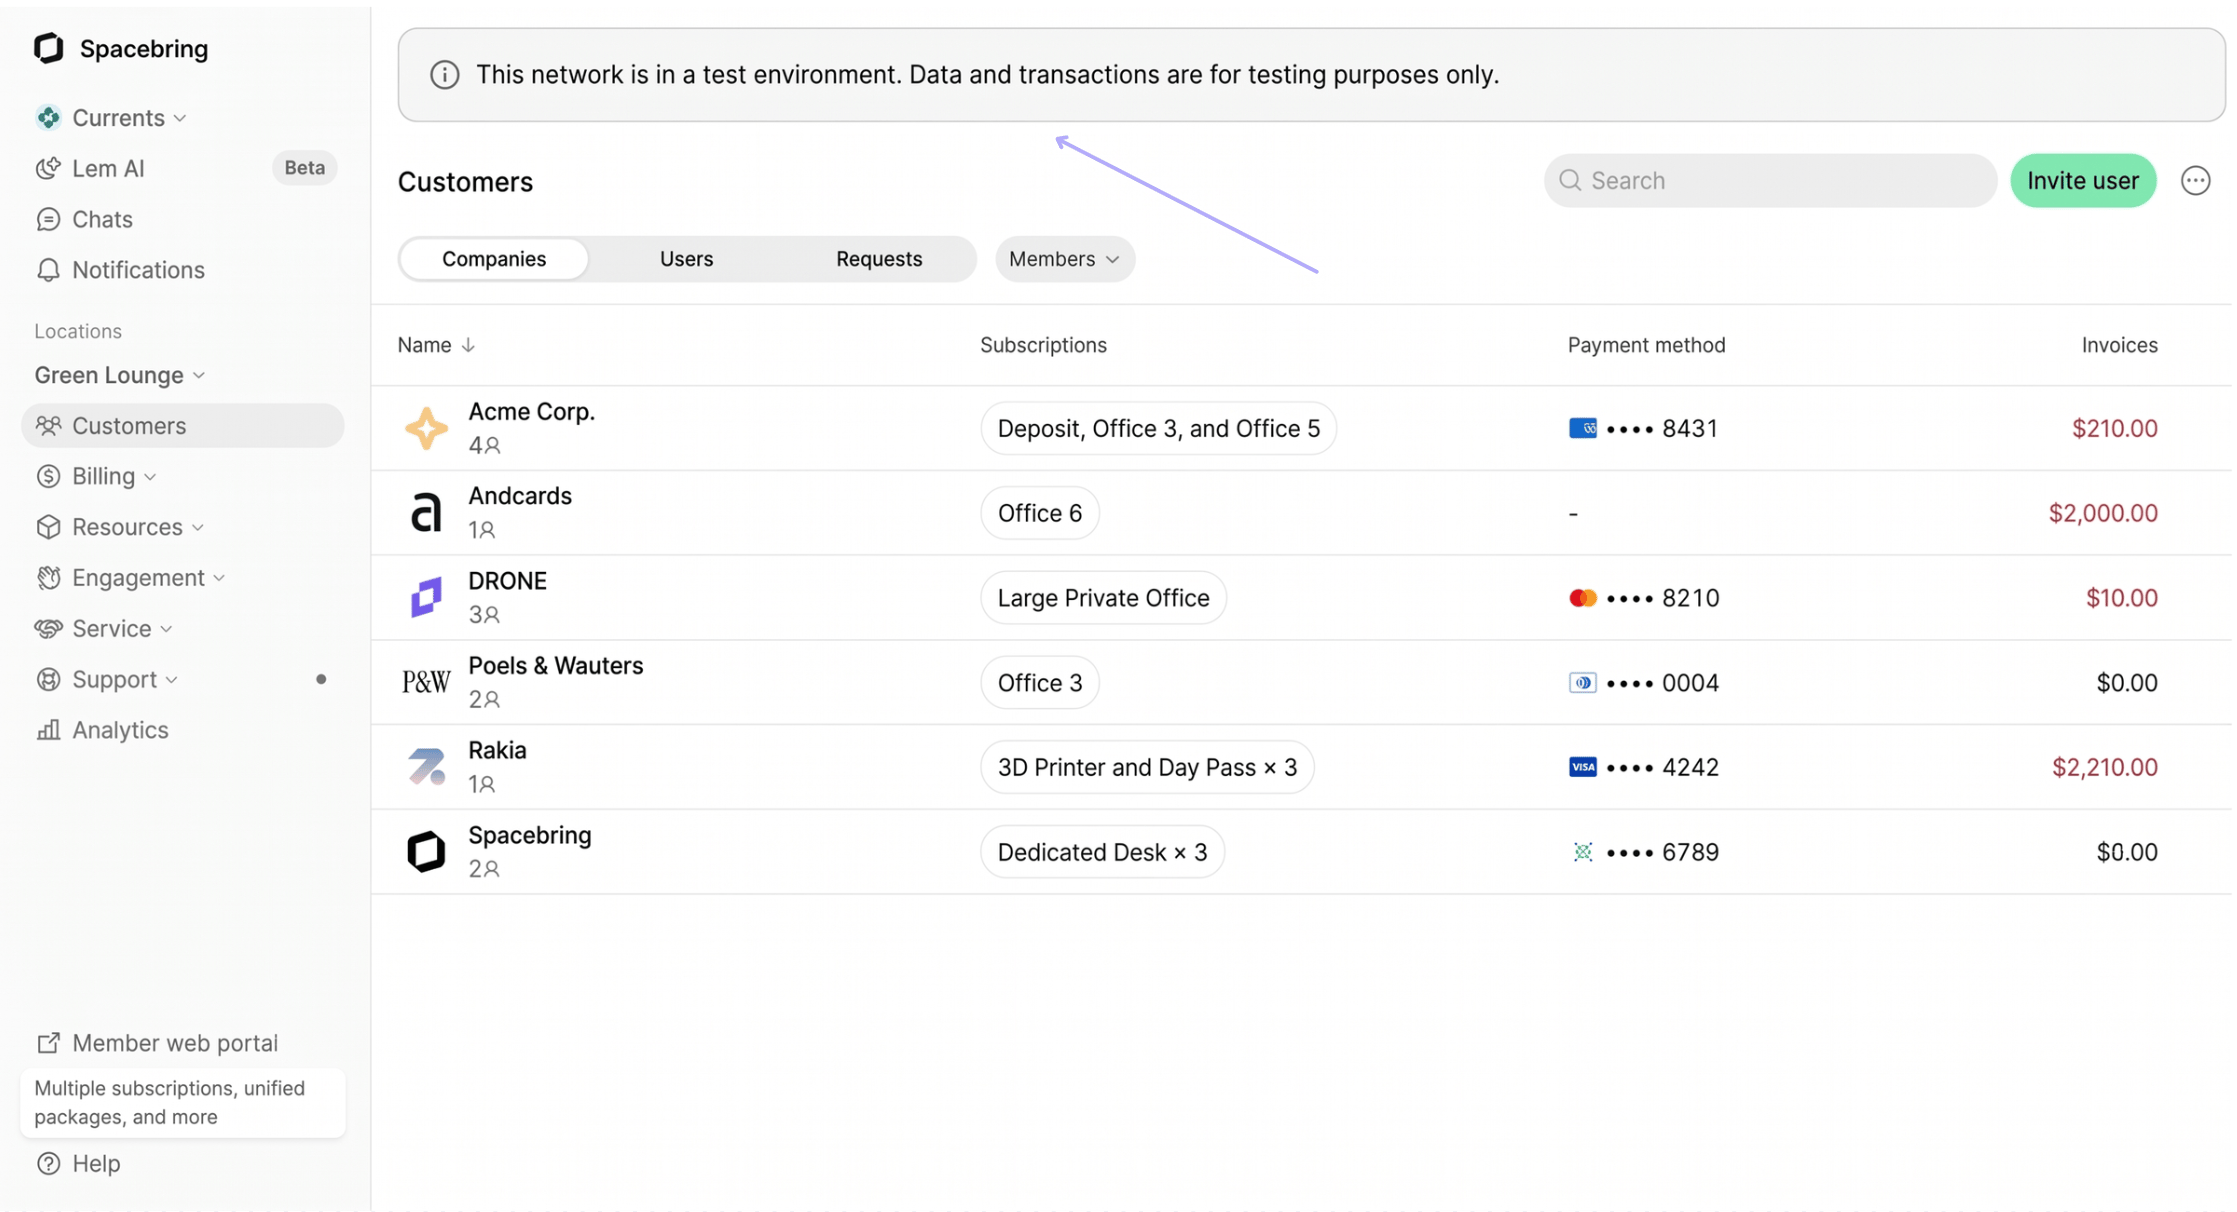
- All email subjects, invoices, receipts, and credit note PDFs include a
[TEST]prefix and a disclaimer stating they are non-fiscal documents generated for testing purposes only. - The test environment uses the DropboxSign sandbox for eSignatures. Contracts sent for eSignature explicitly state that they are not legally binding.
Access to API in test environment
When operating in the test environment, Spacebring API credentials are accessible to you at no additional cost. This allows you to freely build your custom integrations. These credentials are valid for the test environment only. Once you have completed your testing or integration development, contact our support team to cancel your Test environment add-on and purchase the standard API add-on for your live network. This will allow you to authenticate and deploy your integrations against your live network and data.Switching environments
To toggle between your live and test networks:- Click the (…) next to your network name in the top left of the admin portal.
- In the the Network dropdown, select your desired environment.