New customer journey
A new customer lands on your member web portal or mobile app from your website, a social media link, a QR code, or anywhere else you’ve shared your portal publicly.Browse your services
Users can explore everything you’ve set to “Public” visibility — Rooms, Desks, Offices, Equipment, Parking, Events, Shop, Feed, Support, and Sign up button with membership plans — without needing to log in.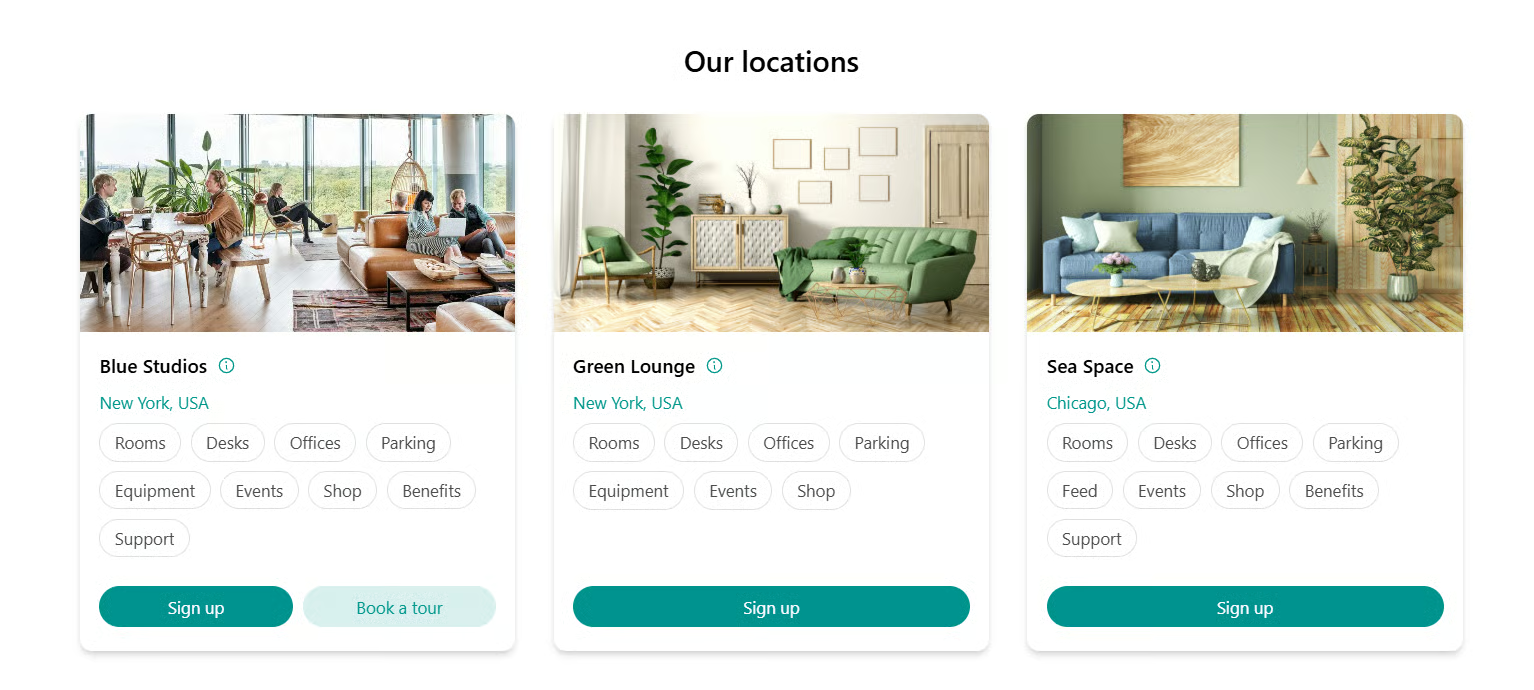
Enter their email
The moment a visitor starts a booking, signing up for a plan, or any other interaction, they are prompted to enter and verify their email address. By continuing, they agree to your organization’s privacy policy.
The confirmation code is valid for 10 minutes.
Accept terms of use
When proceeding with a booking, purchase, or any action that creates a mutual obligation, customers are prompted to enter their name and accept your terms of use.
Terms of use acceptance applies to all actions that create mutual obligations or liabilities — bookings, product orders, and similar — even when no payment is involved.

Invited member journey
When you invite someone as a member, they receive an email with anActivate my account button.
Activate their account
Clicking Activate my account in the invitation email logs the user into the member portal automatically — no email verification required. Their profile is prefilled with the details you entered when inviting them.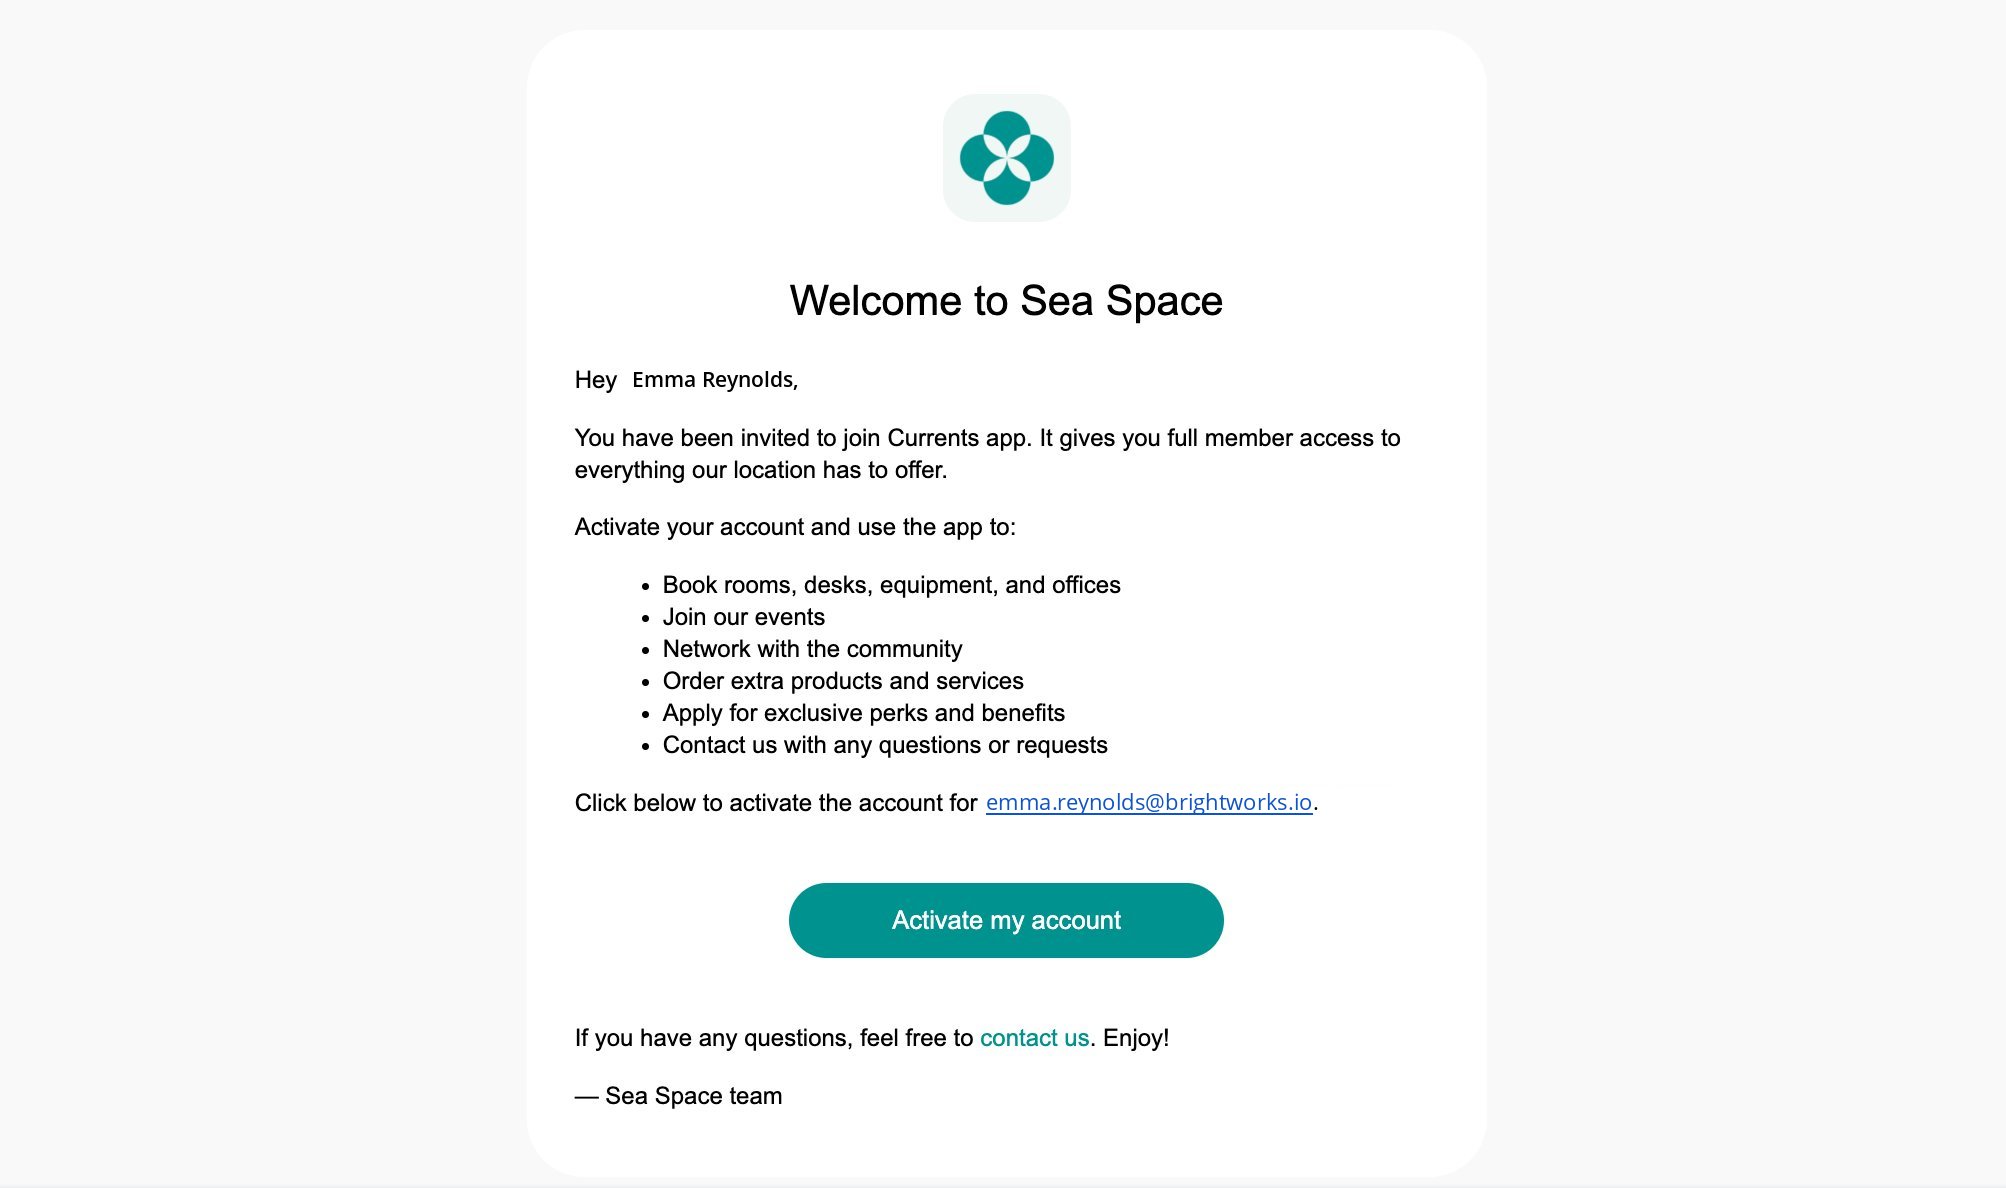
Access your services
Invited members immediately see and can interact with all products and services set to “Location members”, “Network members”, or lower visibility. If you have assigned them a subscription, all its entitlements and access are available right away (unless the subscription is set to start on a future date).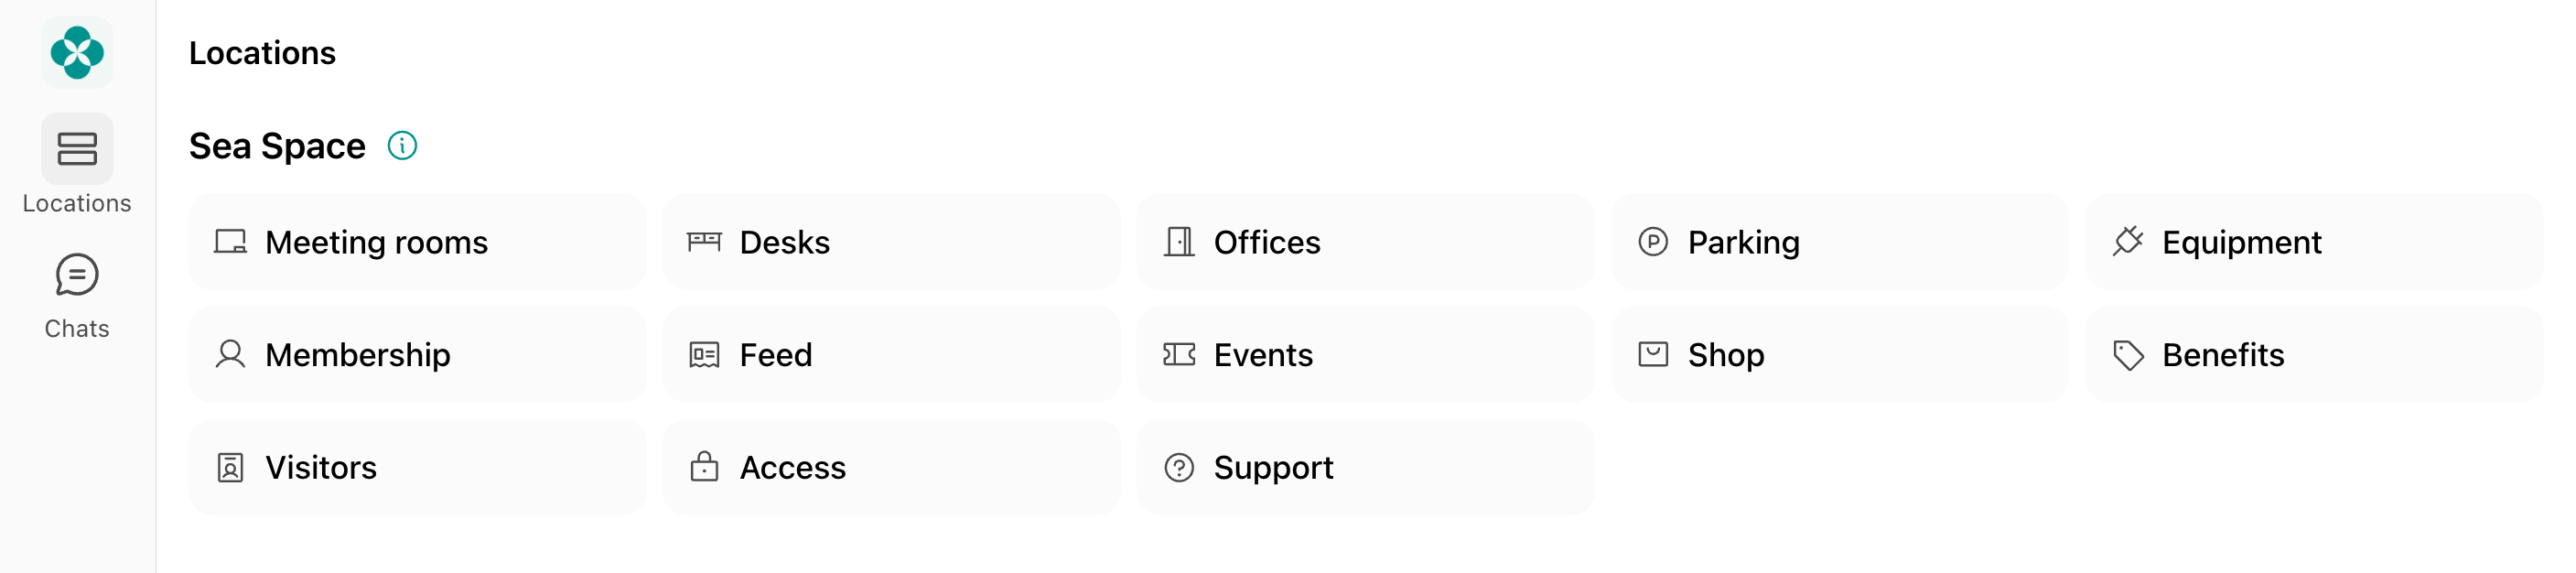
Accept terms of use
When making their first booking, purchase, or any action that creates a mutual obligation, they are prompted to accept your terms of use.
How customers log out
Go to the Account page
Tap the icon showing their photo, name initials, or the “Person” icon to open the Account page.


What should I do if I or my customer cannot log in?
What should I do if I or my customer cannot log in?
If you or your customer are having trouble logging in, check the following:
- Double-check the entered email address. If there is a mistake, tap
Wrong email?to correct it. - Entering an incorrect confirmation code 5 times within 20 minutes triggers a temporary lockout for 20 minutes from the first failed attempt. Wait for the lockout to expire, then re-enter the email address to receive a new code.
- If OTP emails are not arriving, follow these email delivery troubleshooting steps.
How do members check in when they have a membership?
How do members check in when they have a membership?
- Members with a full-time plan or an assigned resource (e.g. a dedicated desk or private office) do not need to check in — they have continuous access through the member portal. If your space uses an access control system, door access is granted automatically based on their subscription.
- Members with a plan that includes day passes check in by booking a desk with a day pass on each visit. With access control, door access is granted only on days they book, rather than on a permanent basis.