

Enable Support
- On the left-side panel, press the menu (…) next to your location name.
- Go to Location settings > Support.
- Enable the switch and manage the visibility of the Support page.
- Configure Lem AI agent behaviour for Support.

Manage support tickets
- New user tickets appear on the Support > Tickets page, and administrators receive notifications.
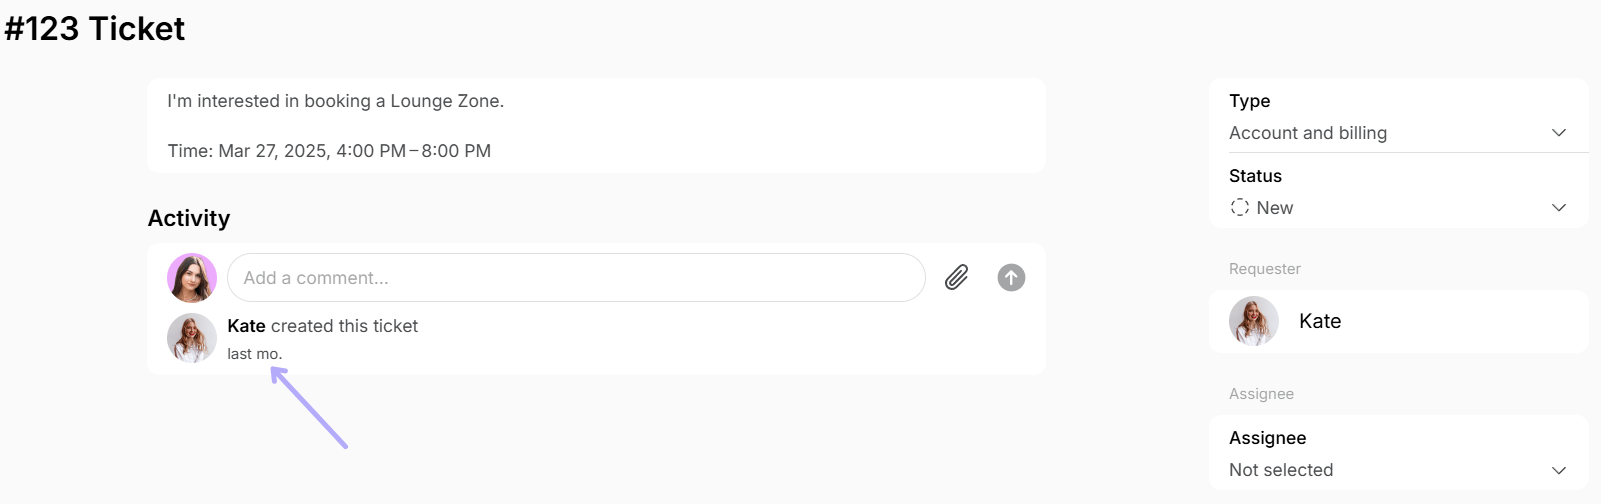
- Each ticket has its unique number and issue type. The type is detected automatically from the ticket description and helps to categorize tickets for workflows and analytics.
Support tickets are sorted from newest to oldest.
- Administrators review the ticket description and proceed with managing it:
- Assign a responsible administrator
- Reply in comment to the user
- Attach images, videos, or any other file format, up to 50 MB per file
- Press Edit under your own text comment to correct it, or Delete to remove a comment. Edited comments are marked Edited.
- Change the Type if the detected one is wrong
- Update the status (click the Status icon next to the relevant ticket)
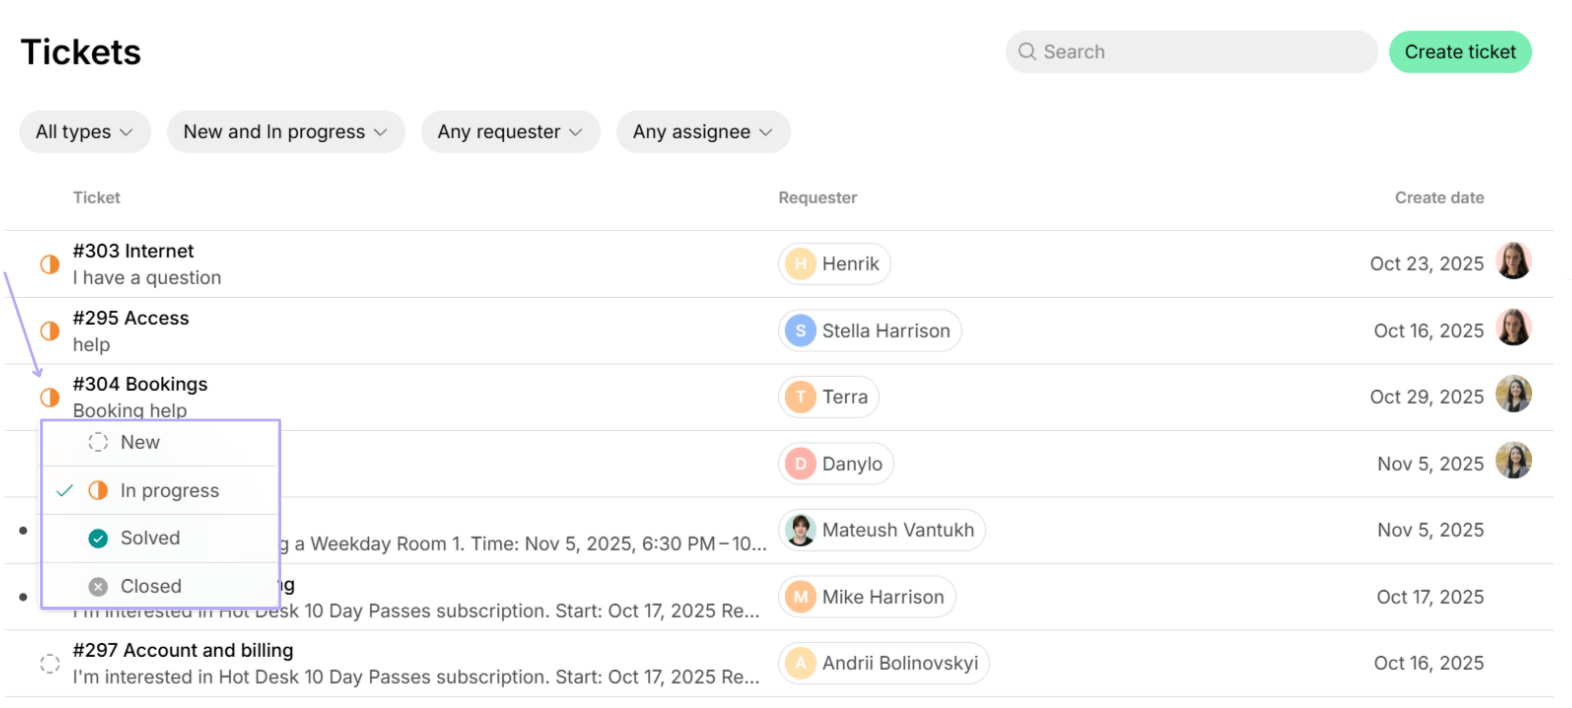
Administrators can open a ticket for a customer too: on the Tickets page, press Create ticket, select the User, and describe the issue.
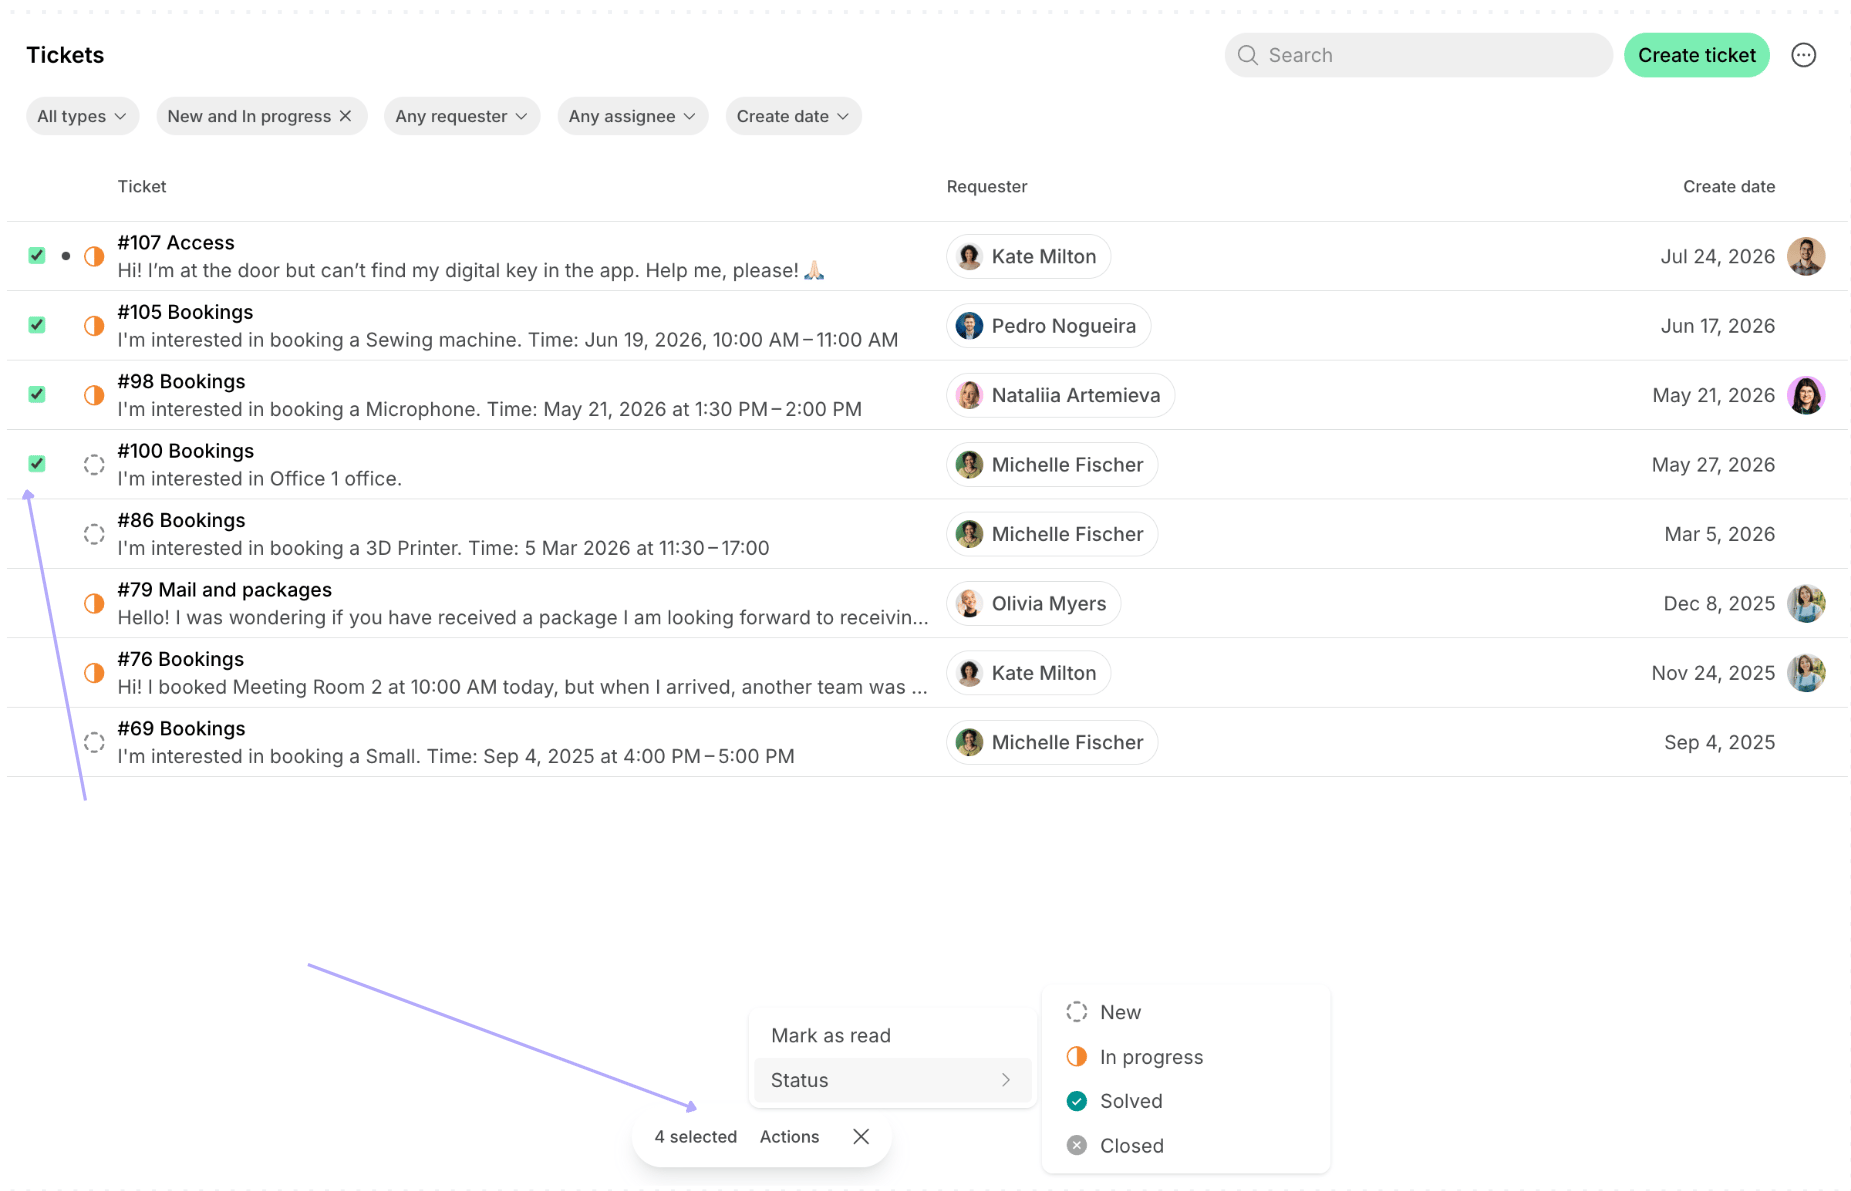
- Both the requester and assignee are notified of new activity and can continue communication within the ticket. Every ticket activity is recorded in the Activity section:
- Ticket is created
- Administrator is assigned to the ticket
- Ticket status has changed
- Administrator’s or requester’s comments.
- Once the issue is resolved, the administrator updates the ticket status to Solved.
- For users, Solved and Canceled tickets are automatically archived after 30 days of inactivity and hidden from the Support page.
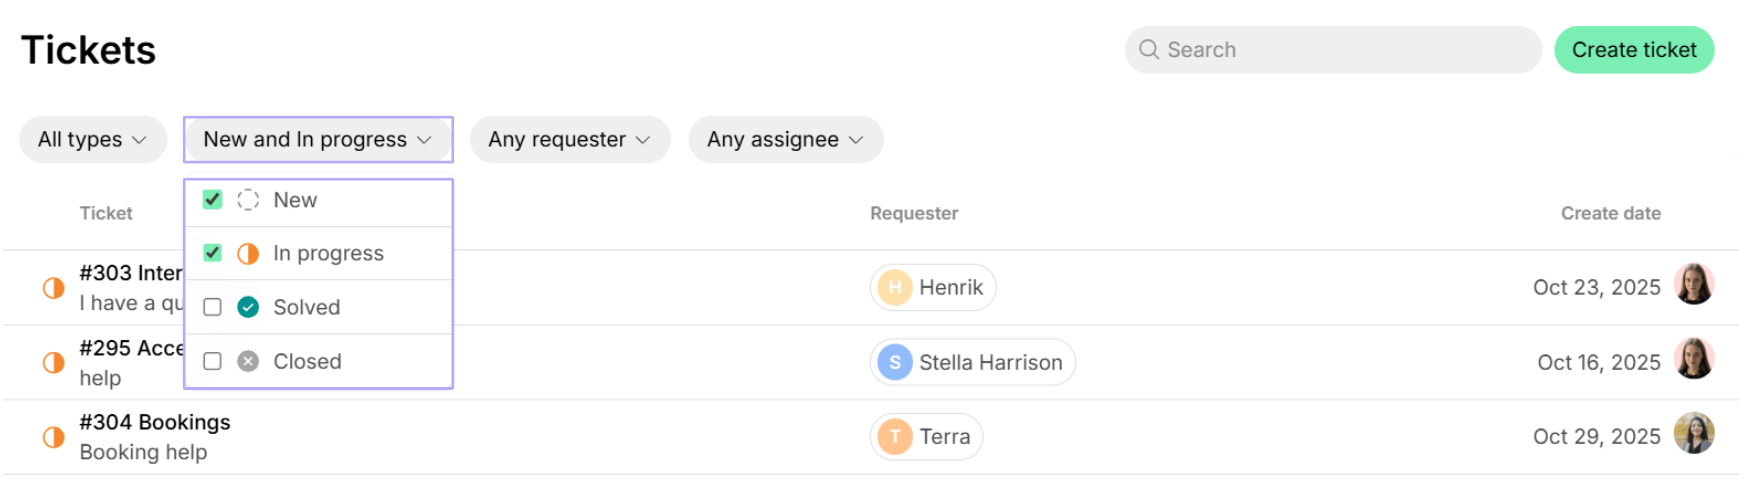
- For administrators, these tickets are hidden from the Support page immediately. By default, only New and In Progress tickets are displayed for convenience. Administrators can still view Solved and Canceled tickets using the status filter.
Track tickets
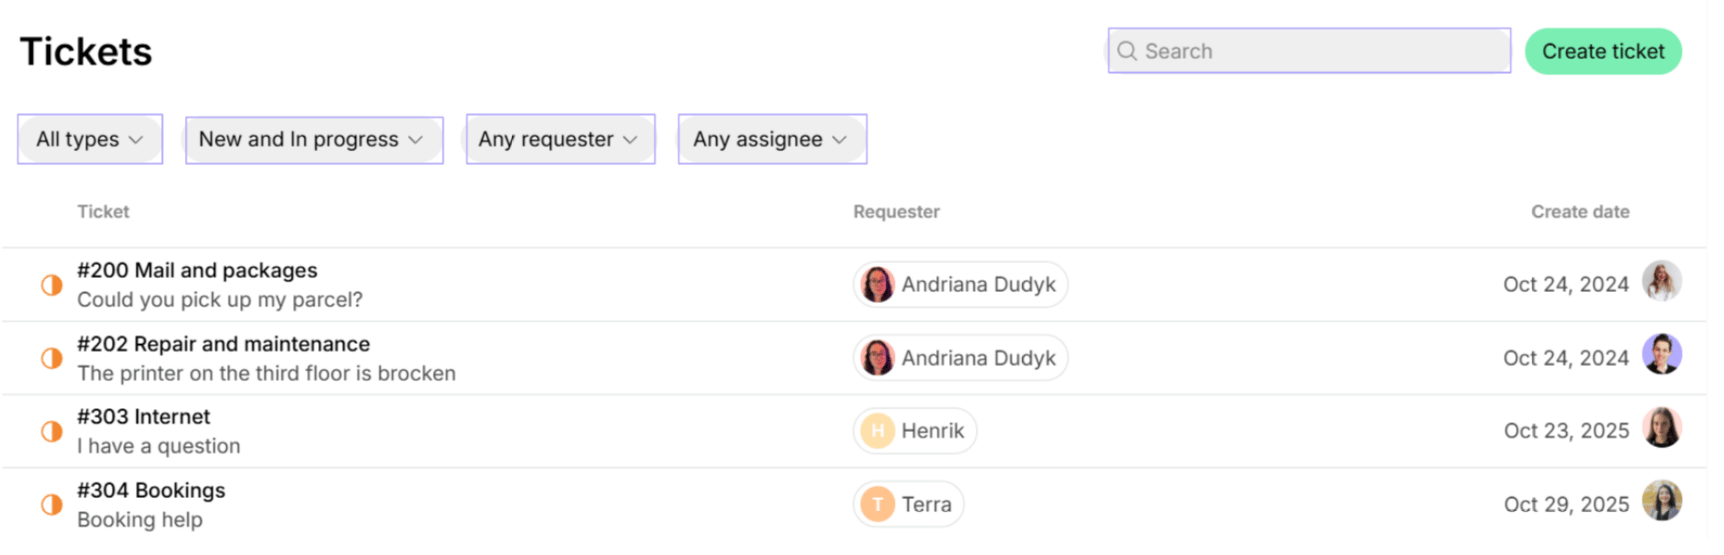
Find tickets on the general Support > Tickets page, or from a specific user’s profile Support tickets page. On the Tickets page, click Add filter and pick a property:- Filter by Type to see tickets of a specific issue type.
- Filter by Status to see tickets with a specific status.
- Filter by Requester to see tickets submitted by a specific user.
- Filter by Assignee to see tickets assigned to a specific administrator.
- Filter by Create date to see tickets created in a ready-made period, such as Today or Last 28 days, or click Custom to set an exact date or range.
Export a tickets report
On the Tickets page, apply the necessary filters, then click (…) in the top right corner > Export as CSV or Export as XLSX to download a report on the filtered tickets. The report includes each ticket’s number, type, and description, its status and creation and last update dates, and the requester’s and assignee’s contact details.FAQs
When do I get 'Ticket reminders' notifications?
When do I get 'Ticket reminders' notifications?
Administrators receive ticket reminders when a support ticket from the customer is still in New status and awaiting action. You’ll receive up to two reminders:
- 1 day after the ticket is created.
- 3 days after the first reminder.