

Add a delivery
- Go to the Front desk > Deliveries page and click Add delivery top right.
- Optionally, add photos of the delivery or its label, so the customer can recognize it.
- Select the Customer the delivery is for: a member, a nonmember, or a company.
- Optionally, enter a Comment that helps the customer collect the delivery, such as the sender or where it is kept.
- A comment can be up to 1,000 characters.
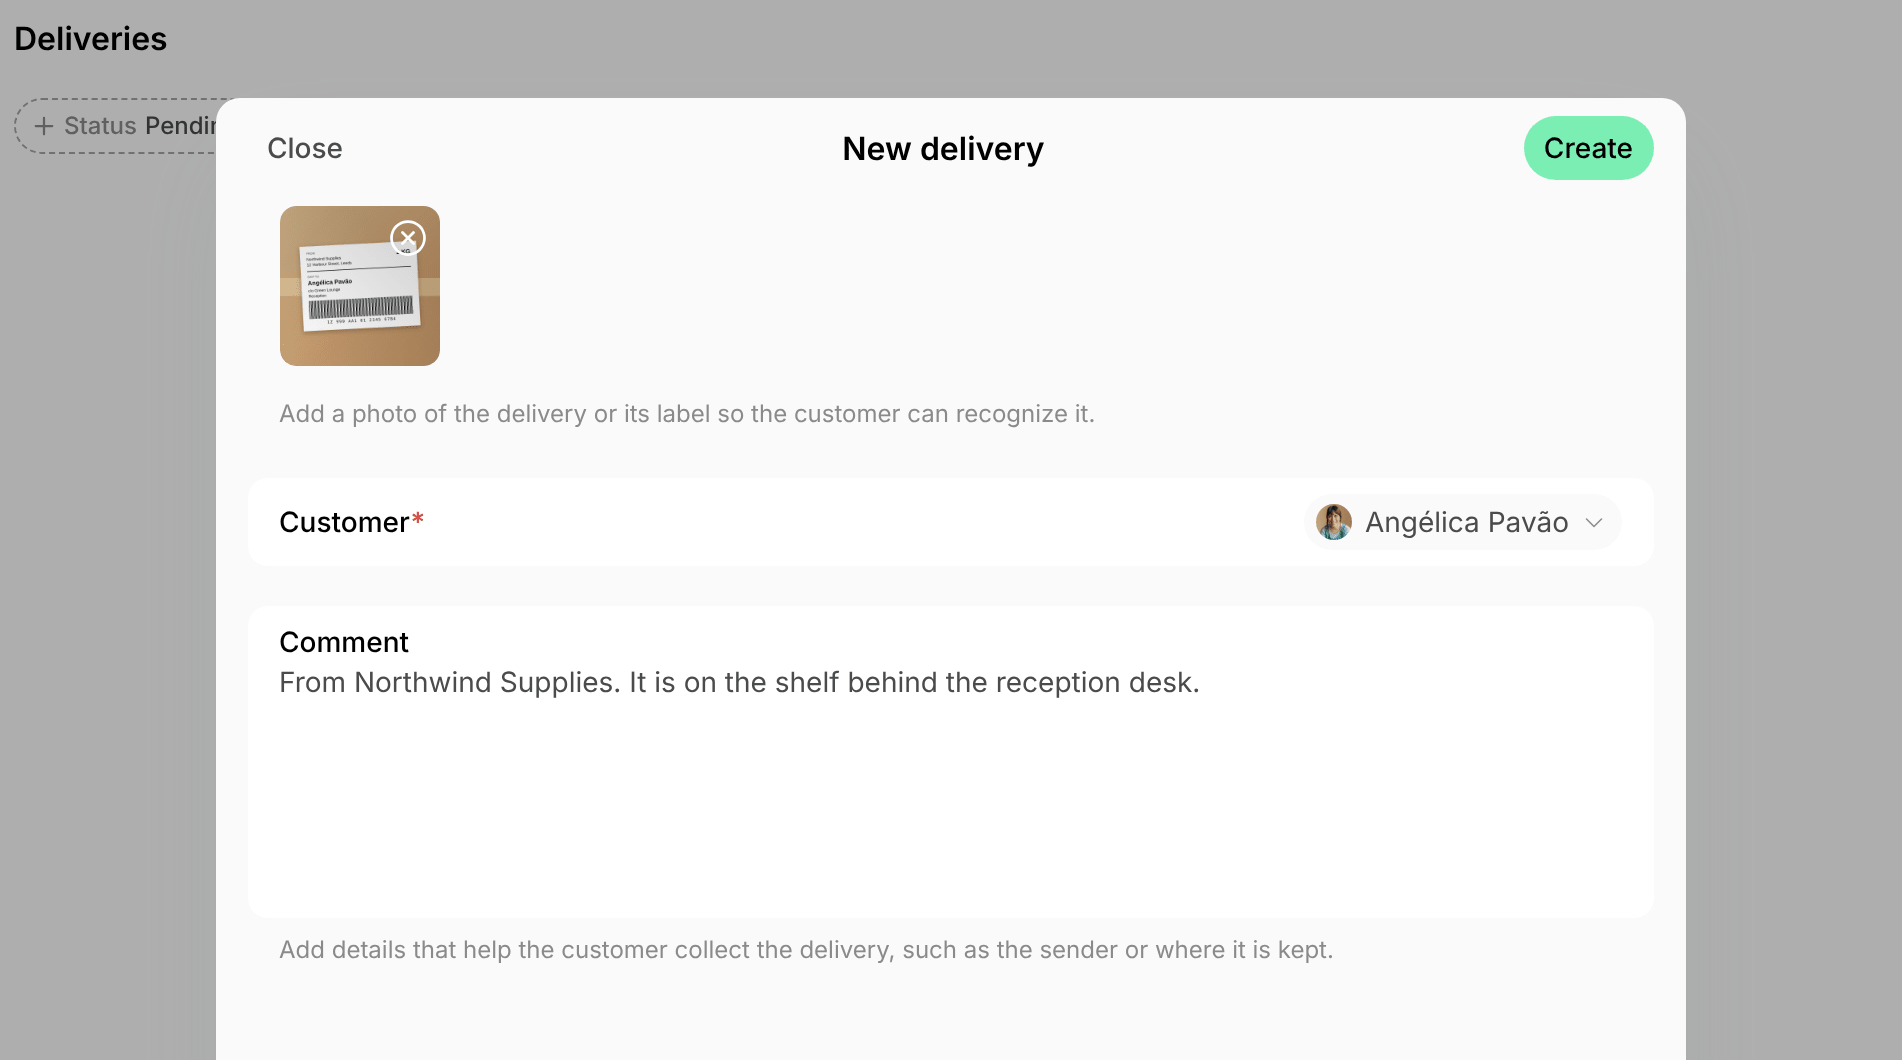
- Click Create. The customer is notified that the delivery is waiting for them.
How customers pick up a delivery
- The customer gets a push notification and an email saying that a delivery is waiting at the reception, with your comment.
- The email’s Open app button opens the delivery in the member portal.
- For a company, each of its managers gets them.
- If nobody picks it up, they get a reminder 3 days and again 7 days after you add it, on a day the location is open.
- Users can turn them off with the Delivery received notification preference.
- The delivery appears on a widget on the location’s Home page in the member web portal and mobile app until it is picked up.
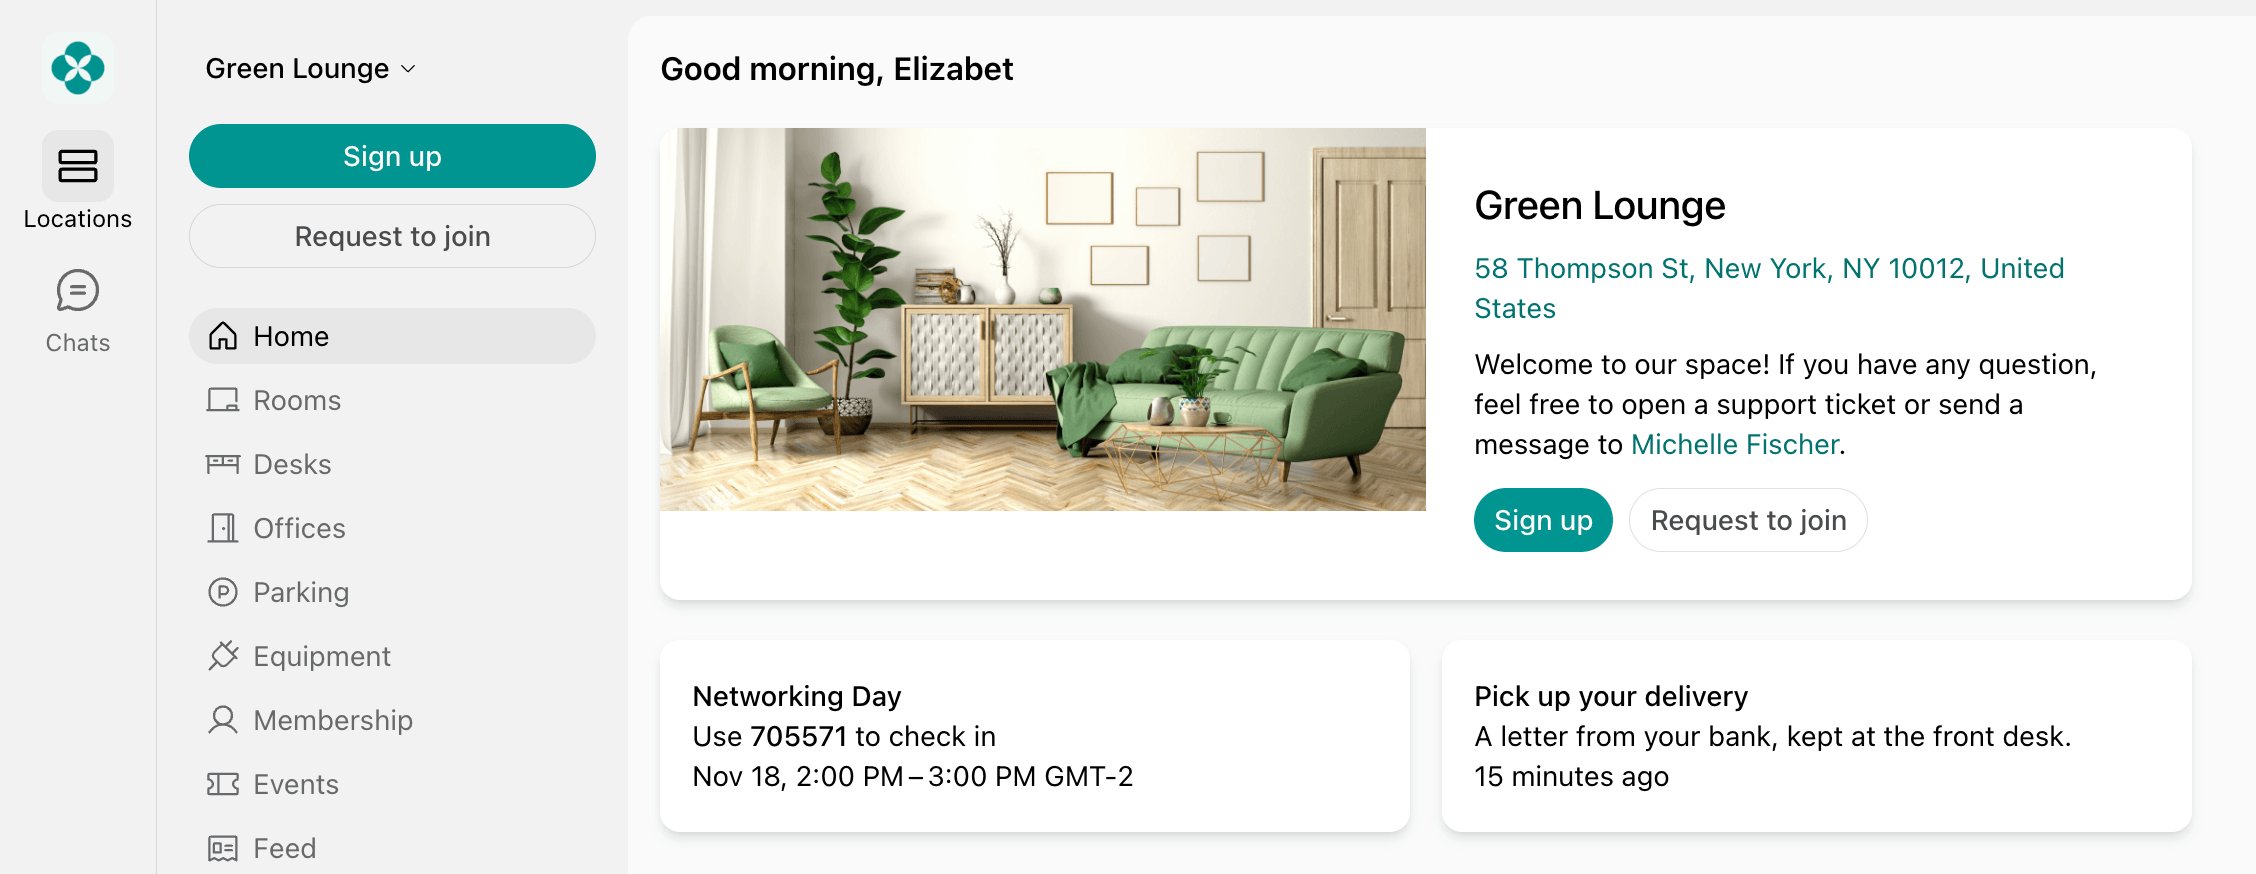
- The customer can open the widget to see the delivery’s photos and comment.
- When the customer collects the delivery, mark it as picked up. Customers cannot mark deliveries as picked up themselves.
Track deliveries
The Front desk > Deliveries page lists the location’s deliveries, newest first. Each row shows the delivery’s status, photo, and customer, when it was picked up, and when it was added.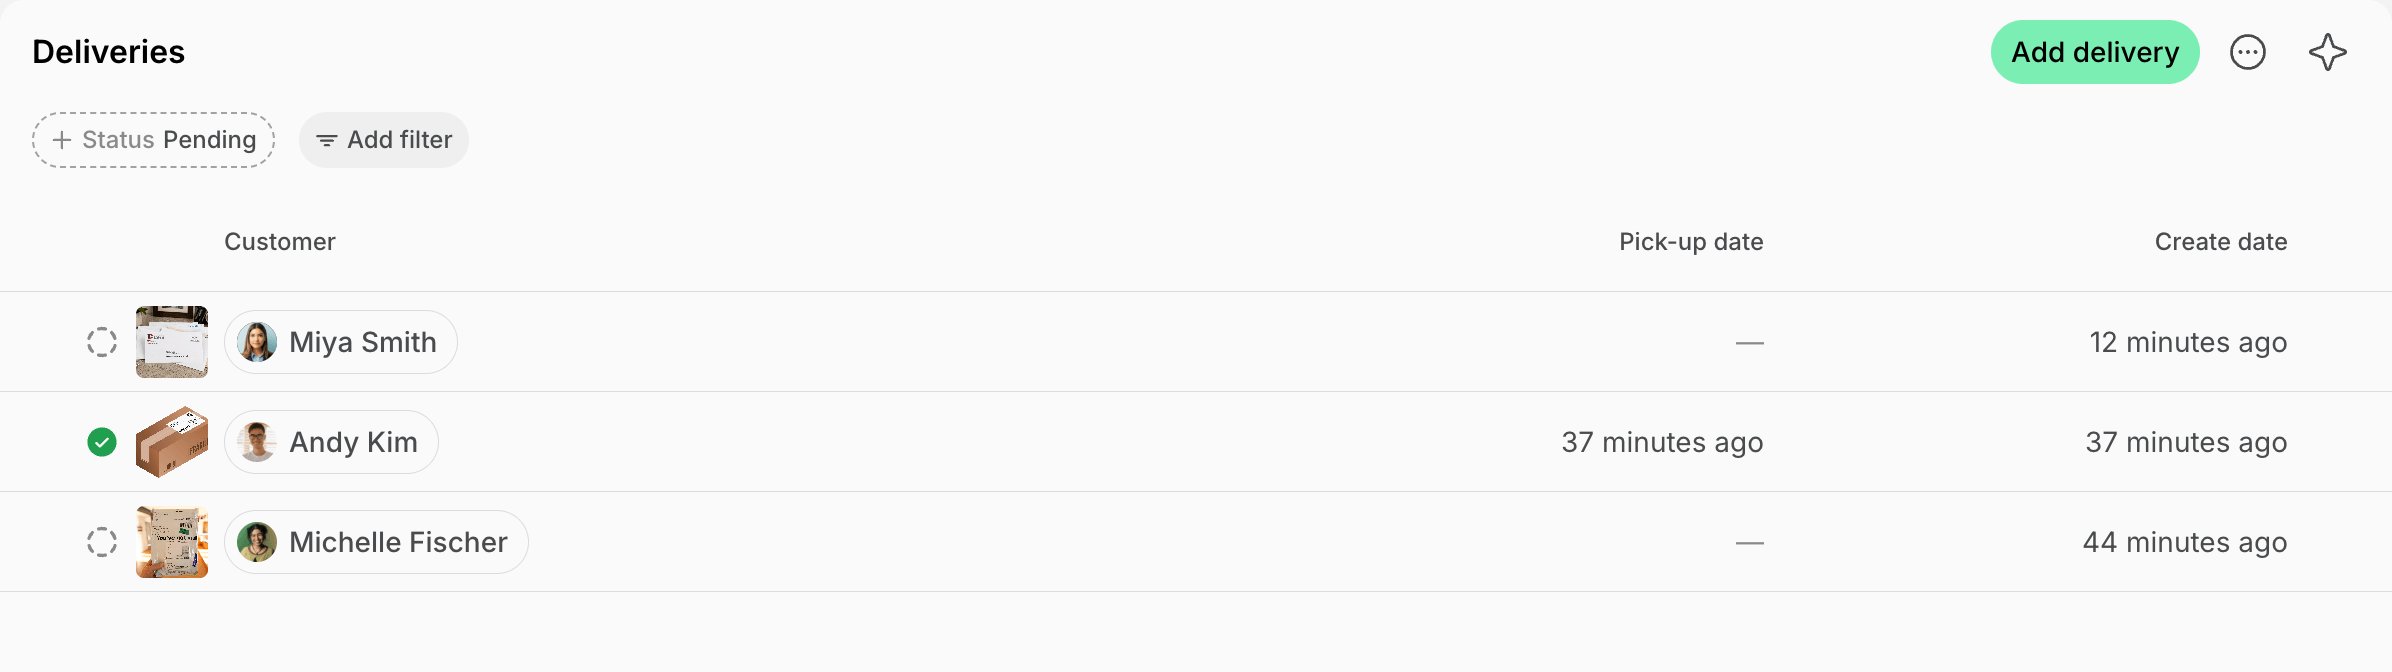
Mark a delivery as picked up
On the Front desk > Deliveries page, click (…) on the delivery’s row > Mark as picked up > OK. The Pick-up date is set to now, and the delivery leaves the customer’s Home page. You can’t mark a picked-up delivery as pending again.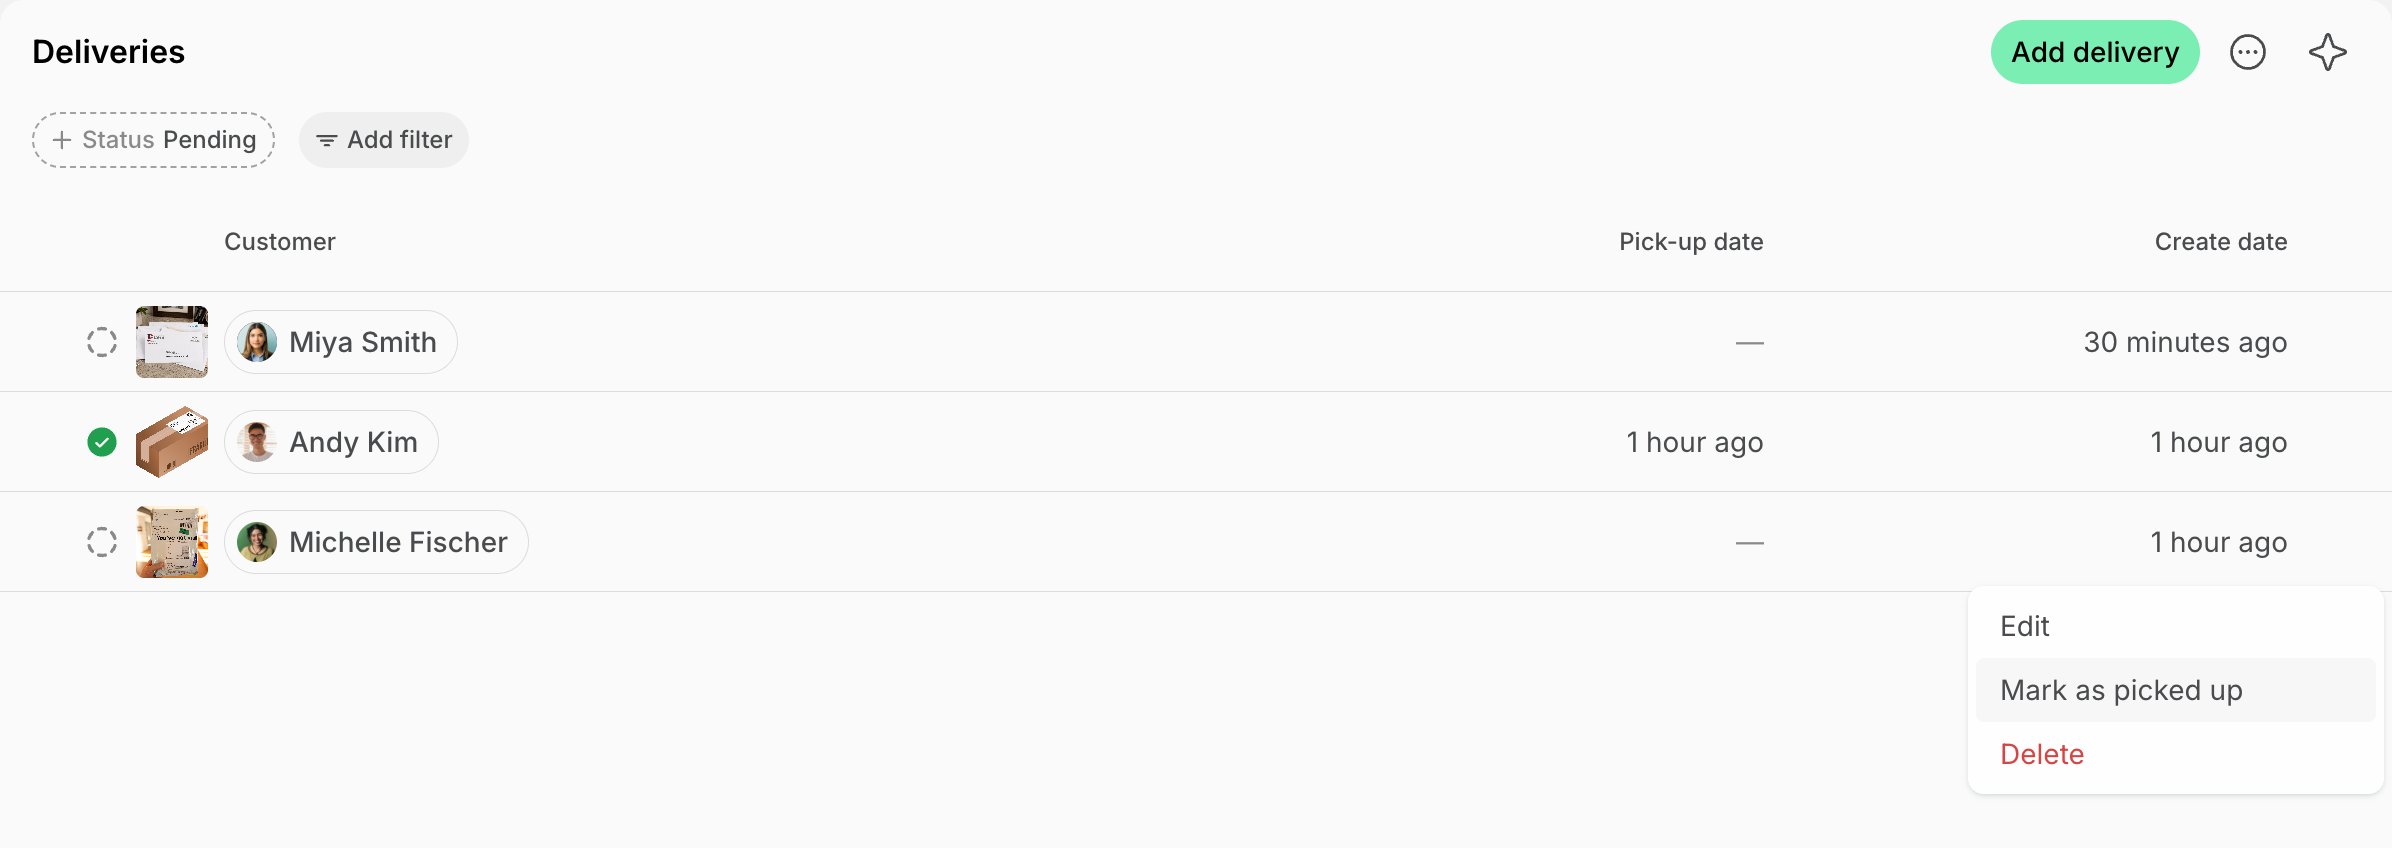
Edit or delete a delivery
- On the Front desk > Deliveries page, click the delivery.
- Add or remove photos, or change the Comment.
- Your changes are saved as you make them.
- To change the customer, click their name under Customer on the right, then search for and select the new customer.
- For a delivery that is not picked up yet, click OK to confirm. The new customer is notified.
- You can change the customer in the admin web portal only.
Export a deliveries report
- Go to the Front desk > Deliveries page and apply the filters you need.
- Click (…) in the top right corner > Export deliveries > CSV or XLSX.
- To export only some deliveries, select their checkboxes, then press Actions > Export > CSV or XLSX at the bottom of the page.
FAQs
Can every member of a company see the company's deliveries?
Can every member of a company see the company's deliveries?
No. Only the company’s managers are notified about a delivery for the company and see it on their Home page. If the company has no
managers, nobody is notified. To let another member of the company know, add the delivery for that member instead of the company.