Enable Benefits
- Click the menu (…) near the location name on the left-side panel.
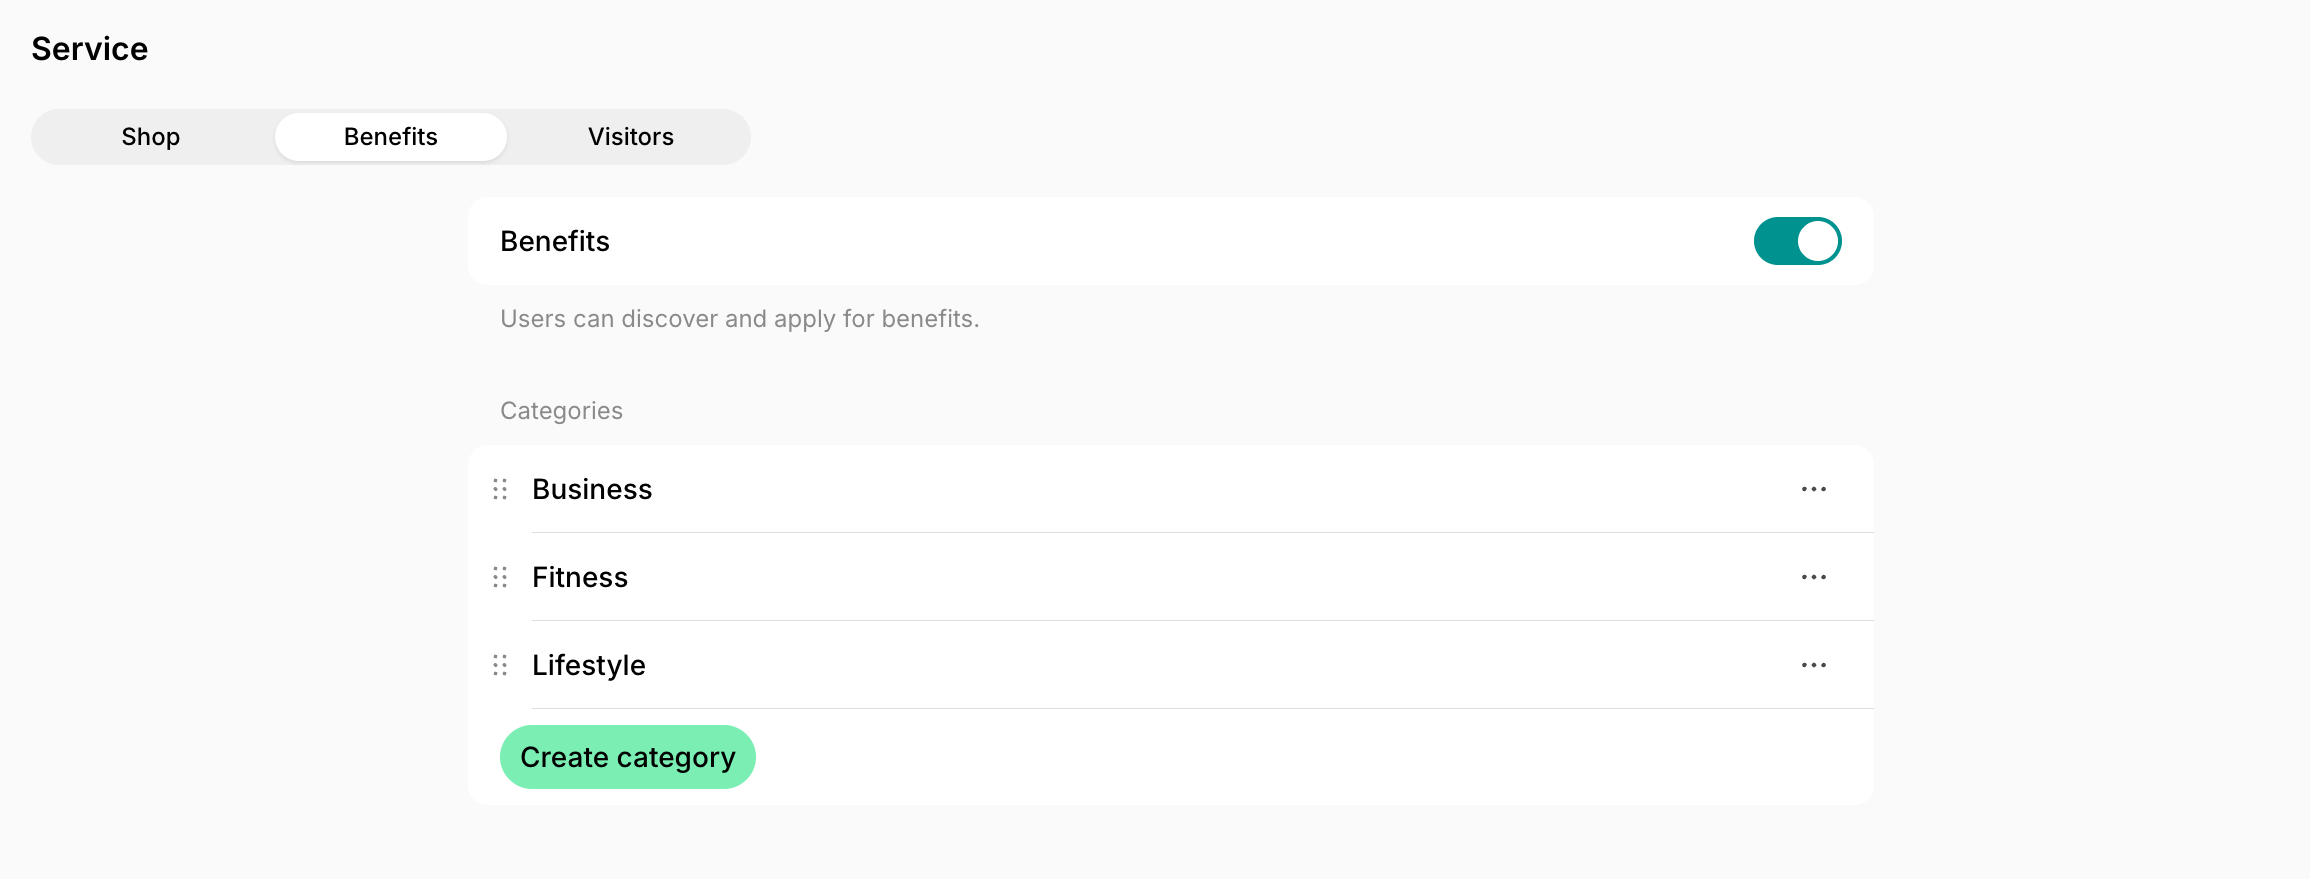
- Go to Location settings > Service > Benefits.
- Enable the “Benefits” switch.
- Create benefit categories to group your benefits by type.
By default, benefit categories are sorted alphabetically by title. Drag and drop categories to rearrange their order.
Create a benefit
- Go to the Service > Benefits page.
- Press
Add benefitin the top right corner and configure it:
| Cover photo | A picture with a 2x1 ratio. |
|---|---|
| Title | The title of the benefit. |
| Subtitle | Summary of the benefit that appears below its title. |
| Description | Details about the benefit for the customers. |
| Category | Select which category the benefit belongs to. |
| Featured | If enabled, the benefit will be prominently pinned at the top of the Benefits page. |
| Application | If enabled, your customers will be able to apply for a benefit. |
| Application allowance | Can be set to either “Unlimited” or “Once”. |
| CTA button label | Customize the call-to-action button by selecting one of the options. |
| Confirmation email | Enable it to send confirmation emails to your customers and customize the text of the email. |
| Visibility | Set whether the benefit should be visibile to public, network members, location members, or only administrators. |
How benefits work
- Customers can explore and apply for benefits on the Benefits page. Understand how users apply for benefits.

- Use the “Promote” feature to create a feed post about the benefit and attract more customer attention to it. This is a great way to announce a new member benefit or bring attention back to an existing one.

The Benefits module is available on the Pro plan and above in Spacebring legacy plans and on the new Business plan. If you’re currently on a legacy plan, upgrade your subscription to the Business plan to access Benefits.
Track benefit applications
Administrators can view all benefits applications in Spacebring by navigating to Service > Benefits > “Applications” panel.
- The benefit title
- The benefit application sequence number
- Date and time of application
- Applicant’s name
Benefit applications are sorted from newest to oldest.
Search for the application
For efficient benefit application management, you can easily find specific category benefit applications by filtering them based on the necessary category and user (applicant). Manage benefit categories
Chat.
To check the benefit applications of a specific user, please go to Customers > click on the user > Benefit applications.
Edit or delete a benefit
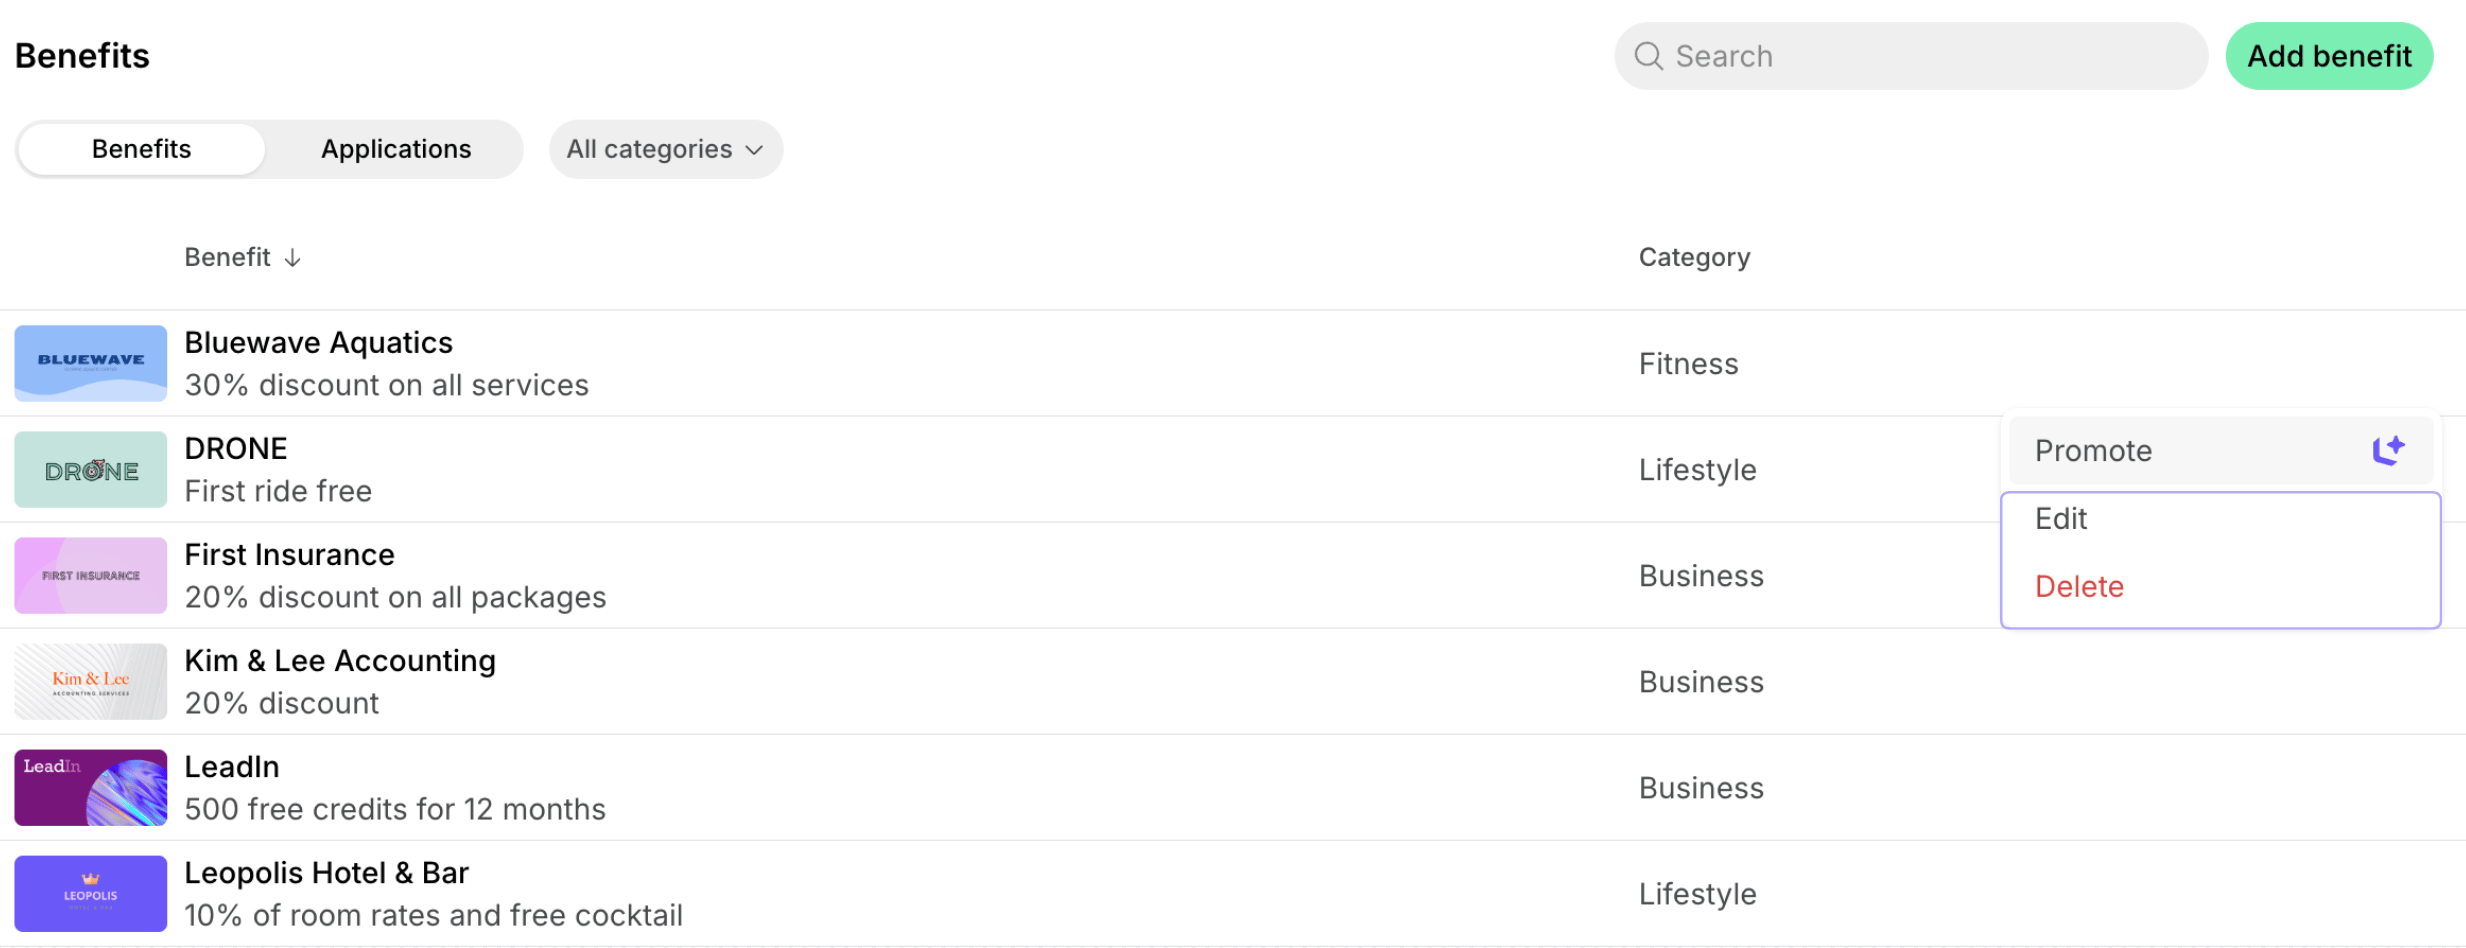
- Go to Service > Benefits.
- Hover over the benefit > press the menu (…) next to it >
EditorDelete.
Deleting a benefit is irreversible and can not be undone.
Edit or delete a benefit category
- Go to Location settings > Service > Benefits.
- Press the menu (…) next to the necessary category >
EditorDelete.
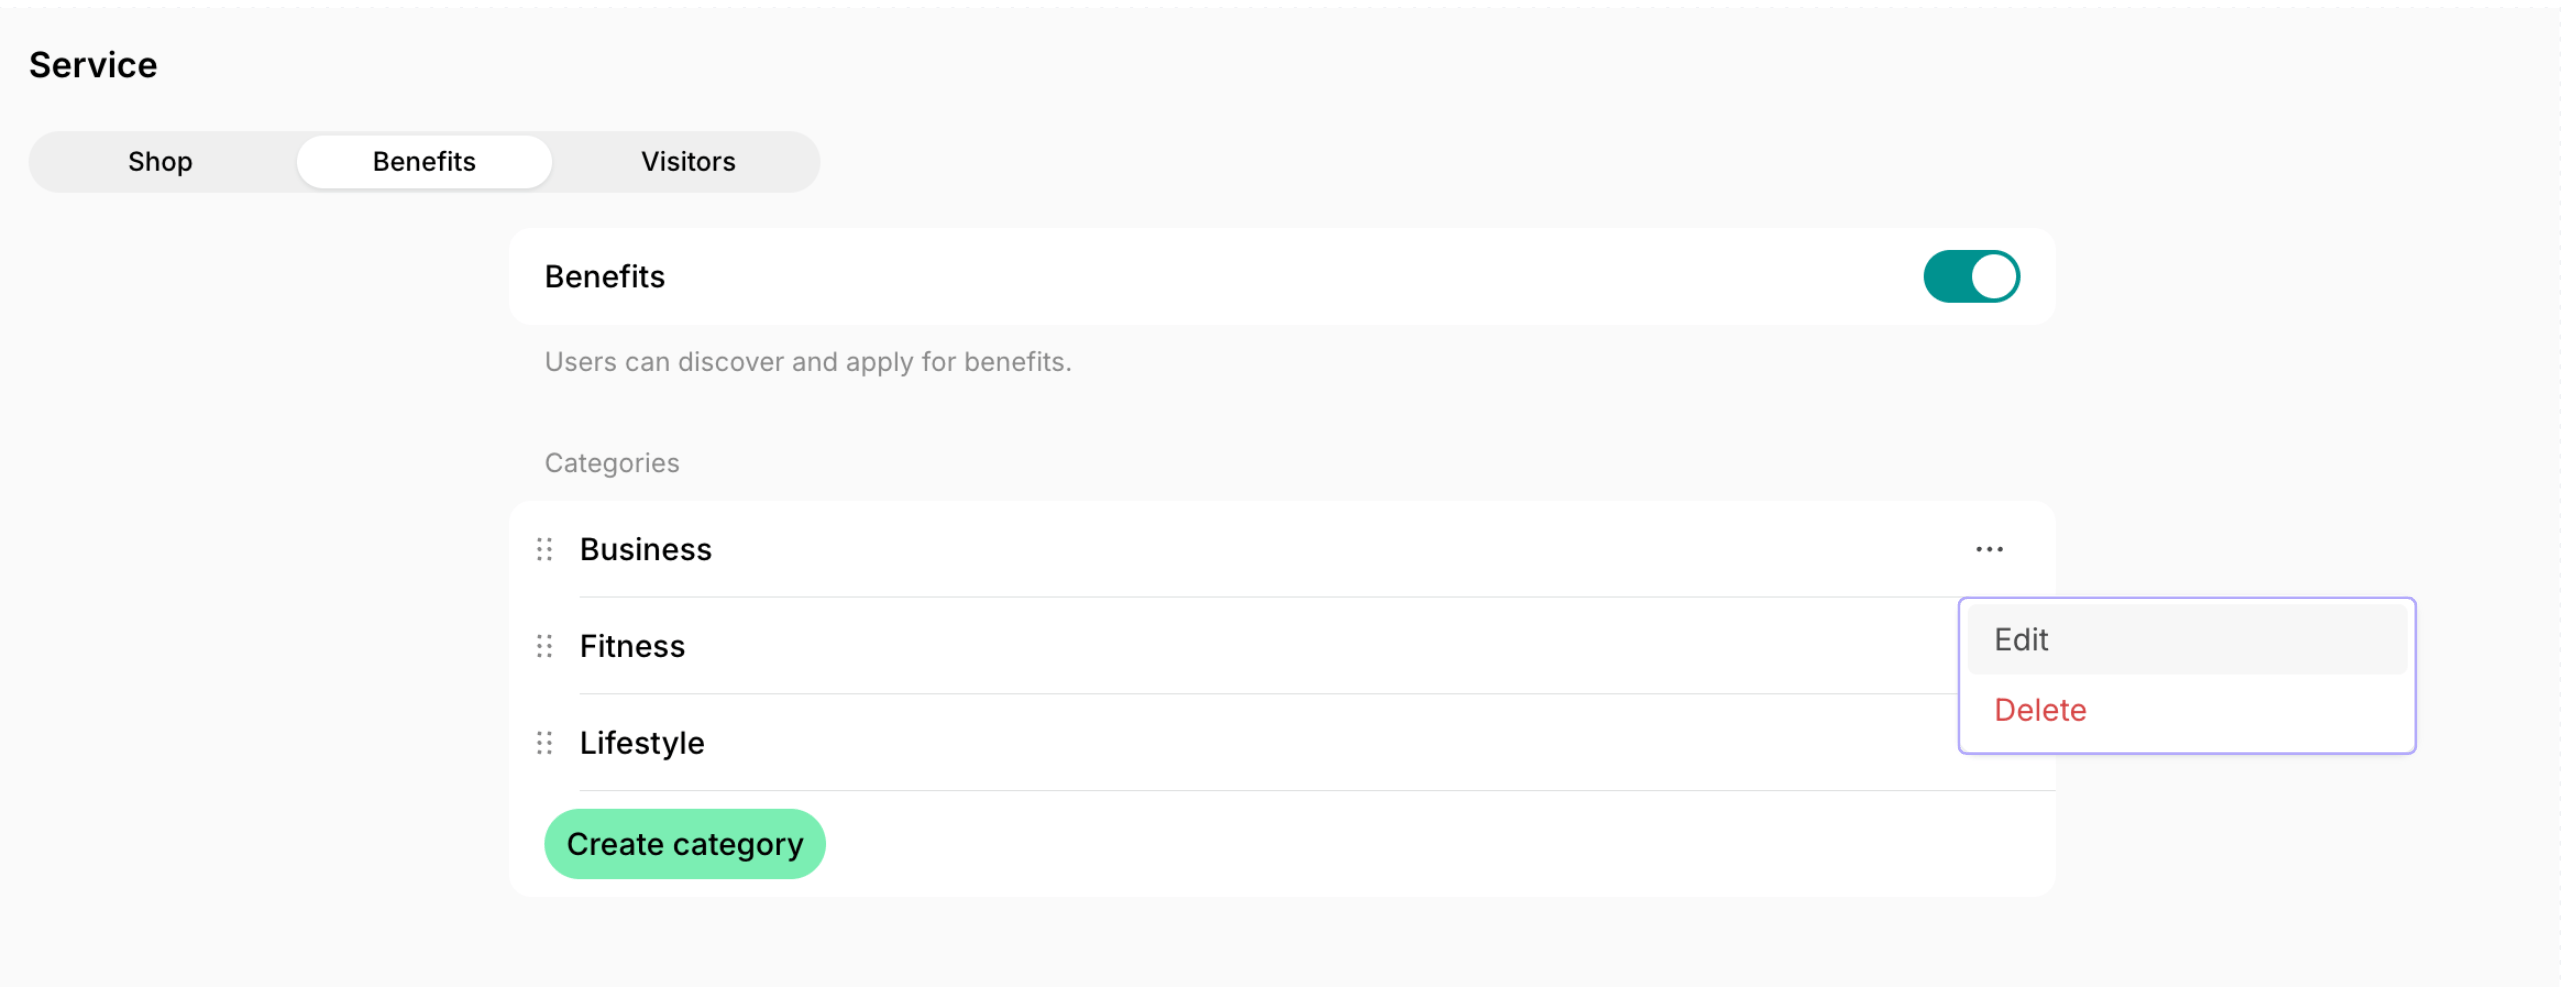
Deleting a benefit category is irreversible and can not be undone. All benefits from the selected category will be deleted automatically.
Why can't I see the Benefits page as an administrator?
Why can't I see the Benefits page as an administrator?
The visibility of your Benefits page is directly controlled by the visibility settings of the individual benefits themselves. If the visibility of all your benefits is set to “Administrators,” only administrators will see them in Spacebring. It won’t be visible to anyone in the member web portal.To check and update benefit visibility, follow these steps.