

- Replace external tools by letting members connect, network, and message each other directly within your web portal and mobile app.
- Centralize communication between customers and administrators.
- Bring members together in group chats — to reach a whole company, share announcements, or group people by shared interest.
Enable Chats
- Tap the (…) next to the network name > Network settings > Chats.
- Enable the Chats switch.

Chats work at the network level. If turned on, chats are available in all locations.
One-on-one chats
Administrators
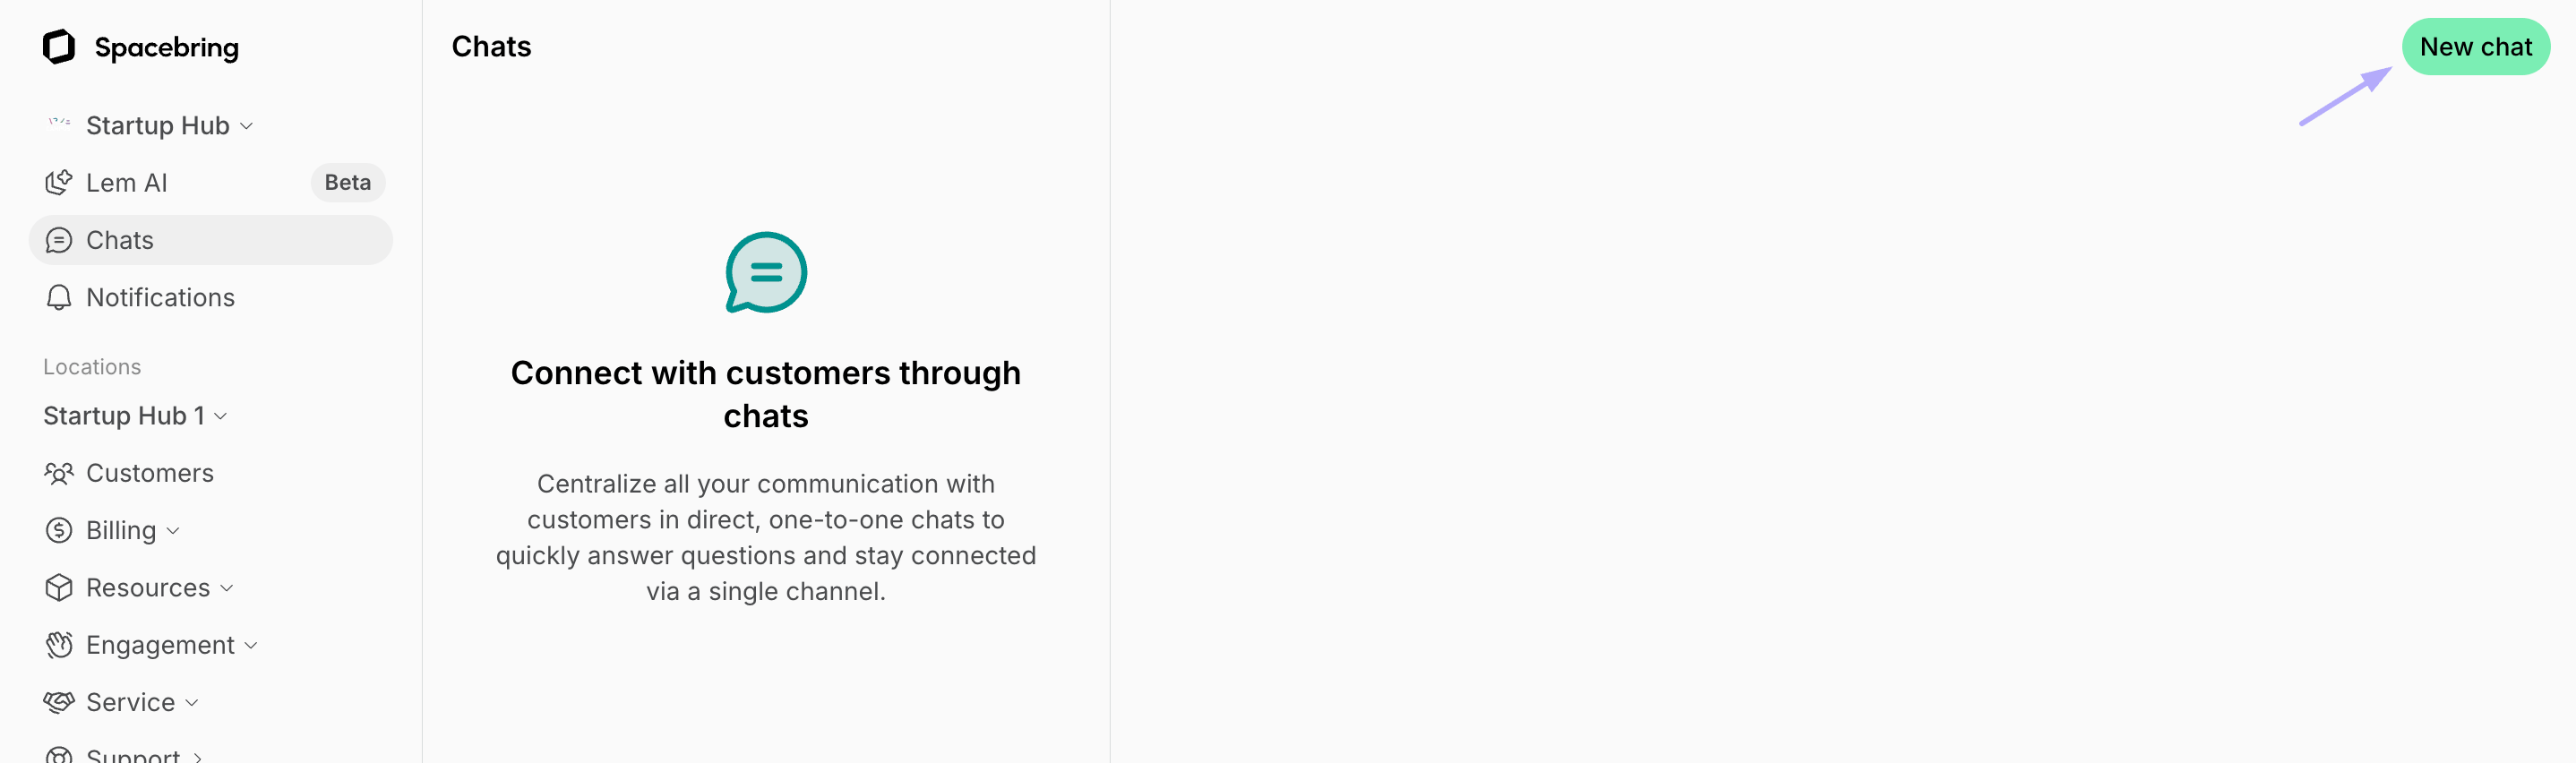
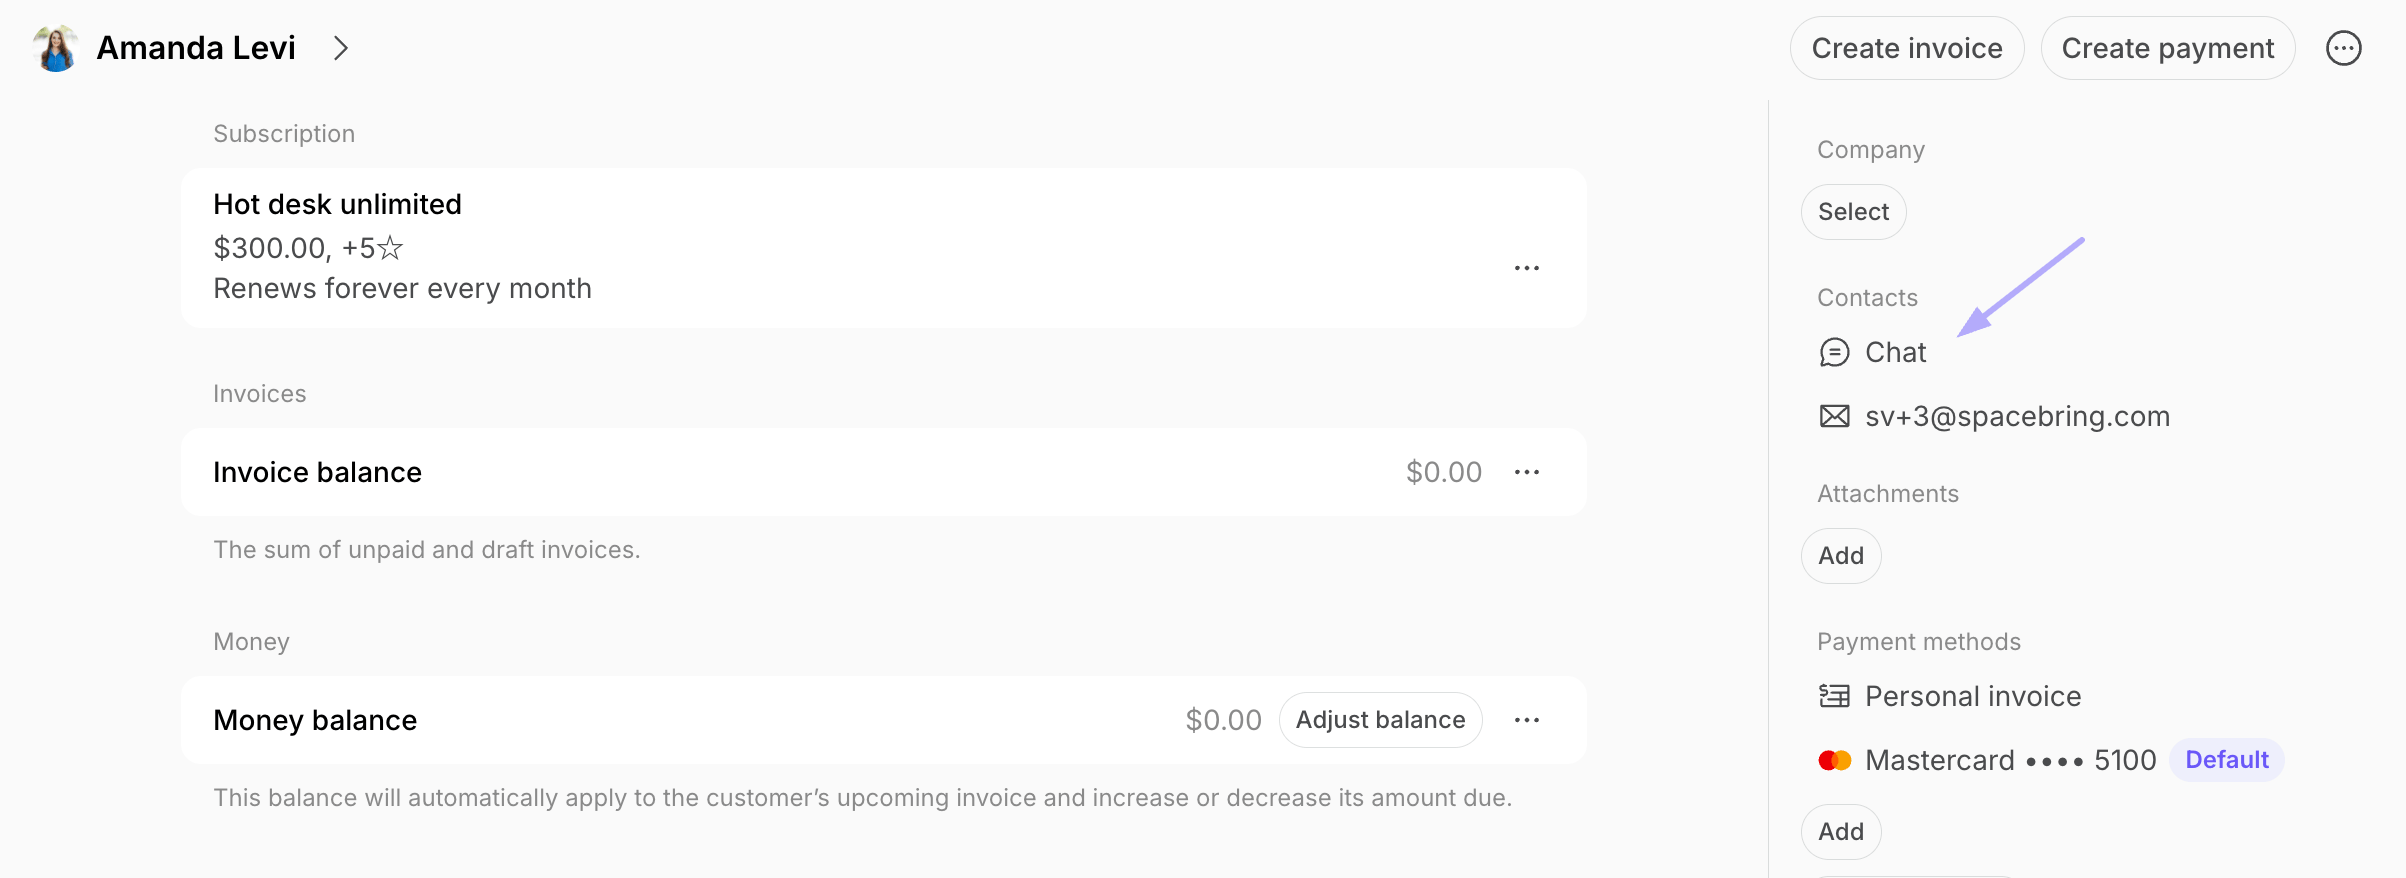
Administrators can chat with any customer to provide support or follow up on requests.- Go to the Chats page.
- Open an existing conversation, or click New chat top right and search for a customer.
Users
Members can chat with other community members depending on your visibility settings.- If you set the Community page visibility to Location members or “Network members,” members can browse other community members and start a chat with any other member of the location or network from the Chats page.
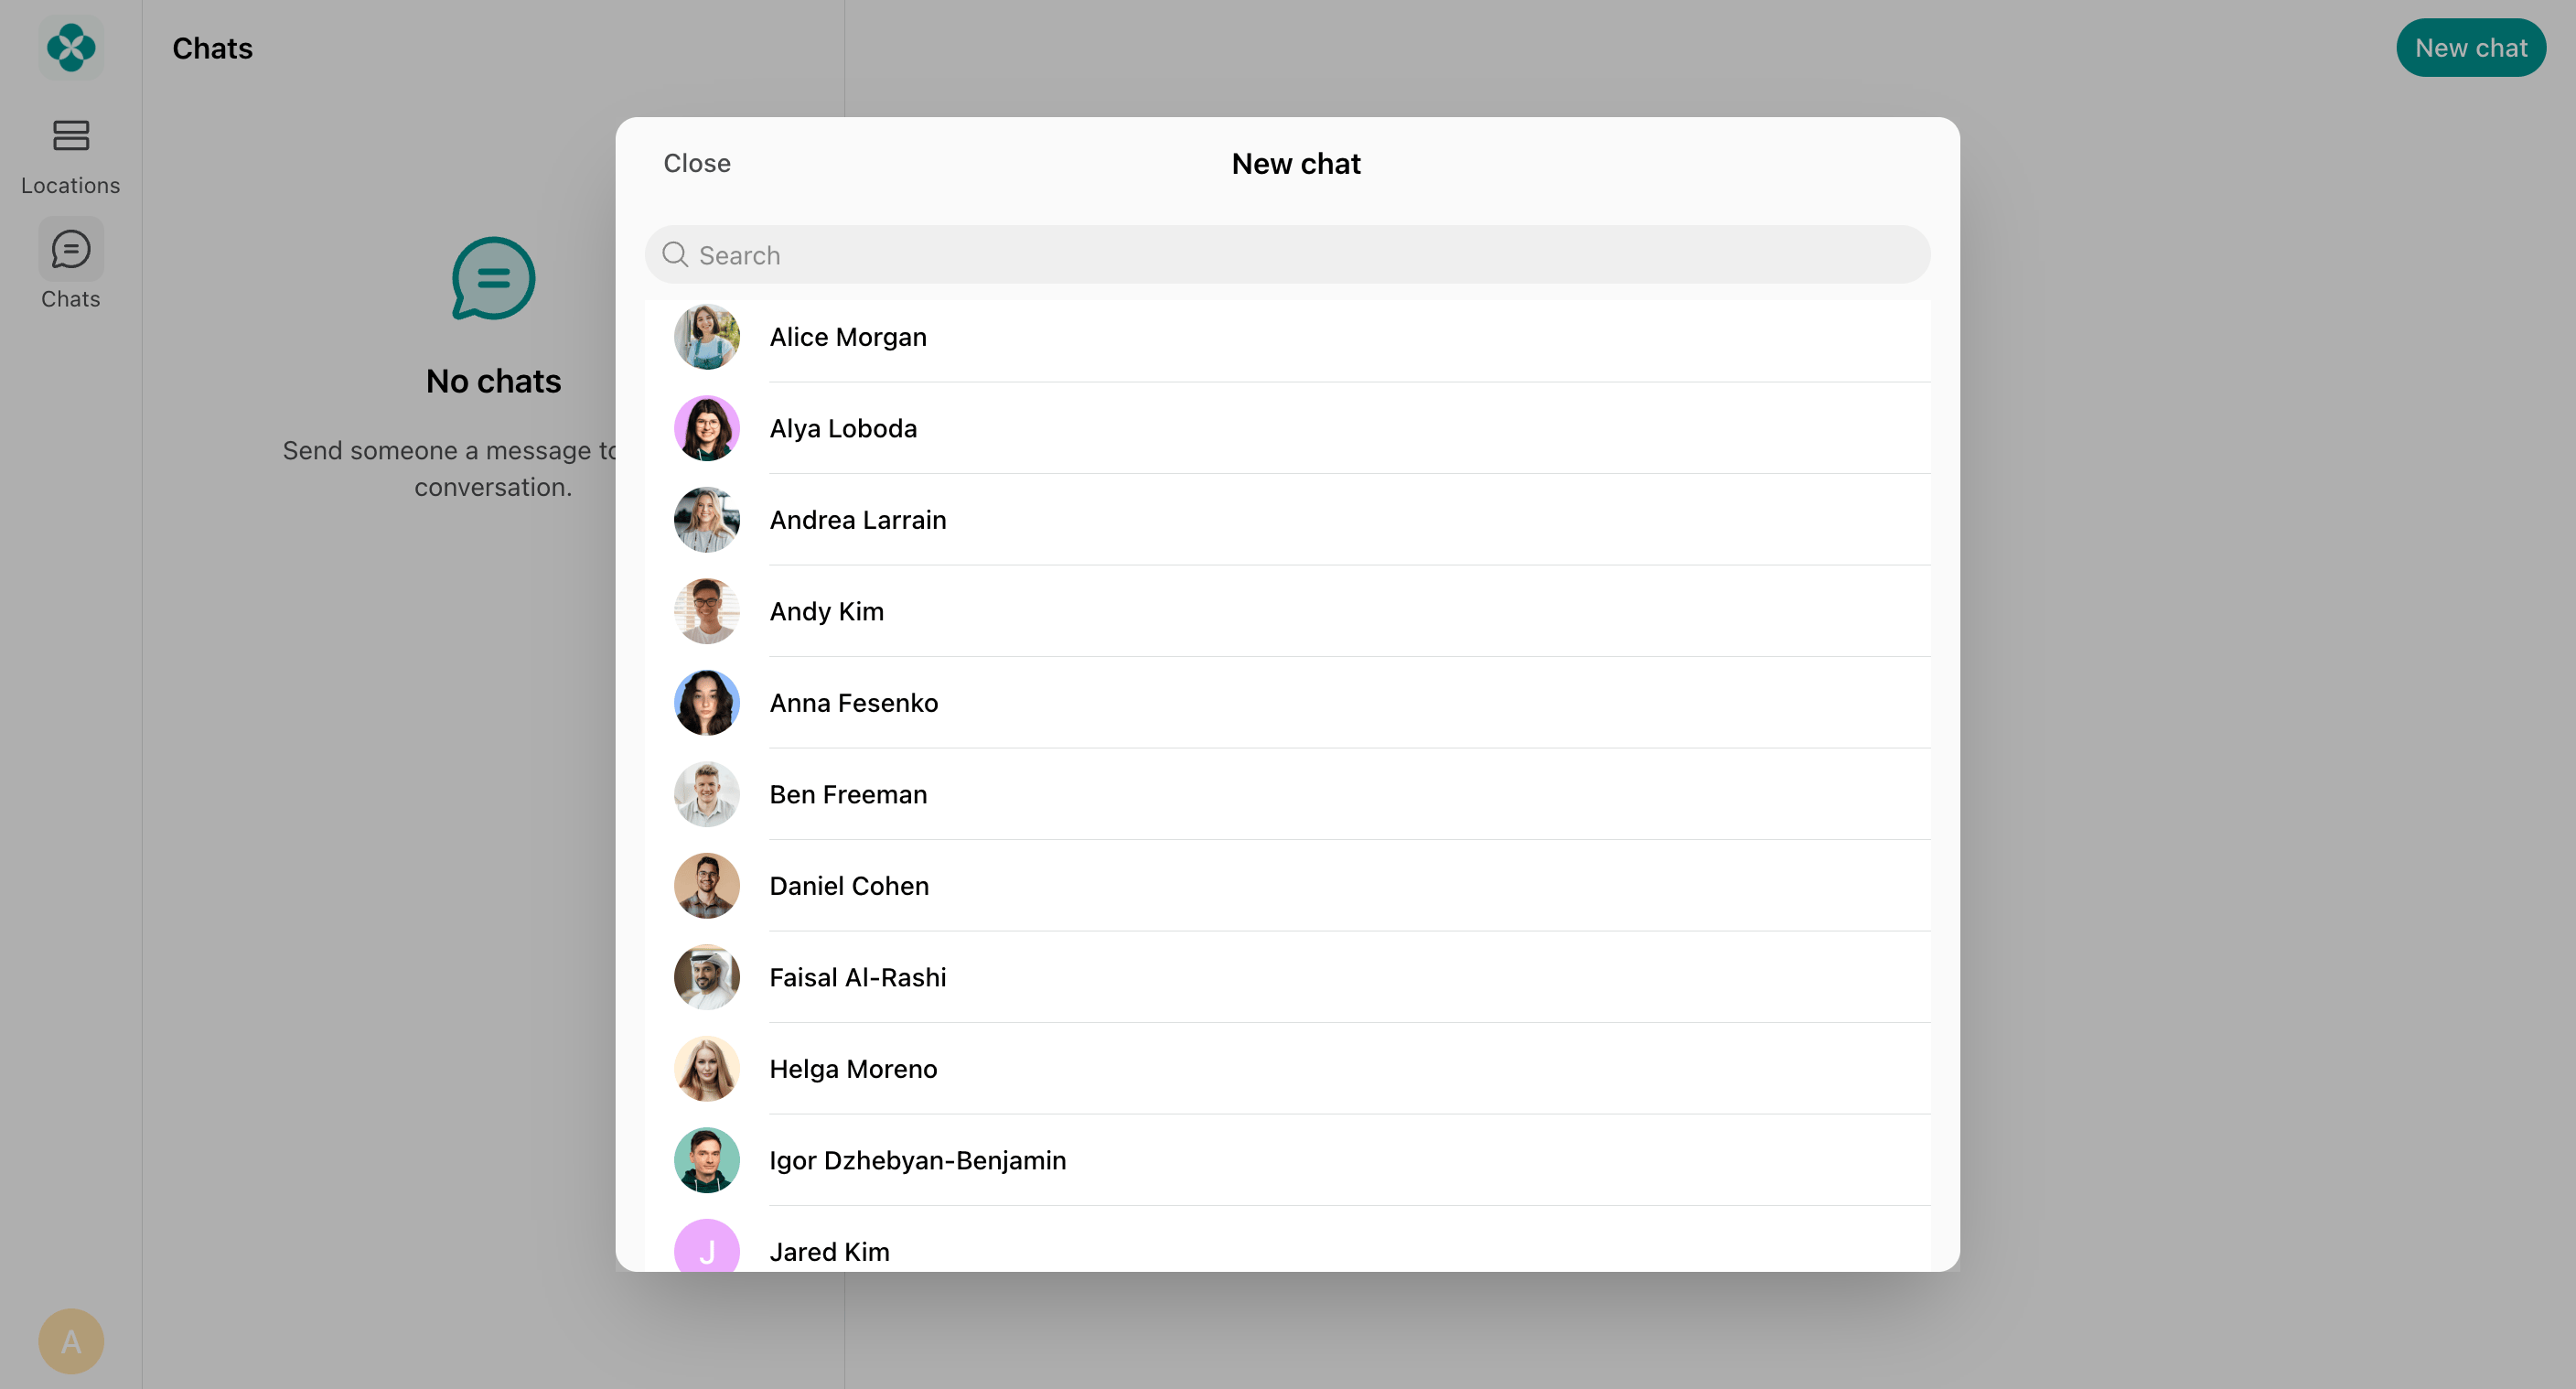
- If the Community page visibility is set to “Administrators,” members can start chats only with members who made themselves discoverable on the other pages. For example, they can message someone who published a feed post by clicking on their name.
Group chats
Group chats bring several members together in one conversation. They’re useful to:- Message an entire company at once, or a specific set of members — like founders from different companies.
- Group members by shared interest — a yoga group, a speaking club, or a film-lovers club — so they can socialize inside the app.
Administrators
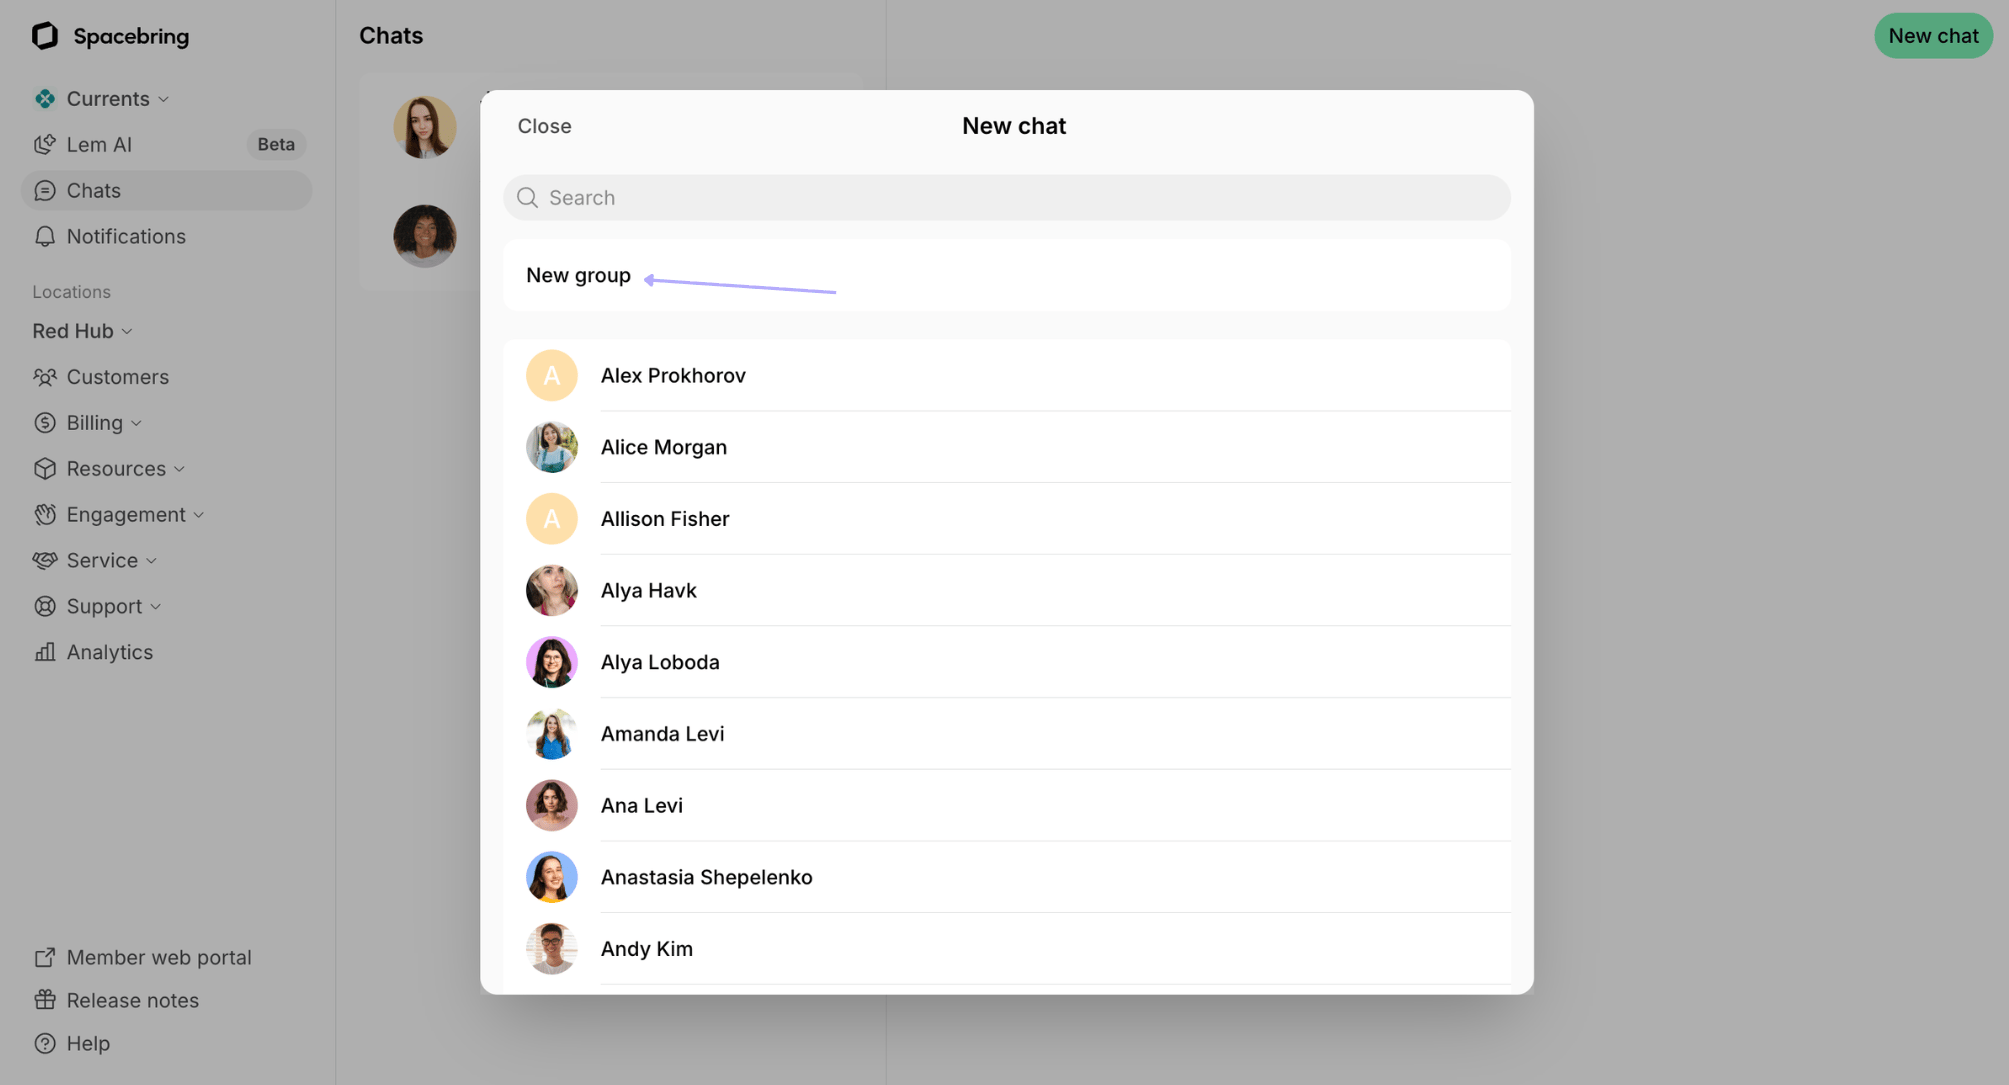
Only administrators can create group chats. To create one:- Go to the Chats page and click New chat > New group.
- Search and select the participants, then click Next.
- An administrator can add members of the locations they manage.
- An owner can add anyone in the network — both members and nonmembers, across all locations.
- Give the group a title, optionally add a group photo, and click Create.
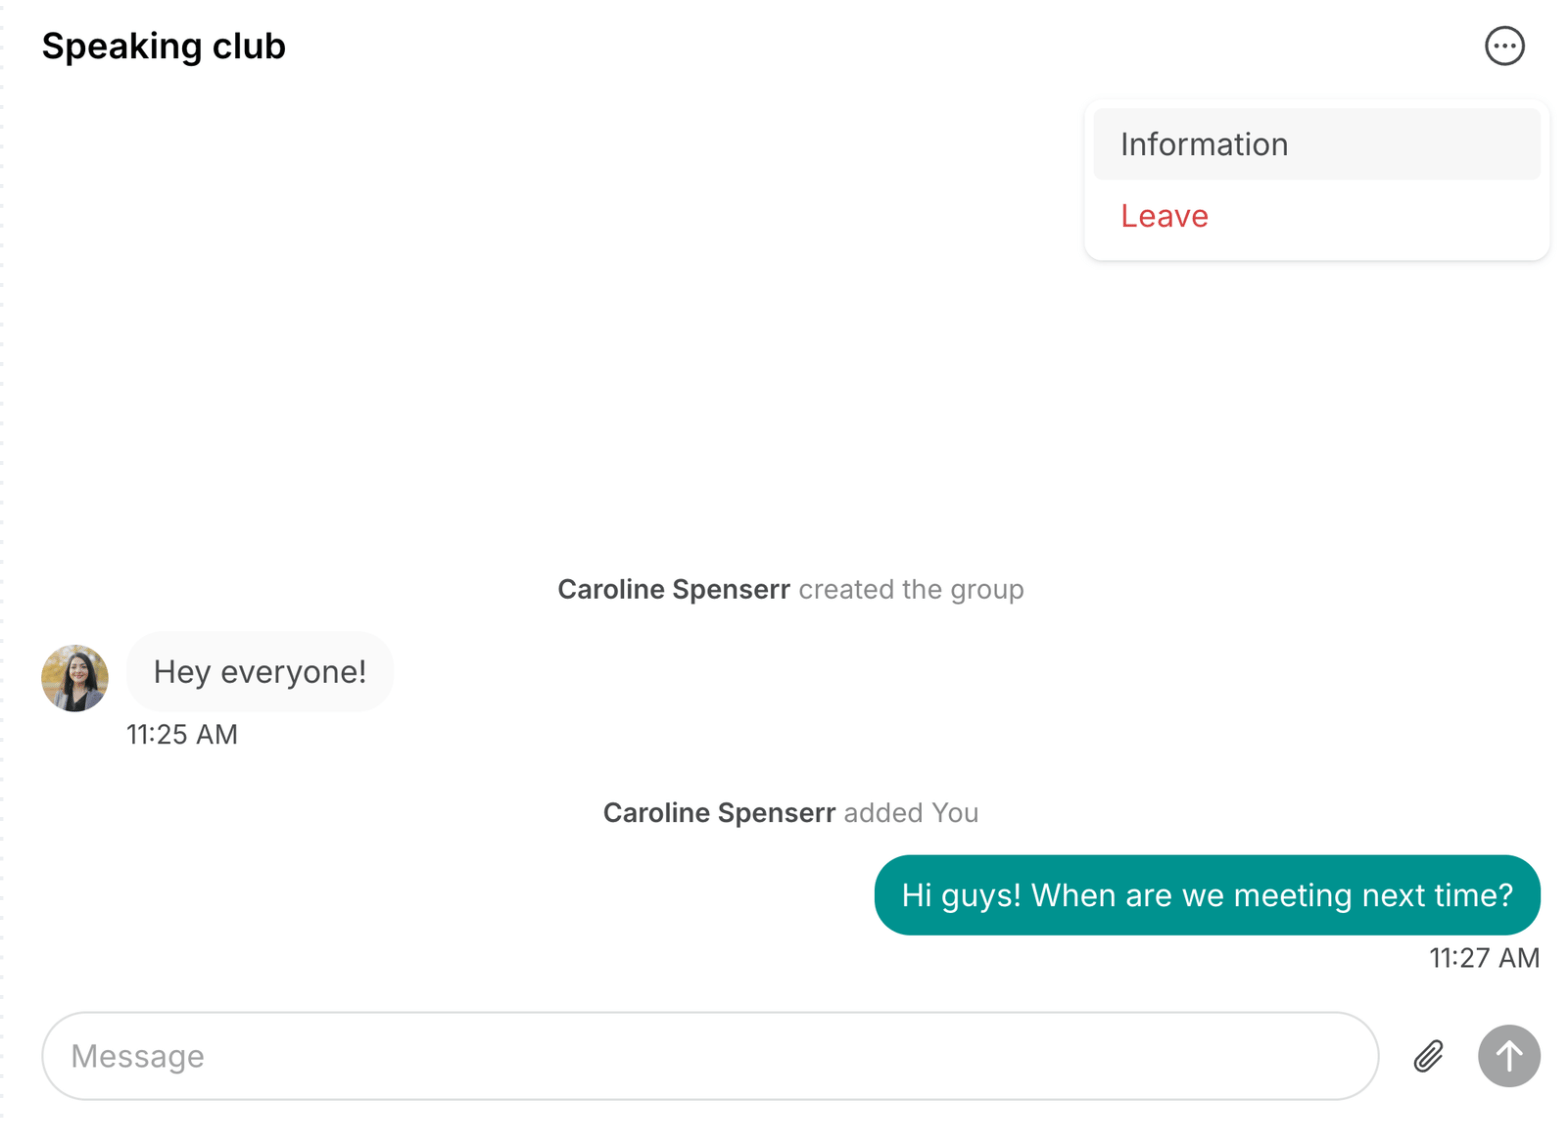
- Information — view the group photo and participants.
- Edit — rename the group, add or change the group photo, add or remove participants, and change participant roles.
- To change someone’s role, click the (…) menu next to their name and choose Make admin or Make member.
- Both administrators and members can be assigned as group chat admins.
- A group can have several admins, but must always have at least one.
- Leave — leave the group.
An admin can leave the group as long as at least one other admin remains.
- Delete — permanently delete the group for everyone.
Users
When added to a group, everyone can:- Send messages to everyone in the group.
- Open the (…) menu > Information to see the group photo and who’s in the group.
- Leave the group at any time from the (…) menu > Leave.
Manage messages
-
Attachments: To send files, contracts, or images, click the Attachment (paperclip) icon in the bottom right. Any image, video, or document format works, up to 50 MB per file.
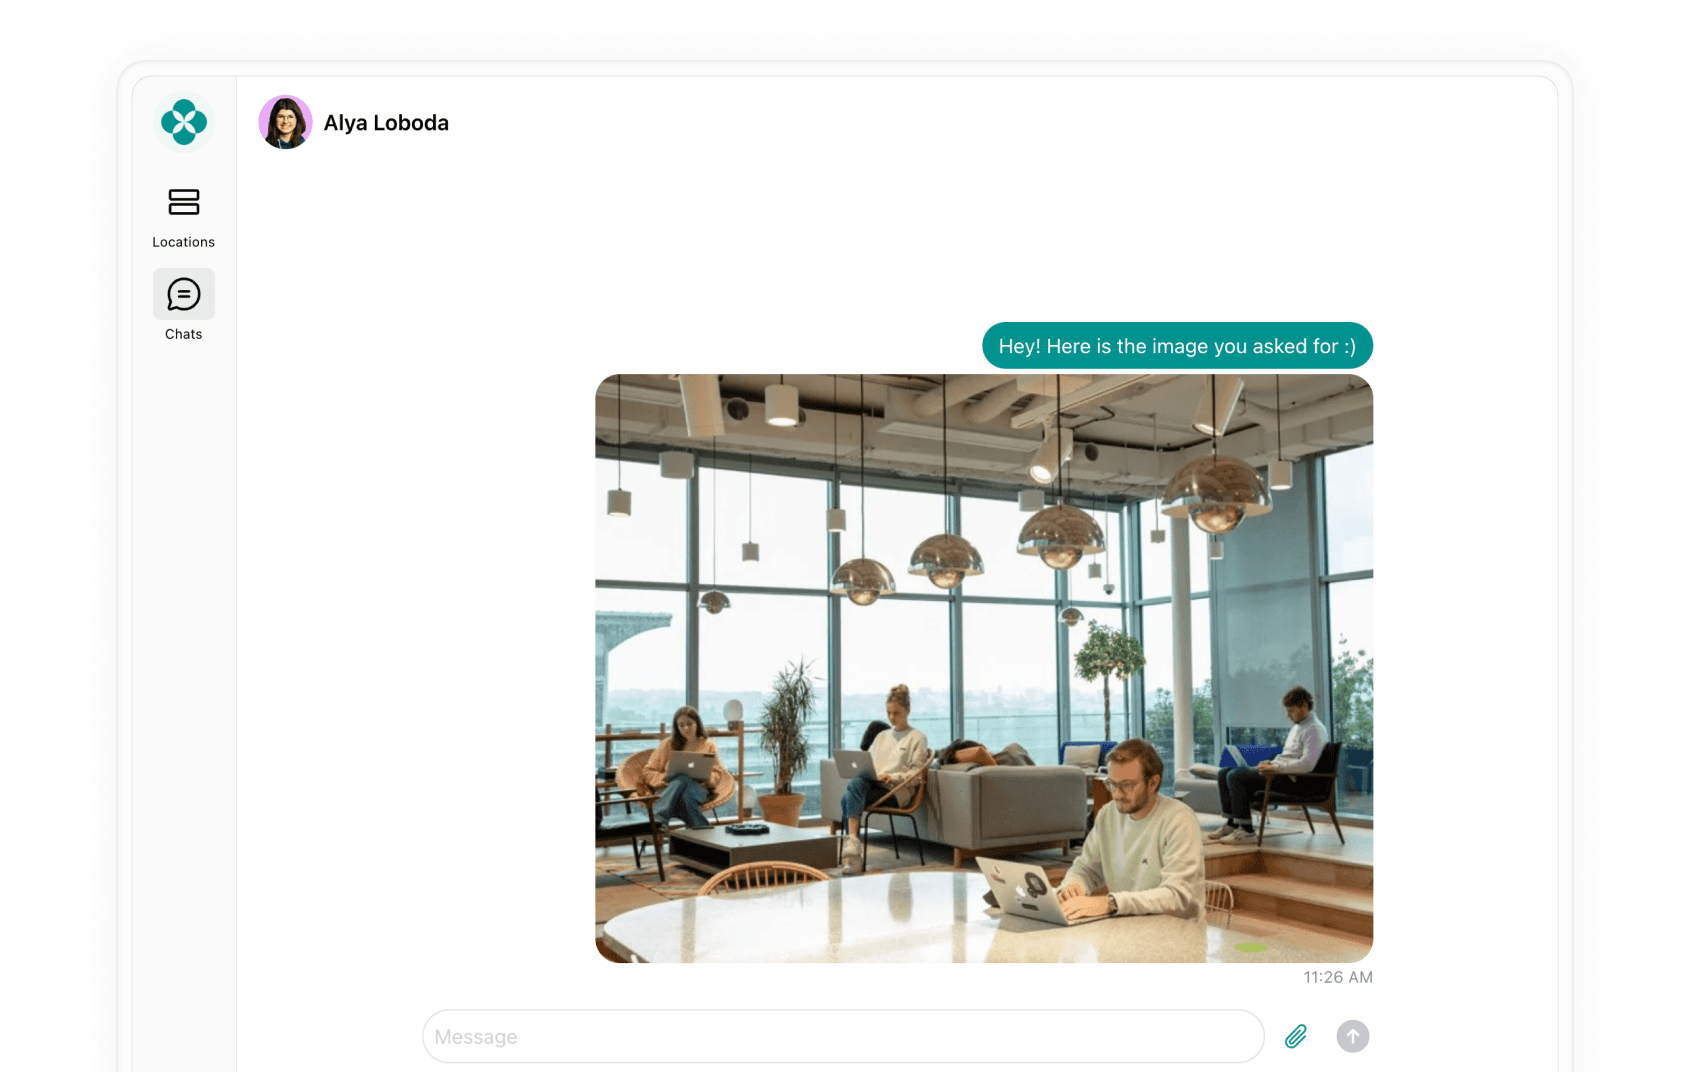
- Delete messages: Users and administrators can unsend a message by hovering over the message, tapping the (…) button, and pressing Delete.
What’s next?
- Manage admin notifications to stay alerted to new messages.
- Understand visibility settings to control how users discover each other.
FAQs
How do I disable chats?
How do I disable chats?
To turn off Chats, go to Network settings > Chats and toggle the Chats switch off. This will hide the chat icon from the navigation menu for all users.
How does chat privacy work?
How does chat privacy work?
If privacy-conscious users choose to hide their name visibility on bookings and do not deliberately make themselves visible in your app (e.g. by posting on Feed), nobody will be able to send them a message.
Can members create group chats?
Can members create group chats?
No. Only administrators can create group chats. Members can be added to a group, send messages, and leave at any time. However, an administrator can promote a member to a group chat admin to help manage the group — and can even leave it, if wanted.