

- Set different booking hours for members (location members and admins) VS the public (nonmembers, network members, and new customers).
- Customize operating hours by weekday.
- Define custom schedules for specific resources.
Configure location schedule
The location schedule sets the default booking hours for all resources — unless a specific resource has a custom schedule, which will override it.
- Go to Spacebring > press the (…) button next to the location name > Location settings page > General > Information tab.
- Scroll down to the Schedule section.
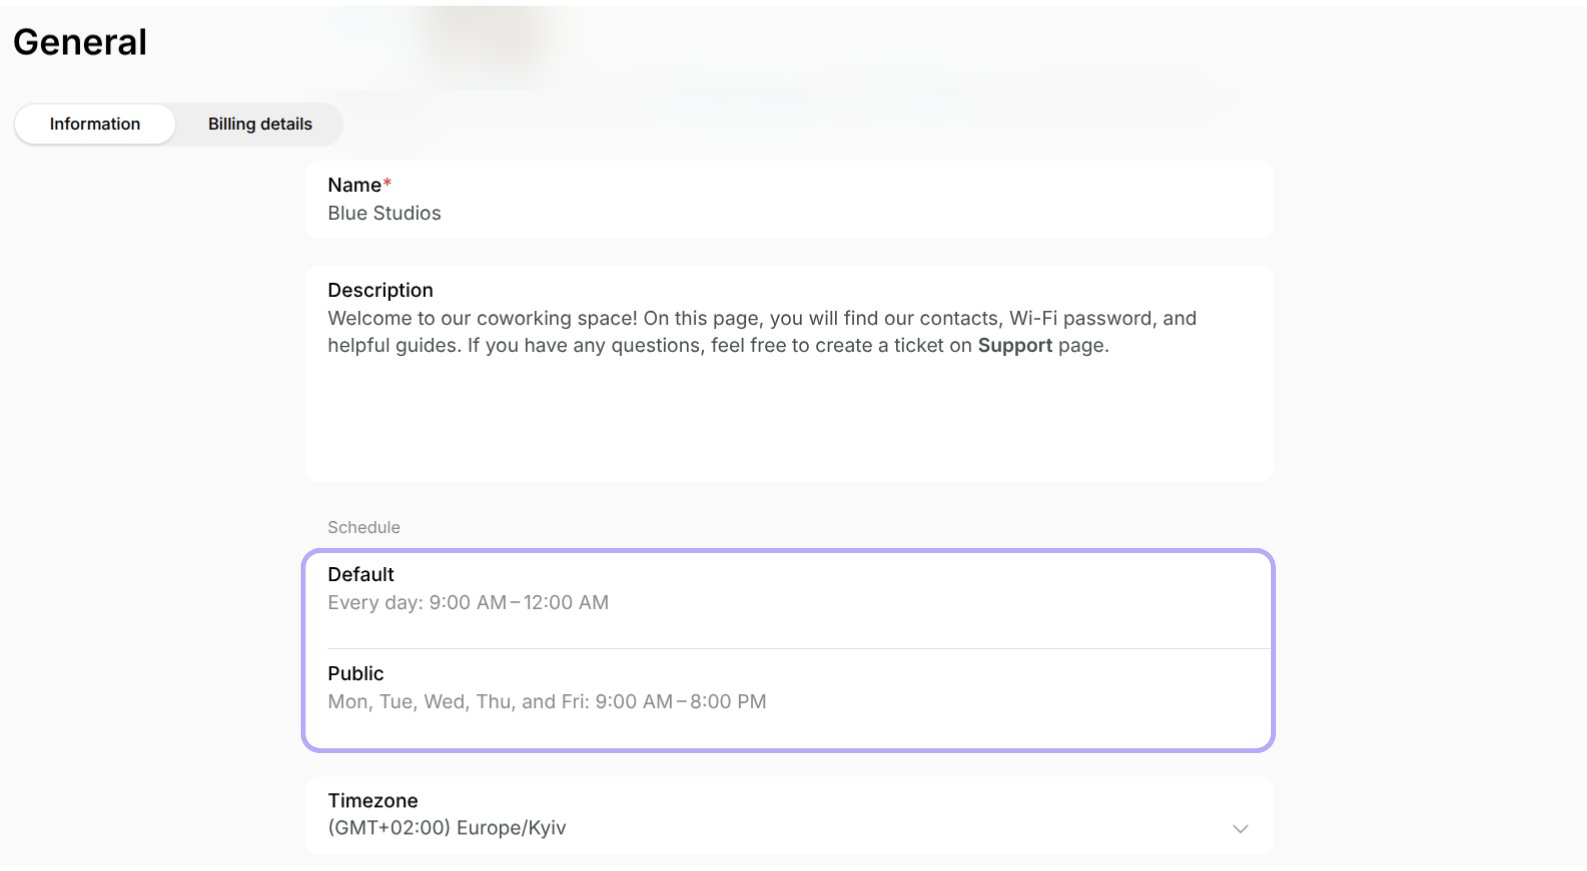
Administrators can adjust the location schedule at any time to extend or reduce the operating hours as needed.
Default schedule
Within the Schedule section, you’ll find the Default schedule.- If your space works during the same hours for members and the public, configure only this schedule, and it will apply to all users.
- If your space has different working hours for members and the public, the default schedule will apply to members.
- Tap on Default to reveal the settings.
- Select the workdays and set the necessary From & Until times. The latest Until time you can set is midnight (00:00) — schedules can’t run into the next day. A day that runs Until midnight and is followed by a day that opens From midnight lets a booking continue past midnight.
- Press Save.
Public schedule
If your space has different working hours for members and the public, the Public schedule will apply to users who are not members of your location. This allows you to set separate booking hours based on user roles — for example, giving members 24/7 access while restricting nonmembers to bookings during staffed hours. Understand user roles To enable and configure a separate schedule for public users, do the following:- Tap on Enable public schedule.
- Configure the public schedule’s settings.
- Save your changes to activate the public schedule.
To disable the public schedule, turn the Public schedule switch off.
Set different hours within workdays
If your space operates on different hours throughout the week, you can easily customize the schedule to match. For example, you might be open 24/7 on weekdays, but only from 9:00 a.m. to 5:00 p.m. on weekends. To set this up, follow these steps:- Go to Spacebring > press the (…) button next to the location name > Location settings page > General.
- Select the default or public schedule to which this change applies.
- Press the Add button.
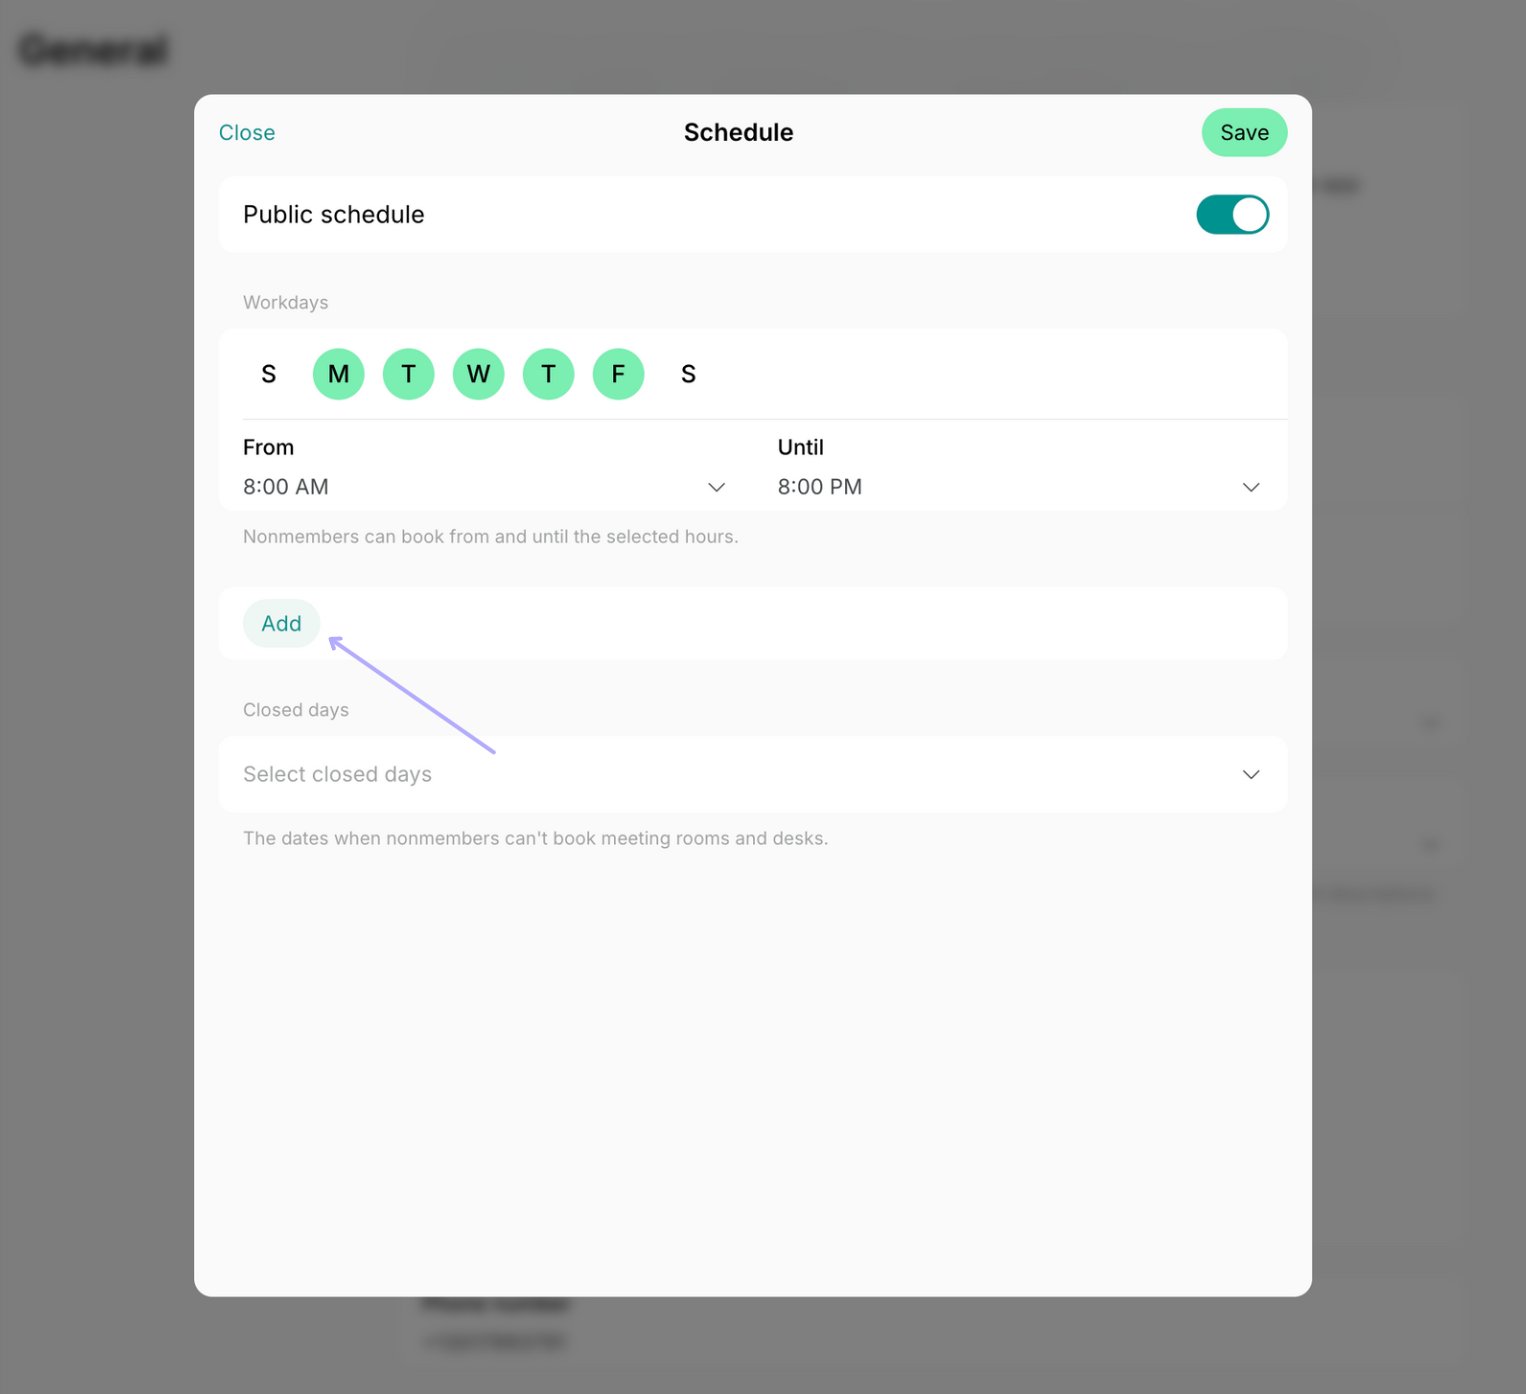
- Select days deselected in the main schedule above and choose the different working hours for them in the From and Until sections.
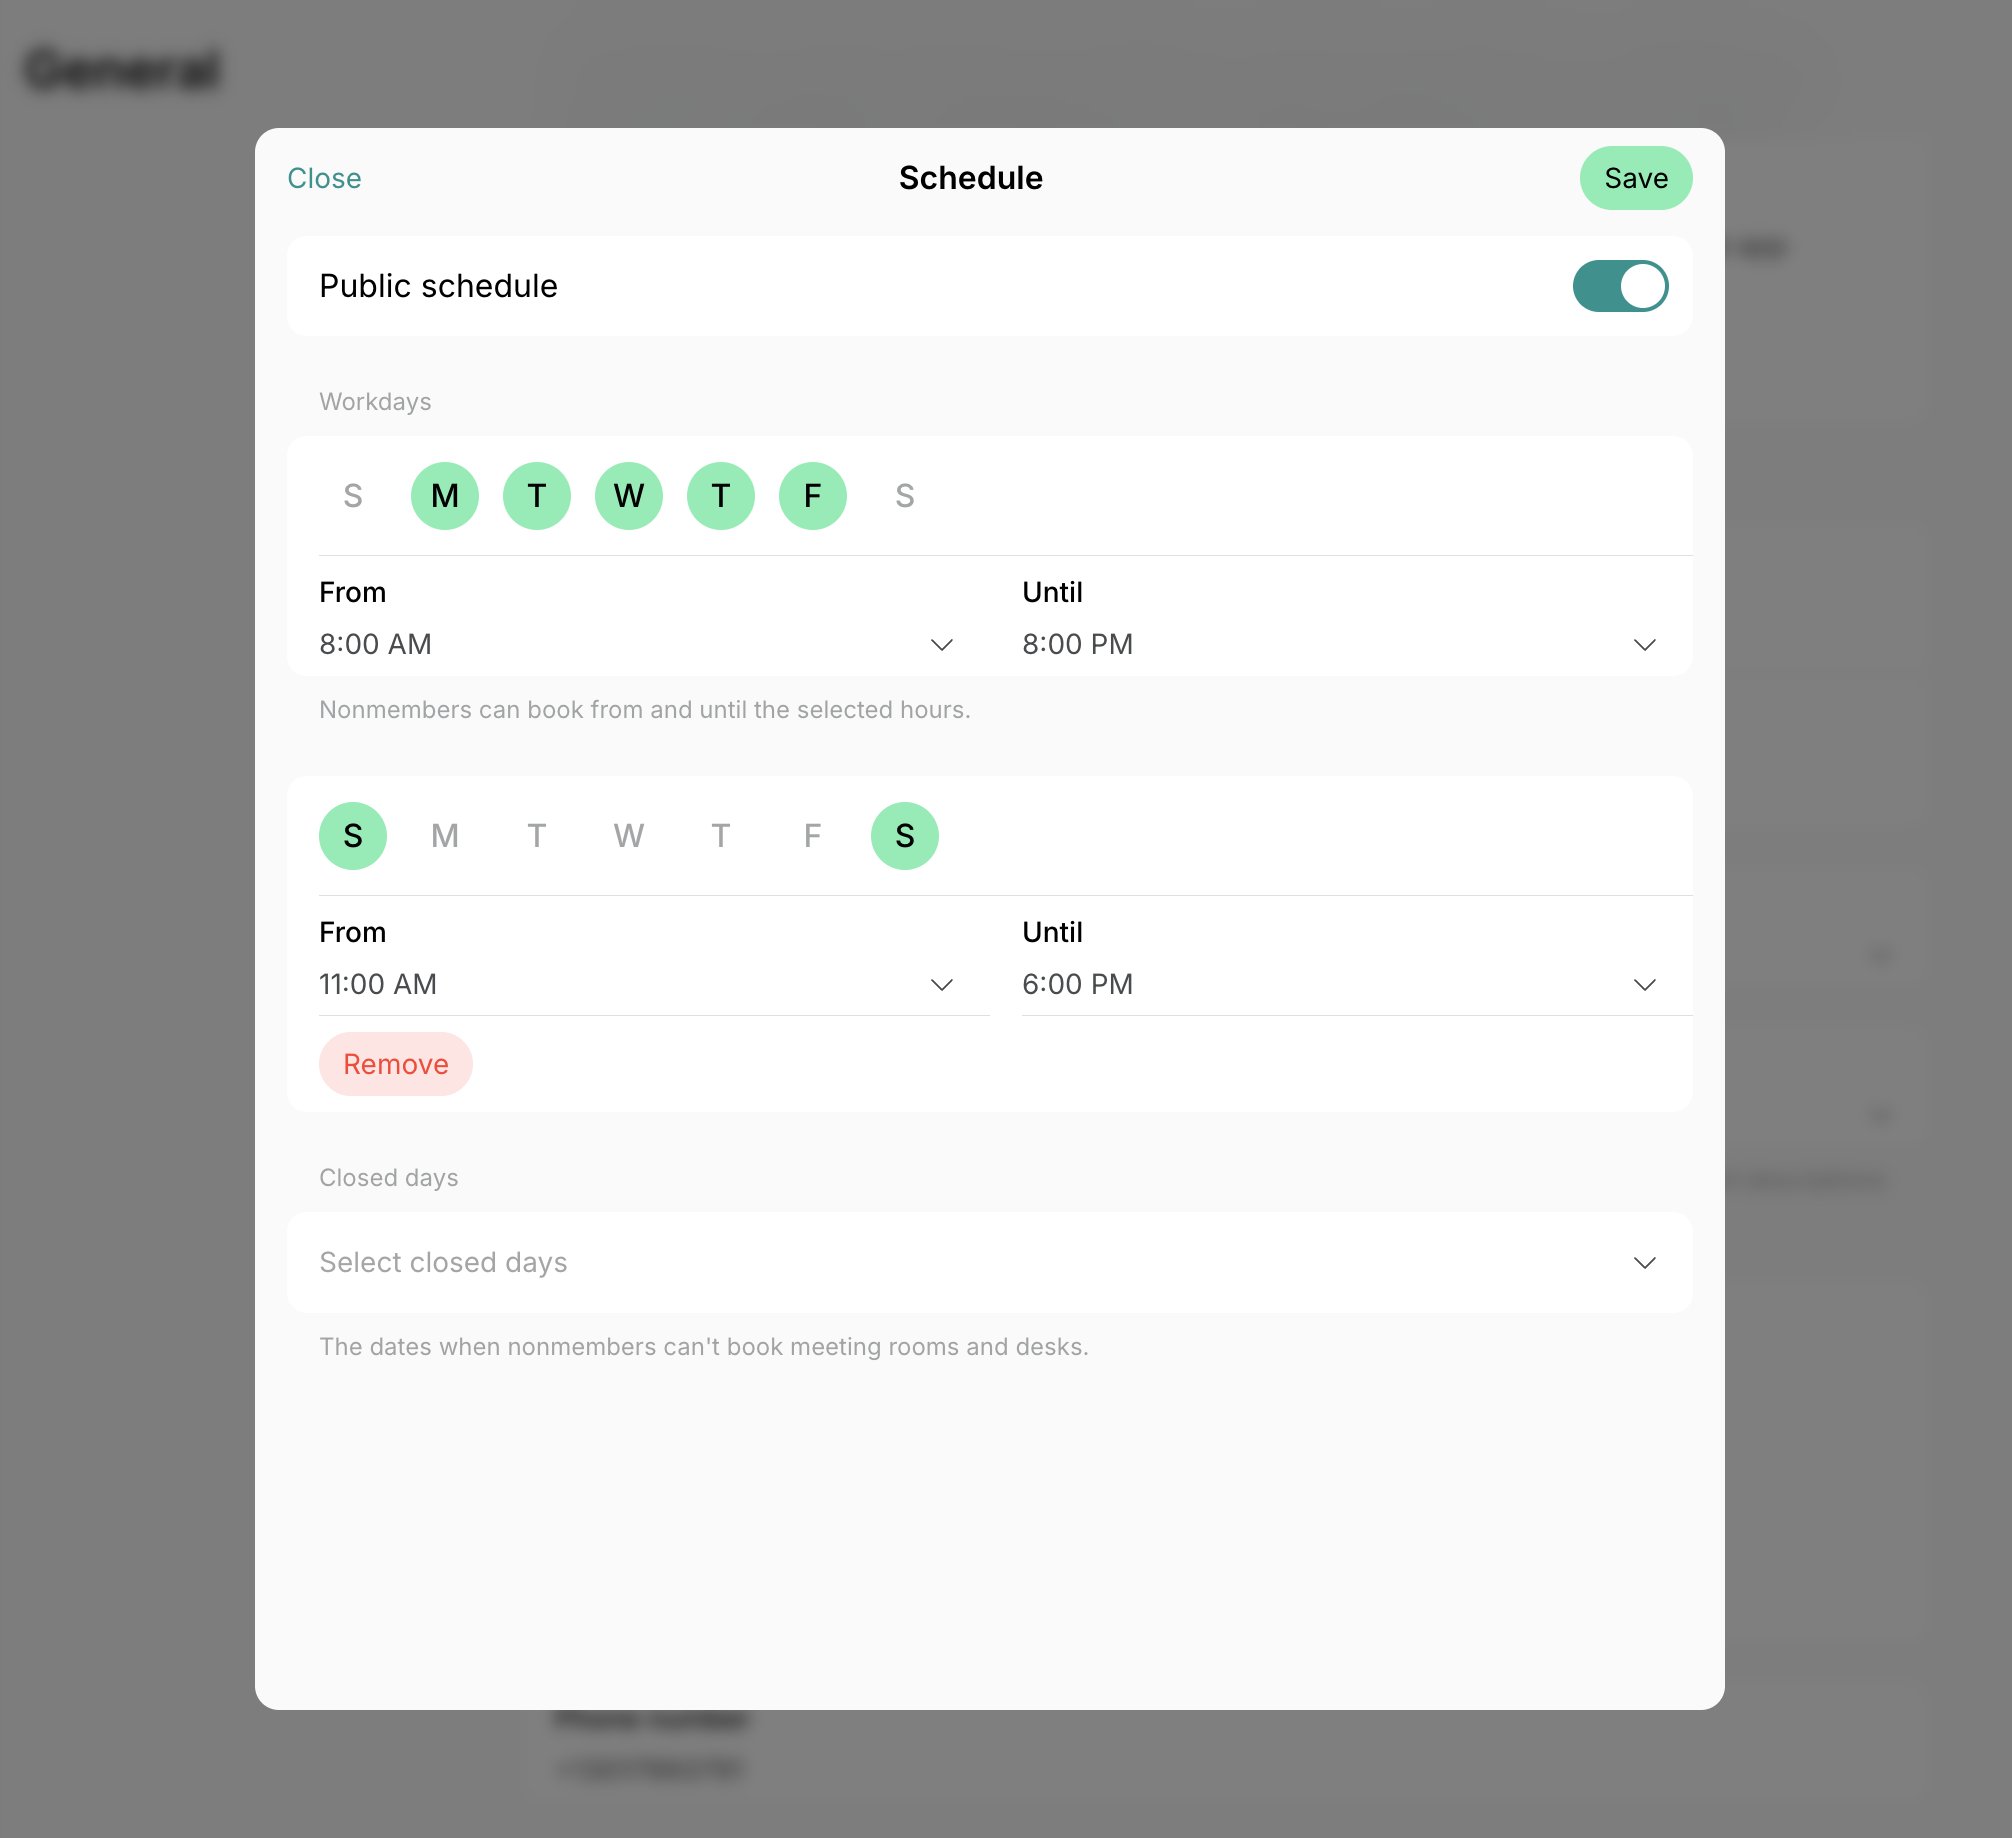
- Hit Save.
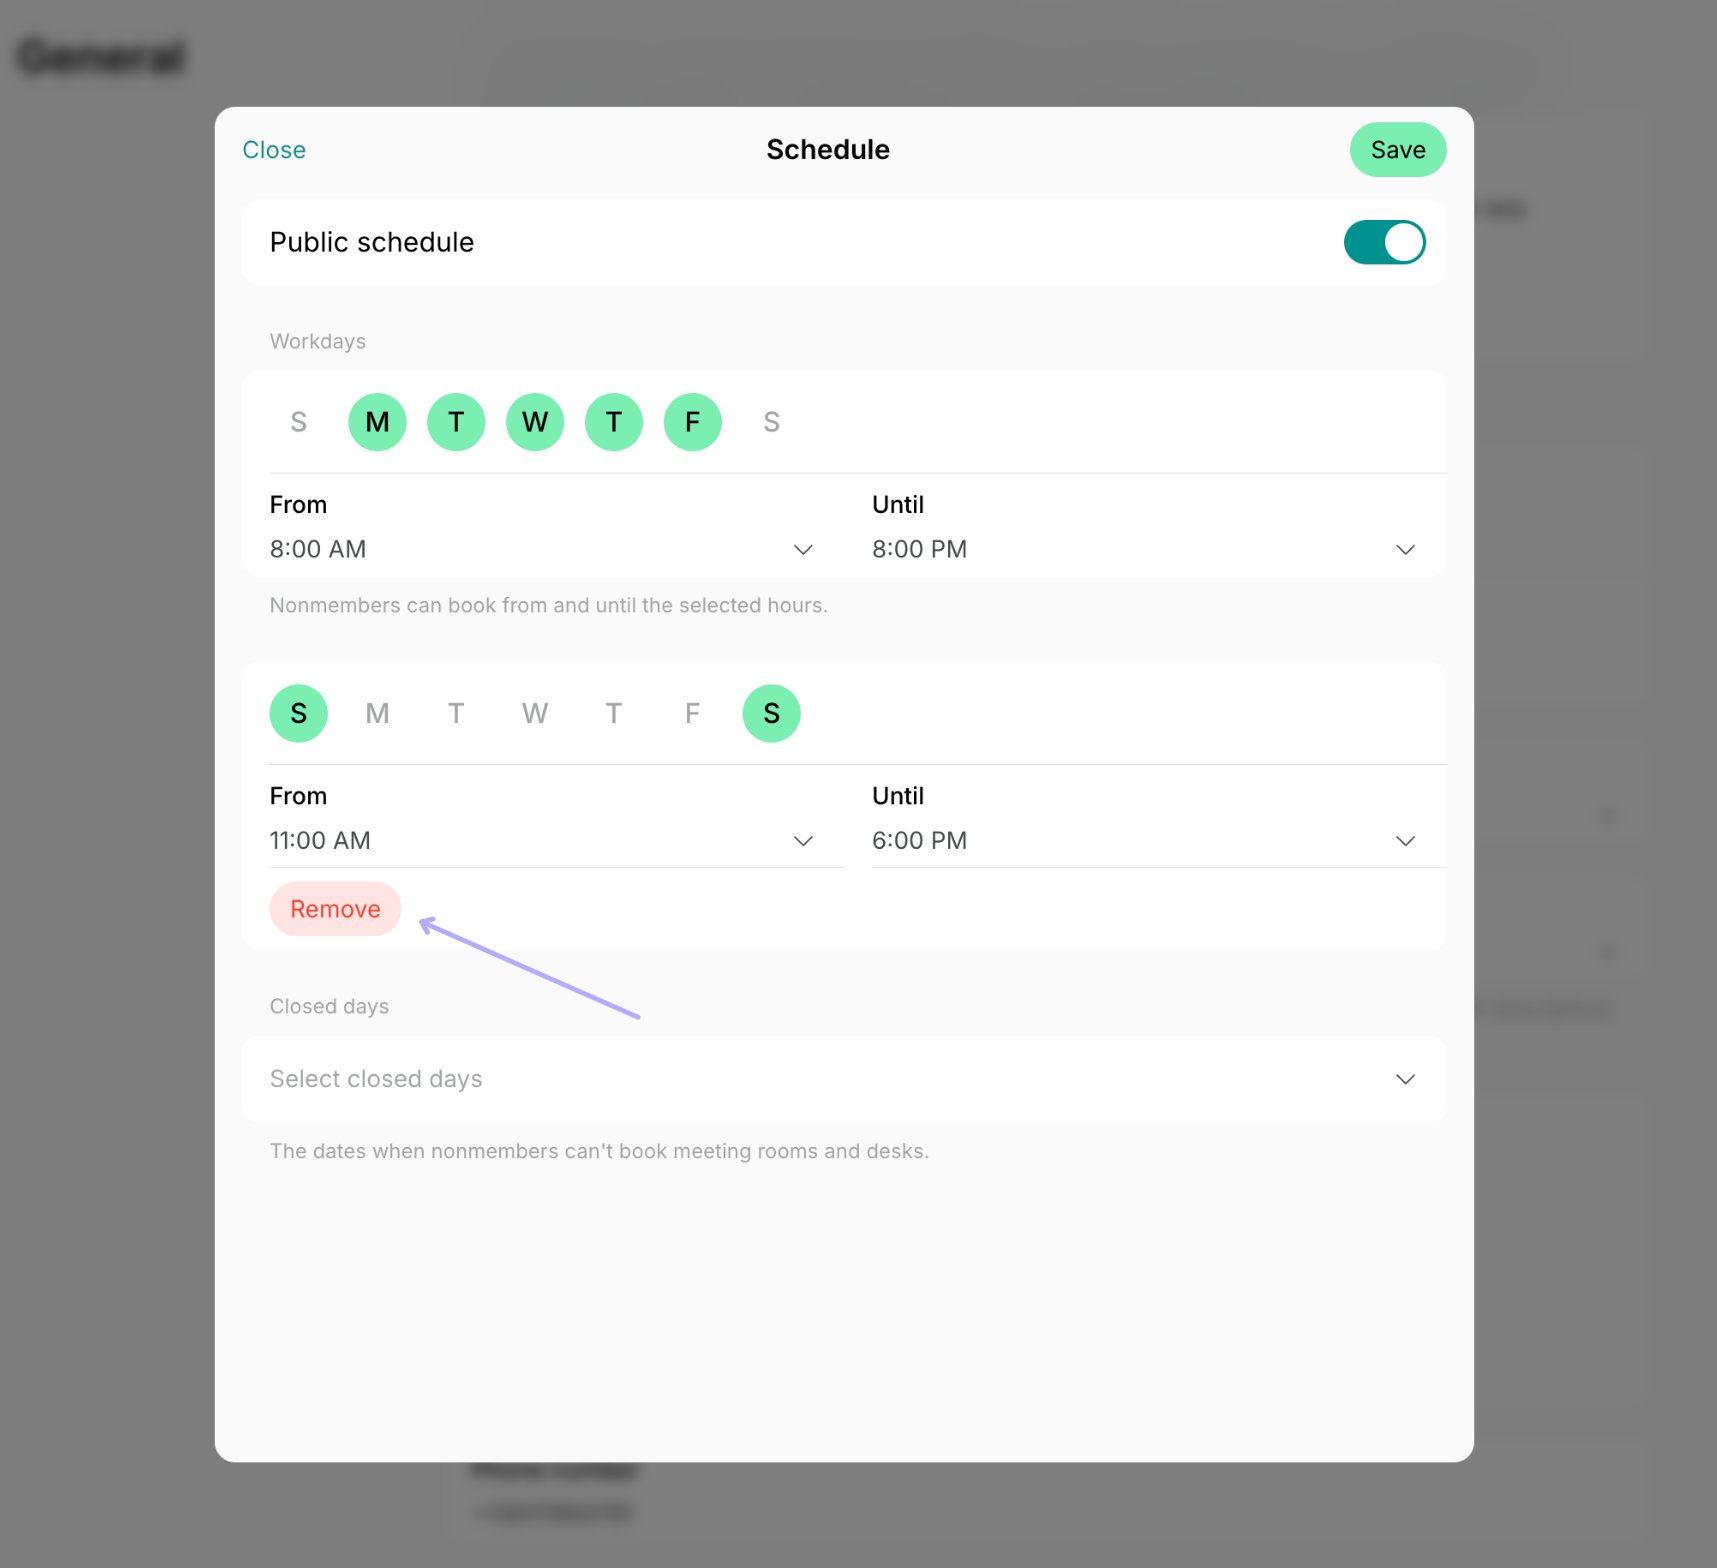
Each day can have one set of hours only. A day can’t be open in the morning, closed at lunch, and open again — days you already used are greyed out when you add another range.
If different working hours during certain days apply for both members and nonmembers, add them to both default and public schedules.
If workdays have different hours, the unavailable booking times on the room calendar will have a very light shade of gray.
Select closed days
At times, you may need to close your space for holidays or special events to prevent bookings on those days. To do this, simply mark the relevant dates as closed in your location schedule:- Go to Spacebring > press the (…) button next to the location name > Location settings page > General > pick the schedule you want to edit.
- In the Closed days section, select dates when the location must be unavailable for bookings (e.g., December 25).
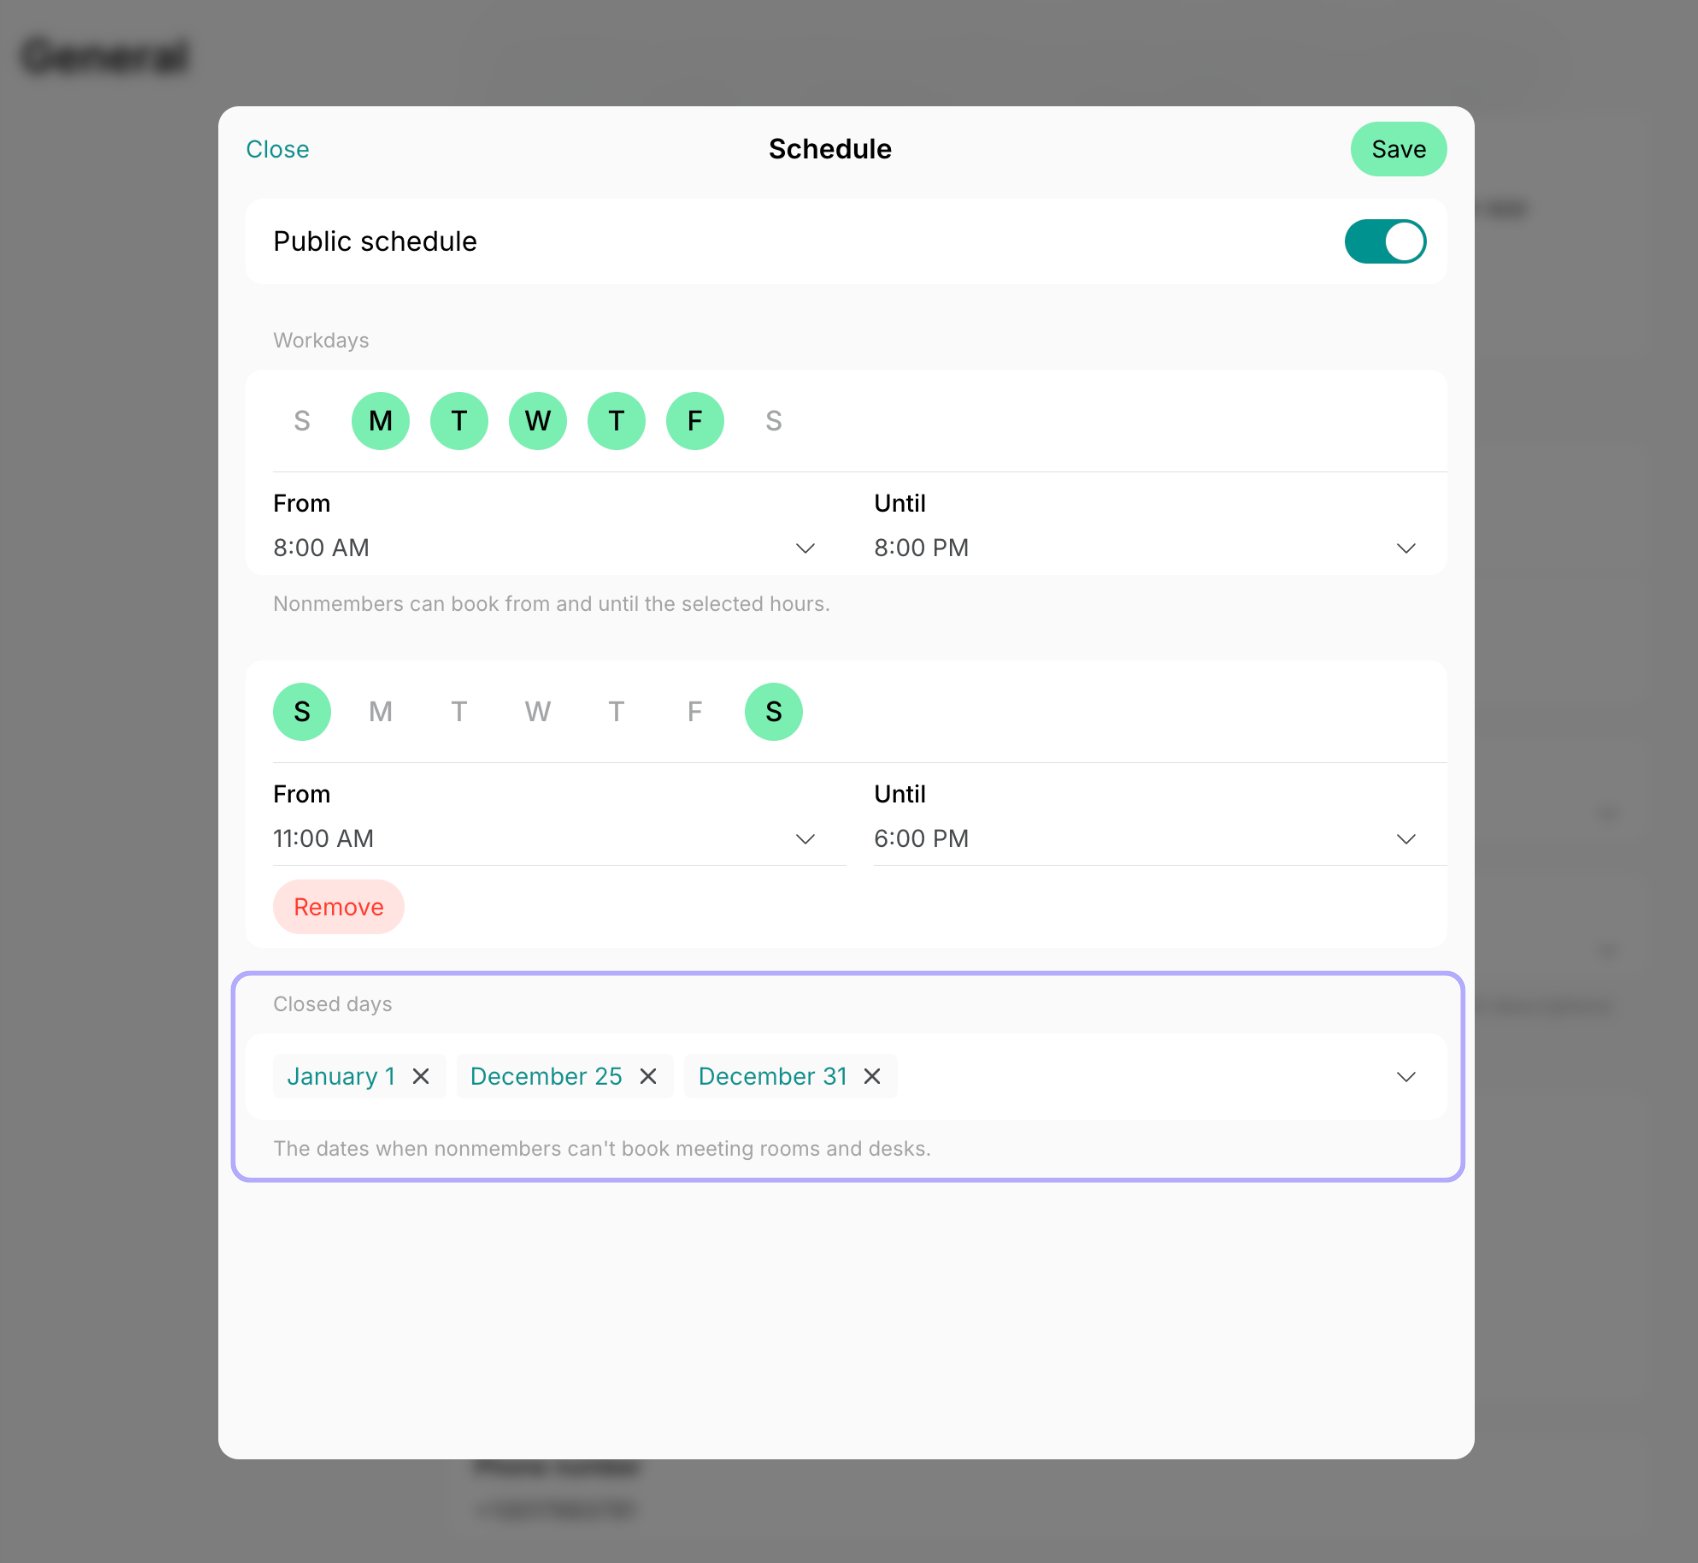
- Press Save.
- On the Rooms, Desks, Offices, Parking, and Equipment pages, the resource carries the Unavailable label.
- On the resource page, the date field says This day is closed for booking, and no time slots or booking button appear.
- On the room calendar, the whole day is greyed out.
If you want the location to be unavailable for members and nonmembers on particular days, select closed days for both the default and public schedules.
Where users see the location schedule
The schedule you set is visible to users on the Information page. Network members and nonmembers can see your public schedule, and location members can see the default schedule.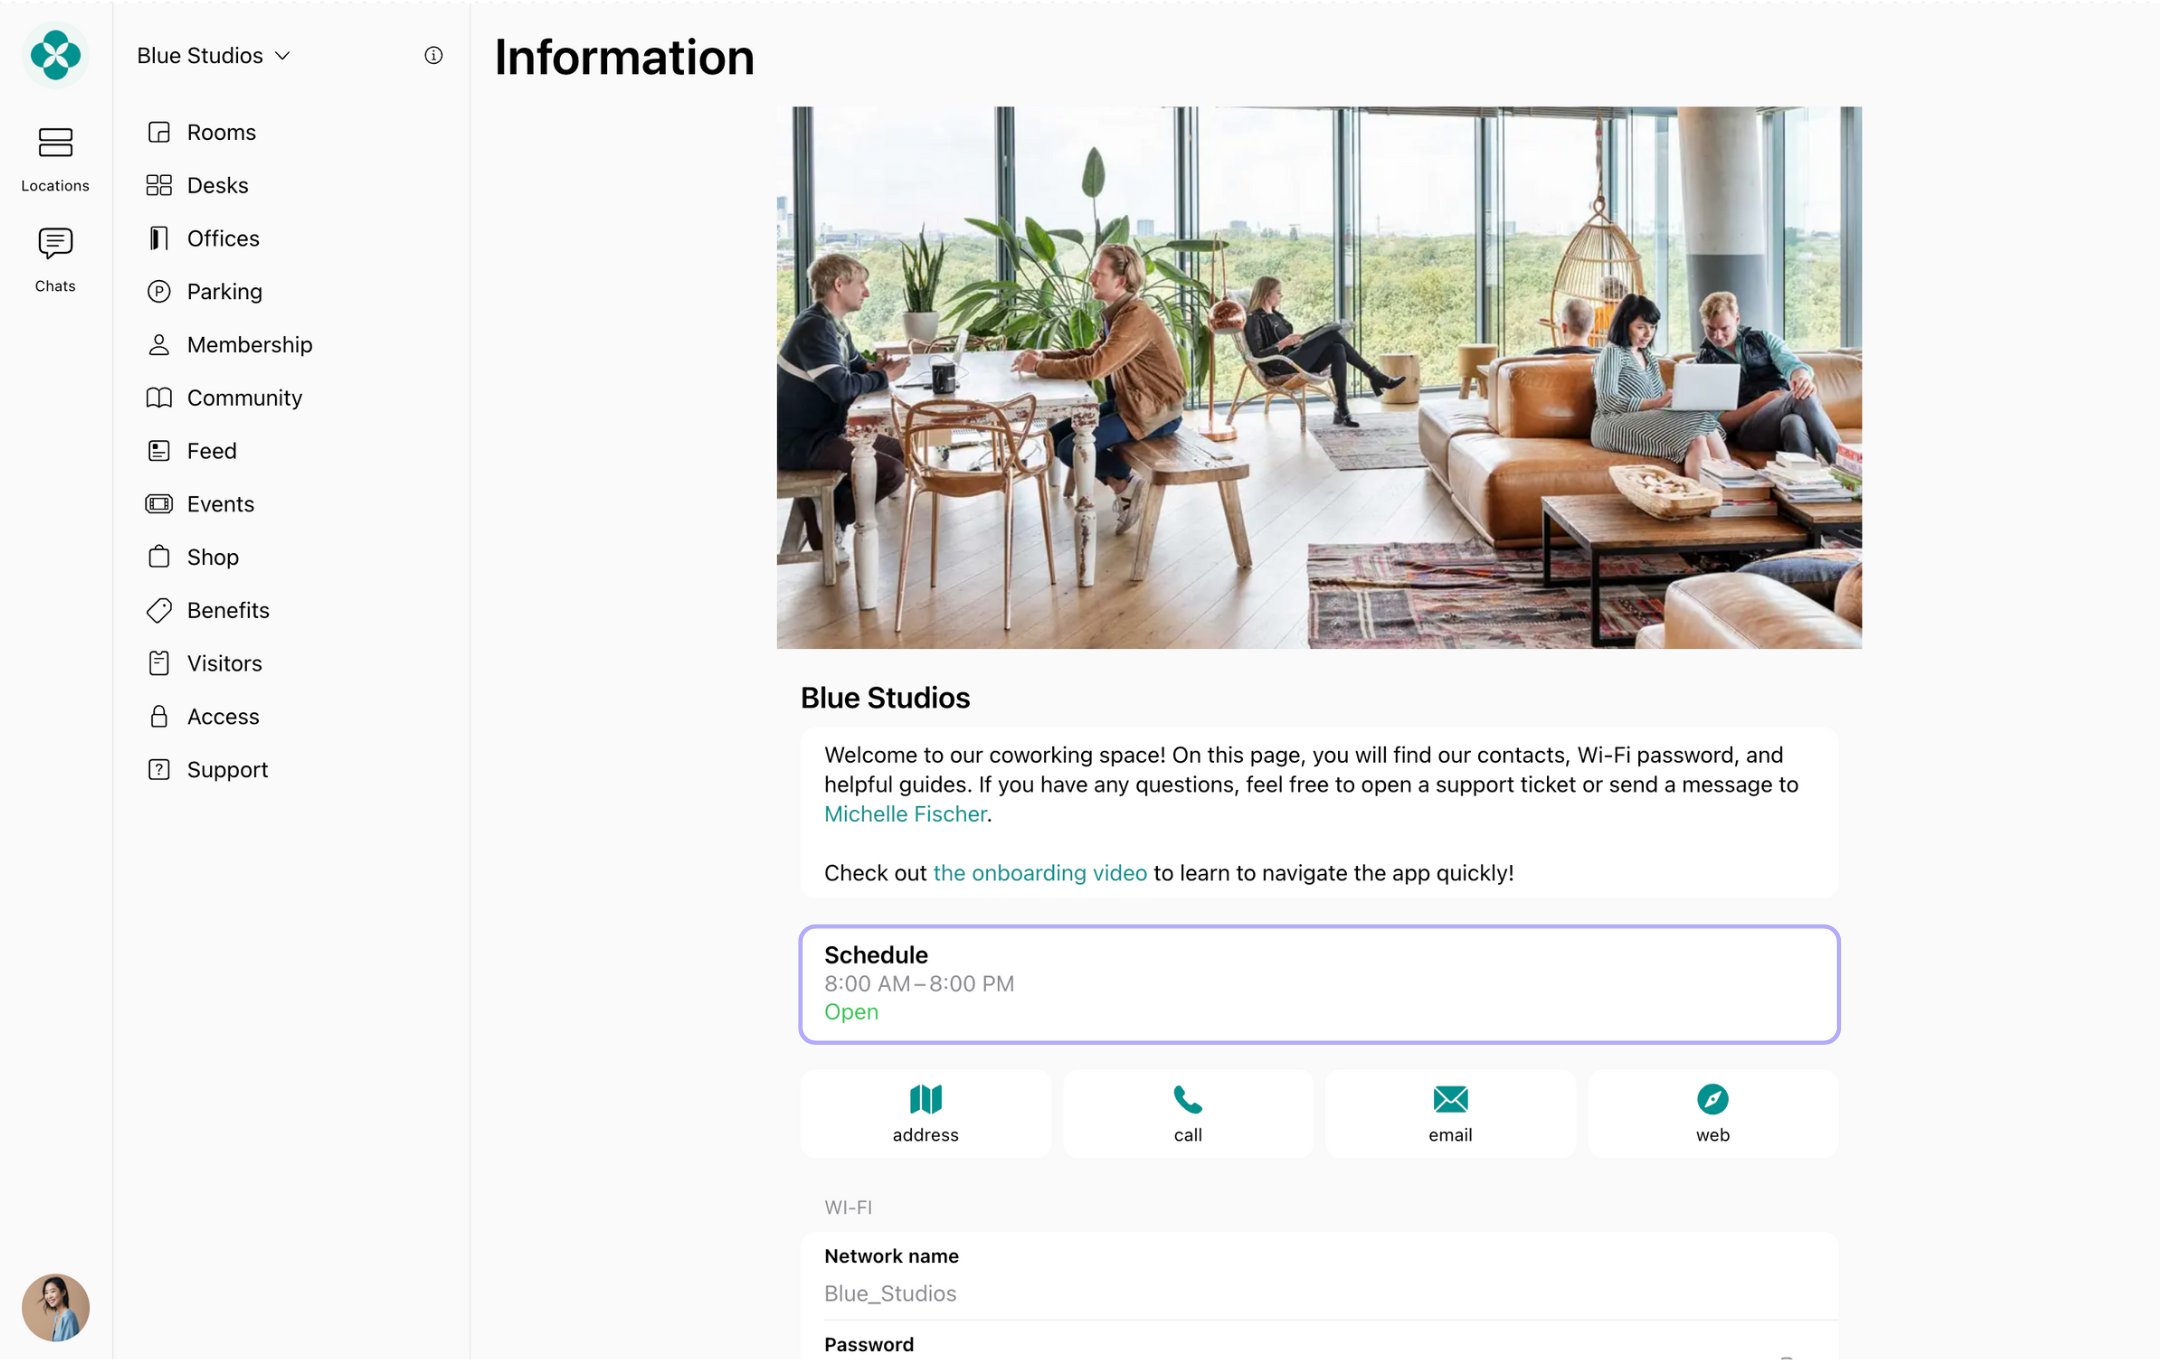
Configure a custom schedule for a resource
Spacebring allows you to configure a custom schedule for a specific resource, giving you extra flexibility. By enabling a custom schedule in a resource’s settings, you can:- Override the location schedule for that resource.
- Set unique working hours — for example, if a meeting room should only be available in the evenings or on weekends.
- Block out specific days (e.g. for maintenance or events) without affecting other resources.
- Go to the Resources > Rooms, Desks, Offices, Parking, or Equipment.
- Create or edit the resource.
- Enable the Custom schedule switch.
- Click on the preferred schedule and modify it. To close this resource on particular dates while the rest of your space stays open, select them in the Closed days section of that schedule.
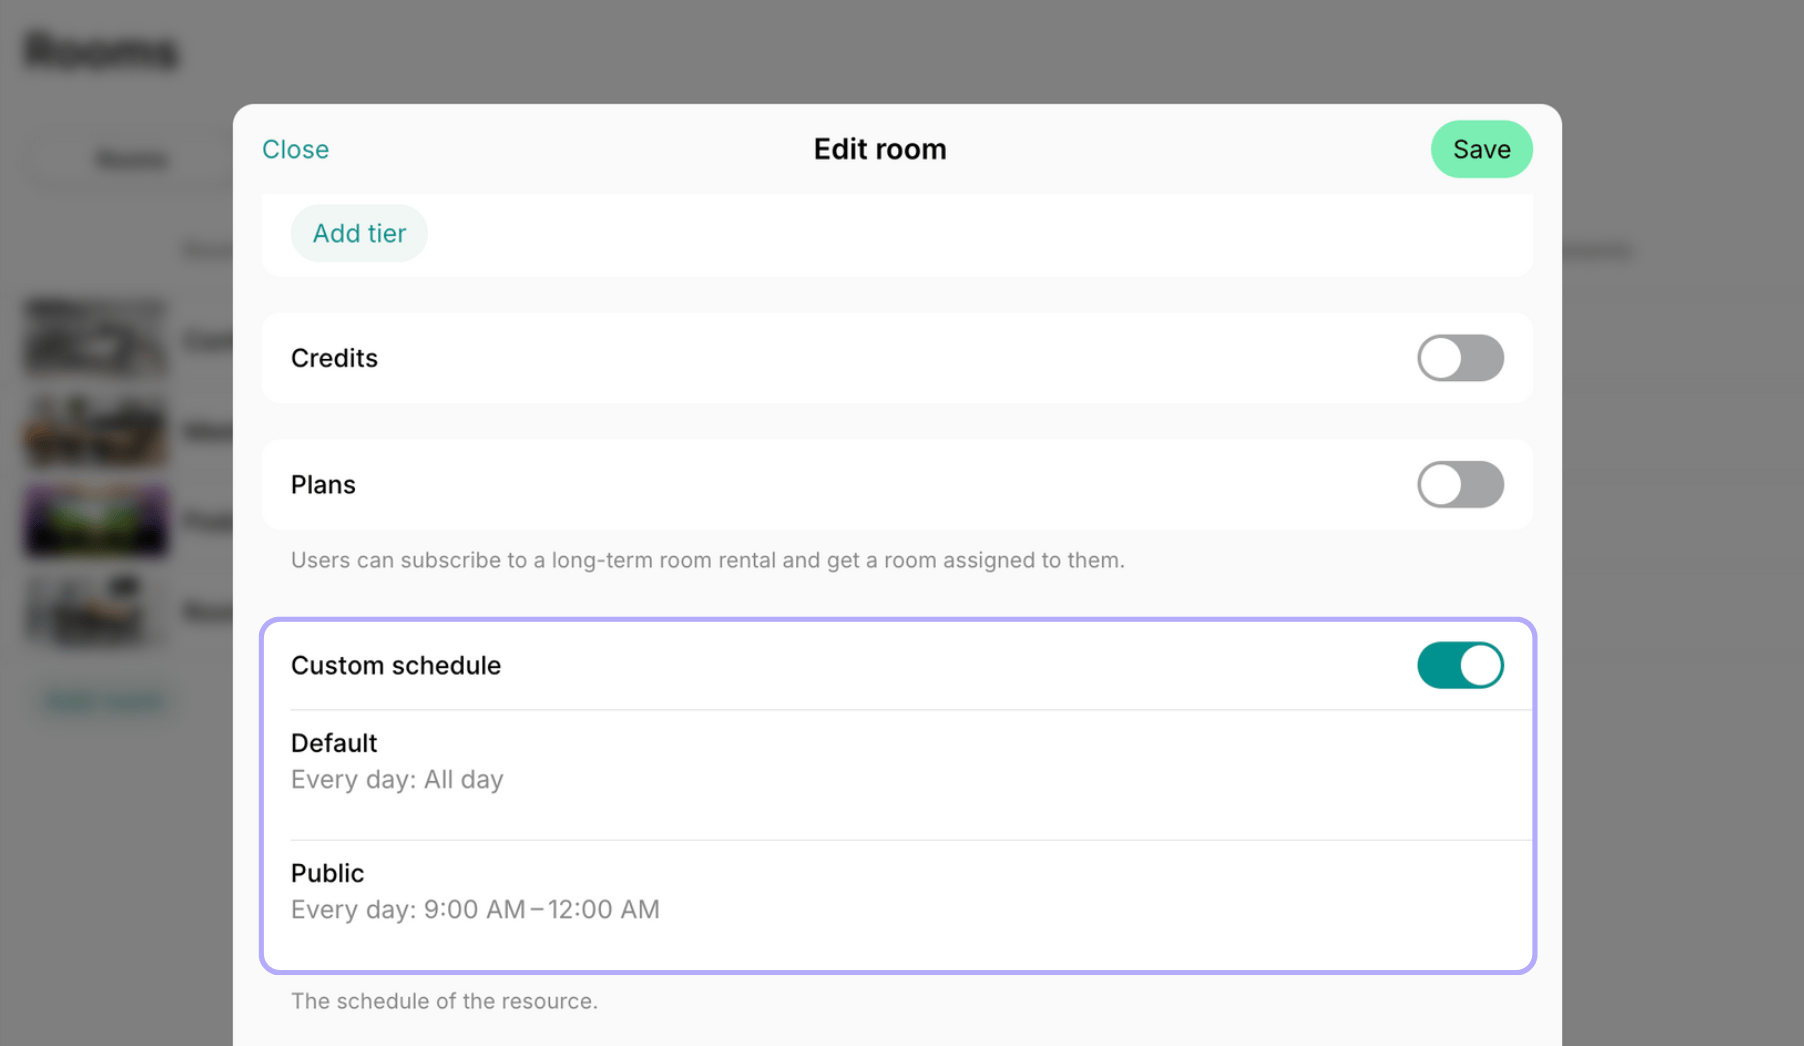
- Save the changes.
Once enabled, the custom schedule will fully control the resource’s availability and ignore the location schedule. Turning the switch off puts the resource back on the location schedule — the custom hours stay saved but no longer apply.
Closed days suit a holiday or a few known dates, because you pick each date by hand. To take one resource out of use for a long or indefinite period, for example during a renovation, create an assignment without a customer instead.