

Enable check-ins
Room and desk bookings
- Click the menu (…) next to your location name > Location settings > Resources.
- Open the Rooms or Desks tab.
- Enable the Check-in switch.
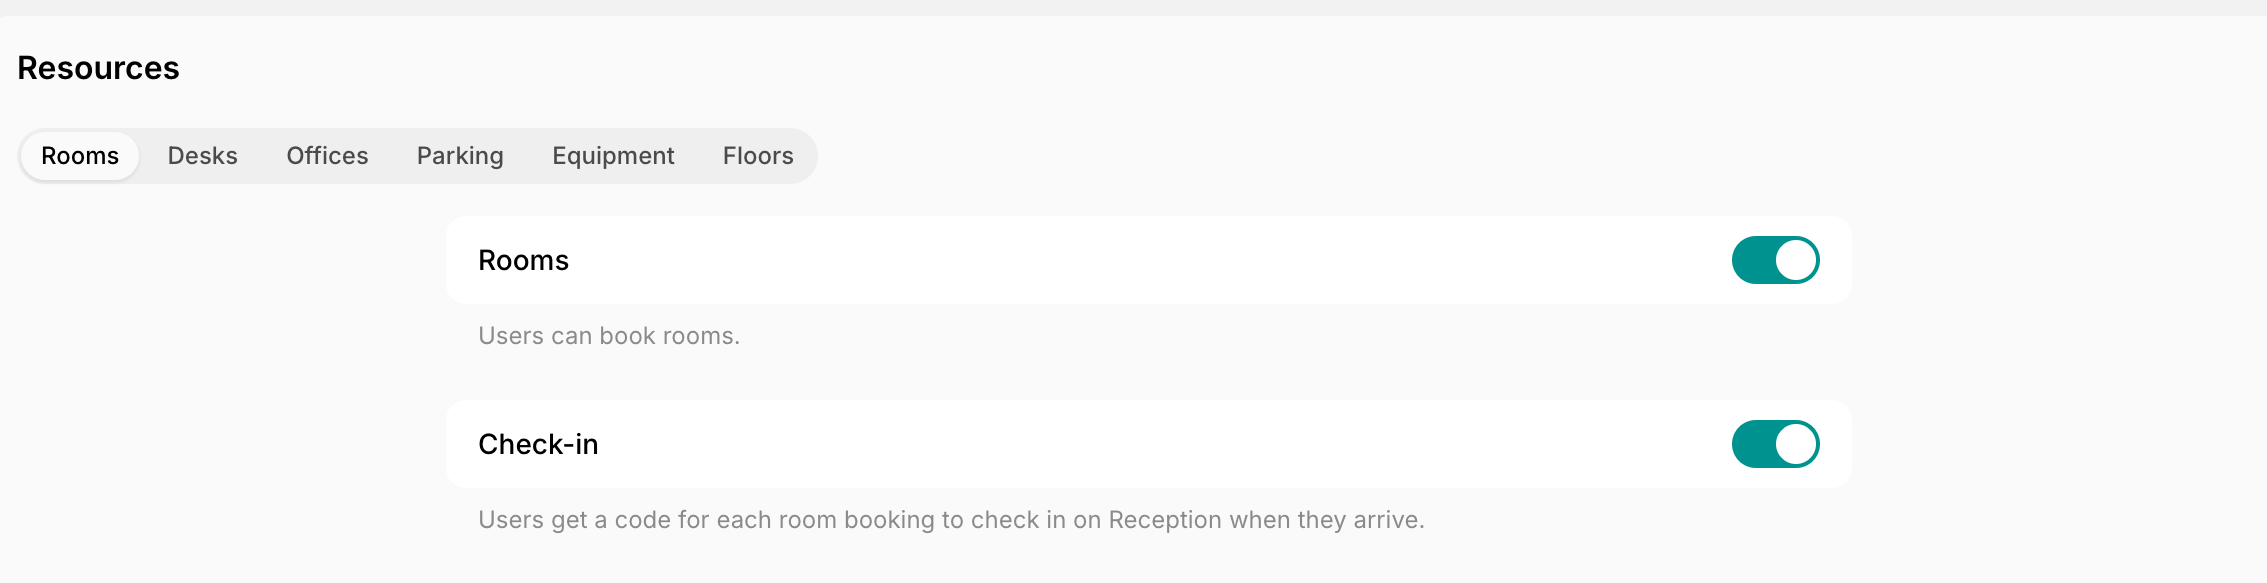
Codes are created for bookings made after you turn the setting on. Earlier bookings stay without a code.
Event tickets
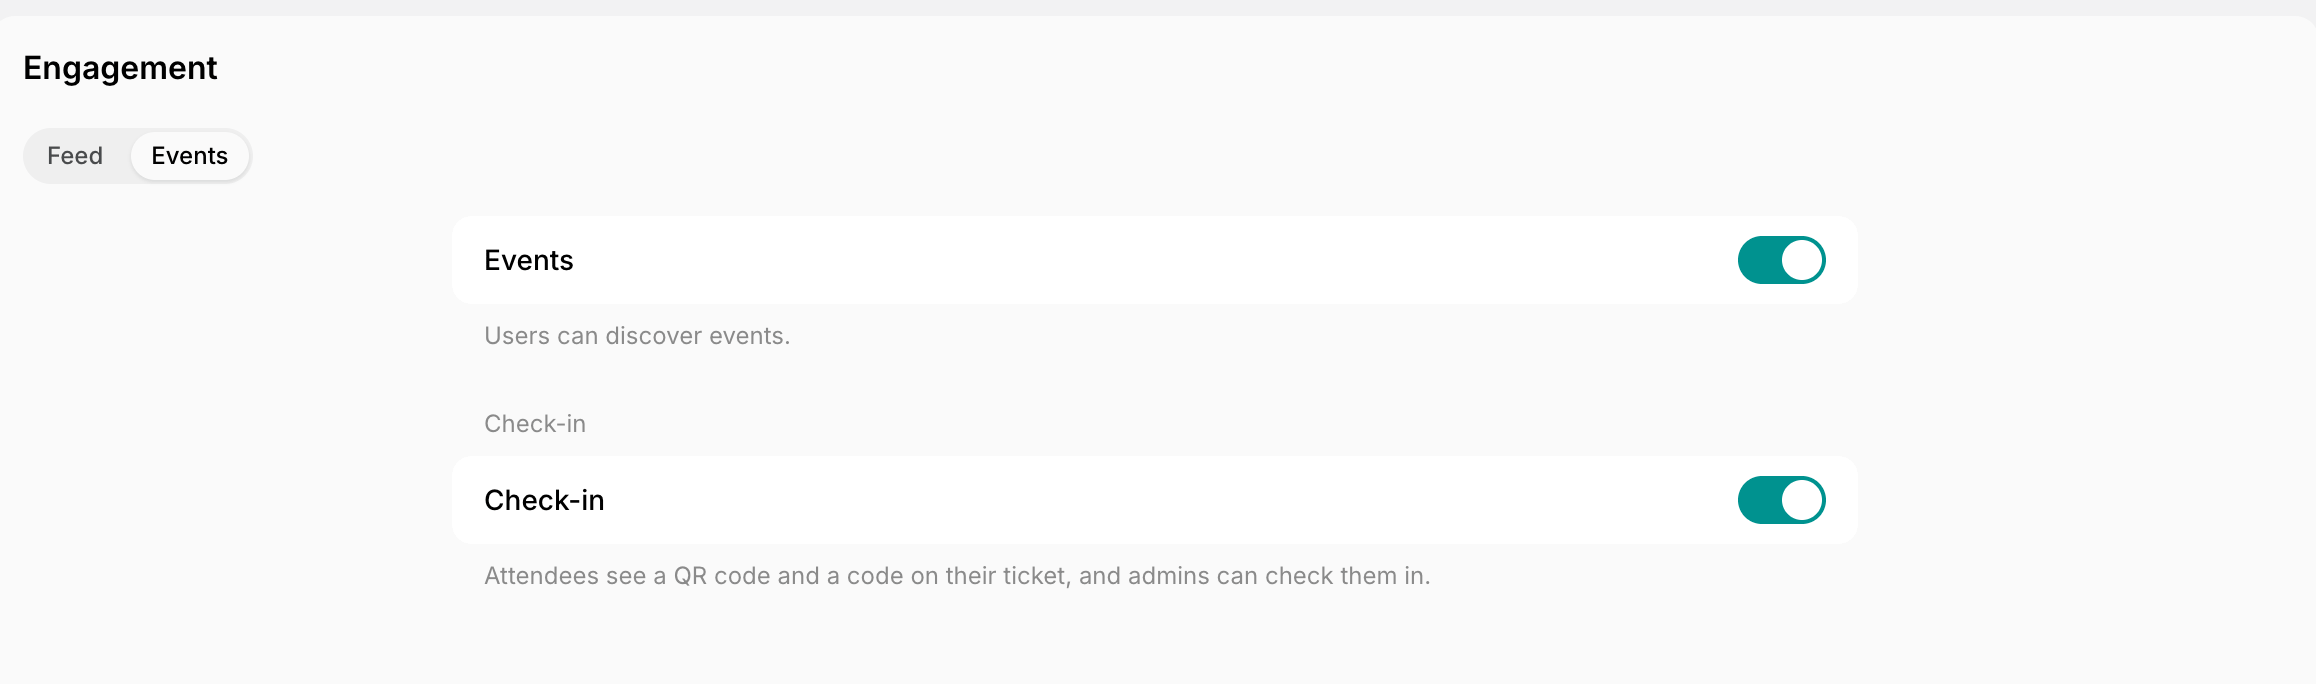
- Click the menu (…) next to your location name > Location settings > Engagement.
- Open the Events tab.
- Enable the Check-in switch.
Visits
Visitors always get an invitation with a visit code as soon as they are registered. There is no separate switch for it.Enable check-out
- Click the menu (…) next to your location name > Location settings > Service.
- Open the Visitors tab.
- Enable the Check out switch.
How people get a check-in code
- A person books a room or a desk, gets an event ticket, or is registered as a visitor.
- Spacebring creates a check-in with a six-digit code. On a booking, the booker and each invitee get their own.
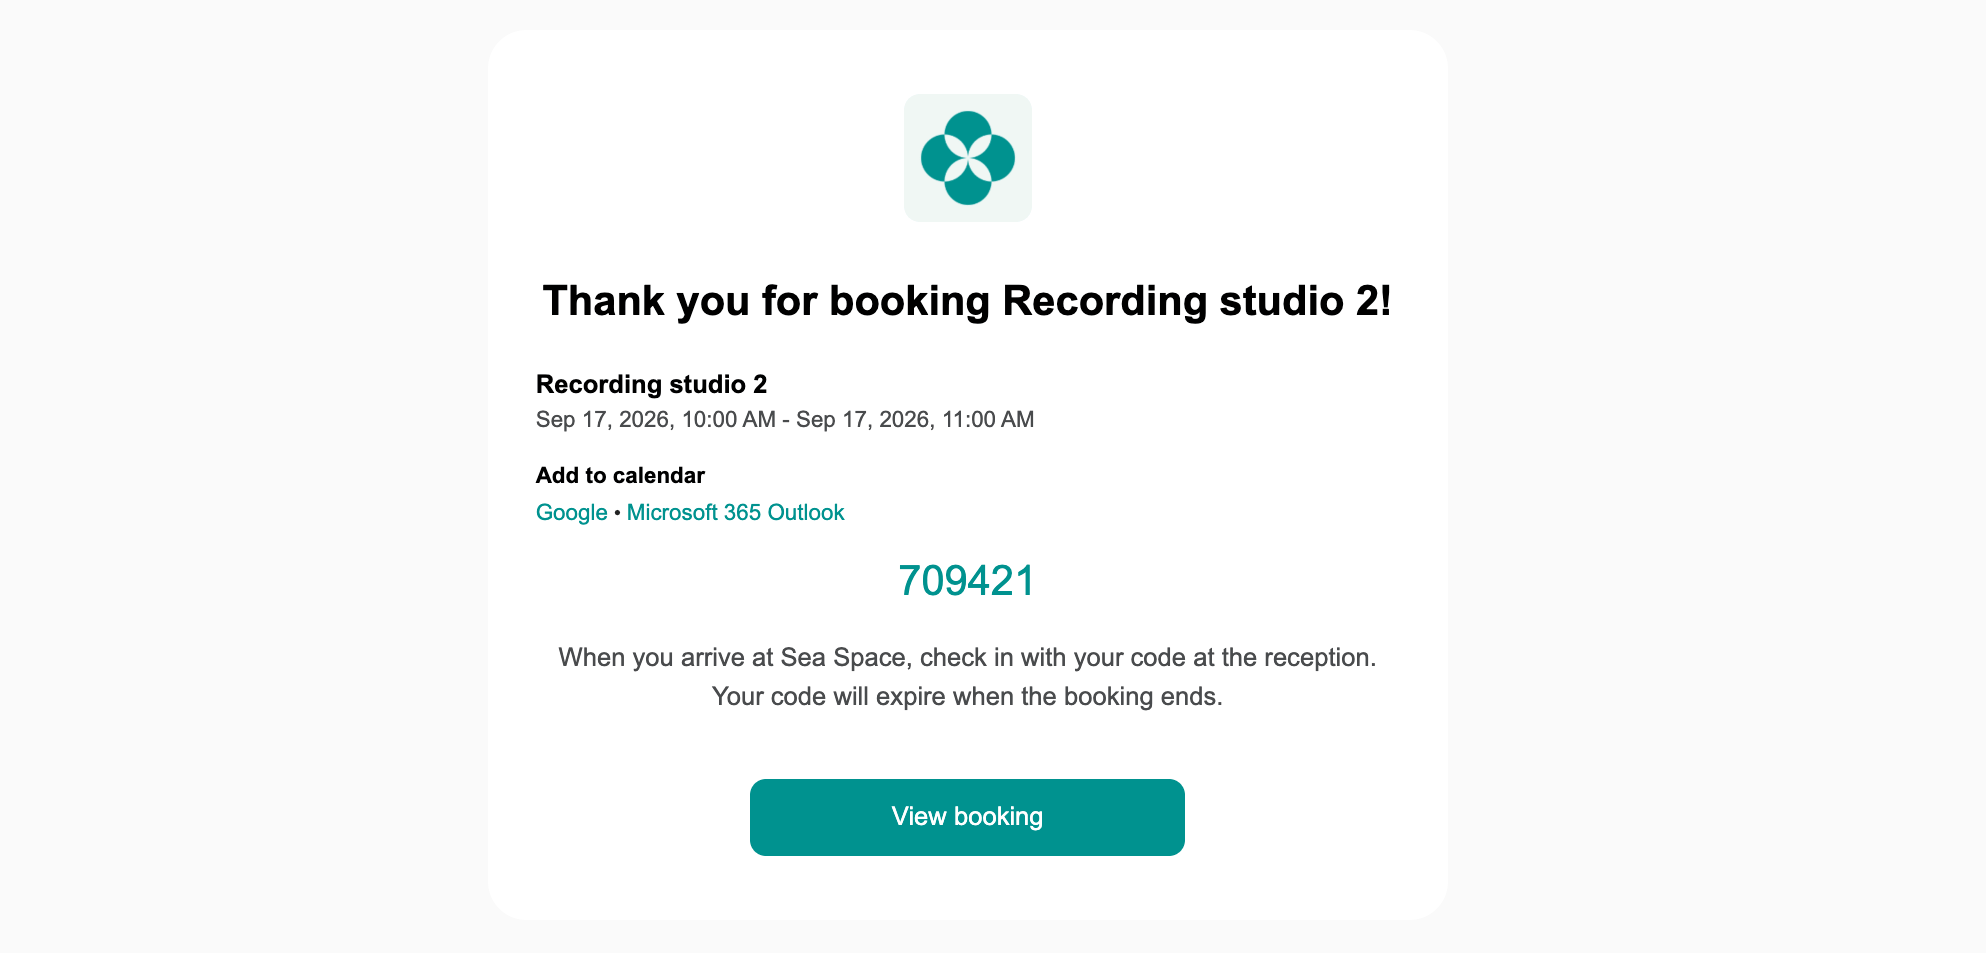
- Spacebring sends the code:
- For a room or desk booking — in the resource’s confirmation email when one is set up, in the reminders before it starts, and in the email someone gets when a booking is made for them or they are added to one as an invitee.
- For an event ticket — in the event’s confirmation email, when one is set up.
- For a visit — in the visit invitation email.
-
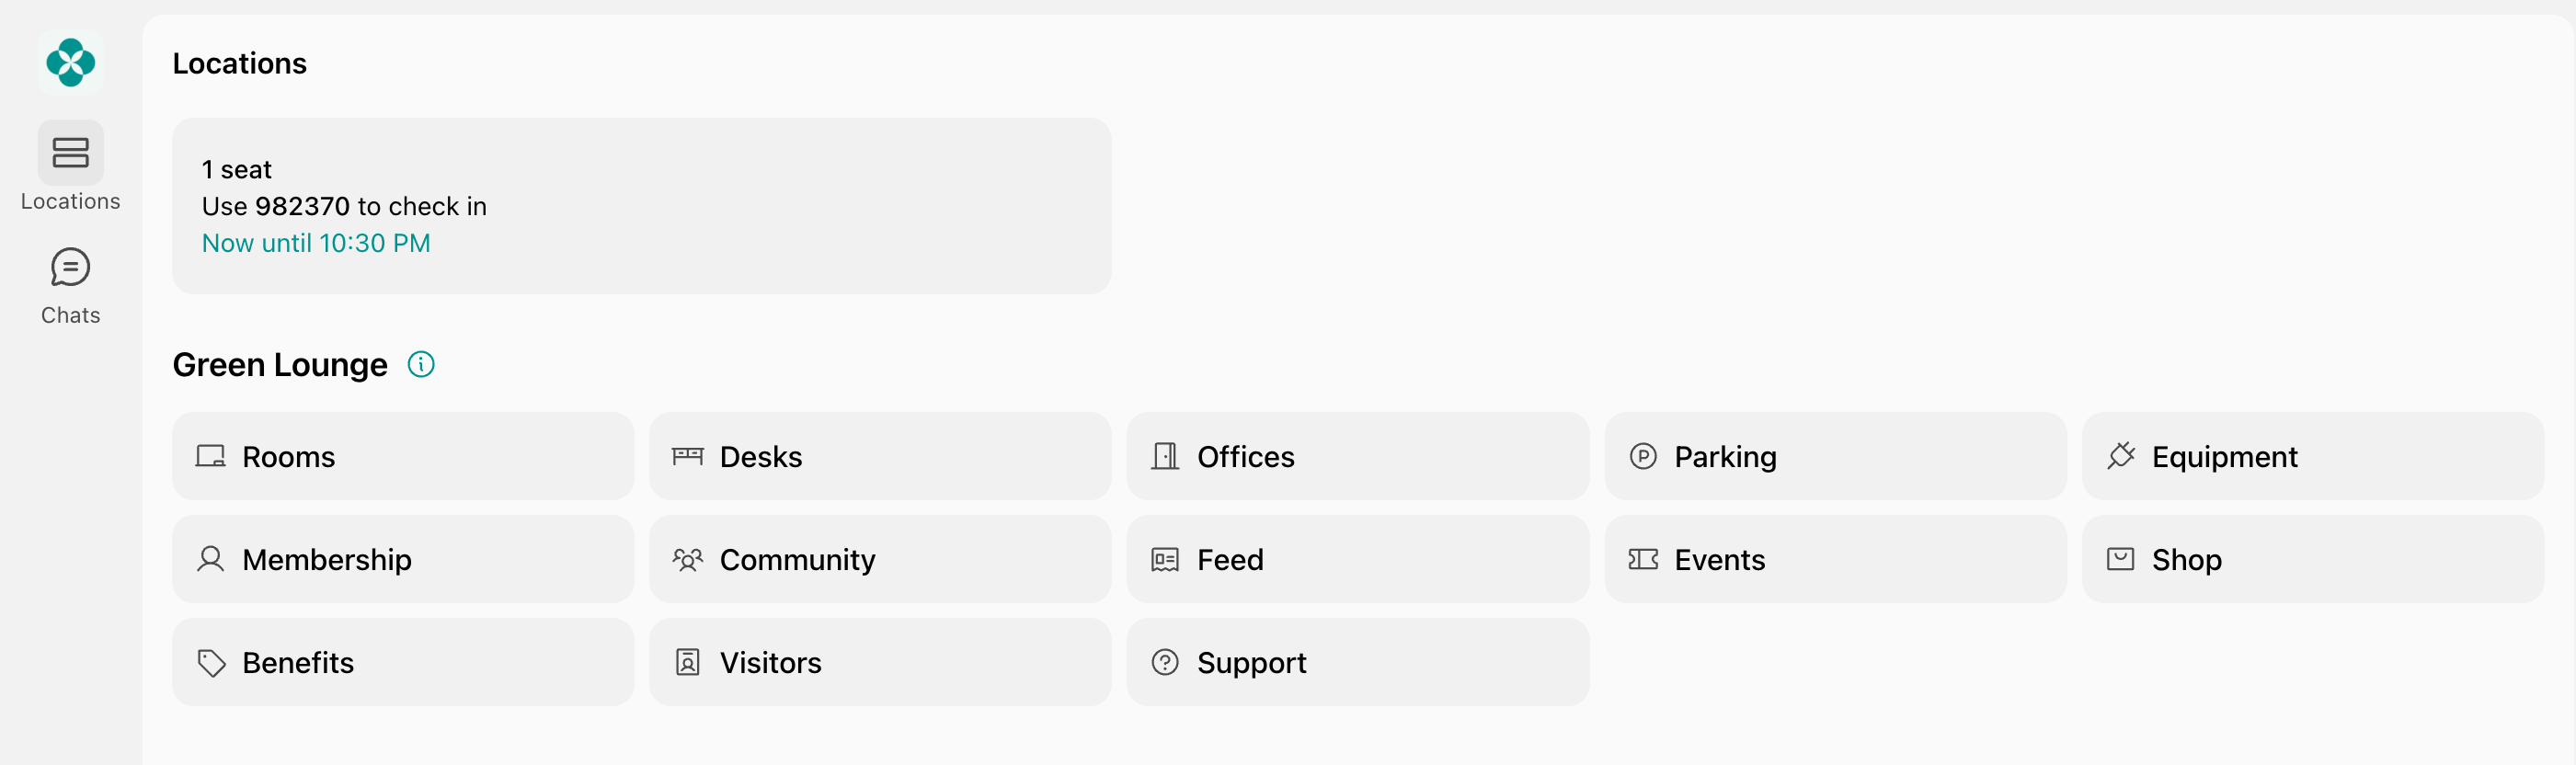
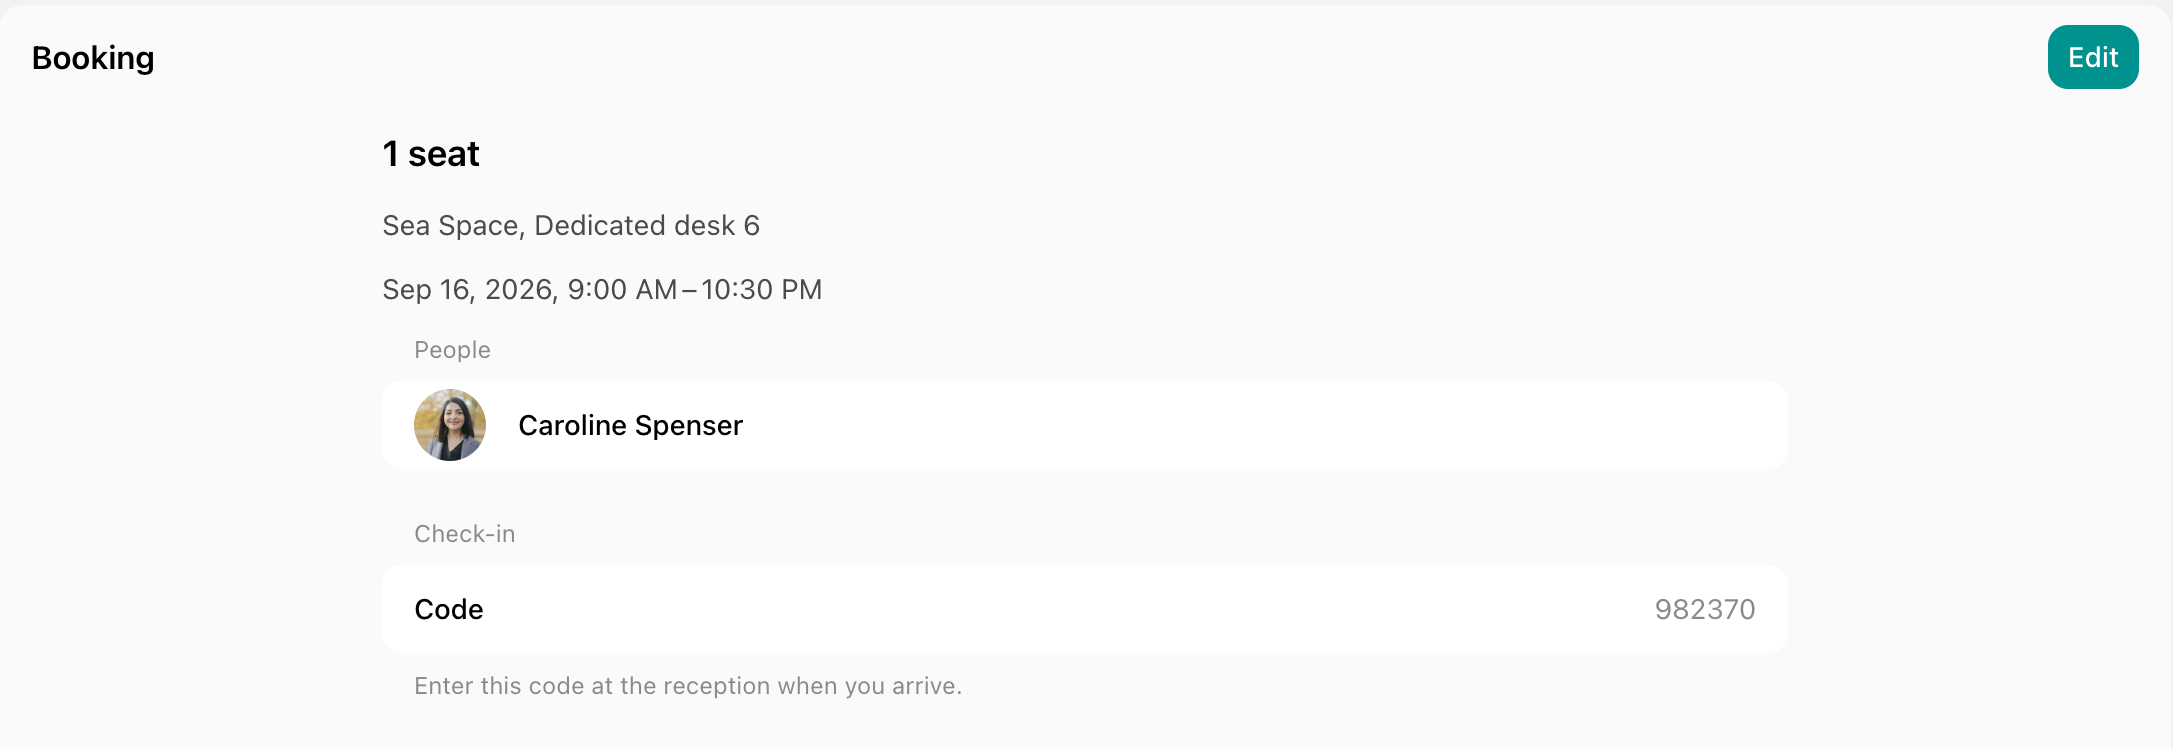
People also find the code themselves:
- On the widget on the home screen of the member web portal and mobile app.
- On the booking on the Account > Bookings page, or on the ticket on the Account > Tickets page, next to its QR code.
-
The code starts working an hour before the start and stops working at the end:
- A booking code — until the booking ends.
- An event ticket code — until the event ends.
- A visit code — until the end of the visit day.
How people check in
Members, attendees, and visitors check themselves in on the Reception tablet:- The person taps Check in on the tablet when they arrive and confirms that they have a code.
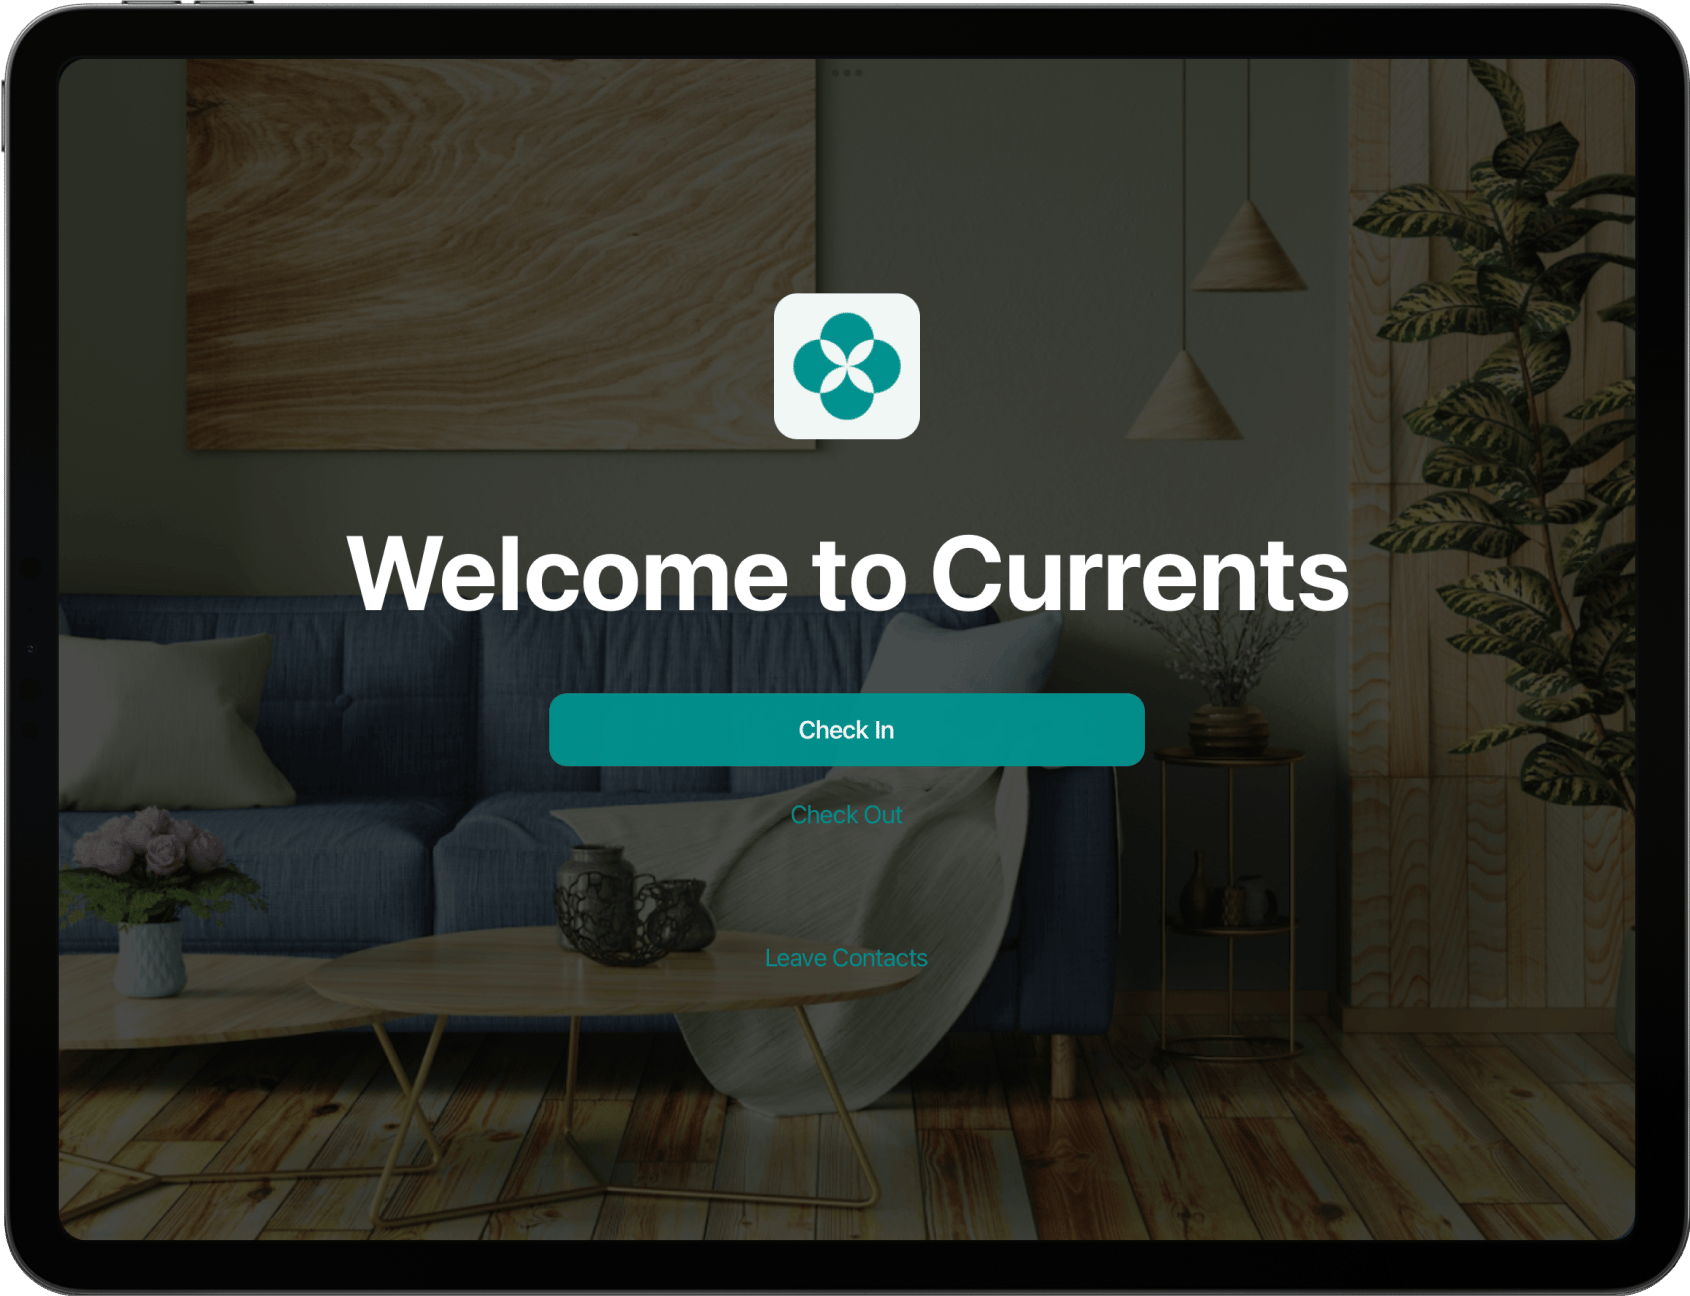
- They enter their six-digit code.
- Reception confirms the check-in. For a visit, it also notifies the host that their visitor has arrived.
How administrators check people in
When there is no tablet at the door, or someone can’t find their code, your team checks them in instead:- Go to the Check-ins page.
- Find the person’s row and click (…) > Check in. No code is needed.
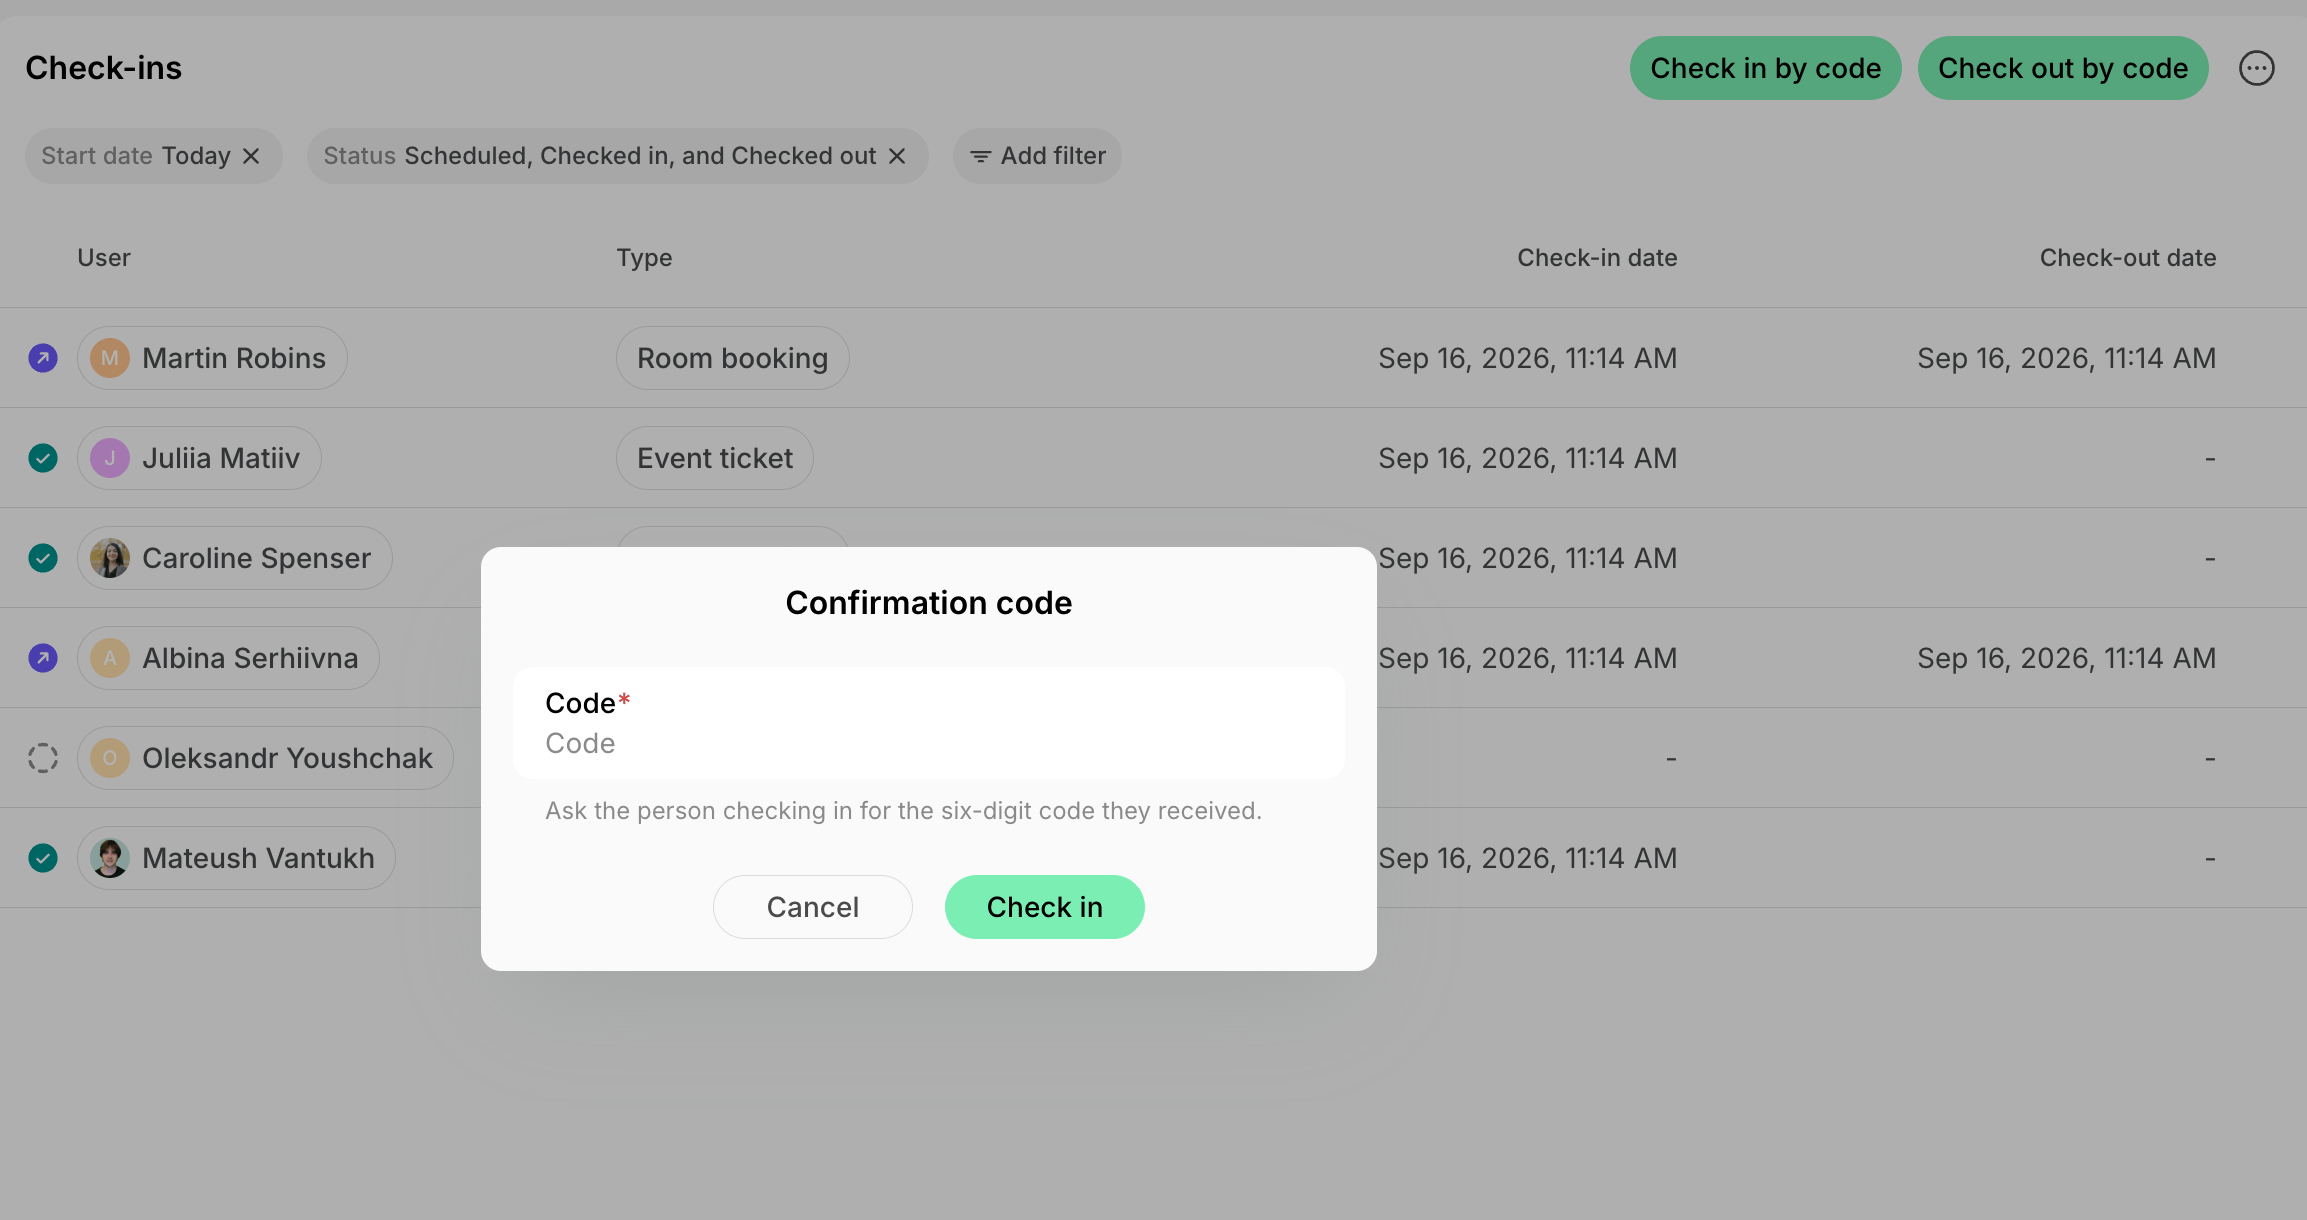
- To work from the code the person shows you, click Check in by code top right, enter the six-digit code, and confirm.
- Click (…) > Check out on their row when they leave, or use Check out by code.
Nobody can check in before the code starts working, an hour before the start. Until then the row has no Check in action, and the code is rejected. Check out becomes available once the person has checked in.
Track check-ins
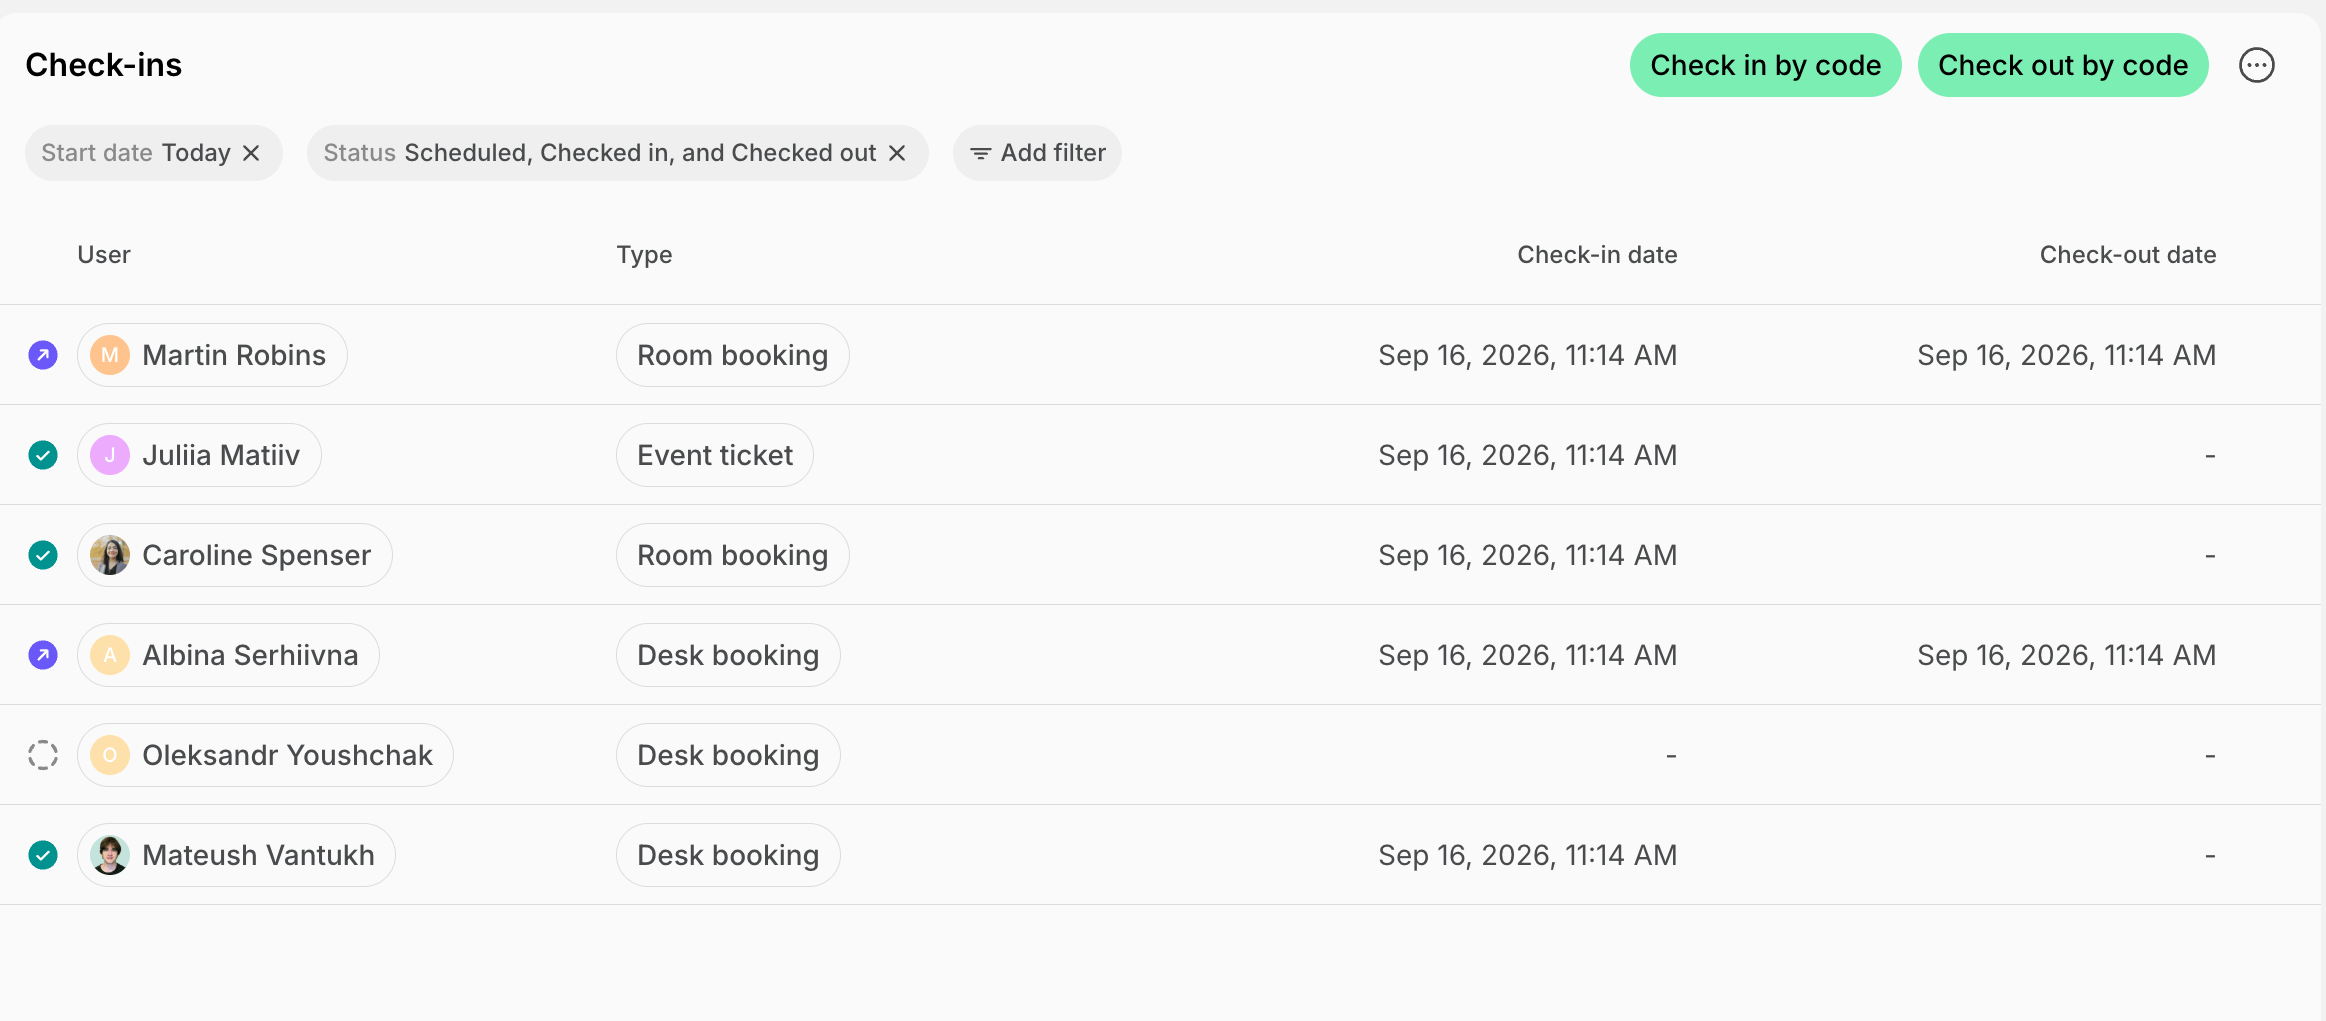
- Go to the Check-ins page. It opens on the people who have already checked in today, so you see who is in your location right now.
- Filter by Status to see the rest of the day:
- Scheduled — expected, hasn’t checked in yet.
- Checked in — in your location now.
- Checked out — has left.
- Expired — nobody checked in before the code stopped working.
- Filter by Start date to move from today to another day or period.
- Filter by Type to look at room bookings, desk bookings, event tickets, or visits on their own.
- Click a person’s name to open their profile, or click the type to open the booking, ticket, or visit behind it.
- Look for check-out times in red. They mark people who stayed longer than they booked.
A member with a subscription but no booking, ticket, or visit has no code and never appears on the page. To have those members check in too, include day passes in their subscription and ask them to book a desk for the days they come to the space.
Export a check-ins report
- Go to the Check-ins page and apply the filters you need.
- Click (…) in the top right corner.
- Click Export as CSV or Export as XLSX.