

- Niche or curated spaces that require personal or professional verification
- Verification-based memberships that require ID uploads or supporting documents
- Discounted memberships for students, nonprofits, or other groups that need eligibility confirmation.
Membership sign-up requests are available only on specific plans.
Configure membership sign-up requests
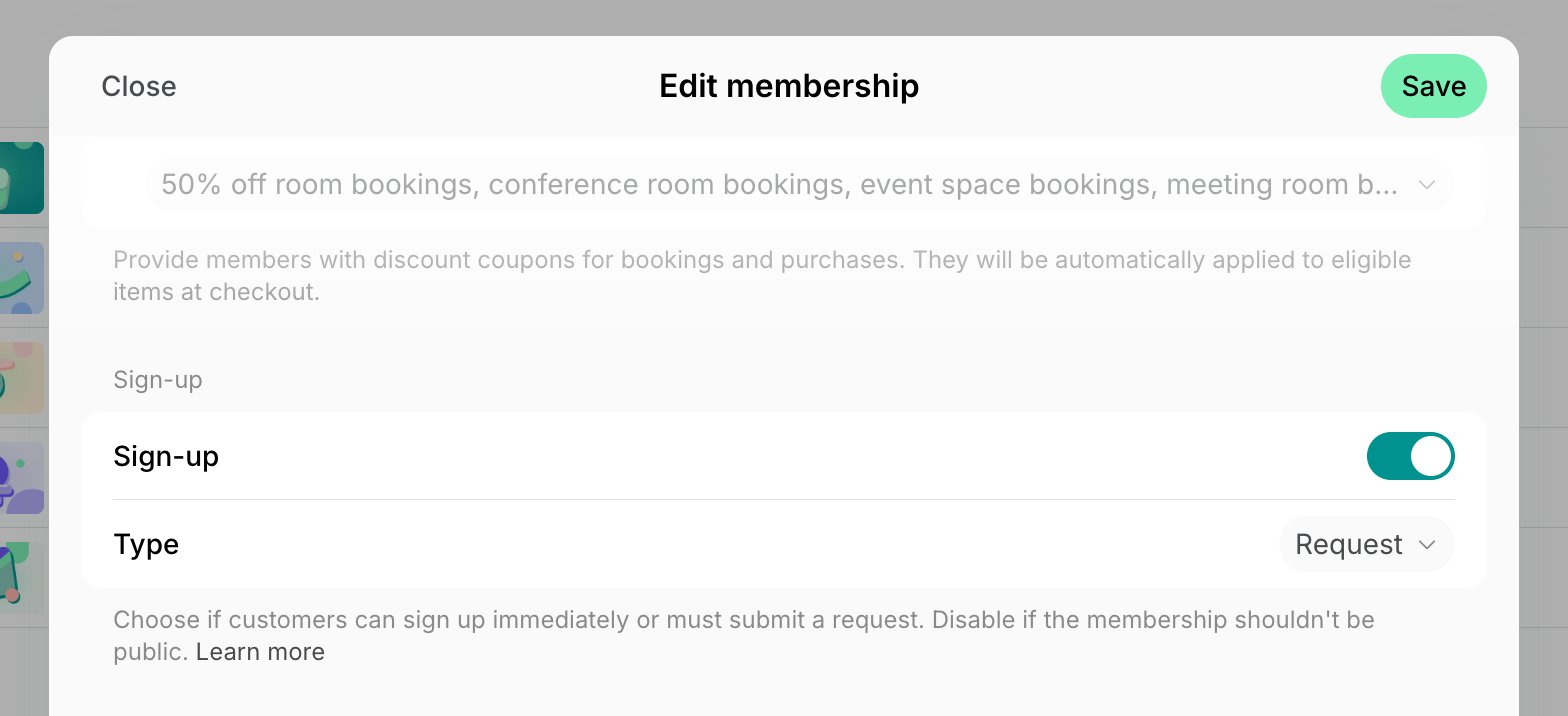
- Enable the Support page and set it to Public visibility so users can see administrators’ replies.
How users apply for a membership
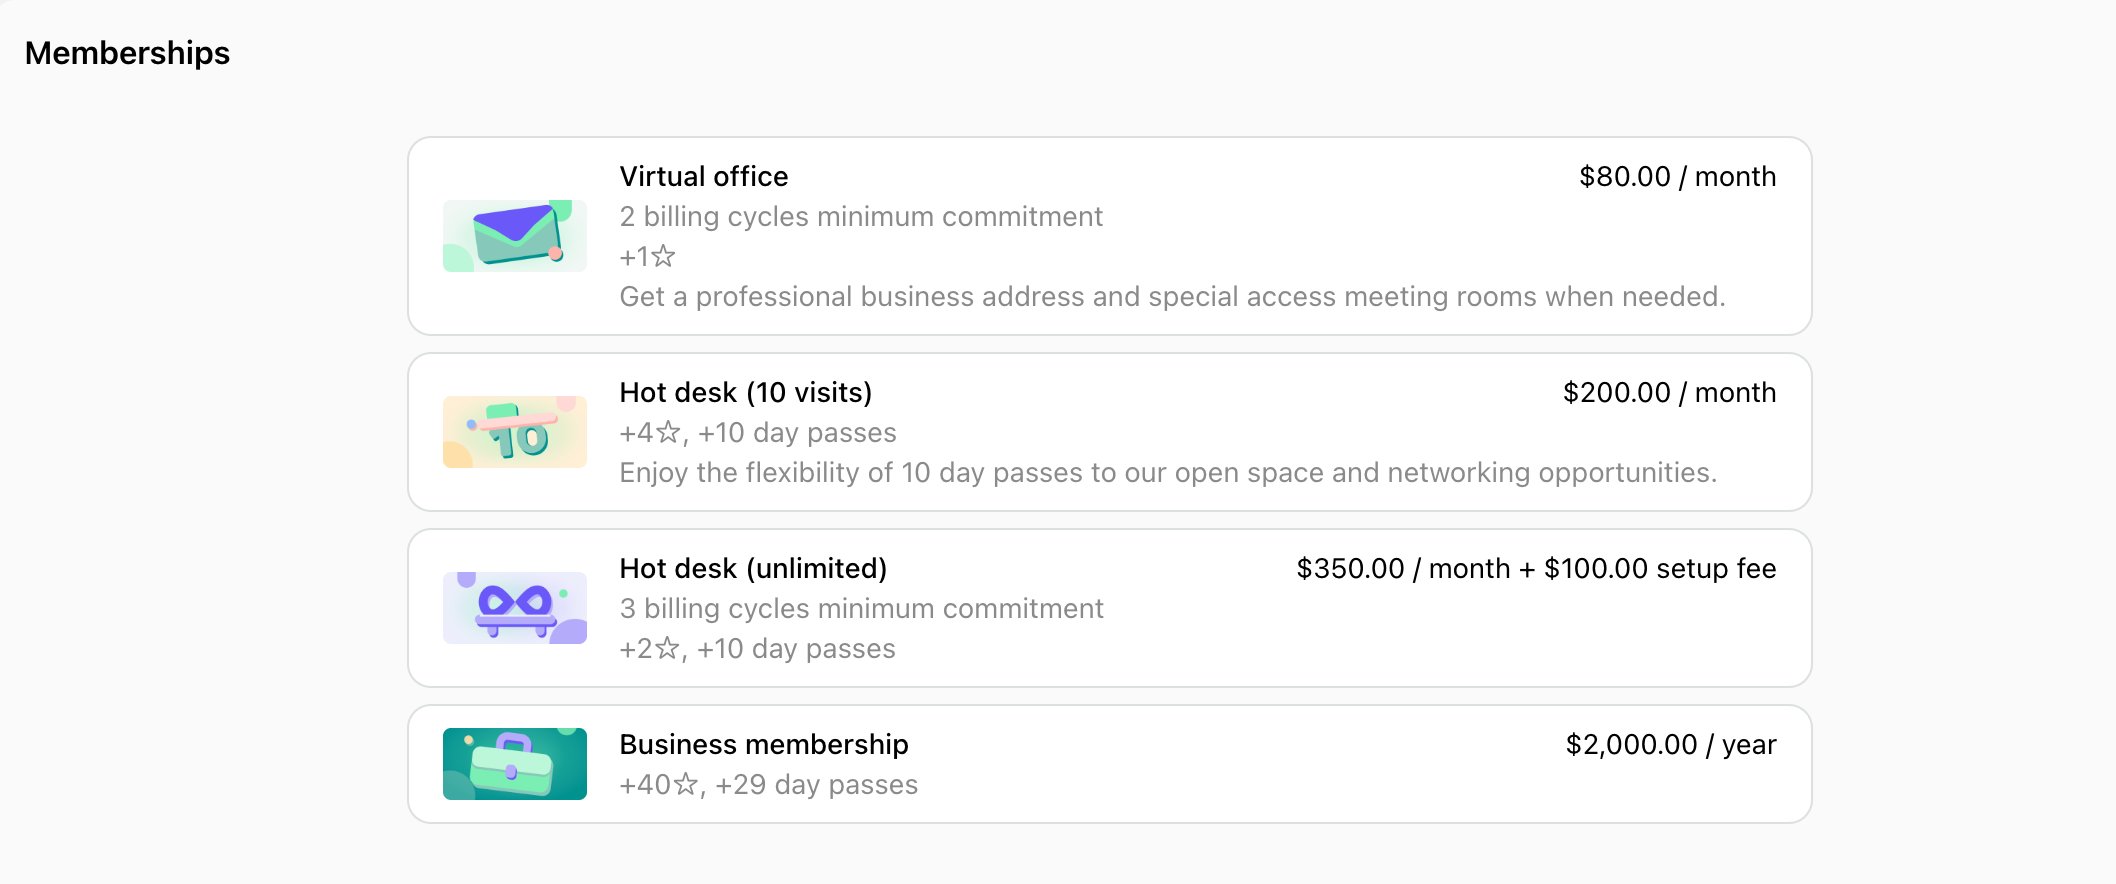
- Customers press Sign up next to their desired location to view available memberships.
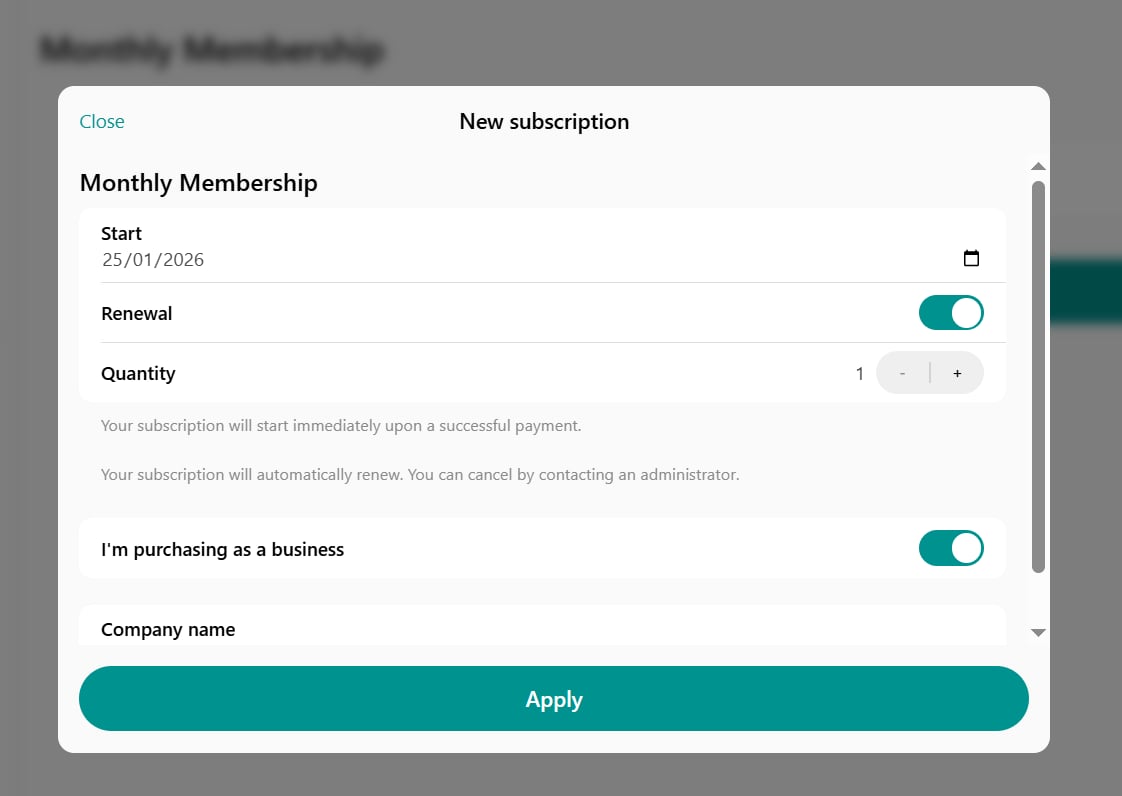
- Select a membership, set their preferred subscription start date, renewal, quantity, whether they want to sign up as an individual member or as a business, and optionally leave a comment.
- Press Apply to submit their request.
How administrators manage membership sign-up requests
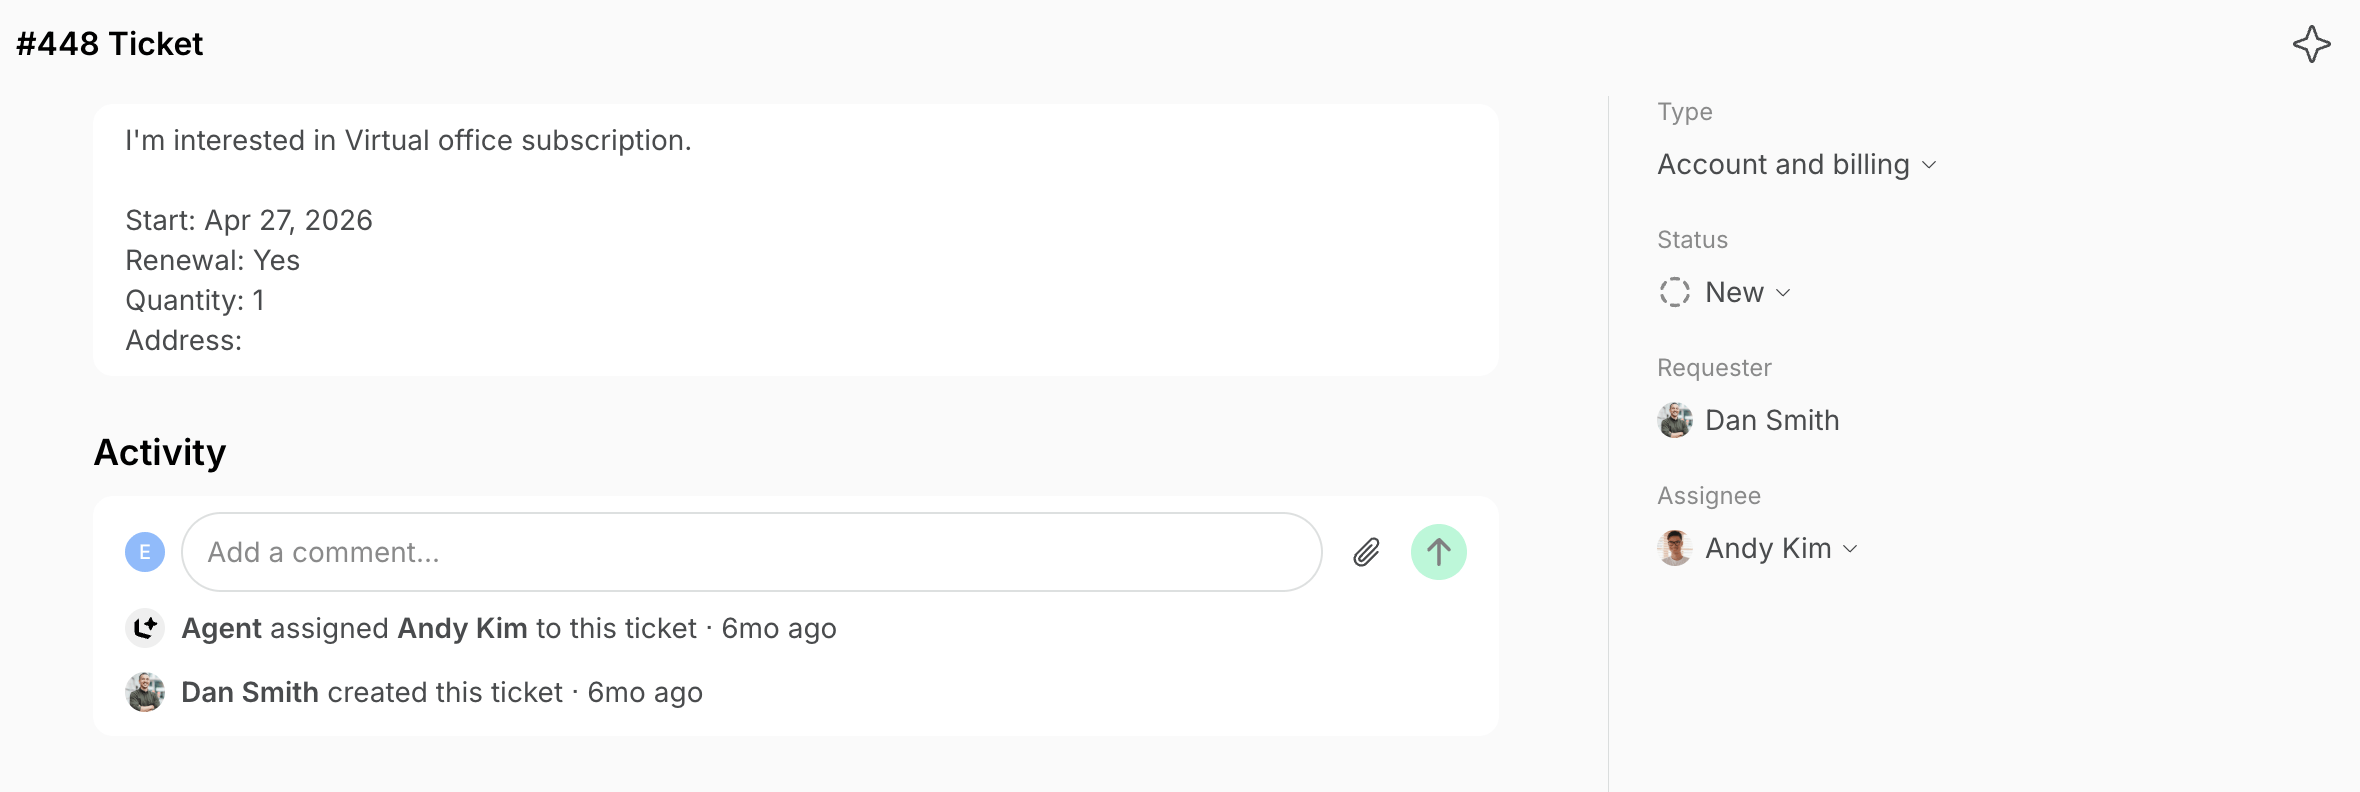
- Each membership sign-up request appears as a new ticket in Support > Tickets.
- Administrators manage the request through the support ticket:
- Communicate with the applicant
- Request verification documents
- Ask follow-up questions
- After confirming the necessary documents or details, if the user is approved and you want to set them up as a member or for a subscription, click the user’s name in the ticket and press Invite as member.
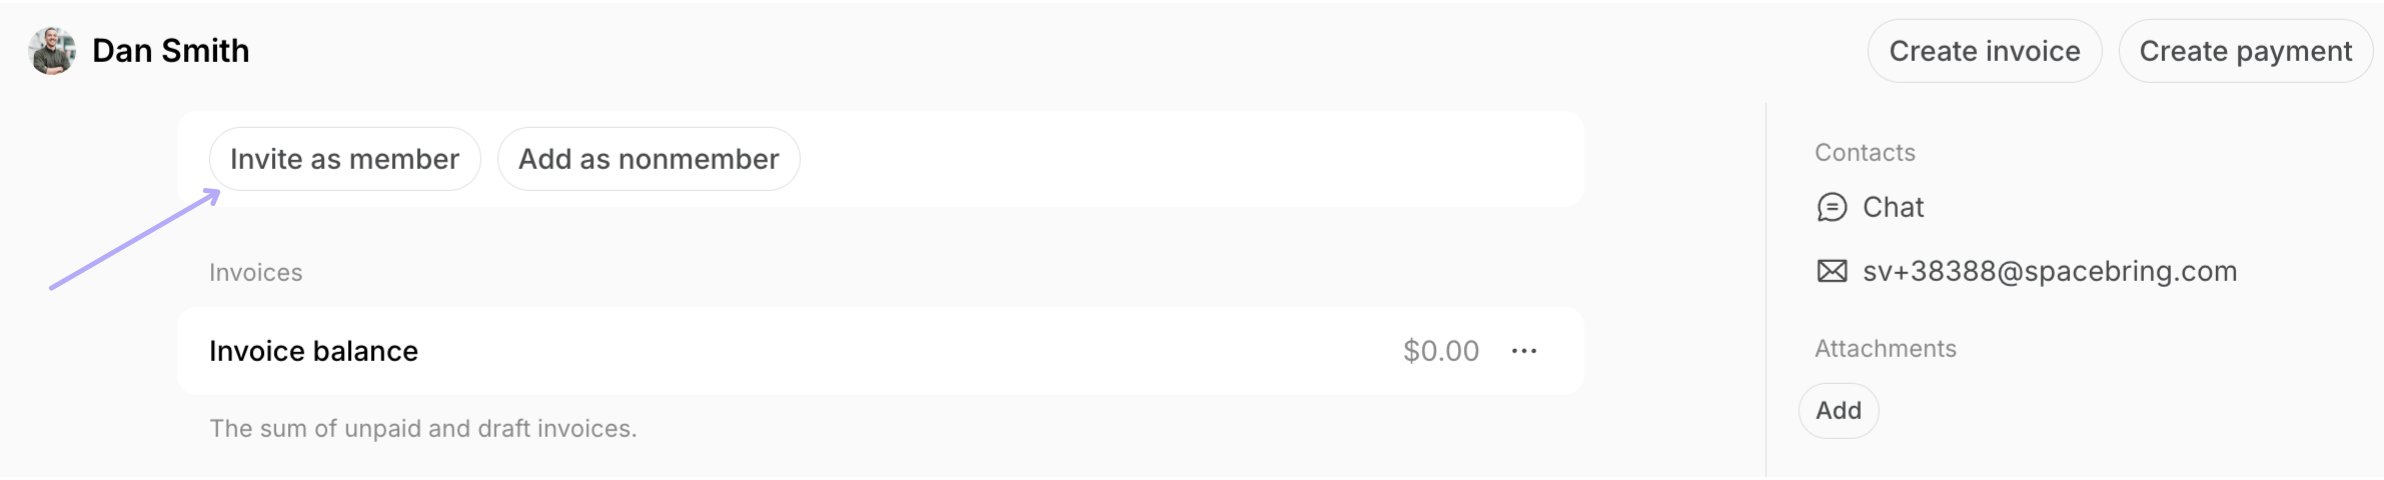
- Create a subscription for the requested membership for the customer
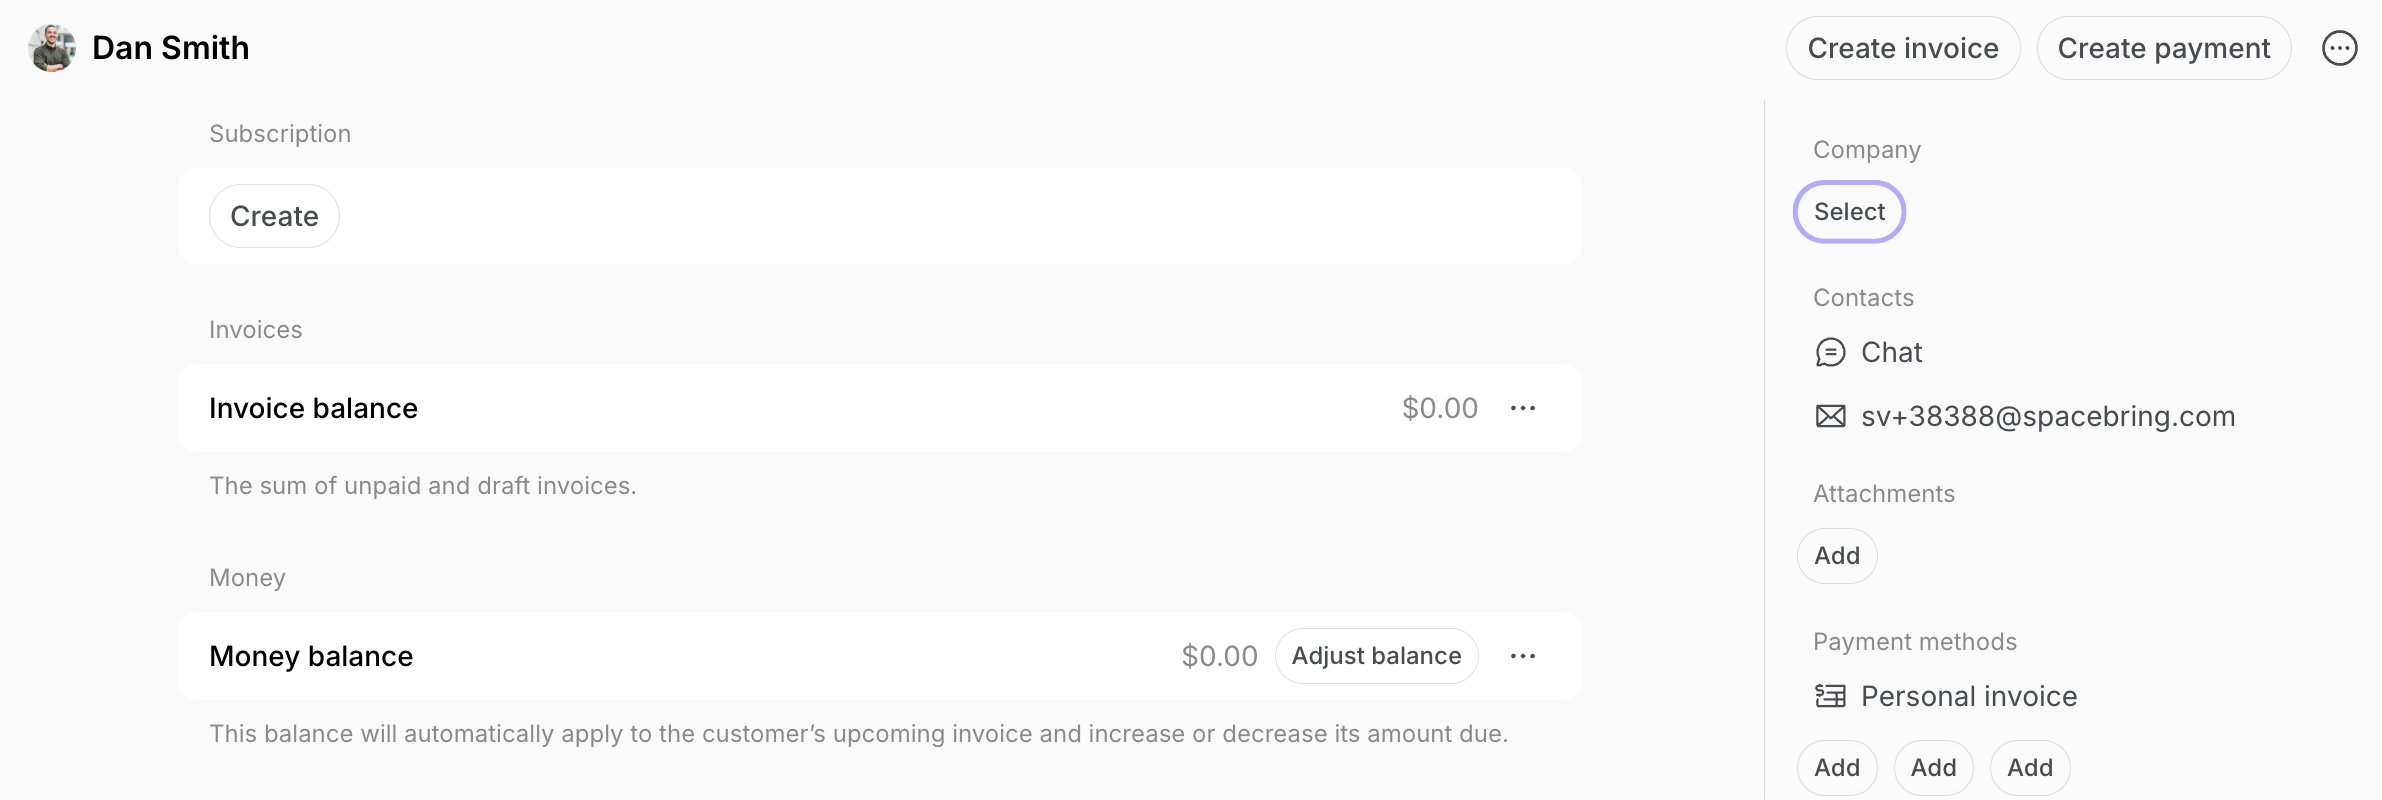
. - If the user requested a company subscription, create a company first > add this user to the company as a manager > create a company subscription.
FAQs
How do I add a customer who applied for a booking or subscription as a member or nonmember?
How do I add a customer who applied for a booking or subscription as a member or nonmember?
When a user applies for a booking or subscription, they are not a member or a nonmember yet. That’s why they don’t appear on the Customers page yet.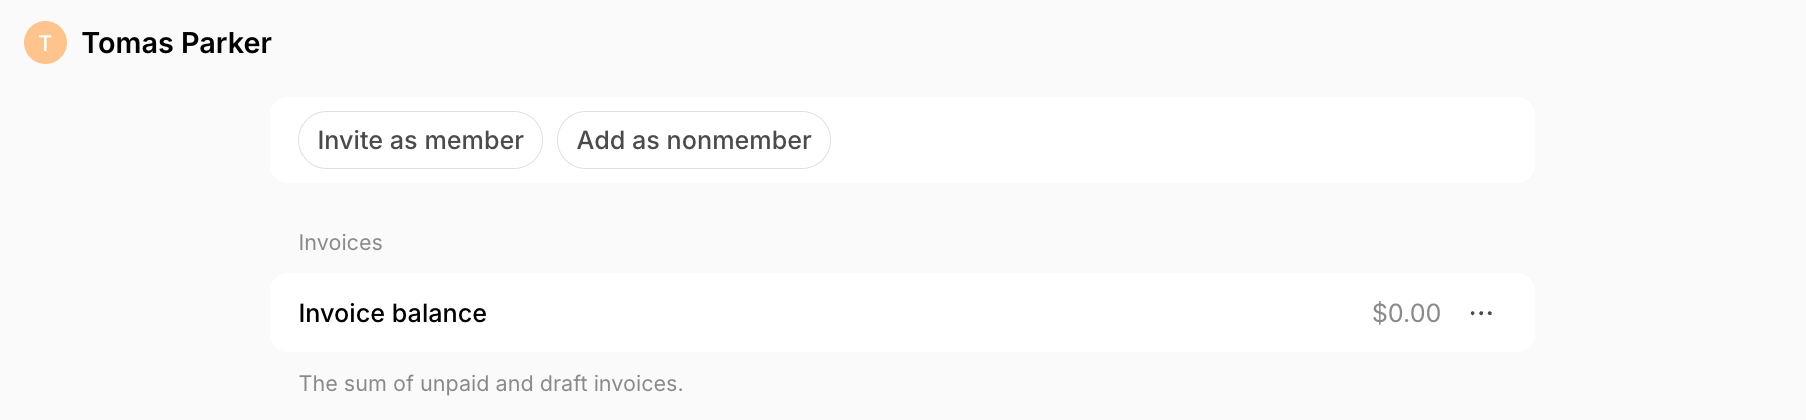
- Click the user’s name from the support ticket to open their profile.
- Click Invite as member or Add as nonmember top right.