

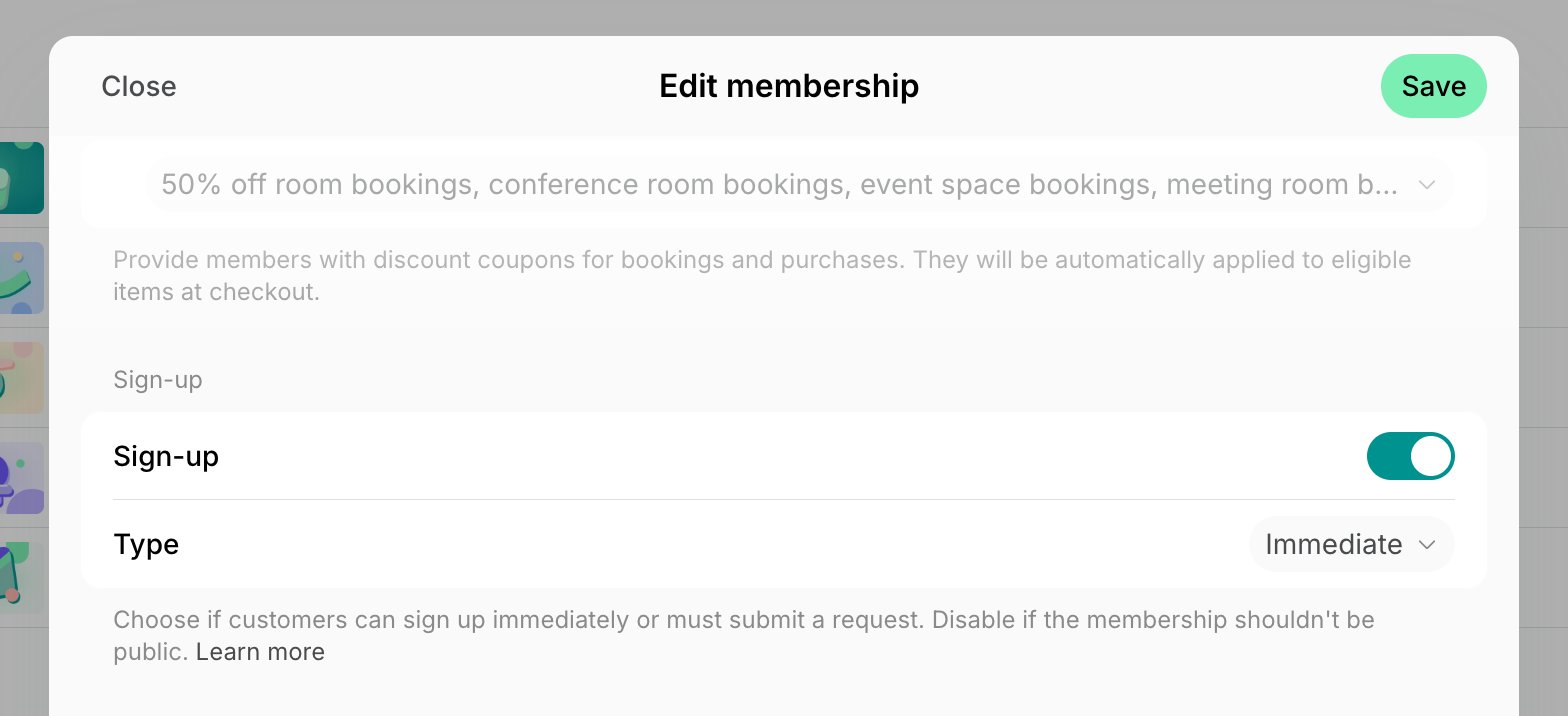
Configure immediate sign-ups
How users sign up for memberships
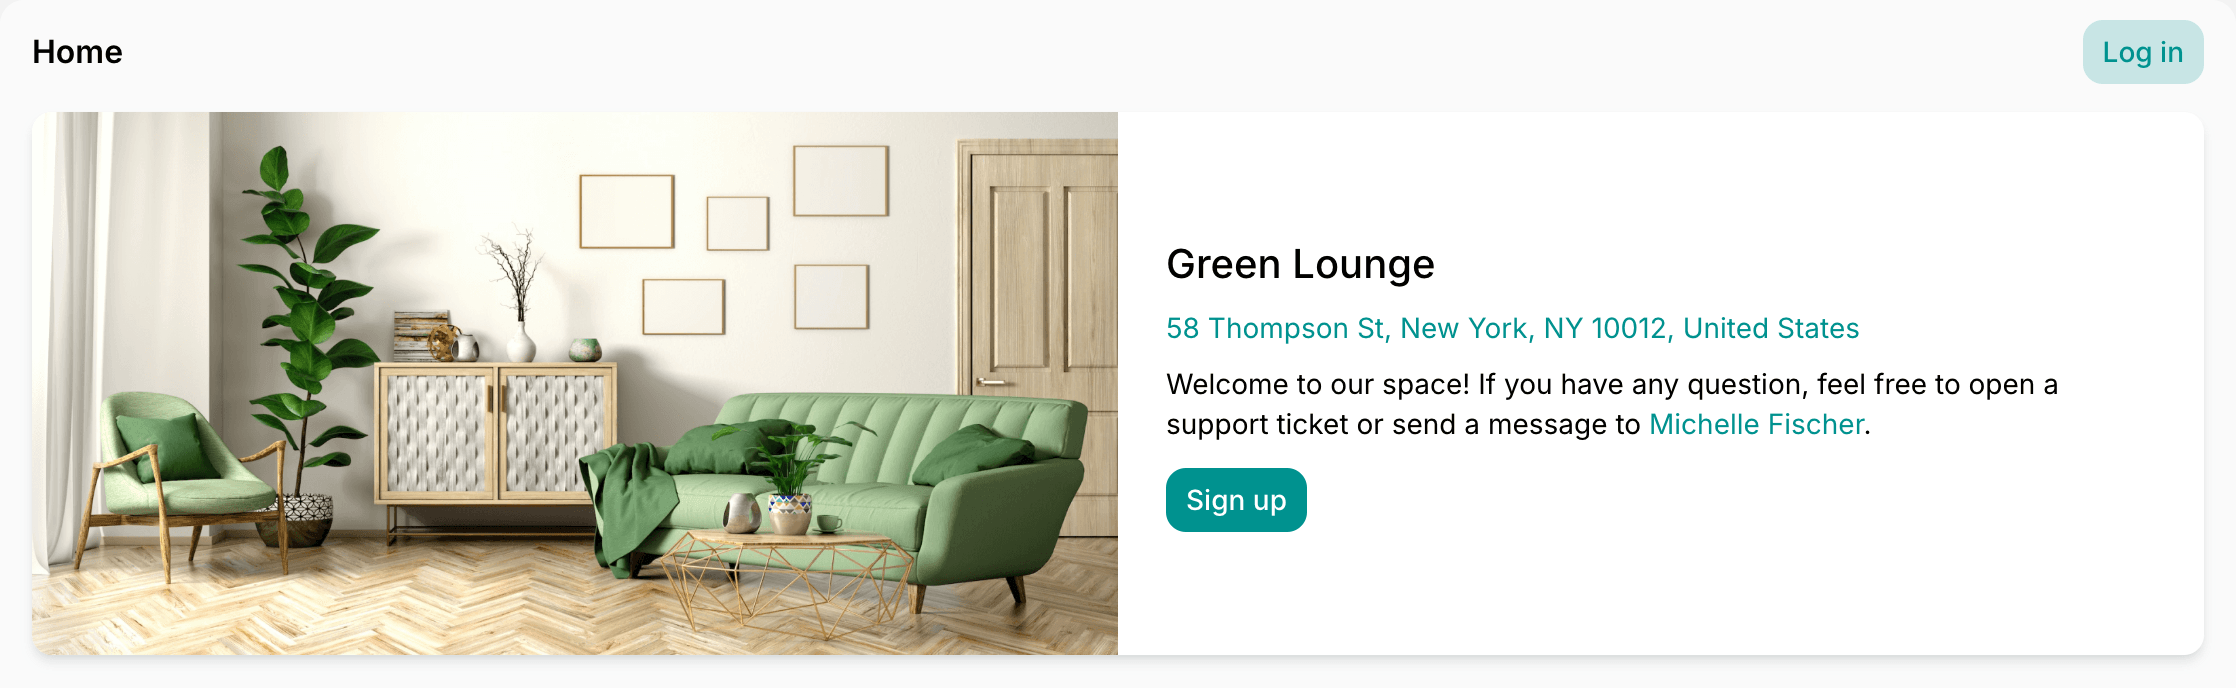
Where users can sign up Member web portal or mobile app On each location’s Home page, customers find a Sign up button in the location’s card. It opens the location’s Memberships page, which lists the memberships they can sign up for. Customers click a membership to see its details.- Customers who already have a subscription at another of your locations see a View memberships button there instead.
- In the web portal on tablets and computers, customers without a subscription at any location also see Sign up above the location’s menu, on every page of the location.
Your marketing site, social media, or direct membership links
Copy direct links to your memberships and share them across all customer touchpoints:- Your marketing site CTAs
- Social media
- Email campaigns and other communication channels
- Directly with interested prospects
Sign-up flow
- After selecting the desired membership and clicking
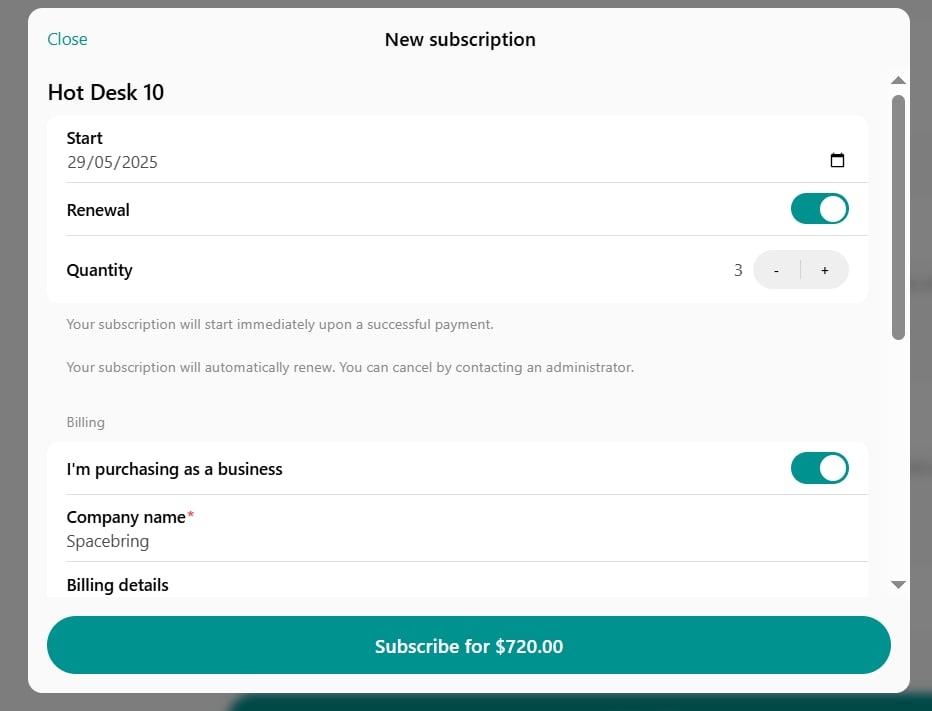
Subscribe, users are guided through a welcoming onboarding. - Choose a subscription Start date.
- Set Renewal preference:
- Enabled — get an automatically recurring subscription.
- Disabled — sign up for one cycle only (1 week, 1 month, etc.).
- The Renewal option is automatically enabled and not manageable if the membership has a minimum commitment period of more than 1 cycle, or your billing cycle anchor settings require it.
- Choose Quantity (e.g., 3 hot desk memberships for a team).
- Choose to sign up as an individual member or as a company.
- Individual — the user’s name is prefilled from onboarding information. They get a personal subscription and appear under Customers > Users.
- Company — enable the I’m purchasing as a company option. A company with the provided name is created under Customers > Companies, and the user is assigned as the company manager. A company subscription lets users invite teammates and share access under a single subscription.
- Enter a discount promo code, if applicable.
- Enter their billing details for invoices and receipts if required.
- Enter payment method details and complete payment.
- Click Done to go to the Membership page.
Sign-up for multiple memberships
Customers who already have a subscription can always buy another one.- Go to the Membership page > Billing.
- Individual members subscribe from the Personal section.
- Company managers subscribe from the section with their company name.
- In the Subscriptions section, click Subscribe.
- Choose a membership and complete the same sign-up flow.
- The Sign up button on a location’s Home page is shown to customers without an active or scheduled subscription at that location. Customers who already have one purchase additional subscriptions from the Membership > Billing page.
- Customers can pick a membership they already have or a different one — there is no limit on how many subscriptions one customer has.
- Customers can sign up for one membership at a time. They can sign up for another membership at any time, but not for several memberships at once.
- Each purchase creates a separate subscription with its own start date, cycle, renewal, invoices, credits, and day passes. Nothing is added to an existing subscription, and credits and day passes from all subscriptions add up on the customer’s balance.
- Company users who are not managers can only buy a personal subscription. Buying for the company requires the company manager role.
- An individual member who enables I’m purchasing as a company creates a new company and becomes its manager, exactly as in a first sign-up.
How subscription starts
- When users sign up on their own, they pay for their first subscription cycle right away, even if the start date is in the future.
- Only after payment, the system invites the user as a member and creates a subscription.
- Administrators receive a notification for every new membership sign-up.
- Once the subscription starts, the customer gets all the membership benefits, including credits, day passes, door access, Wi-Fi, and more.
- Customers view their subscription details, billing, credits, and day passes on the Membership page and can request subscription cancellation.
Our recommendations
- Boost new sign-ups by offering discounts on memberships through promo codes.
- Once new users sign up, welcome them and introduce them to your community with our onboarding tips.
FAQs
Do users receive a confirmation email when they purchase a membership?
Do users receive a confirmation email when they purchase a membership?
Spacebring doesn’t have a built-in confirmation email for membership purchases—users only receive a payment receipt with the invoice attached.To send your own, set up a Zapier automation: choose Spacebring’s Subscription Purchased trigger, which runs every time a user purchases a membership, and add a “send email” action from an app like Gmail or Outlook to deliver your custom message.You can also set up an agent that emails a welcome to each customer who purchases a membership.