Export your data
Log in as an administrator to your old platform and export all relevant data:
- Individual members and their contact details
- Company members
- Subscriptions and billing details for each member and company
- Upcoming bookings
- Your products: plans, resources, and any other services you offer with their settings and pricing
Set up Spacebring
Before inviting members, complete your setup in Spacebring so members can book, pay, and engage the moment they log in. Follow the Get started guide to configure: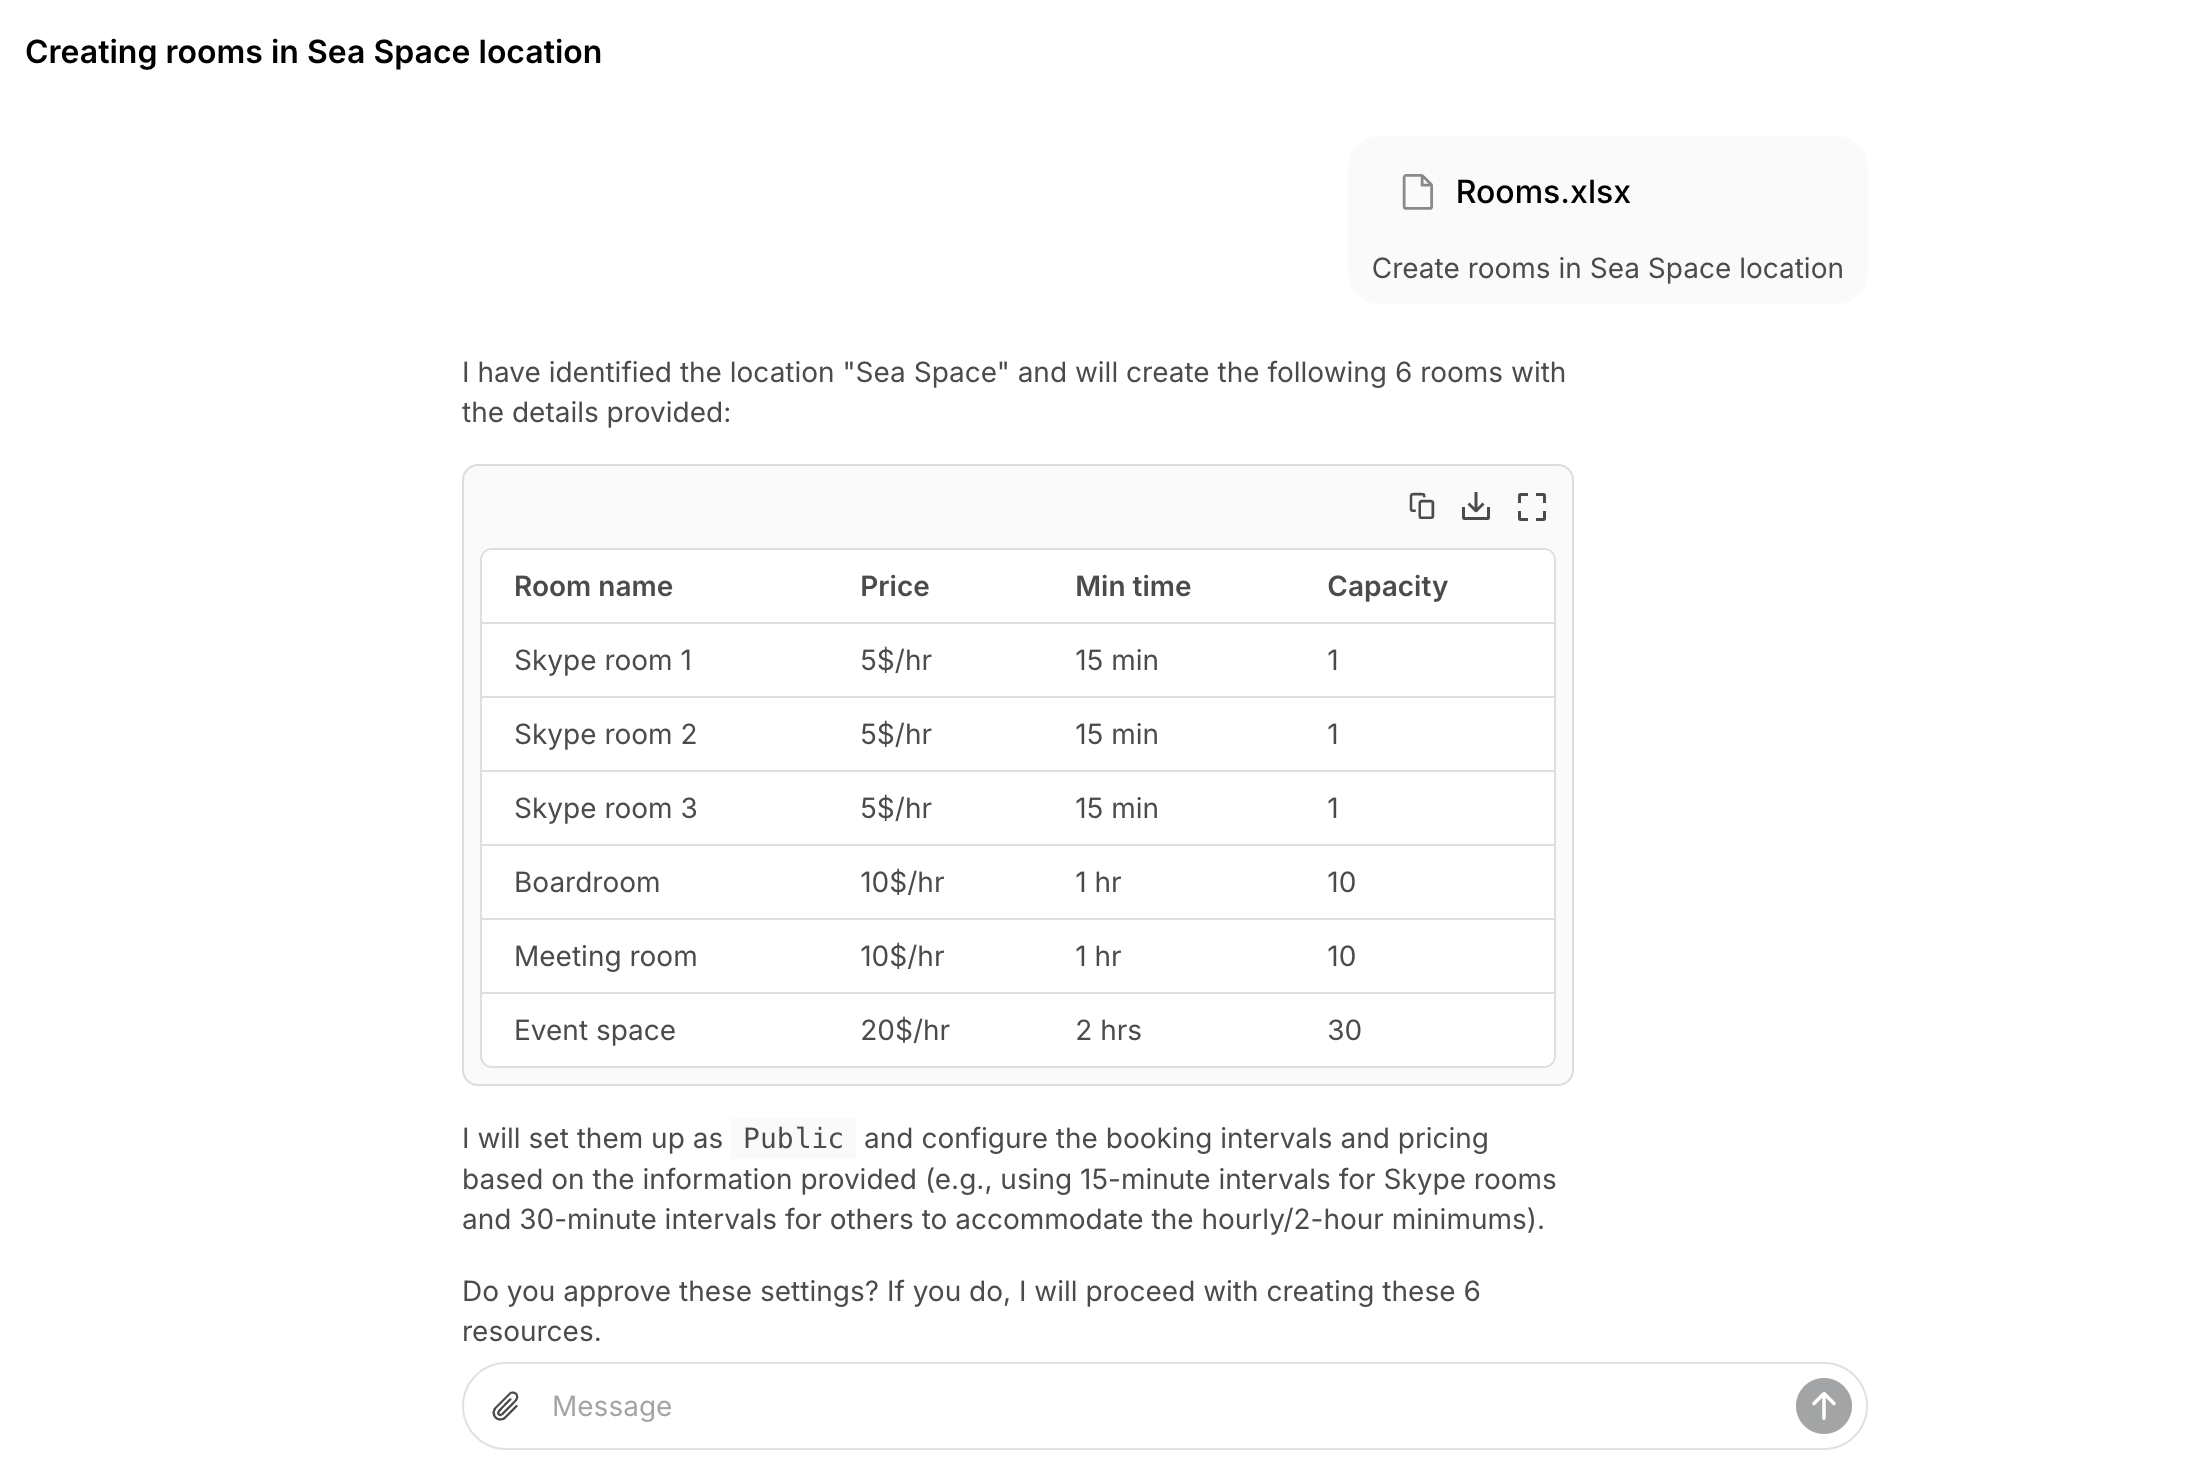
- Network: branding, custom domain, privacy policy, terms of use
- Location: address, schedule, billing settings, and connecting a payment gateway
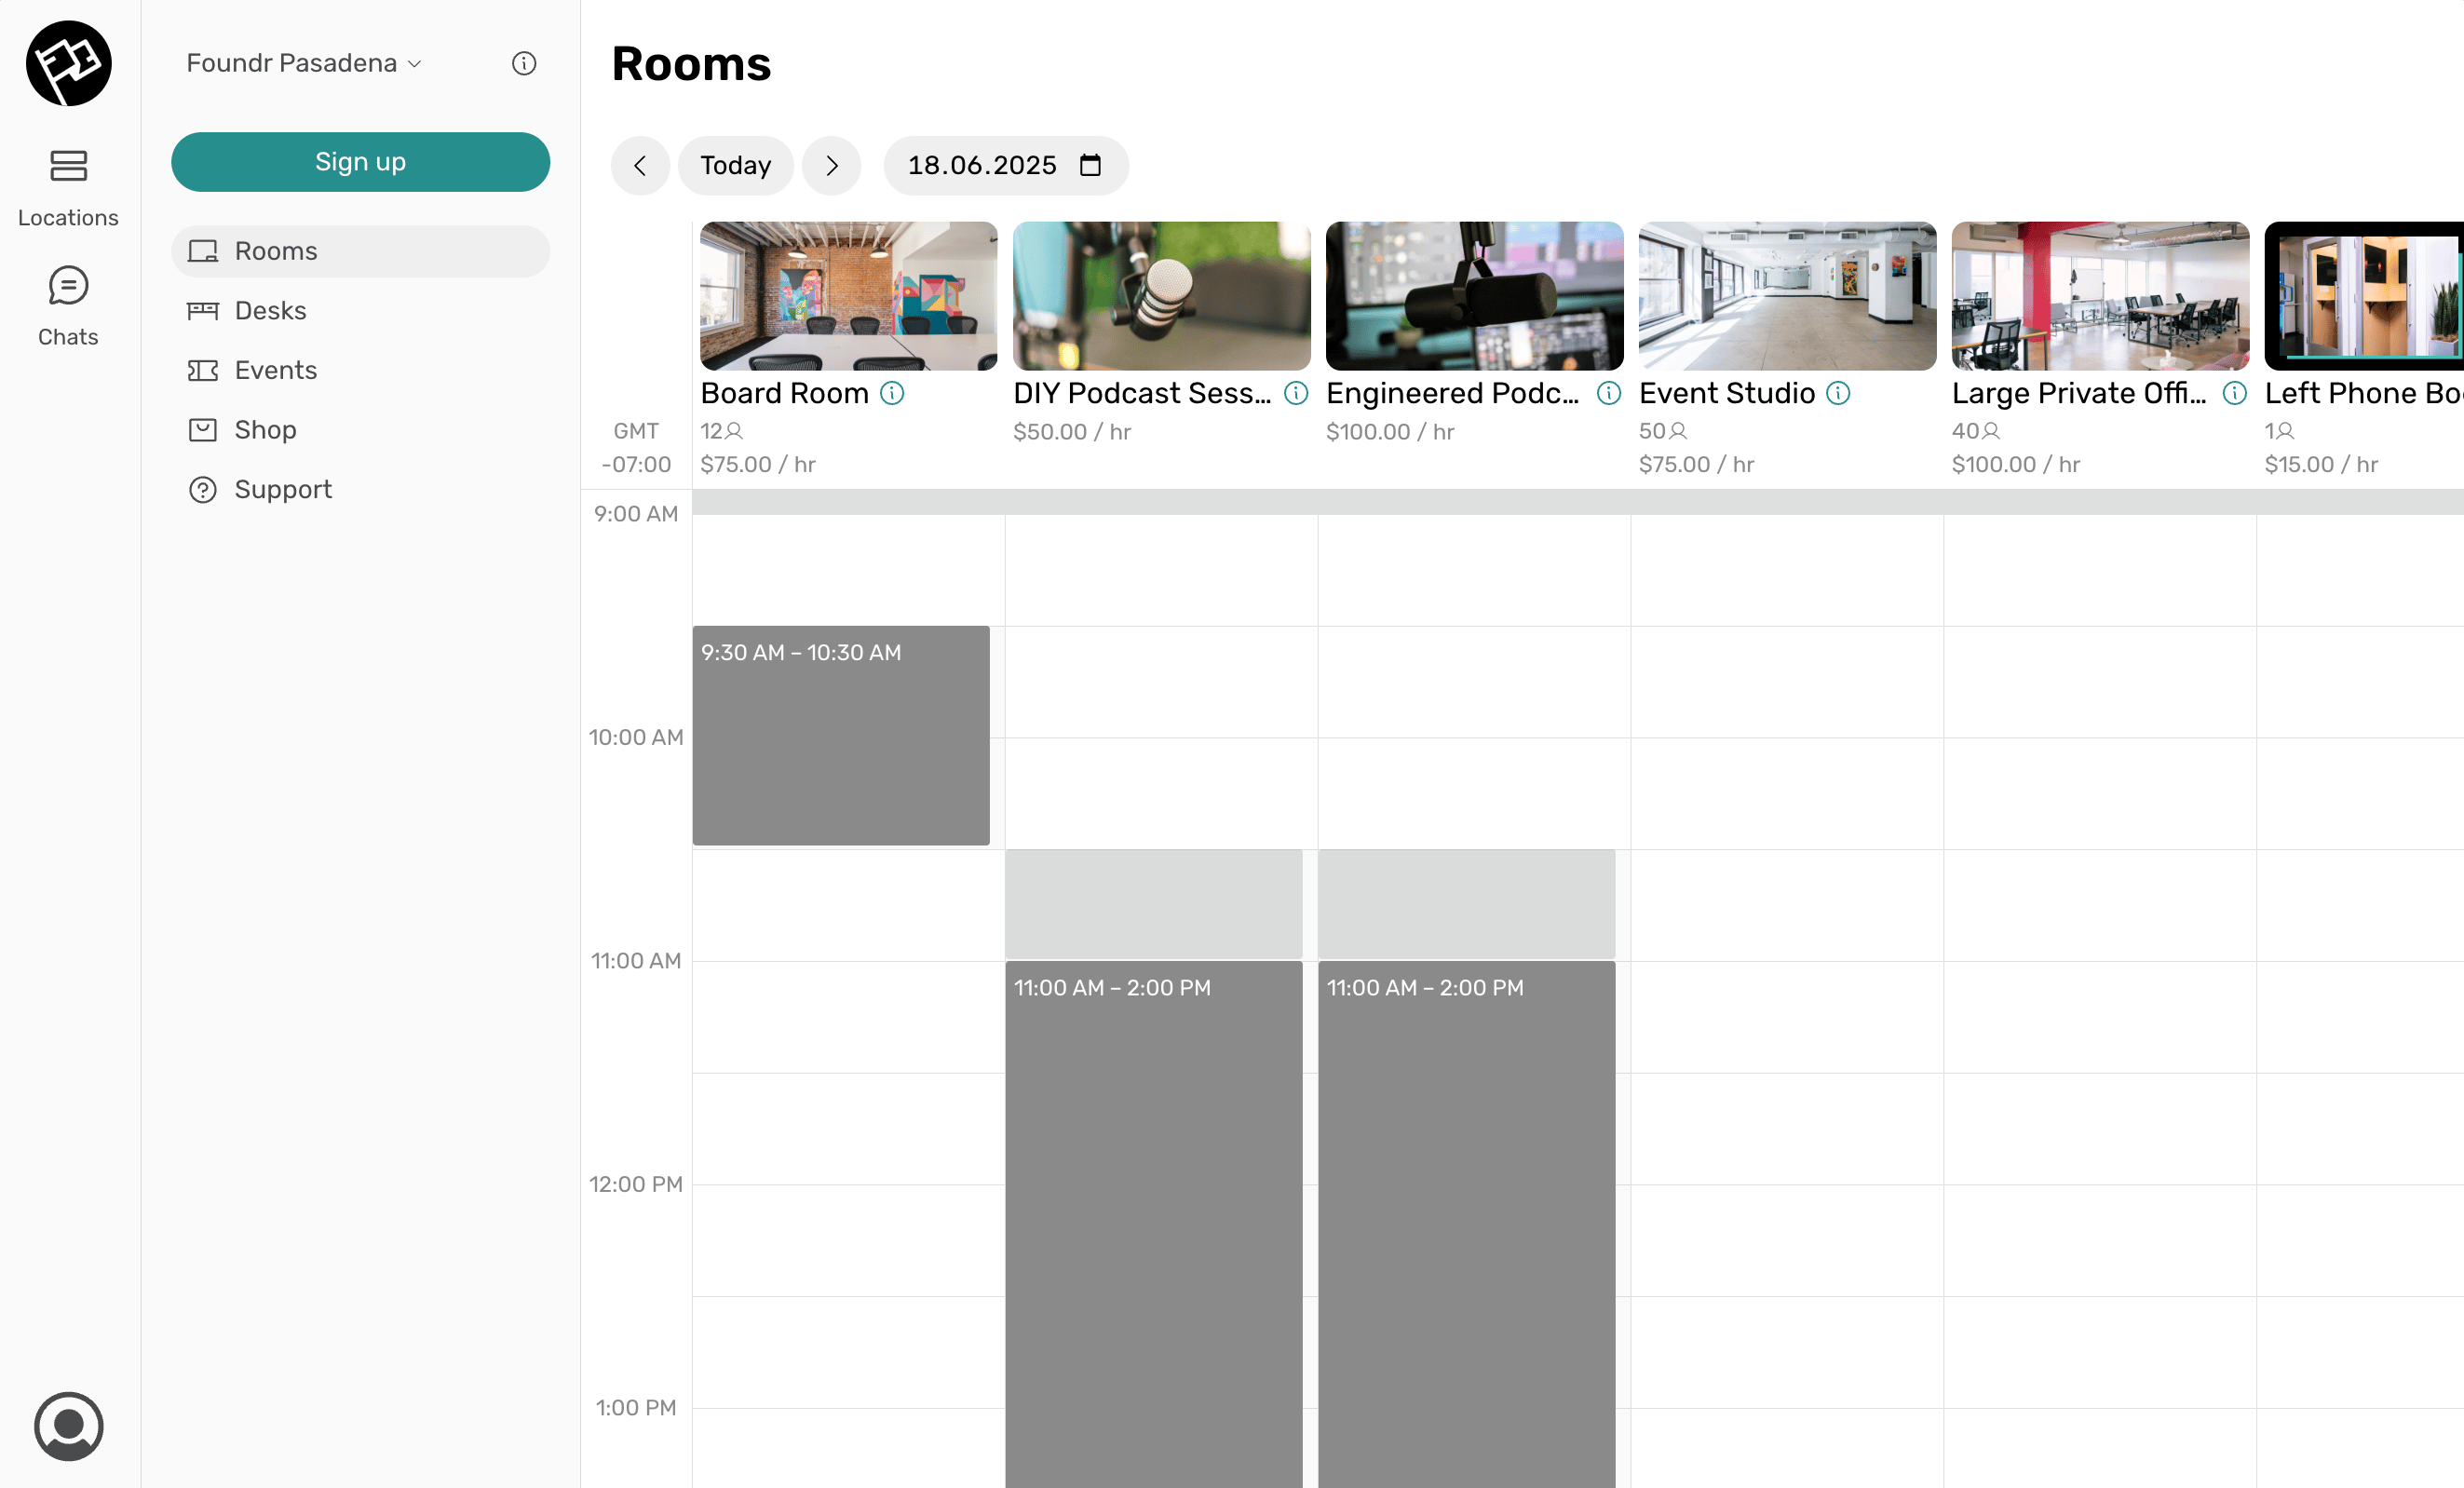
- Resources: rooms, desks, offices, parking, equipment
- Plans and contracts: membership plans with pricing and contract templates
Communicate the transition to members
Set up your communication channels before sending invitations, so members have all the context they need the moment they log in.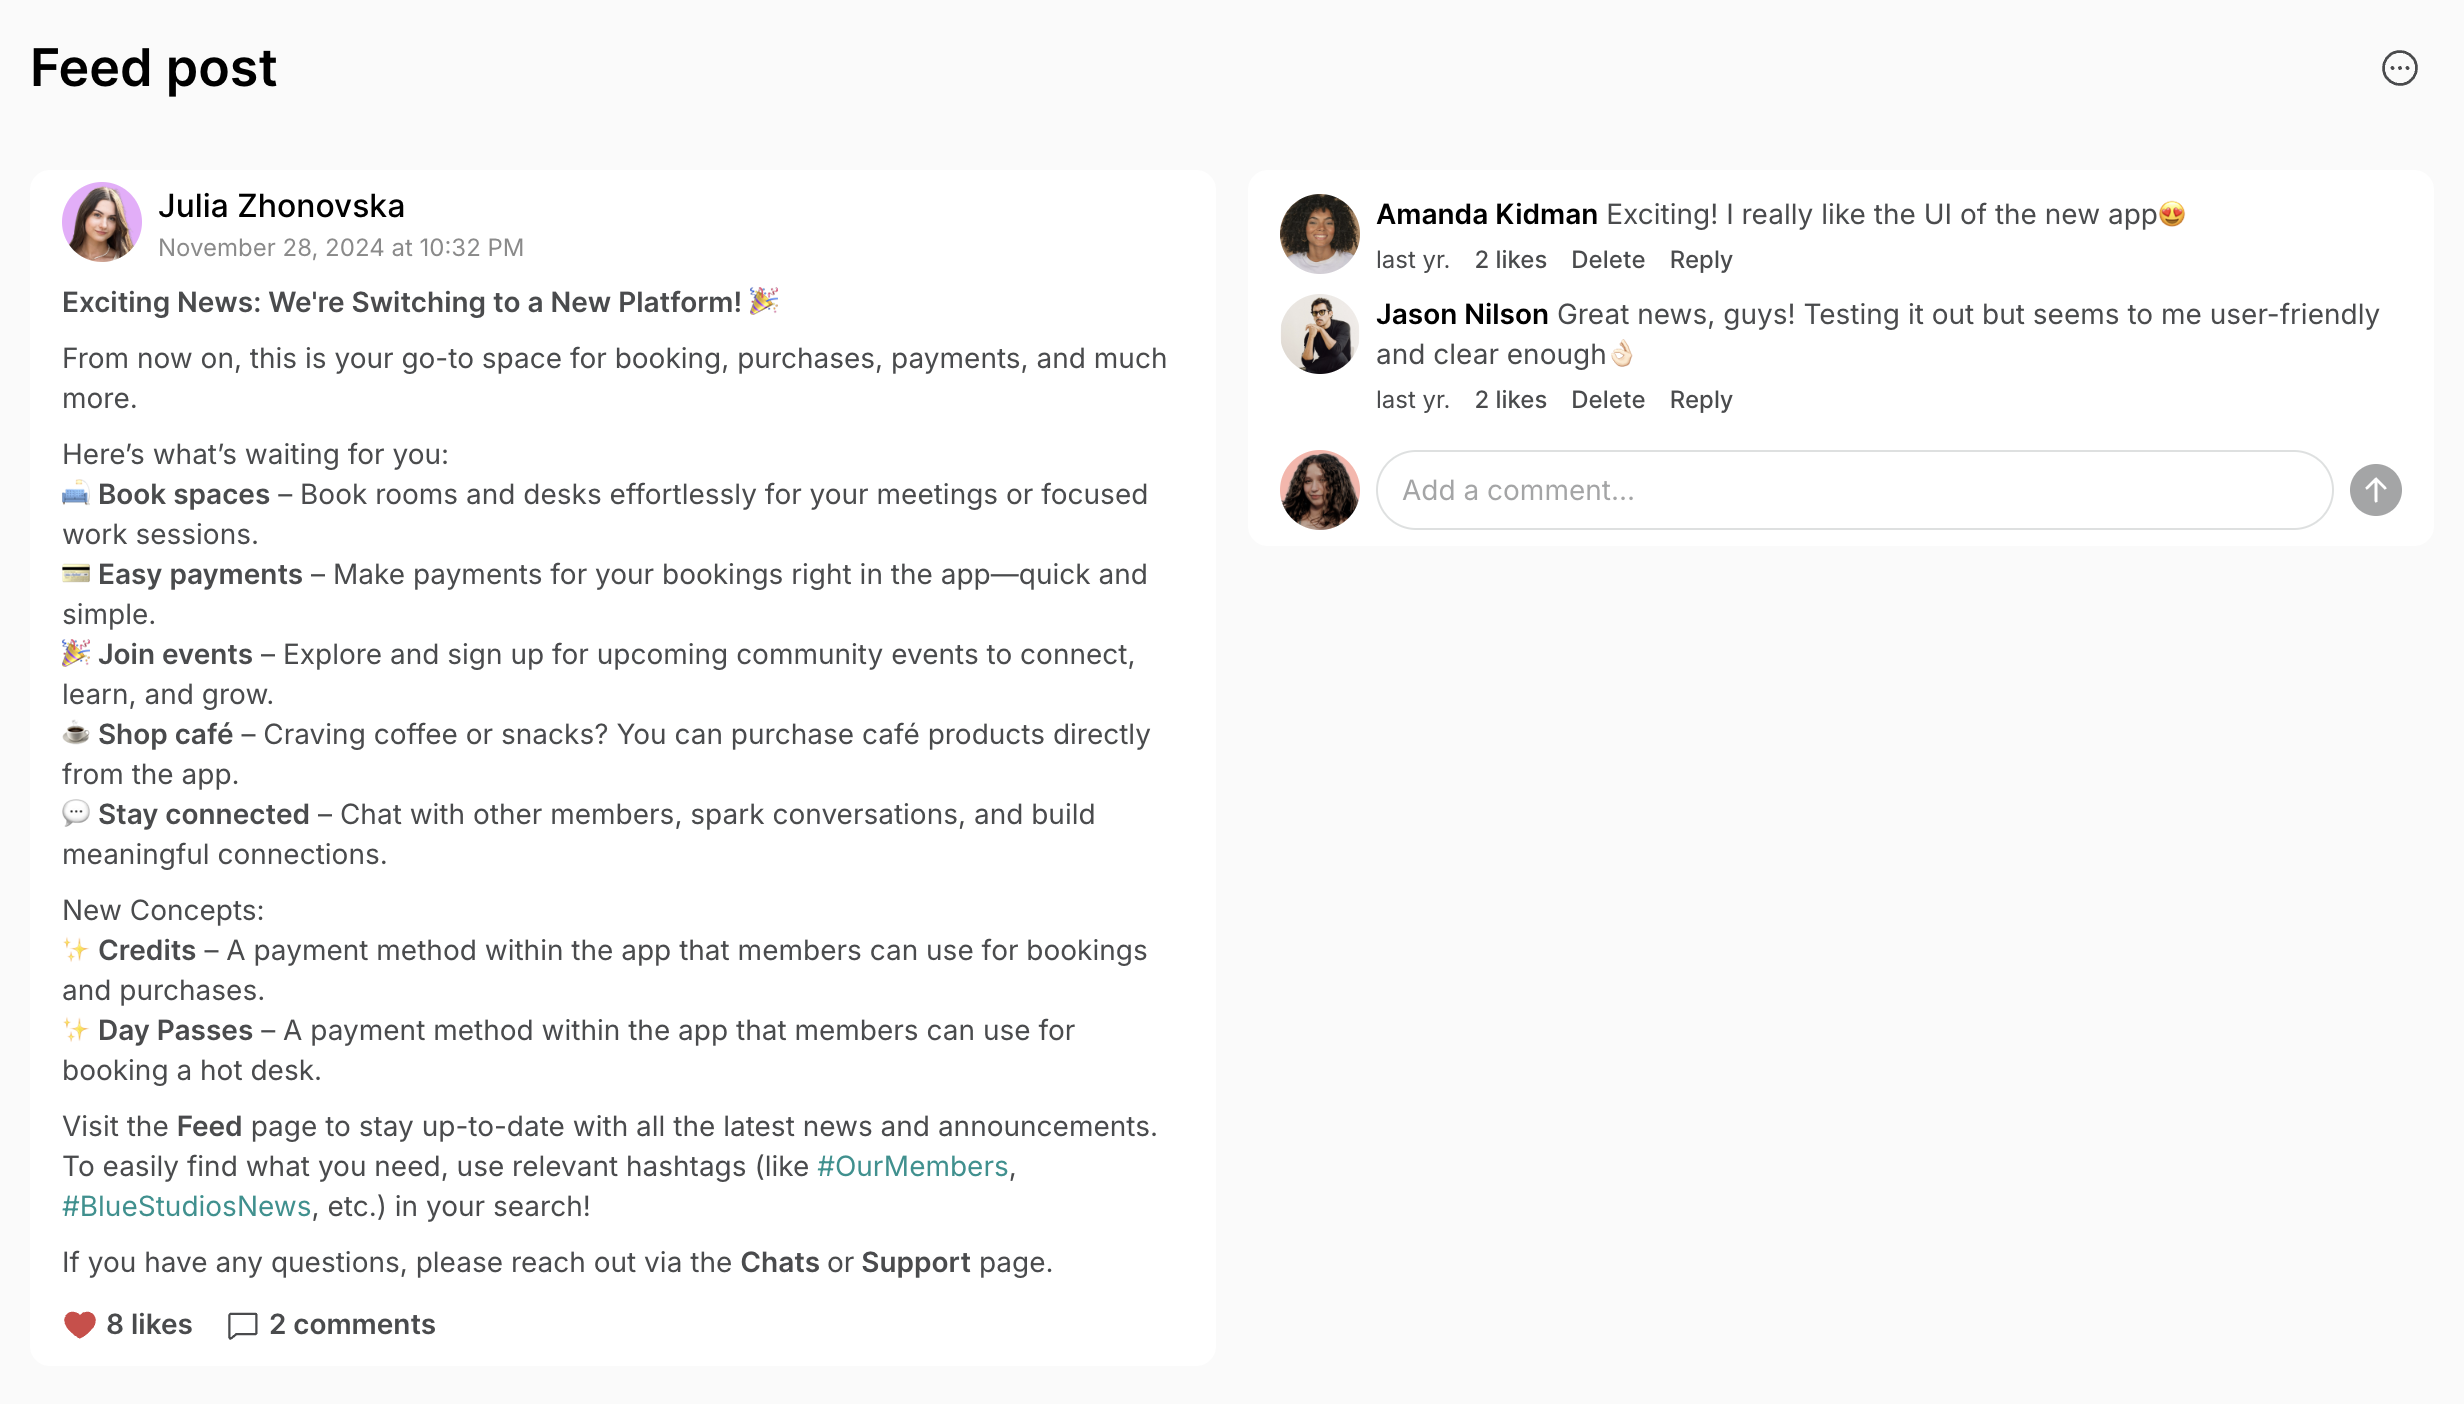
- Send an announcement email a few days in advance.
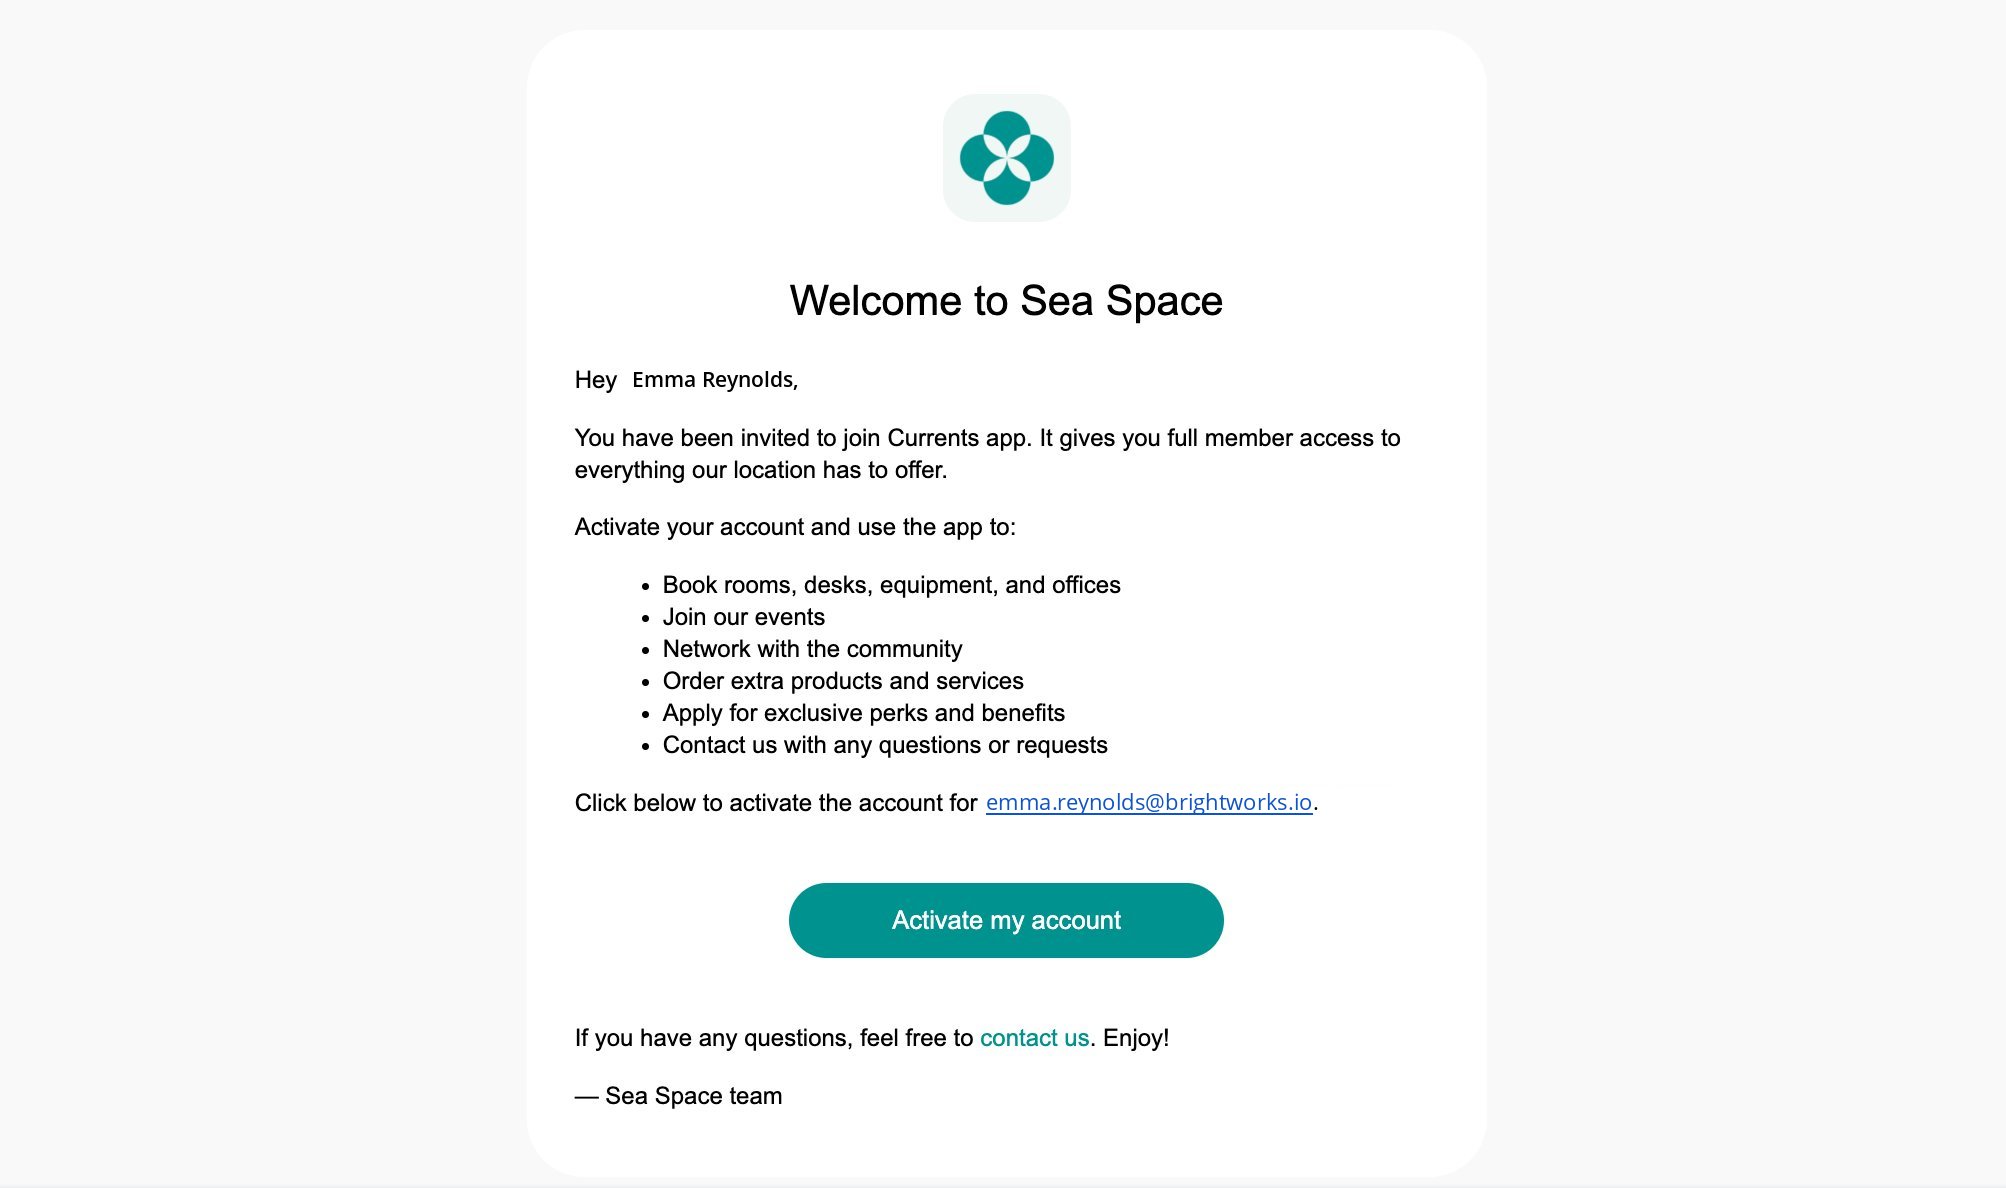
- In Location settings > Customers, customize member invitation emails with a personal message.
- In Engagement > Feed, create and pin a welcome post highlighting key information about the new member portal.
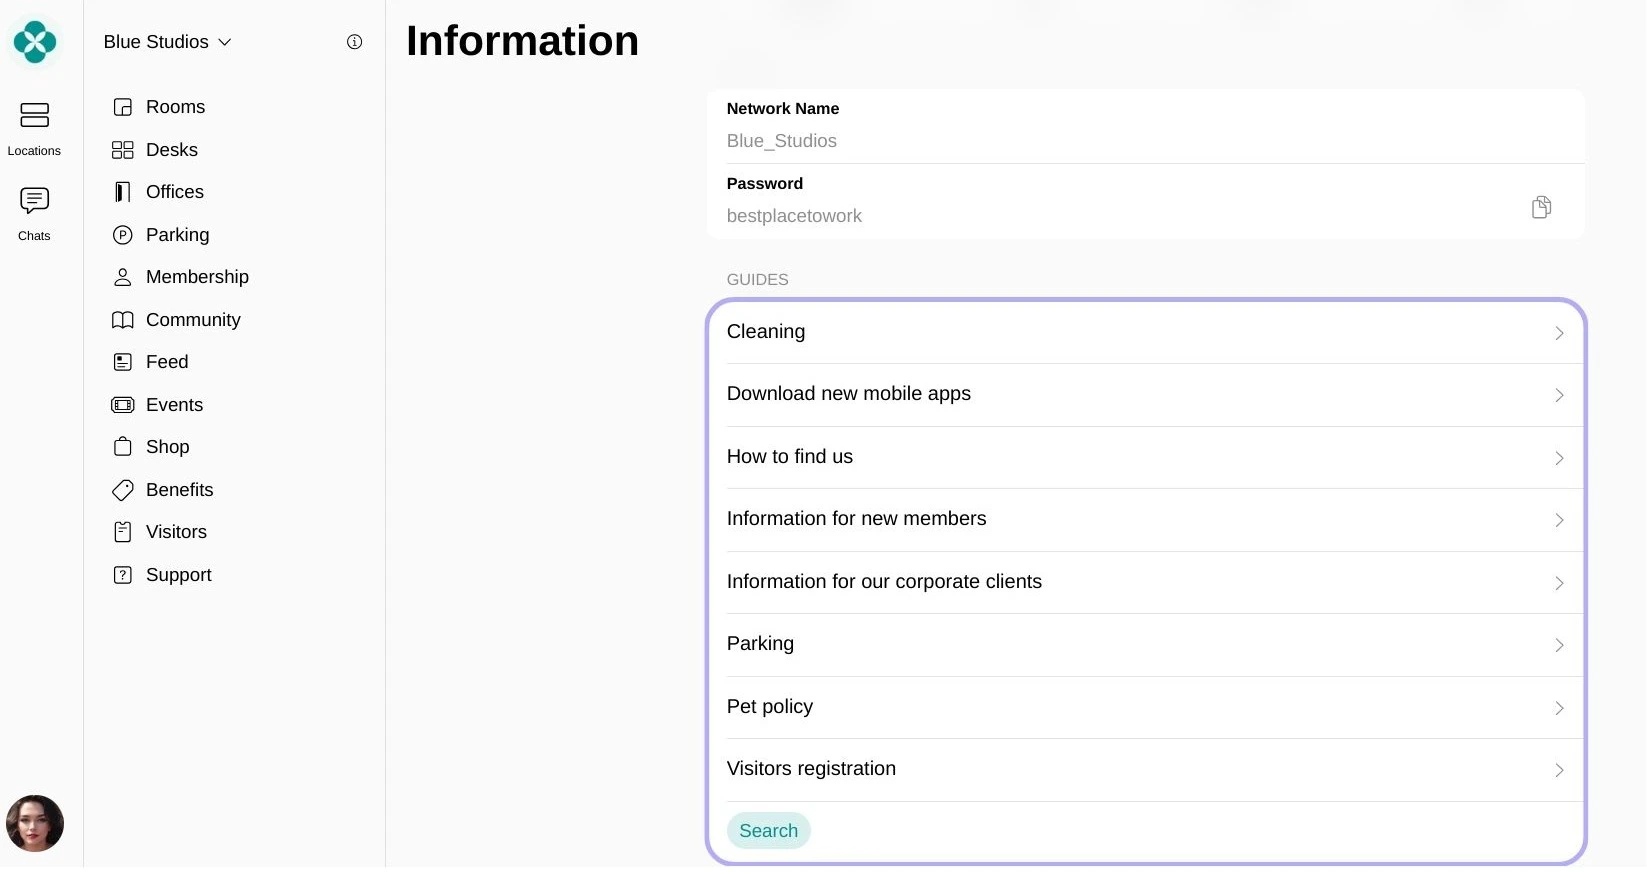
- In Support > Guides, add guides with essential information members are likely to need.
Stop billing on your previous platform
- 1–2 weeks before your next billing cycle, cancel all memberships or disable the invoicing schedule in your previous platform.
- Notify members that future invoices will come from the new platform.
Invite members and create subscriptions
- Individual members
- Company members
- Prepare the following spreadsheet with members’ personal details:
Column name First name Last name Email Phone number Required + + - Prepare a second file or spreadsheet with each member’s subscription details — the membership plan or resource they’re subscribed to, and any custom details or pricing.
- Go to Customers > (…) top right > Invite multiple users, paste your member table, and send the mass invitation.
- Set a subscription for each member by assigning your pre-created plans and resources.
- Add billing details for each member, or ask members to add them after logging in.
Migrate future bookings
Transfer your customers’ upcoming bookings from your previous platform using whichever method fits your situation.
- Google Calendar (recommended)
- Zapier
- API
- Manual
Best if: your previous platform can be connected to Google Calendar.Prerequisites: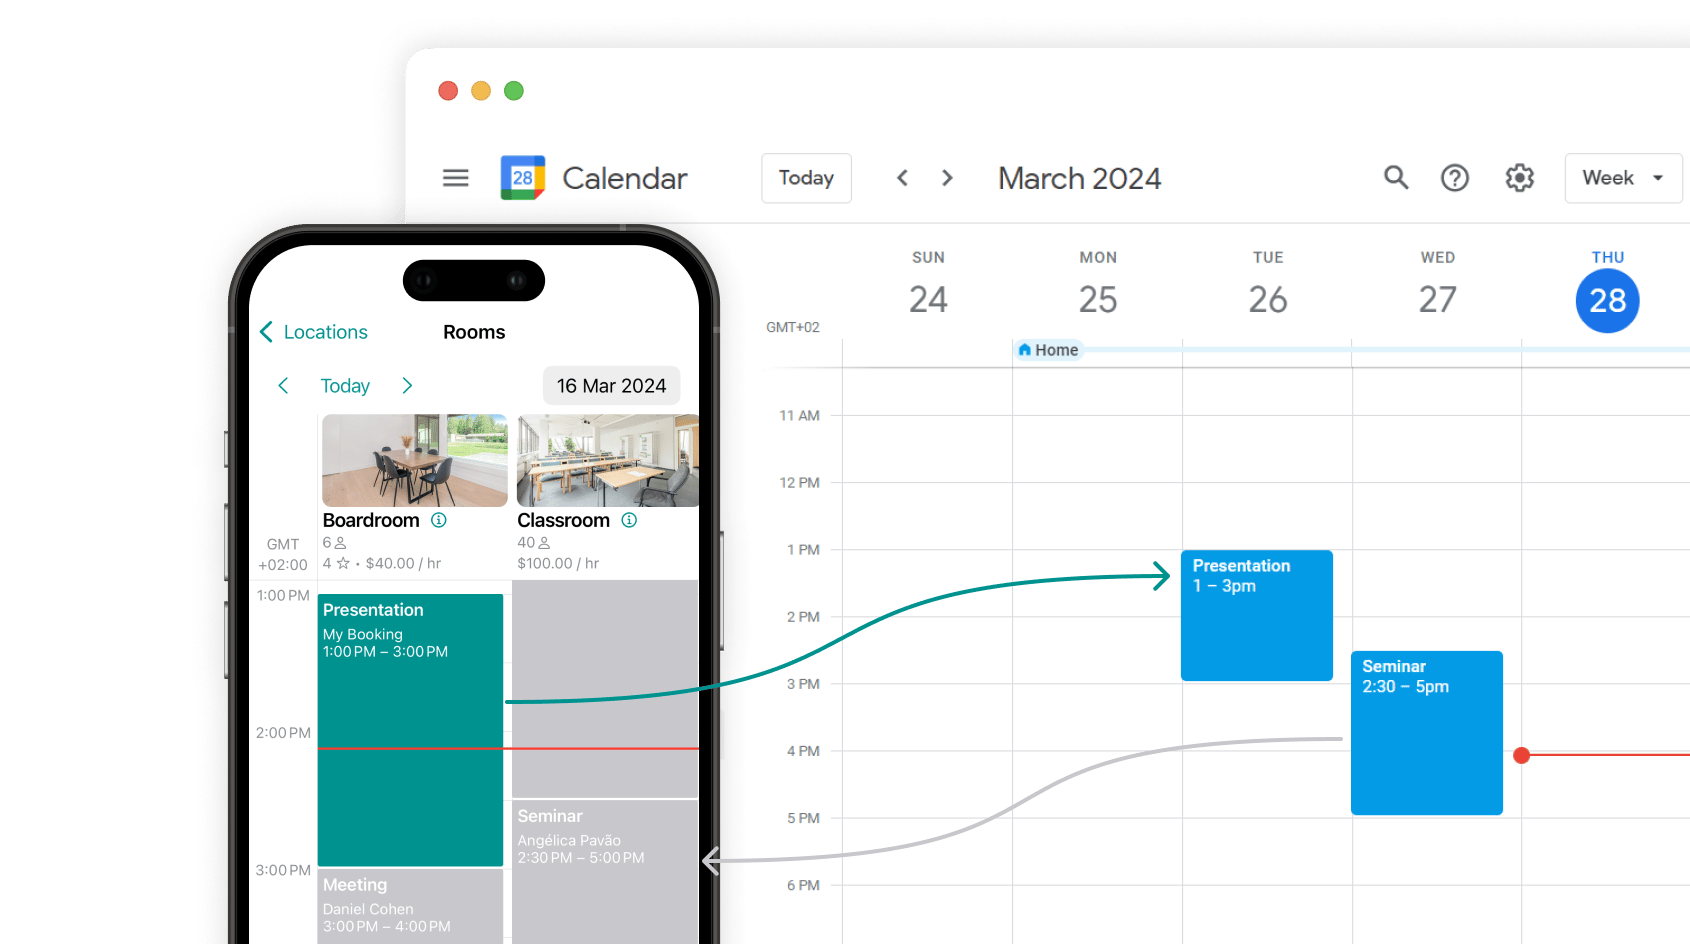
- Connect your Google Calendar to your previous platform.
- In your Google account, create separate calendars for each resource (room, desk, etc.). For example, a calendar called “Meeting room”, “Conference room”, “Hot desk zone”, etc.
- Ensure all upcoming bookings are correctly synced to these corresponding calendars.
- Add your resources to Spacebring.
- In Spacebring, go to (…) next to the location name > Integrations > Google Calendar.
- Connect the same Google account used in your previous platform and grant read/write access.
- For each resource, go to Resources > Rooms / Desks (or Parking / Equipment) > (…) > Edit.
- Under “Calendar sync”, link the corresponding Google Calendar and enable “Two-way sync”.
Accept first invoice payments via Spacebring
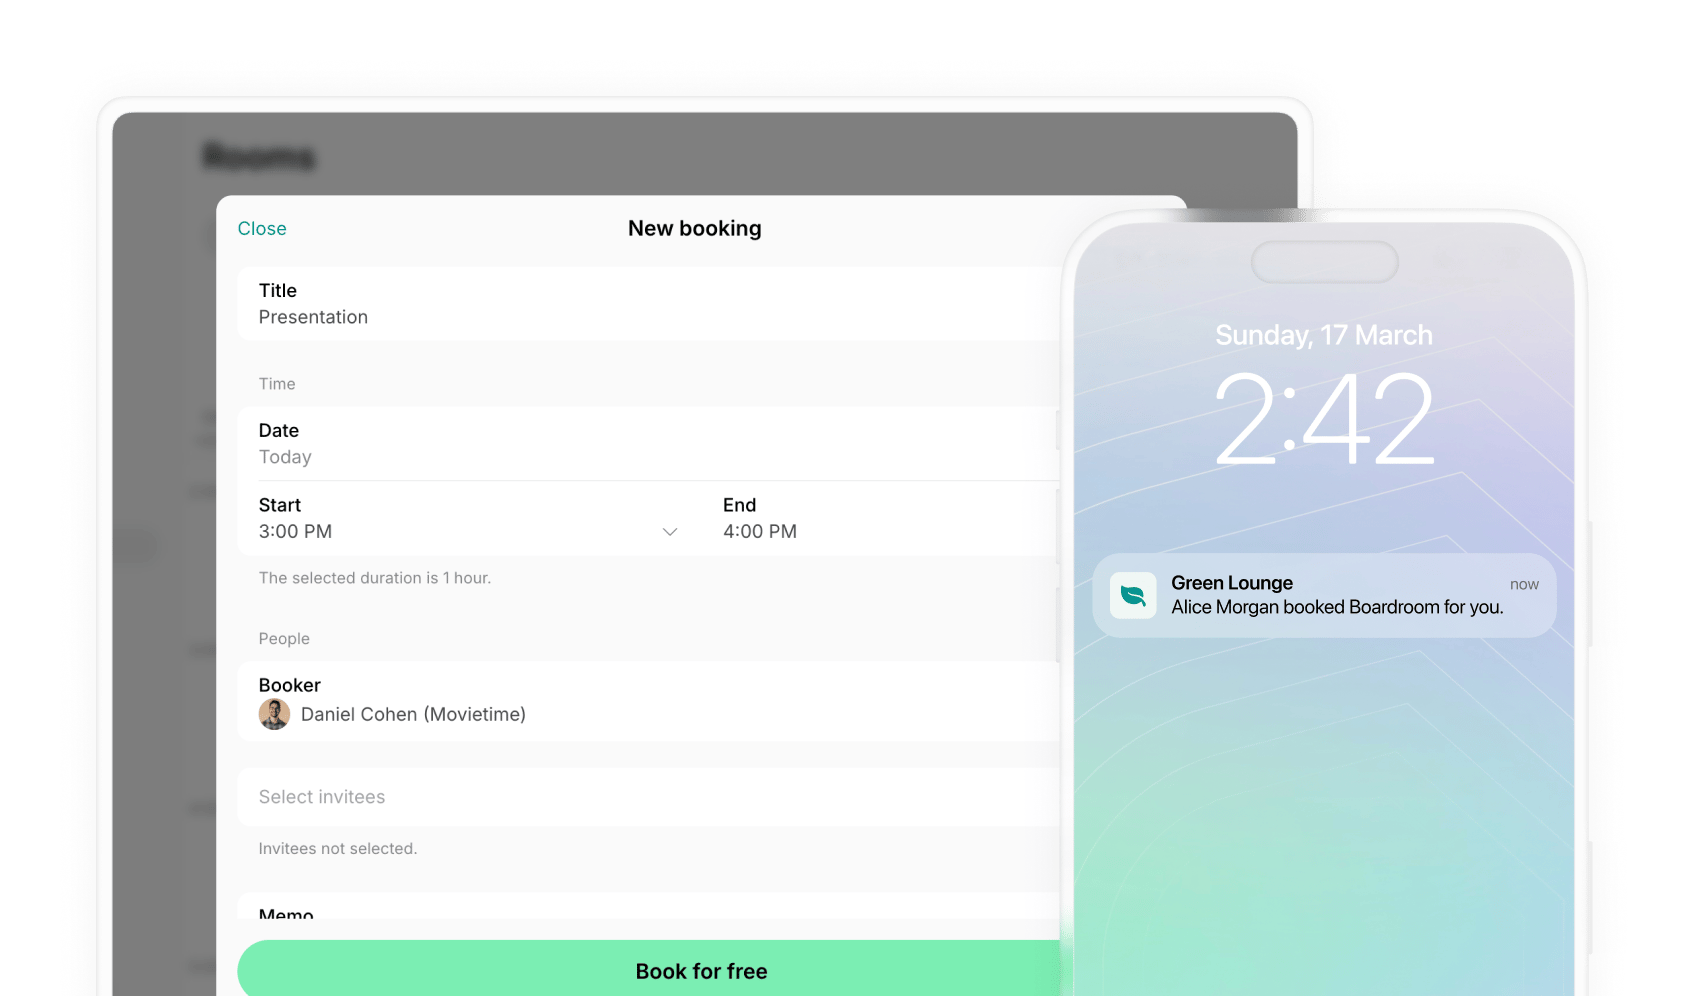
- On each member’s next subscription renewal date, Spacebring automatically issues and delivers their invoice — via email, push notification, and in-app.
- Members pay the invoice using their preferred payment method.
- If your payment gateway is Stripe, WayForPay, plata by mono, ot Tap, the payment method is auto-saved as default for automatic charging on all future invoices.
- Monitor invoice payments on the Notifications and Billing > Invoices pages.
Drive member adoption
The technical migration is only half the job. Here’s how to get members actively using the new member portal.Incentivize early engagement
- Give members extra credits or day passes beyond their plan allowance to encourage their first self-served bookings.
- Offer a temporary discount on bookings or any other purchases via the new member portal.
Can I migrate member credit balances?
Can I migrate member credit balances?
Credit balances cannot be transferred automatically. After migration, manually add credits to members’ accounts as needed.