

Create an event
- Go to the Location settings > Engagement > Events tab, and enable the Events switch.
- Go to Engagement > Events and press Create event top right.
- Press the Create button.
- Upon saving an event, press the Add button to add hosts. This will allow users to know who will be running the event.
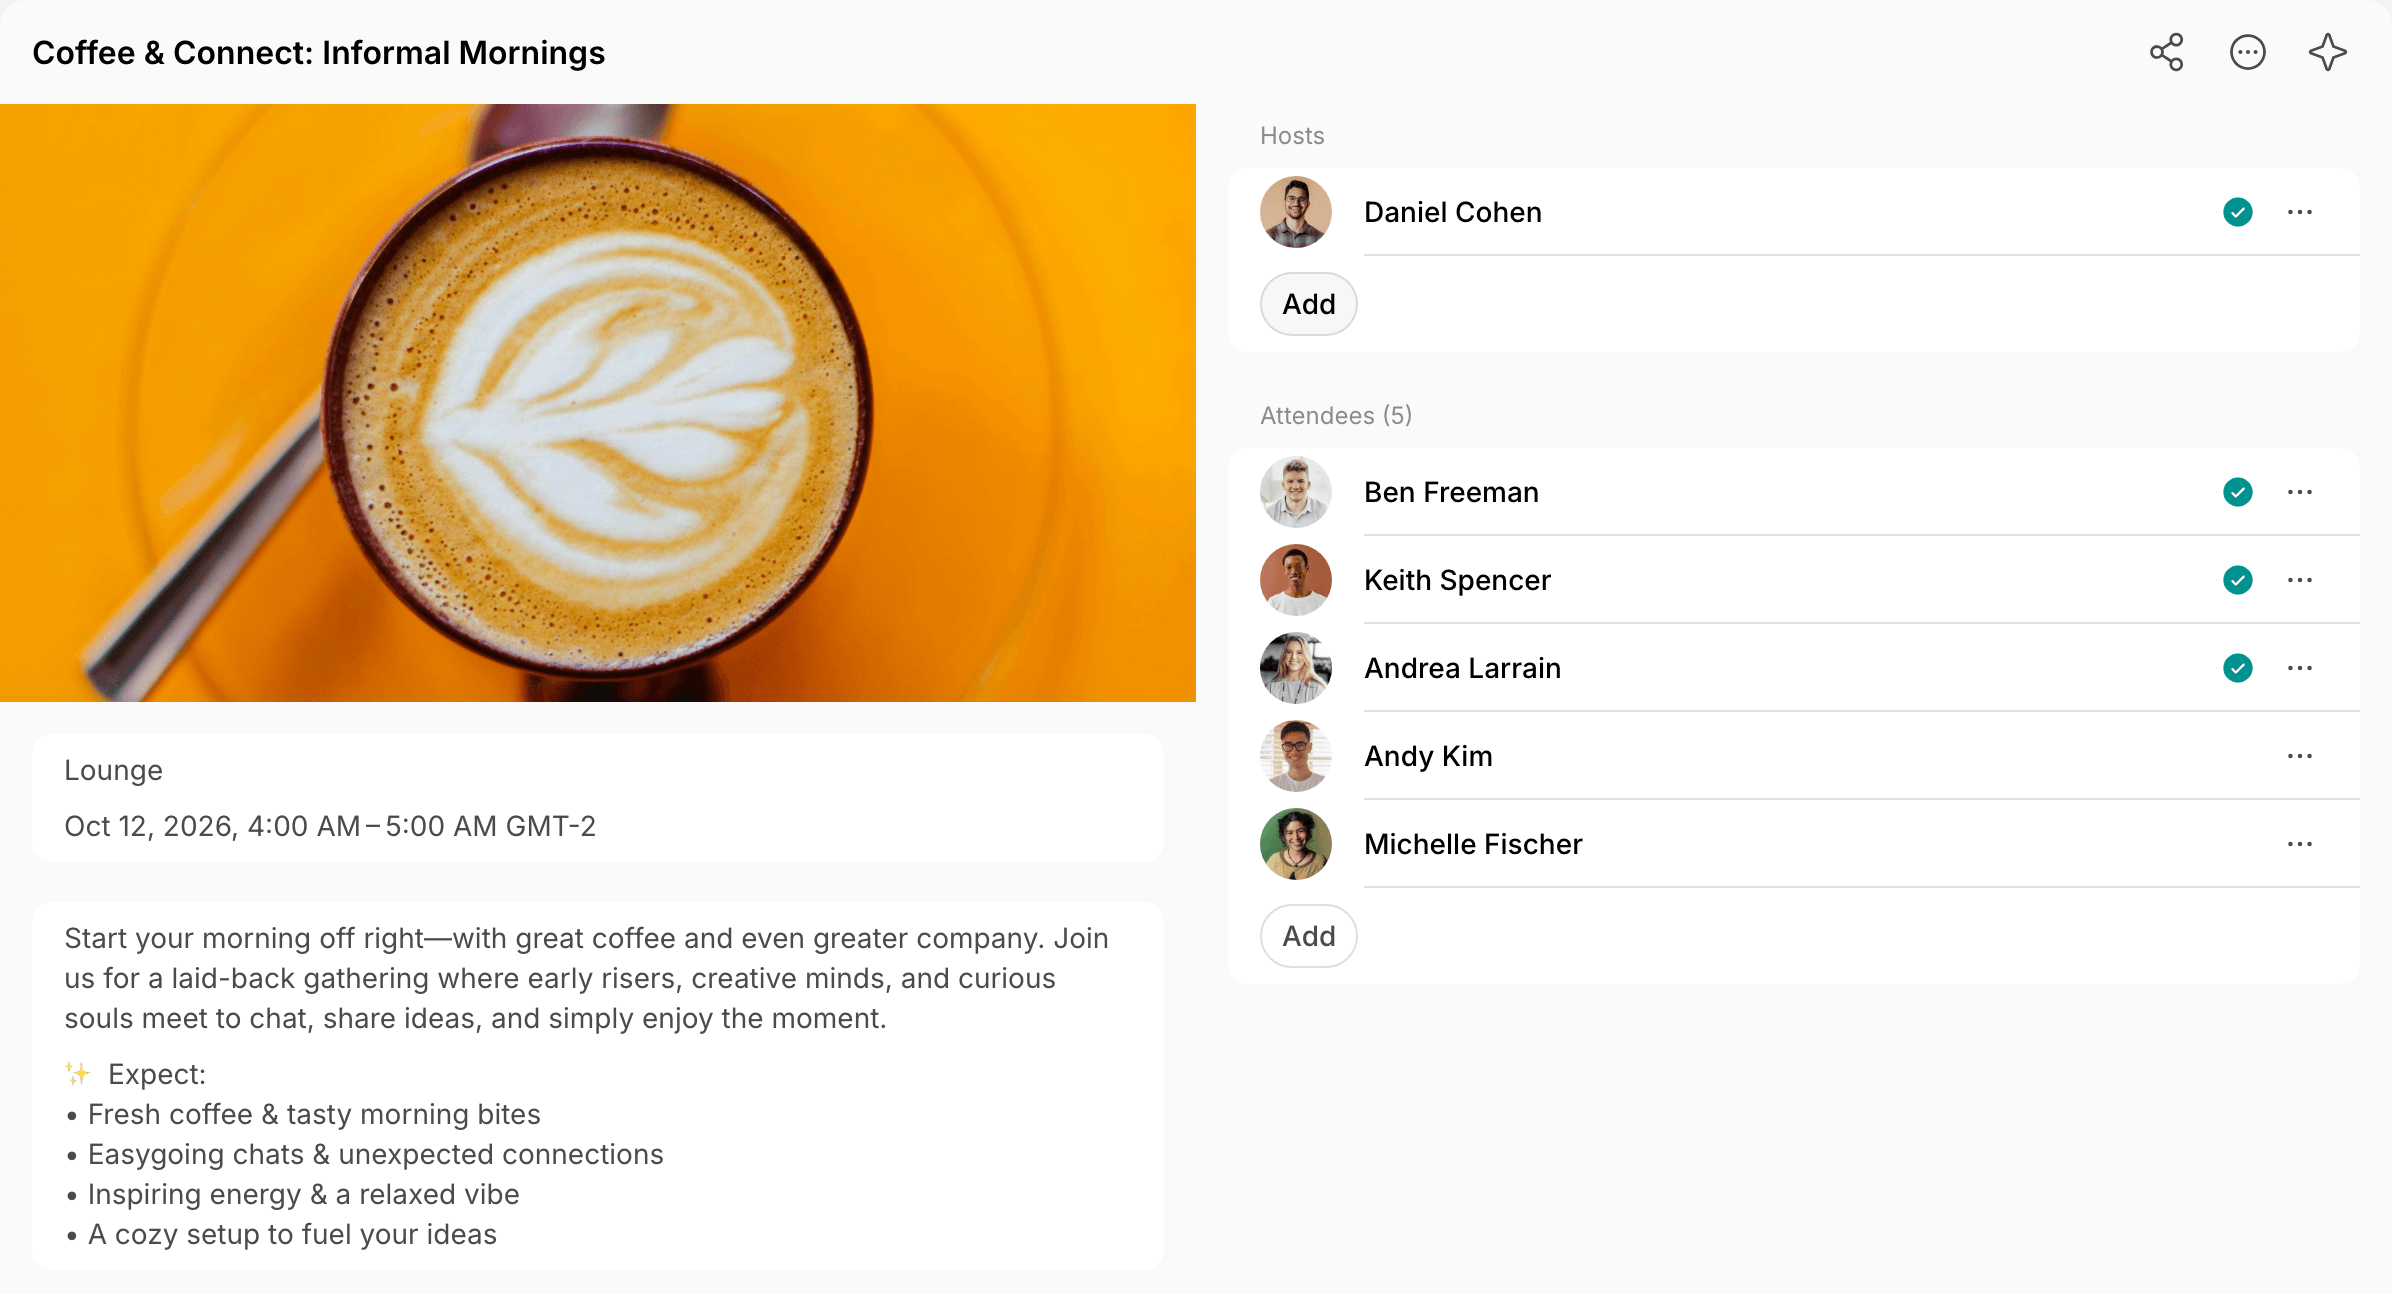
Hosts can be selected from location members.
Create recurring events
If your event only repeats once or a few times, you can duplicate it directly:- On the Events page, click (…) next to the event > Duplicate.
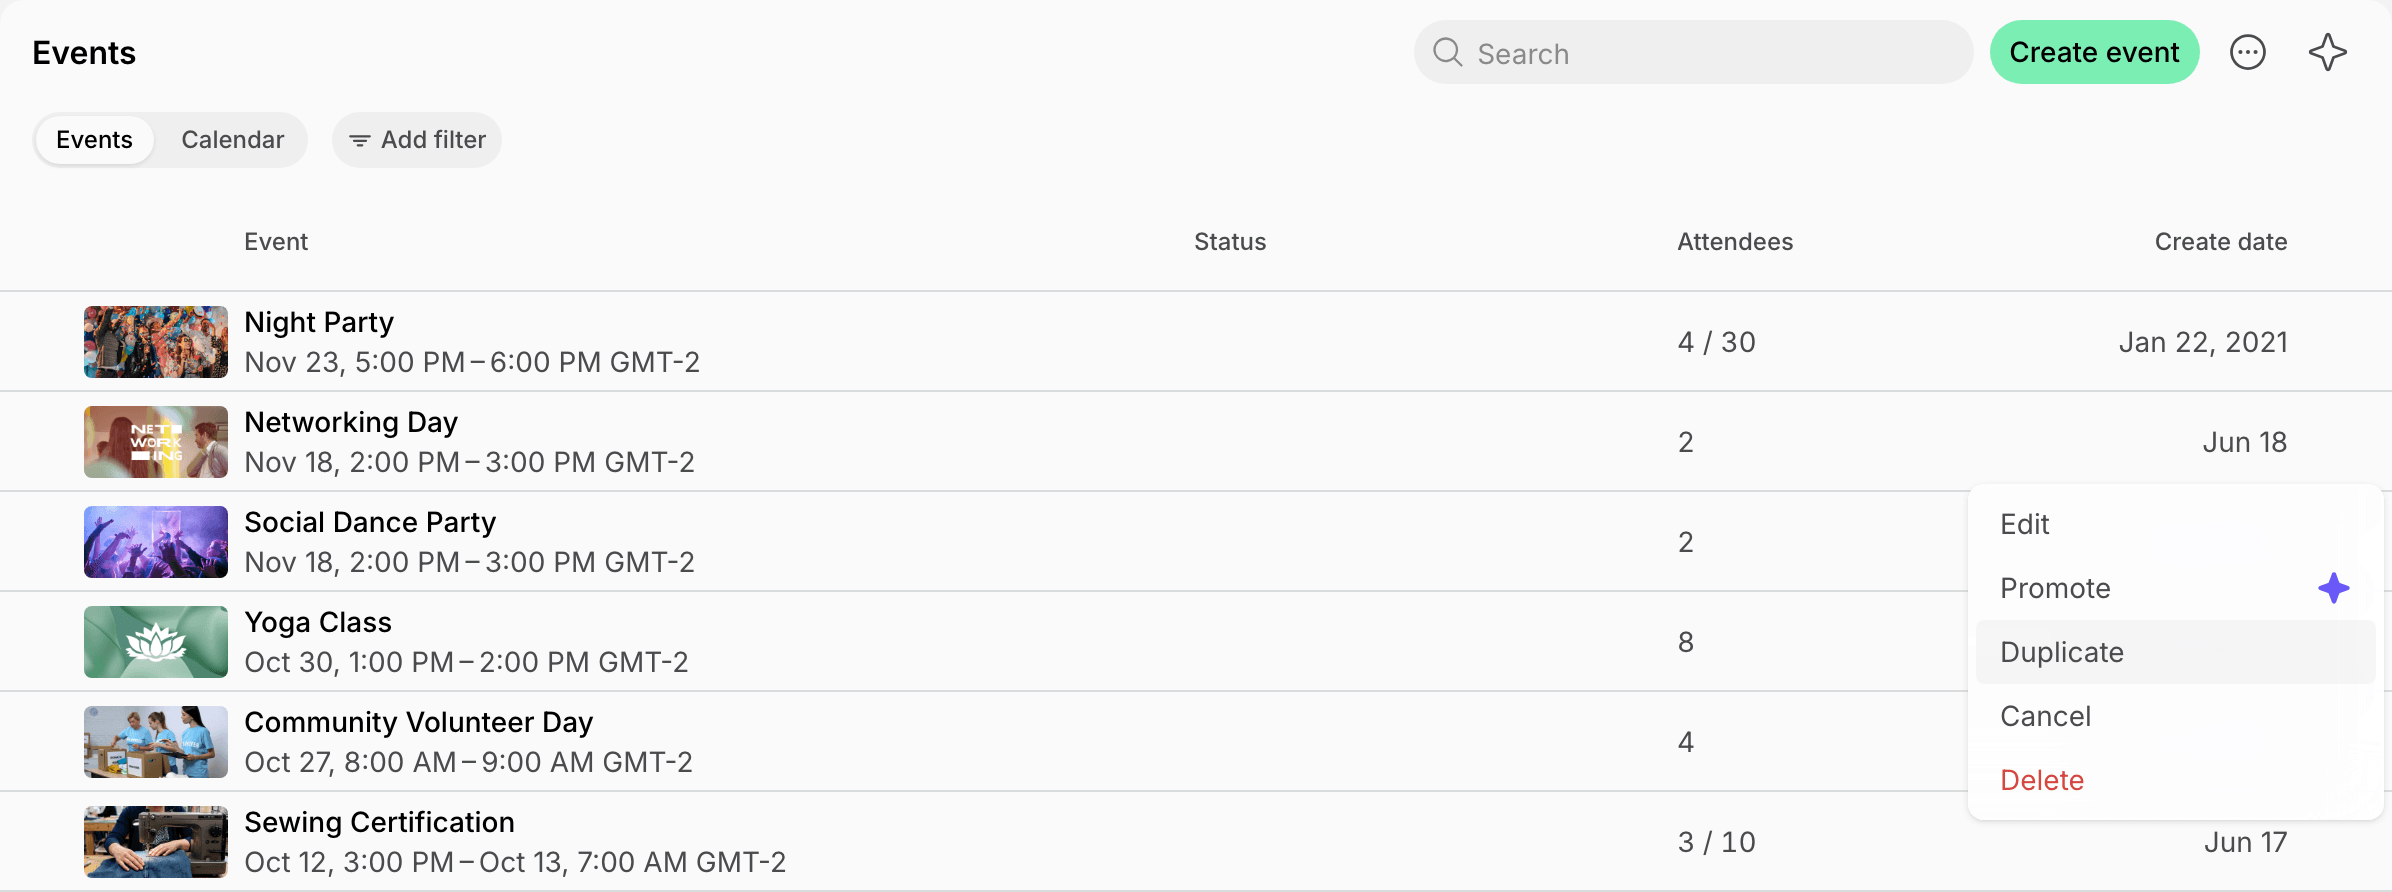
- The duplicated event will open.
- Edit it and update details such as date, time, or any other information.
What’s next
- Once you create an event, it appears on the Events page. Understand how users view and join events.
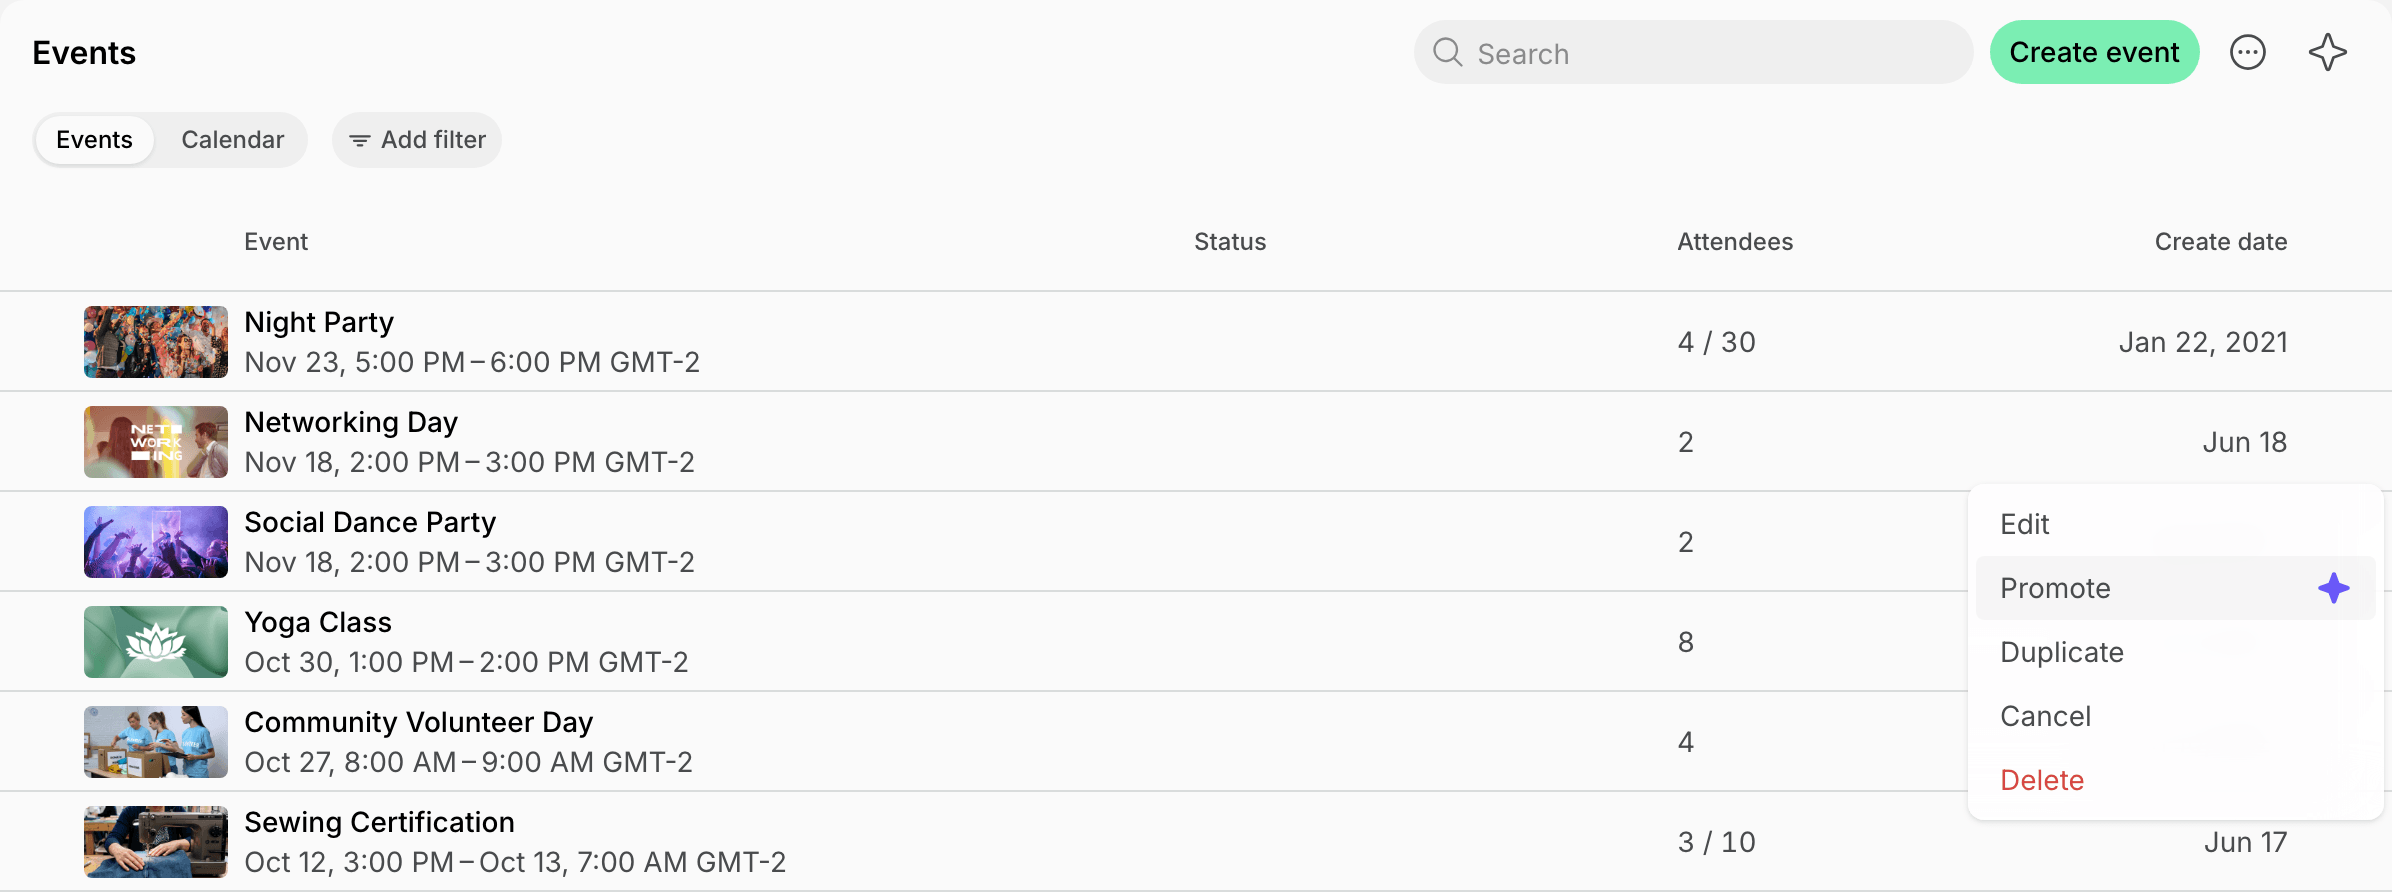
- Creating an event doesn’t notify your customers. Use the Promote feature to announce the event in a feed post, which sends a push notification to all location members.
- Open the event in your admin dashboard and click the share icon in the top right corner to copy its link to the member web portal. Then promote the event on your website, in a newsletter, or on social media.
- When attendees arrive, check them in.
Create a ticket for a customer
Add a customer to the attendees when they sign up at the front desk, call, or send a message.- Go to Engagement > Events and open the event.
- Under Attendees, click Add.
- Under Customer, select the member or nonmember the ticket is for.
- If the customer isn’t in Spacebring yet, choose New nonmember, fill in their details, and click Create. The new nonmember is selected as the customer.
- Set the ticket Quantity.
- Optionally, enter a Comment with extra details, such as dietary requirements.
- Under Payment, select the payment method to charge the customer for the ticket.
- While an external payment is Pending, you can’t cancel the ticket from its menu. To cancel it, open the ticket, click its transaction in the Payment section, and change Status to Canceled.
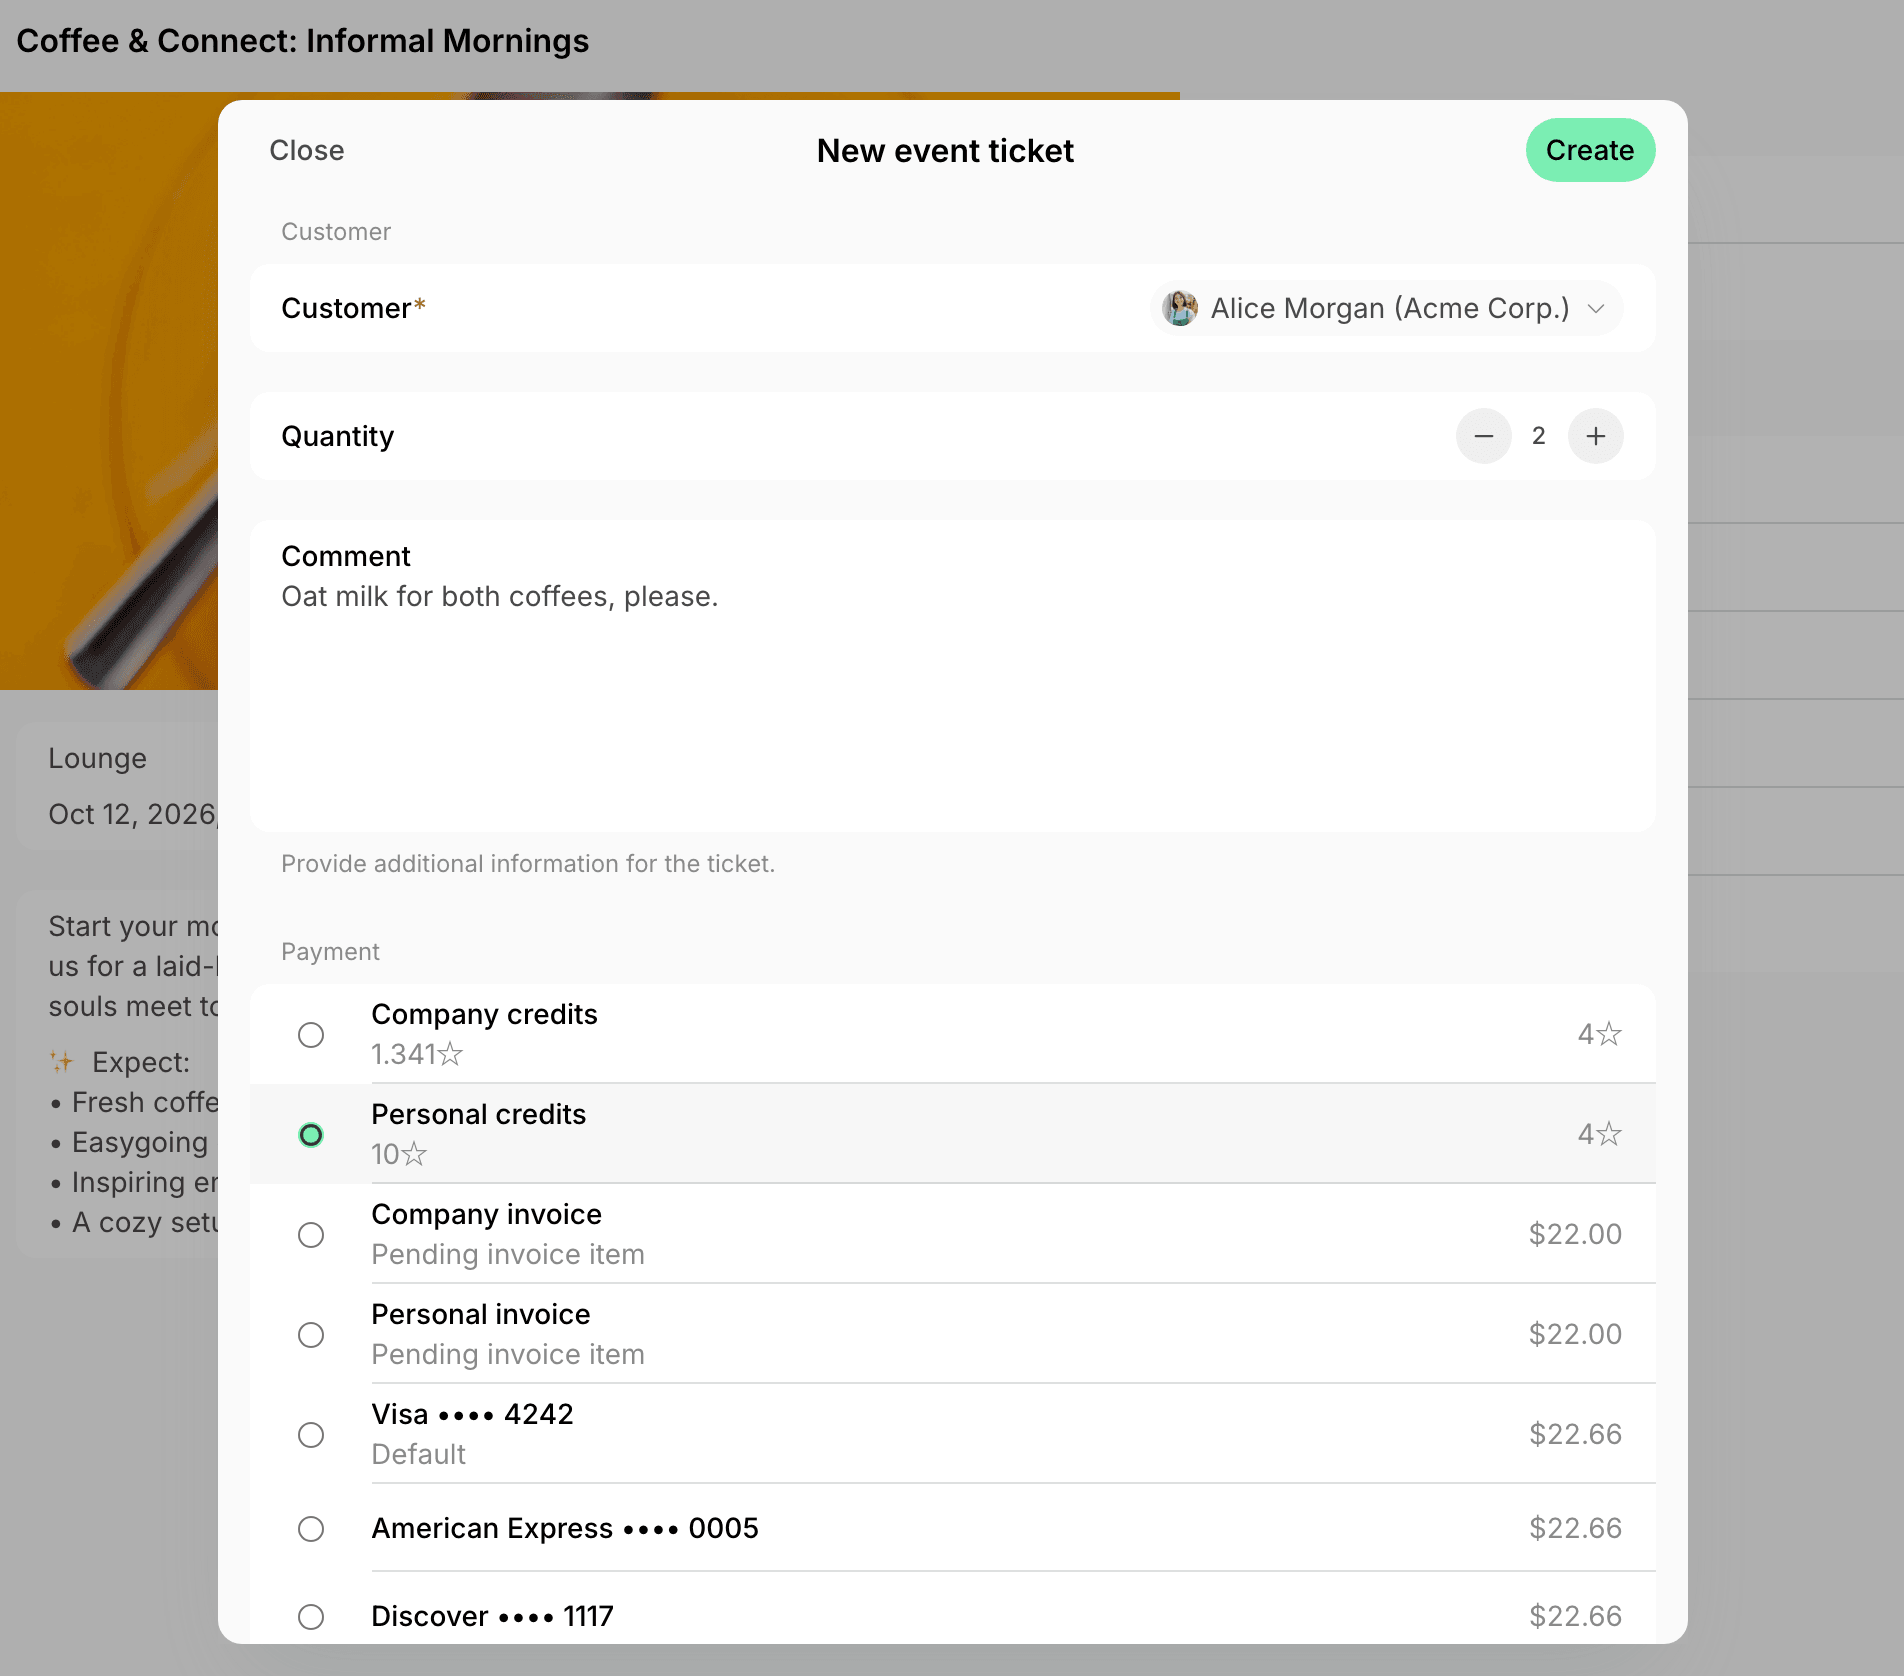
- Click Create.
The Add button appears on events with Joining enabled that haven’t ended or been canceled. Customers who already have a ticket for the event, as an attendee or a host, aren’t listed.
You can create tickets for customers on the web version of the admin app only.
Track events
Use the Calendar tab to switch to a monthly calendar view of all events, or use the Search field to quickly find a specific event.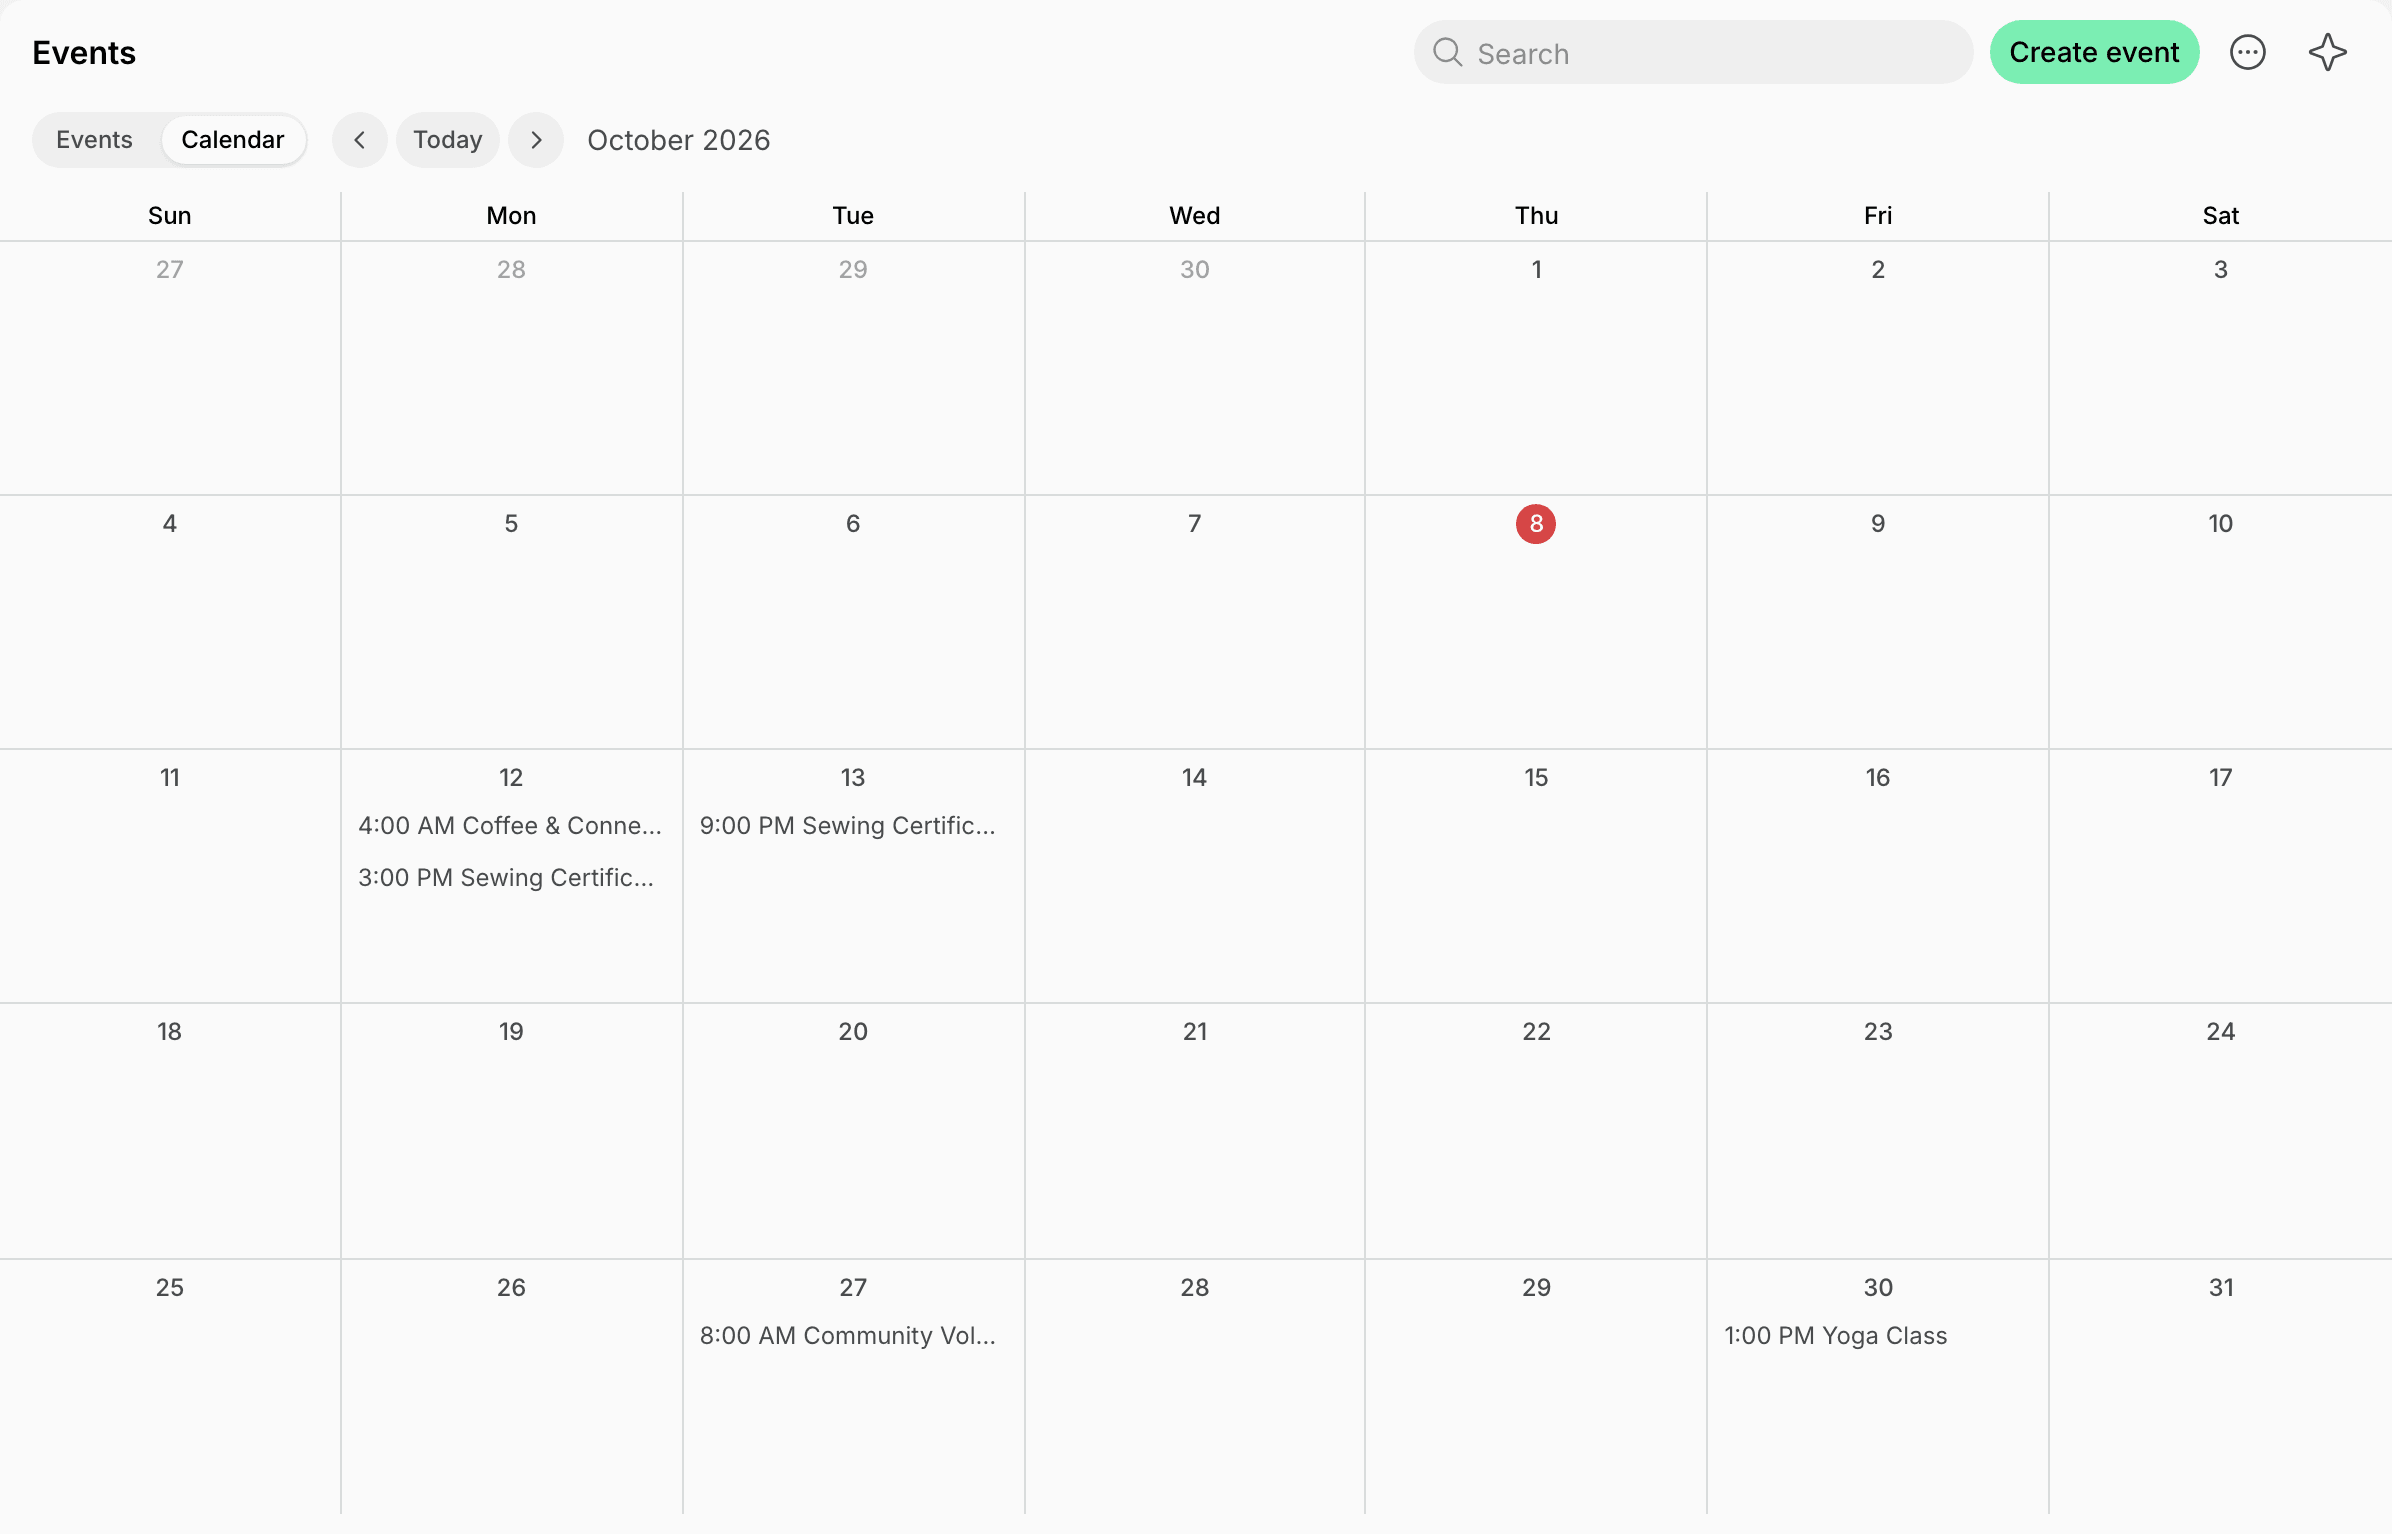
- Click Add filter > Create date to see events created in a ready-made period, such as Today or Last 28 days, or click Custom to set an exact date or range.
Export an events report
On the Events page, apply the necessary filters, then click (…) in the top right corner > Export events > CSV or XLSX to download a report on the filtered events.
Export an event attendees report
Go to Engagement > Events, open the event, and click (…) in the top right corner > Export attendees > CSV or XLSX.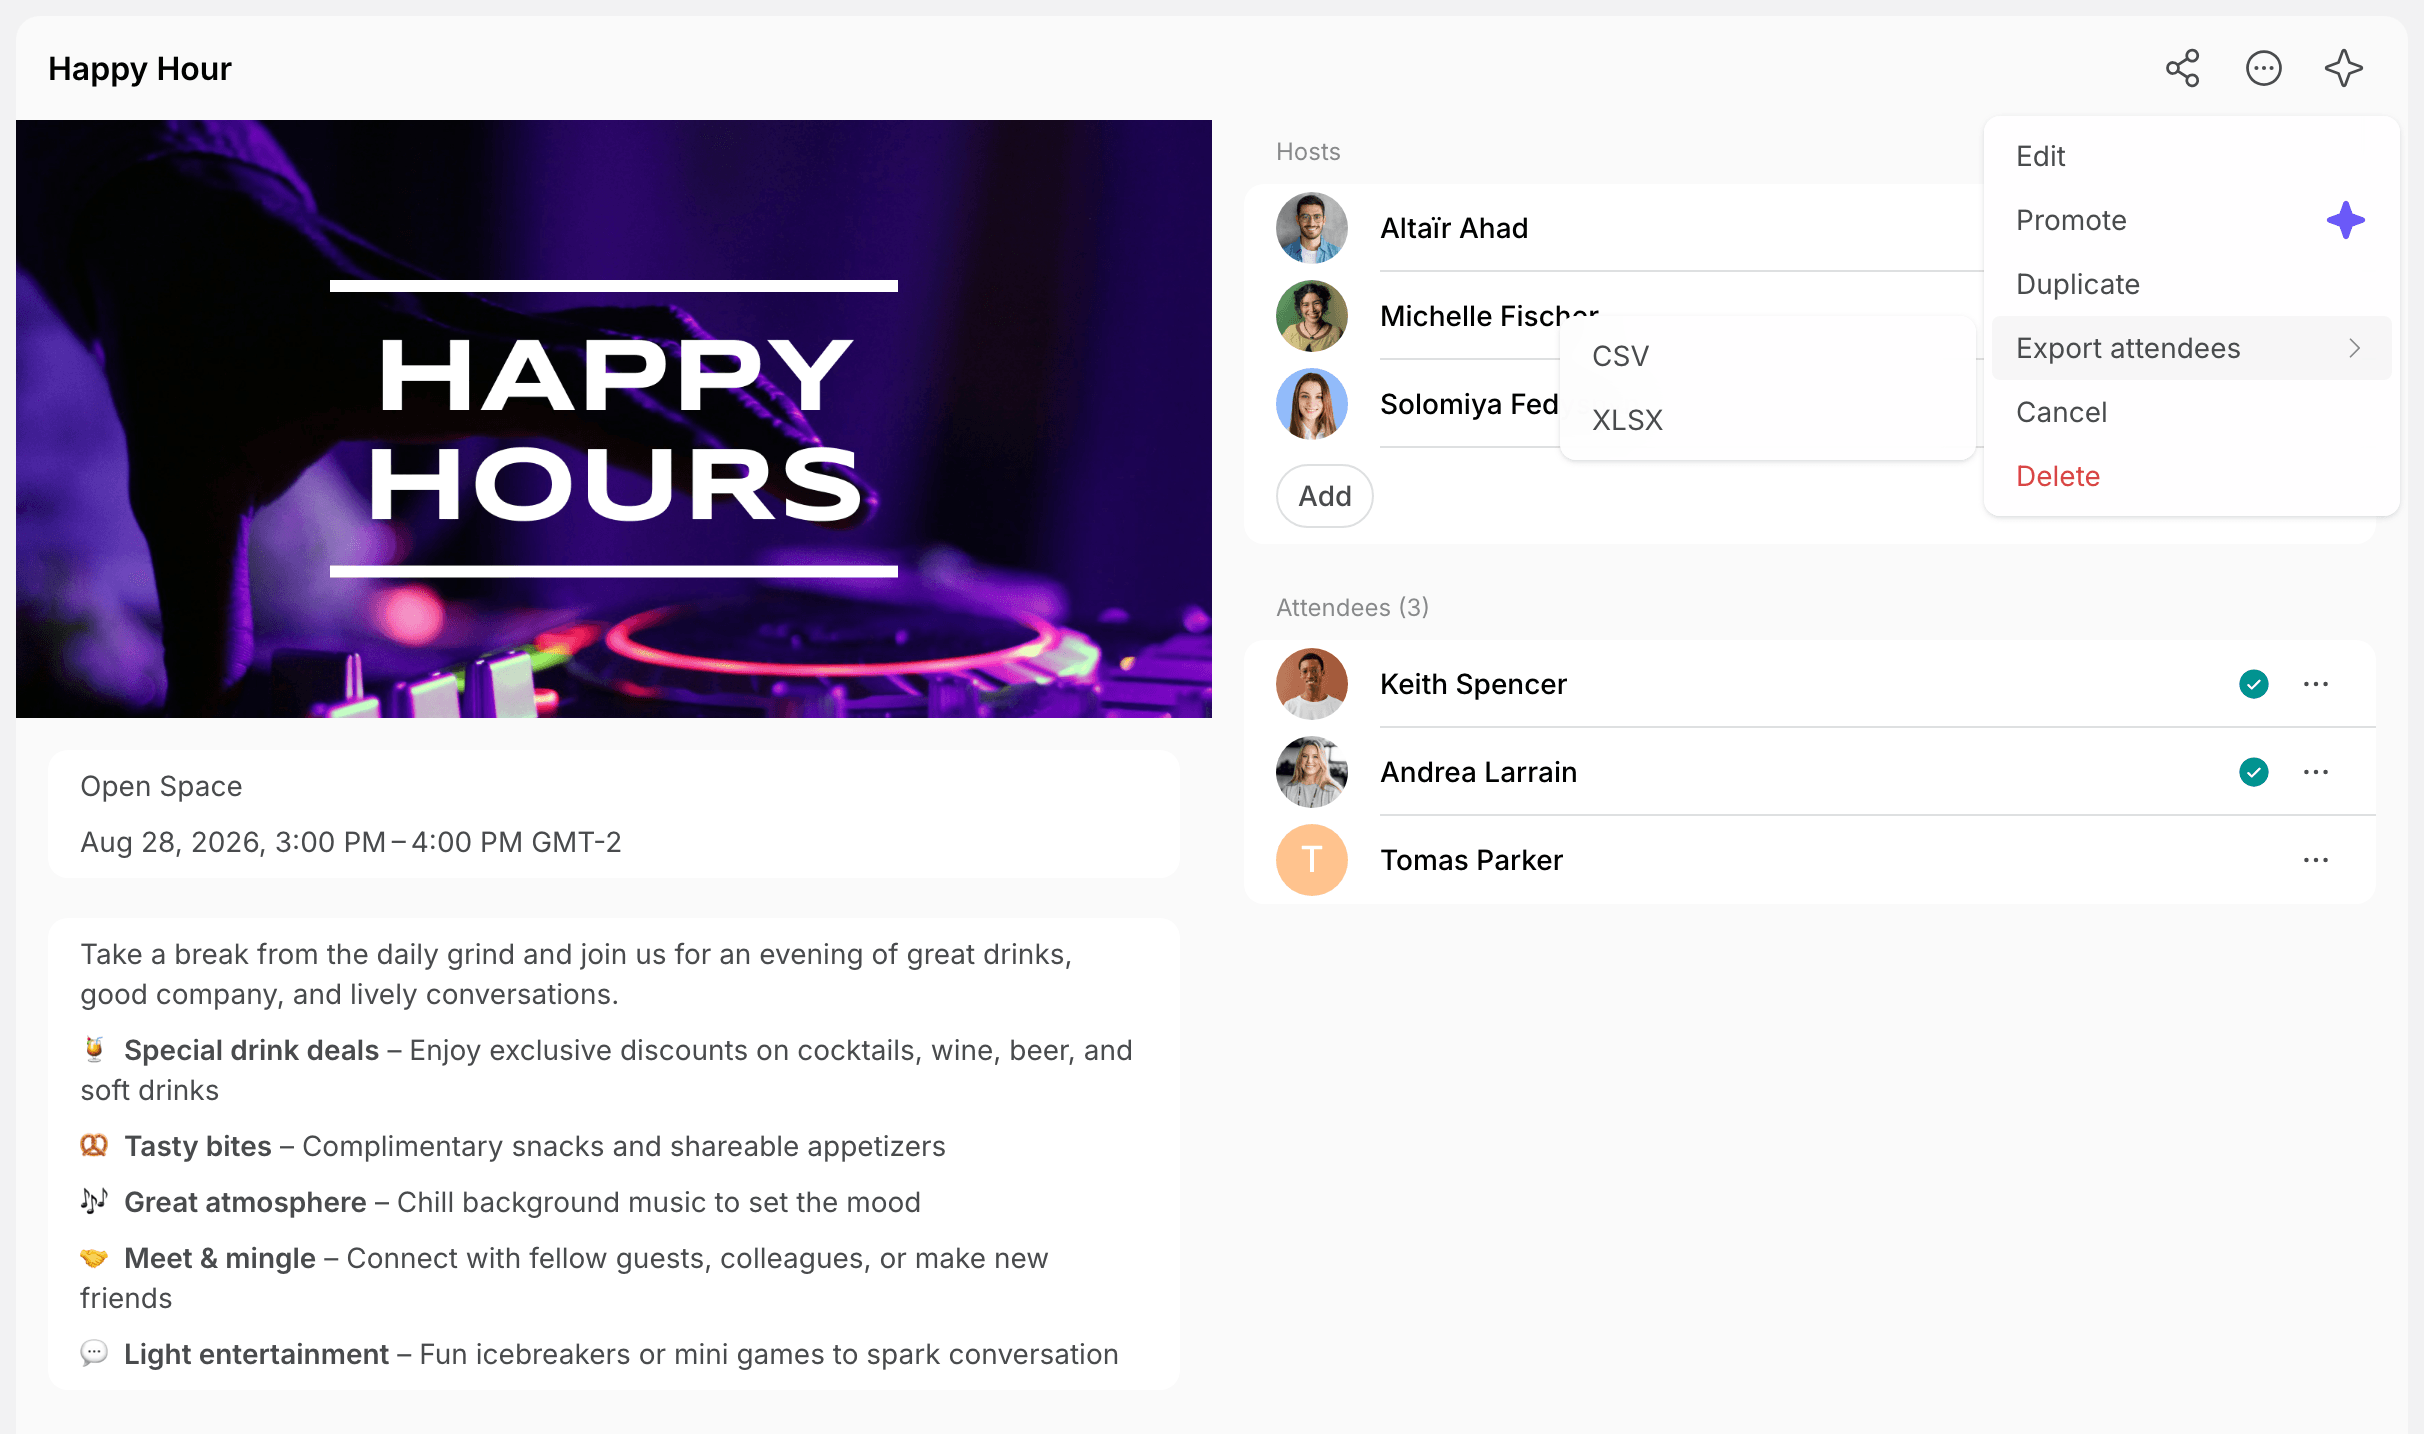
Edit an event
Editing an event allows you to make changes or updates to the event details, such as the date, time, or any other information.- Go to the Engagement > Events page.
- Hover over the event > press the menu (…) next to it > press Edit.
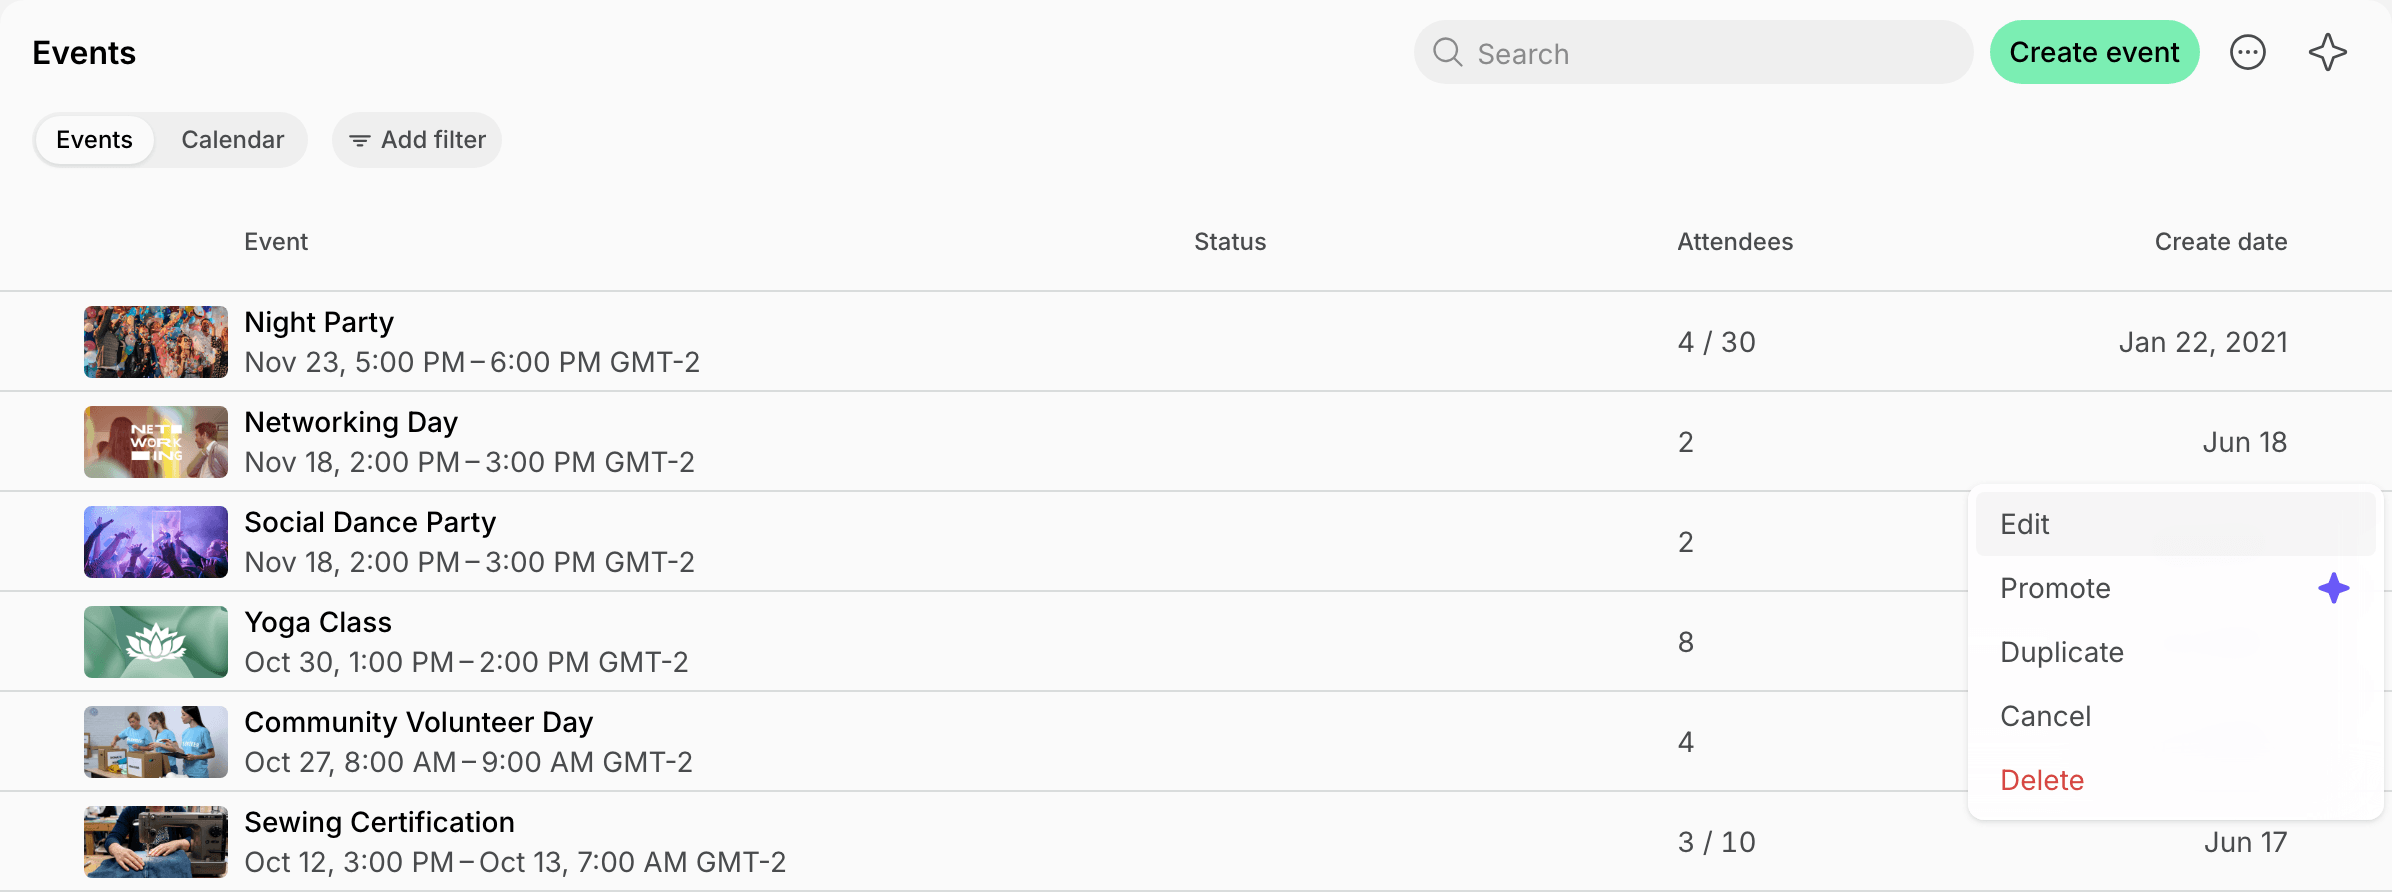
- Make the necessary changes and press Save.
Cancel the event
- Go to the Engagement > Events page.
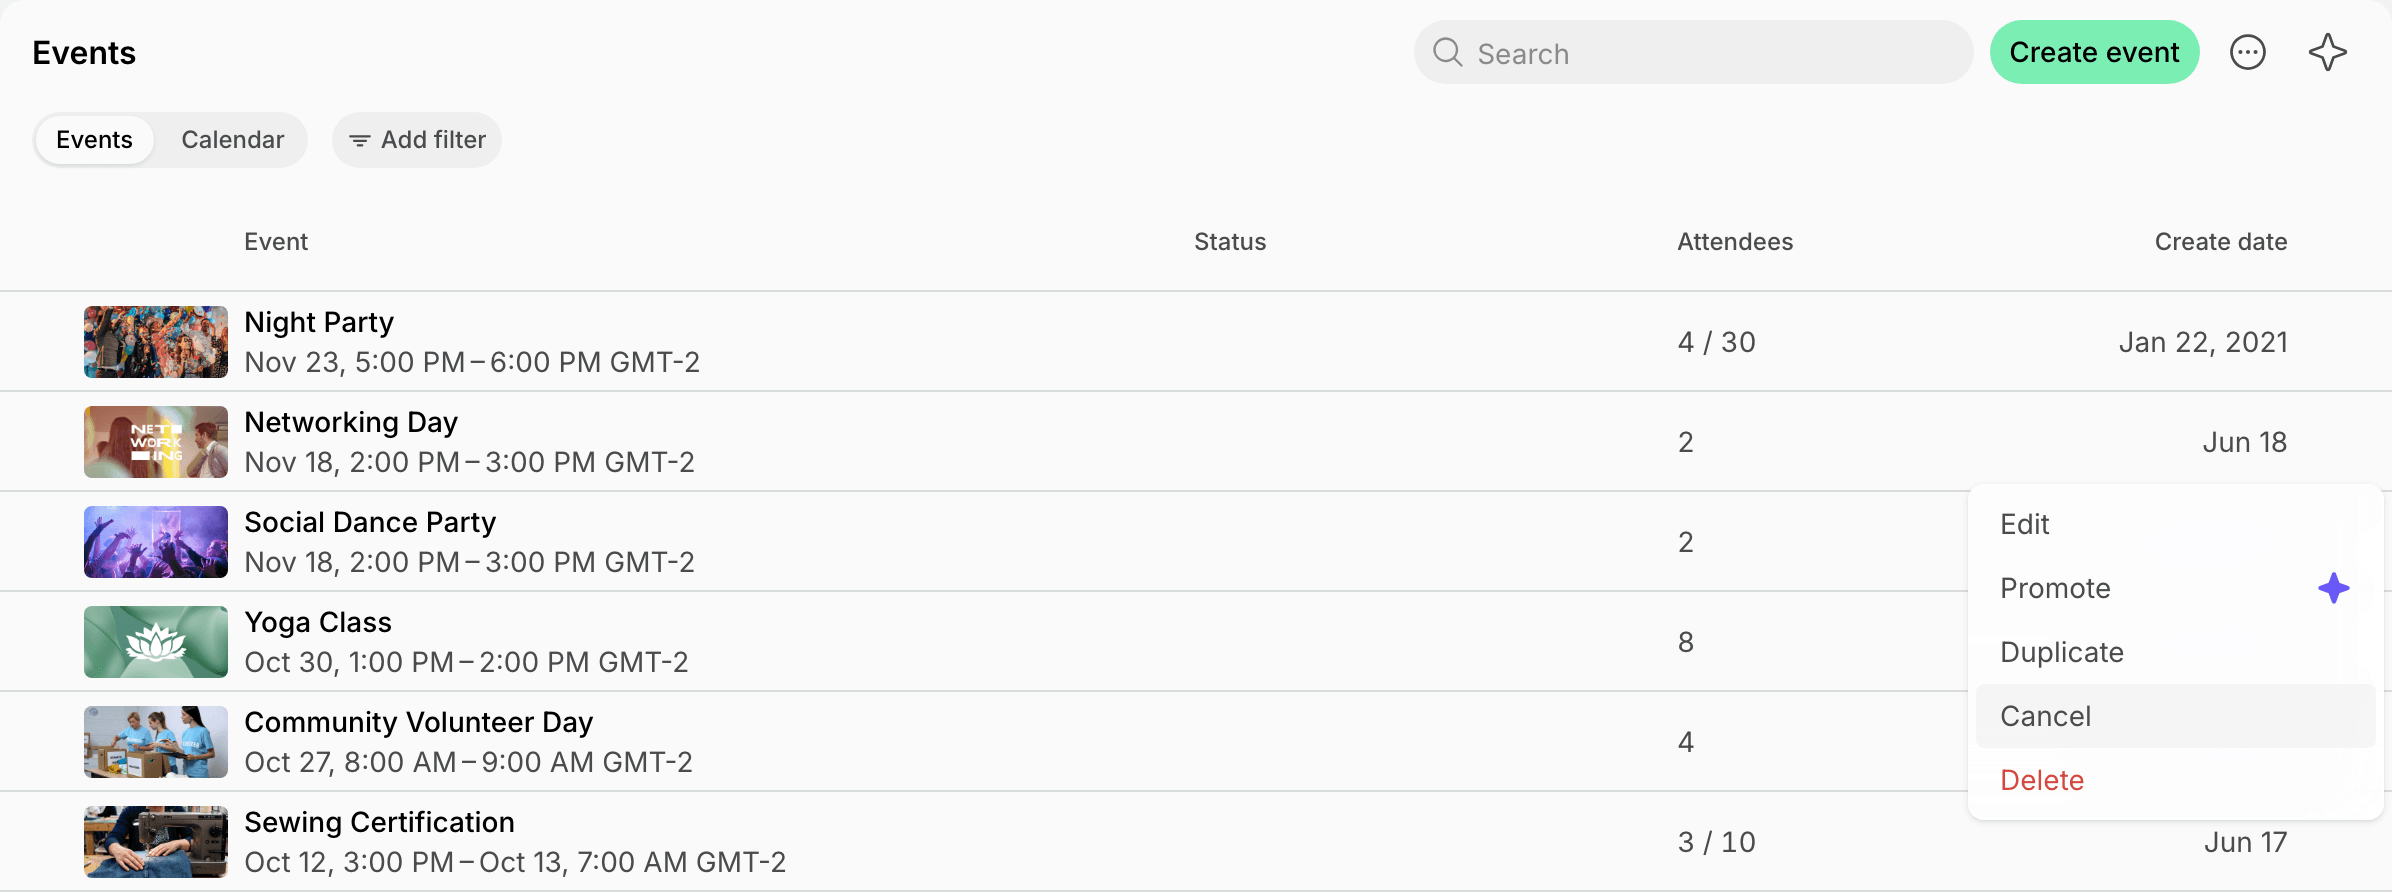
- Click the (…) menu button next to the necessary event > Cancel.
How users are notified about event cancellation
All event attendees receive a push and an email notification that the event has been canceled.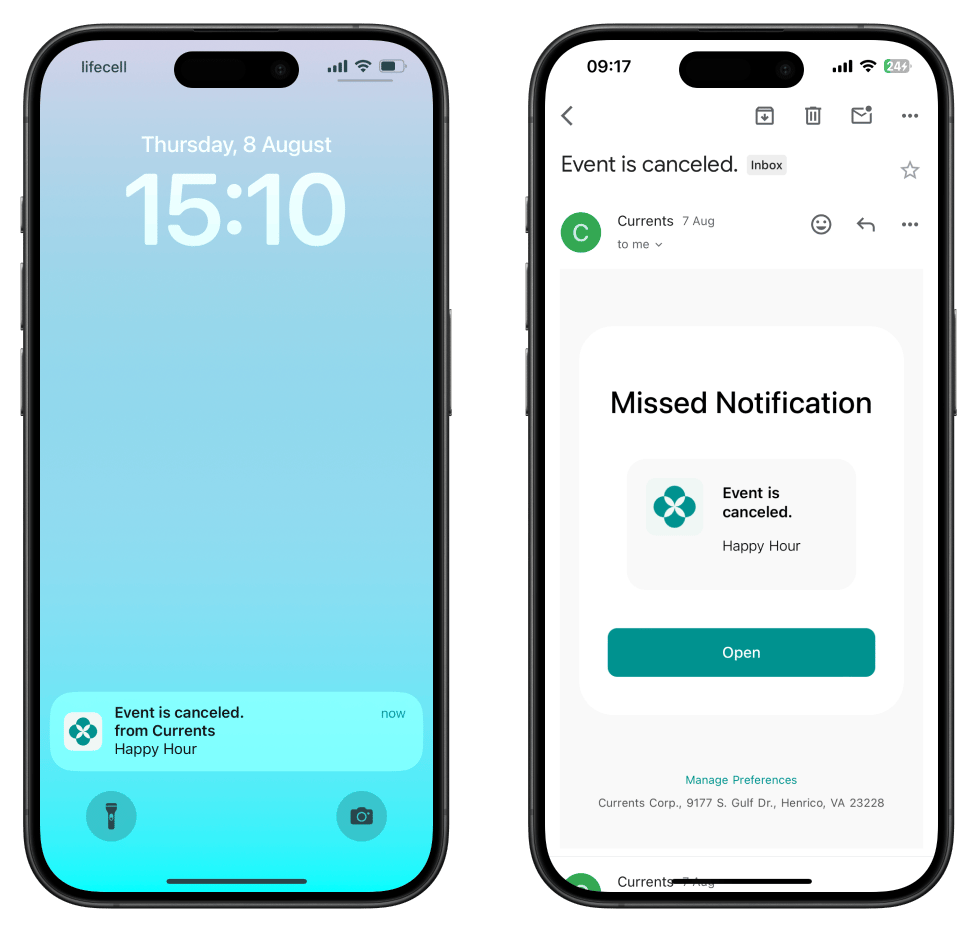
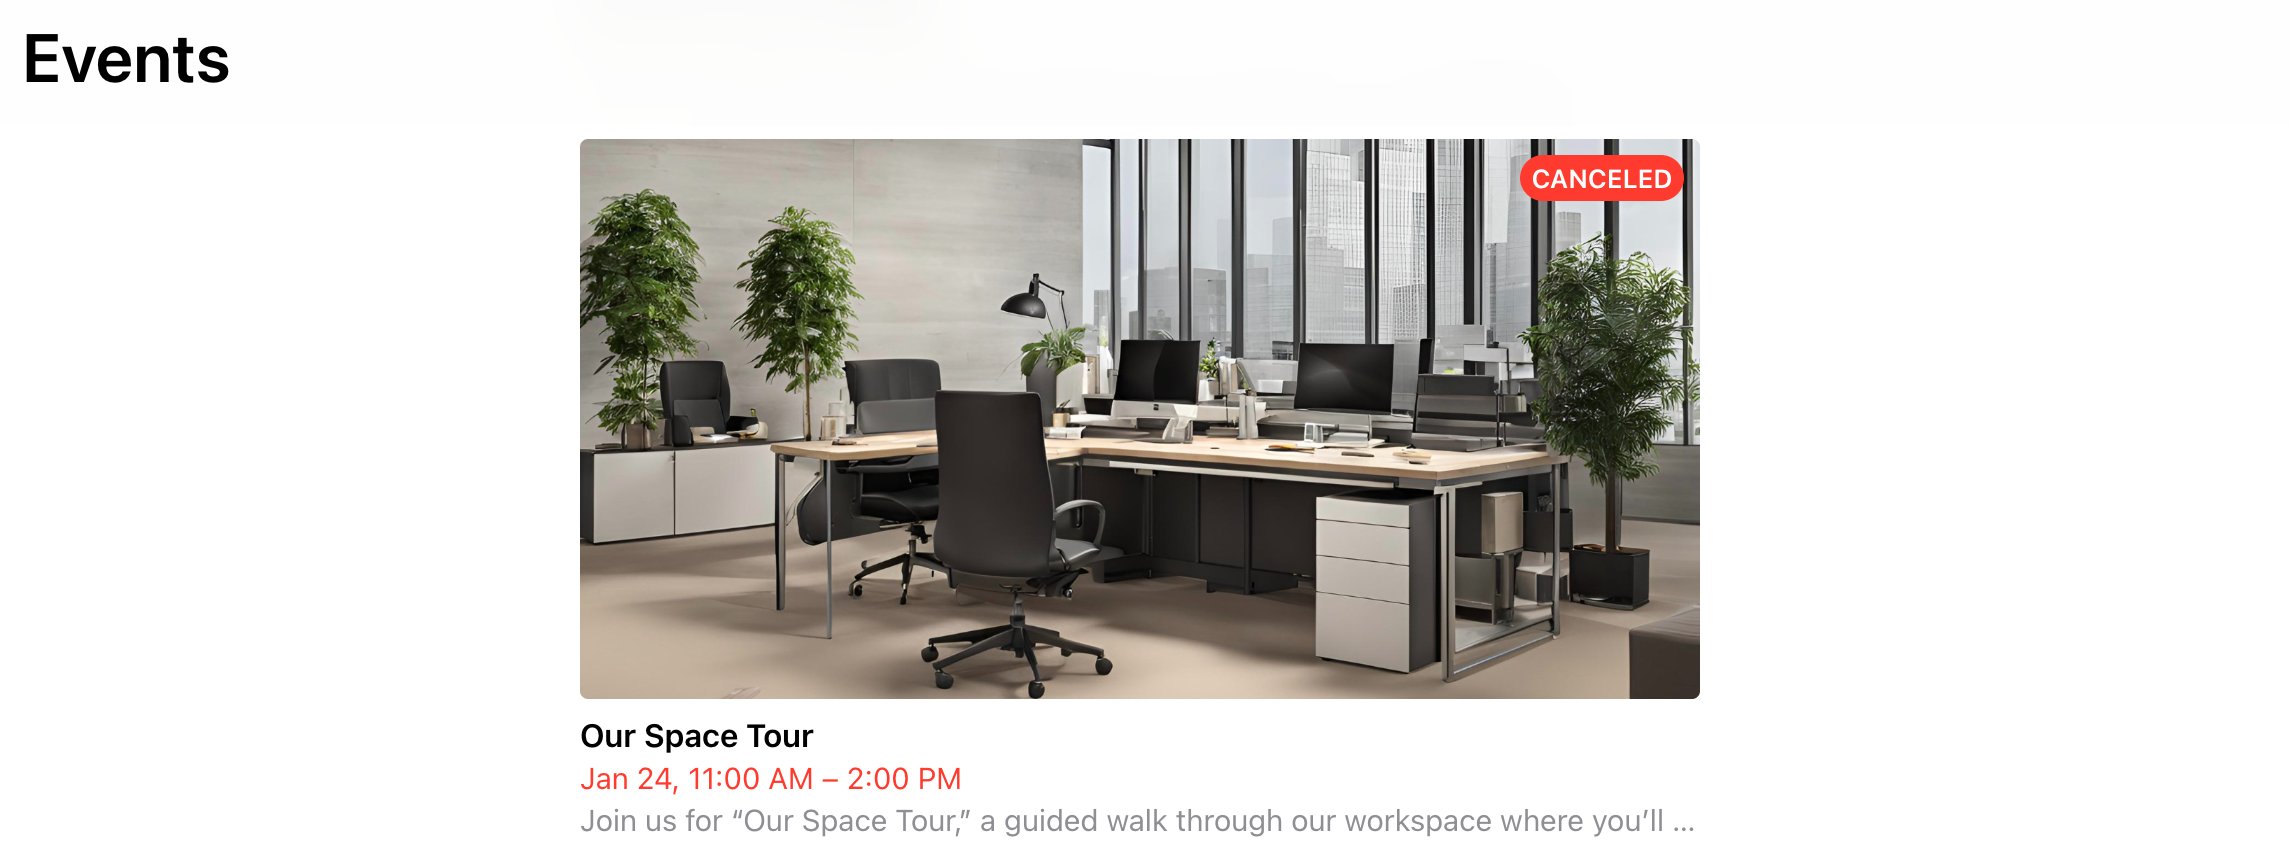
Delete an event
- Go to the Engagement > Events page.
- Hover over the event > press the menu (…) next to it > press Delete and confirm your choice.
FAQs
Can I buy an event ticket for a customer?
Can I buy an event ticket for a customer?
Yes. Open the event and click Add under Attendees to create a ticket for the customer, paid with their own payment method, an external payment, or for free.
How do I send an email to event attendees?
How do I send an email to event attendees?
- Pre-event confirmation emails: enable the Confirmation email option when creating an event to send a custom email to all attendees as soon as they join.
- Post-event emails: export an event attendees report to get email addresses, then upload them to your preferred email platform for follow-up messages.
Can I ask attendees for dietary requirements or other details?
Can I ask attendees for dietary requirements or other details?
When joining an event, users can leave a Comment on their ticket, for example dietary requirements or the name of a guest they bring. Ask for the details you need in the event Description. To read the comments, go to Engagement > Events, open the event, and tap an attendee to open their ticket, or export the attendees report.
Can I charge different ticket prices for the same event?
Can I charge different ticket prices for the same event?
Set one ticket price in the event’s Pricing, then use discounts to let some attendees pay less:
- Add a discount coupon for this event, or for all events, in members’ subscriptions so those members pay a reduced price.
- Create a promo code for the event and share it with a certain category of attendees, or as an early-bird offer.
How to make events free for members, and paid for nonmembers?
How to make events free for members, and paid for nonmembers?
To give members free access to all or a specific event, add a 100% discount coupon for event tickets in their subscription. Then, when creating an event, set the regular price for nonmembers.
Can members add events to the app?
Can members add events to the app?
Only administrators can create events. However, you can allow members to submit event requests through the Shop page.To set this up, create a product on the Products page (e.g. Request to host an event) with relevant rules, a questionnaire, and your event hosting guidelines. Interested members can apply by purchasing the product and providing event details in the Comment section. An administrator will then review the request, create the event, and select the member as a host.
Why is the 'Promote' event feature generating posts in the wrong language?
Why is the 'Promote' event feature generating posts in the wrong language?
The Promote event feature relies on AI to identify the language and context of your event. If your title or description is too generic (e.g., “test event”), the system may misinterpret it. For best results, add a clear and descriptive title and description so the AI can generate accurate content.