

Set up event spaces
To make event spaces available for booking, add them under Rooms with the Event space room type. This provides a clear calendar view, allowing users to see at a glance when the space is available or already booked.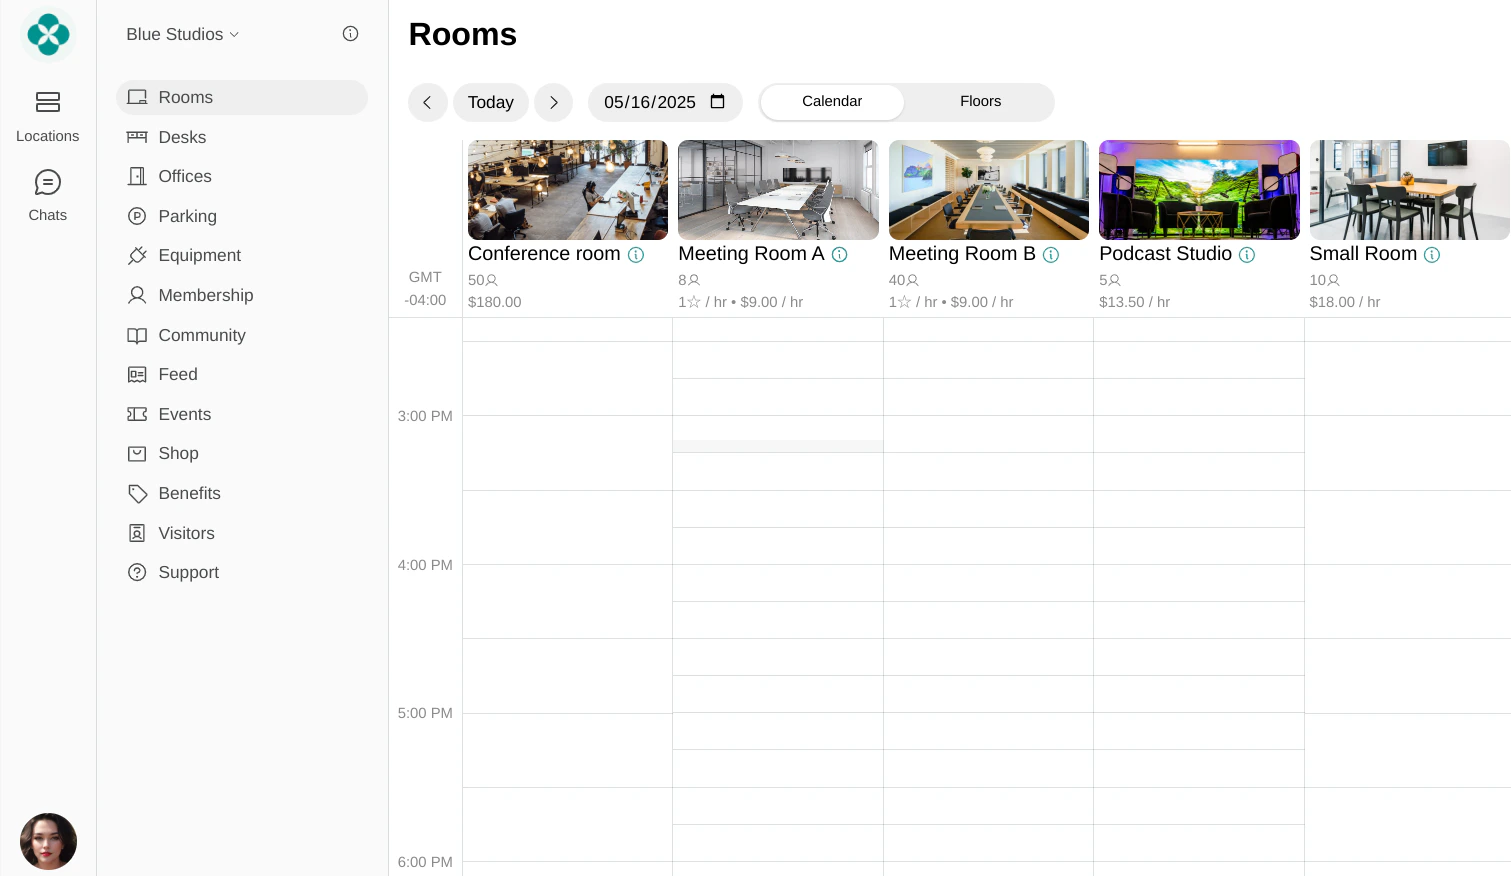
- Set a proper rescheduling policy on the Booking tab
- Configure visibility and booking permissions on the Permissions tab
- If only administrators should manage bookings, set:
- Booking permission: Administrators
- Visibility permission: Public (so all customers can see the event space)
- If you allow everyone to book th event space directly, set:
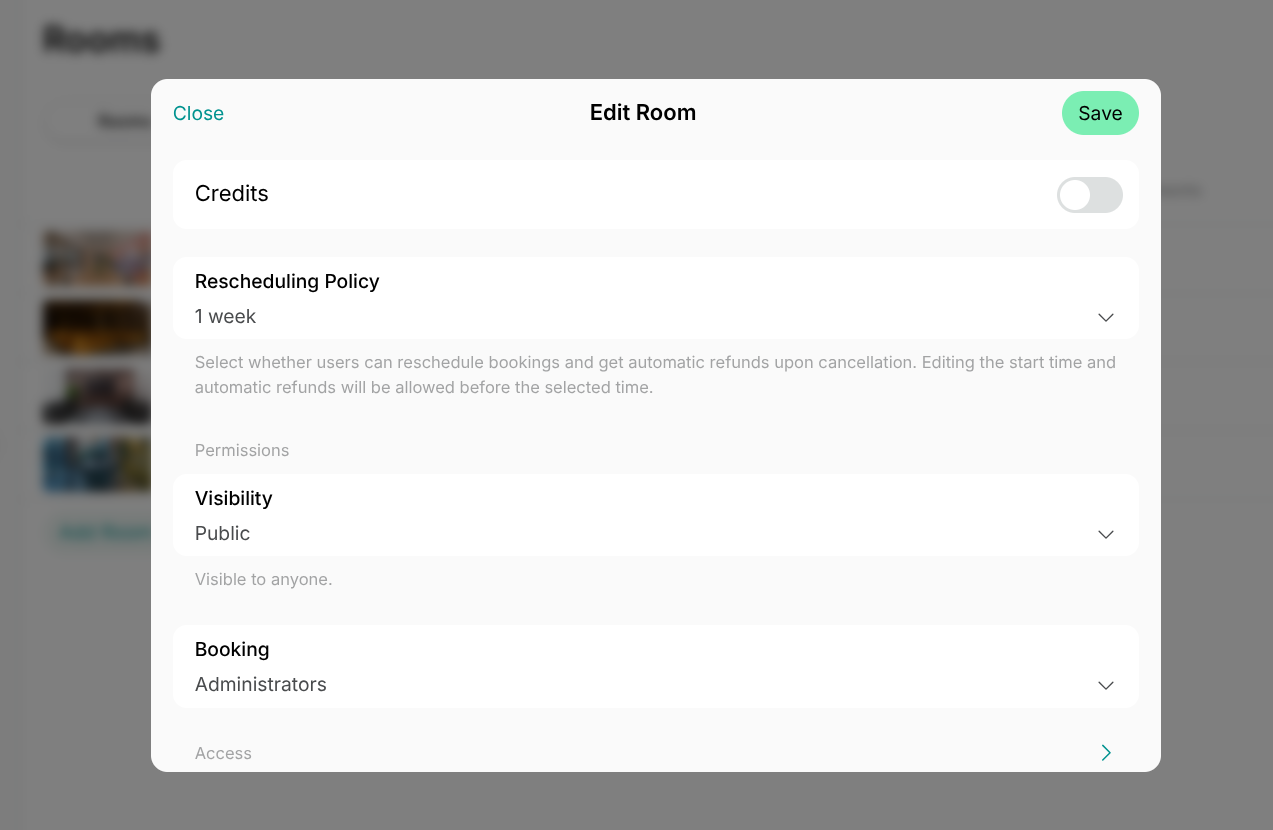
- Booking permission: Public
- Visibility permission: Public
How users book or request event spaces
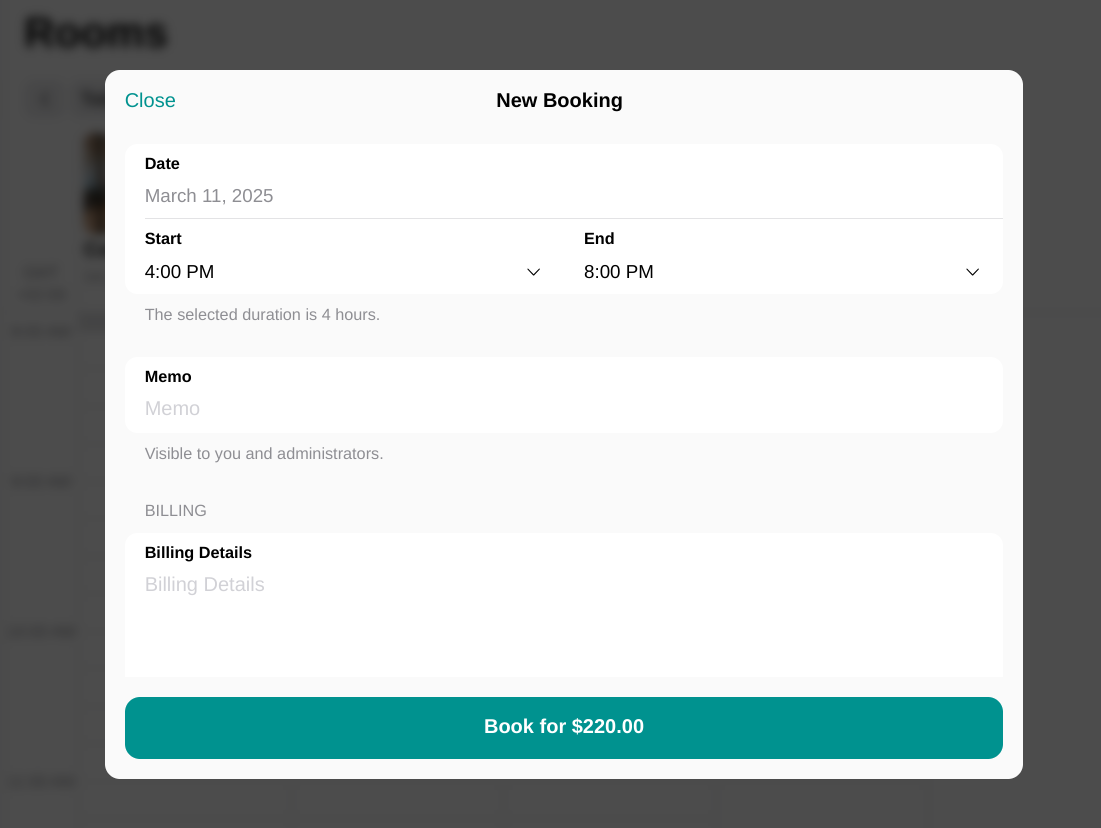
- If booking permission is set to Public: Users will see a Book button, allowing them to select a date, time, and complete the booking and payment immediately.
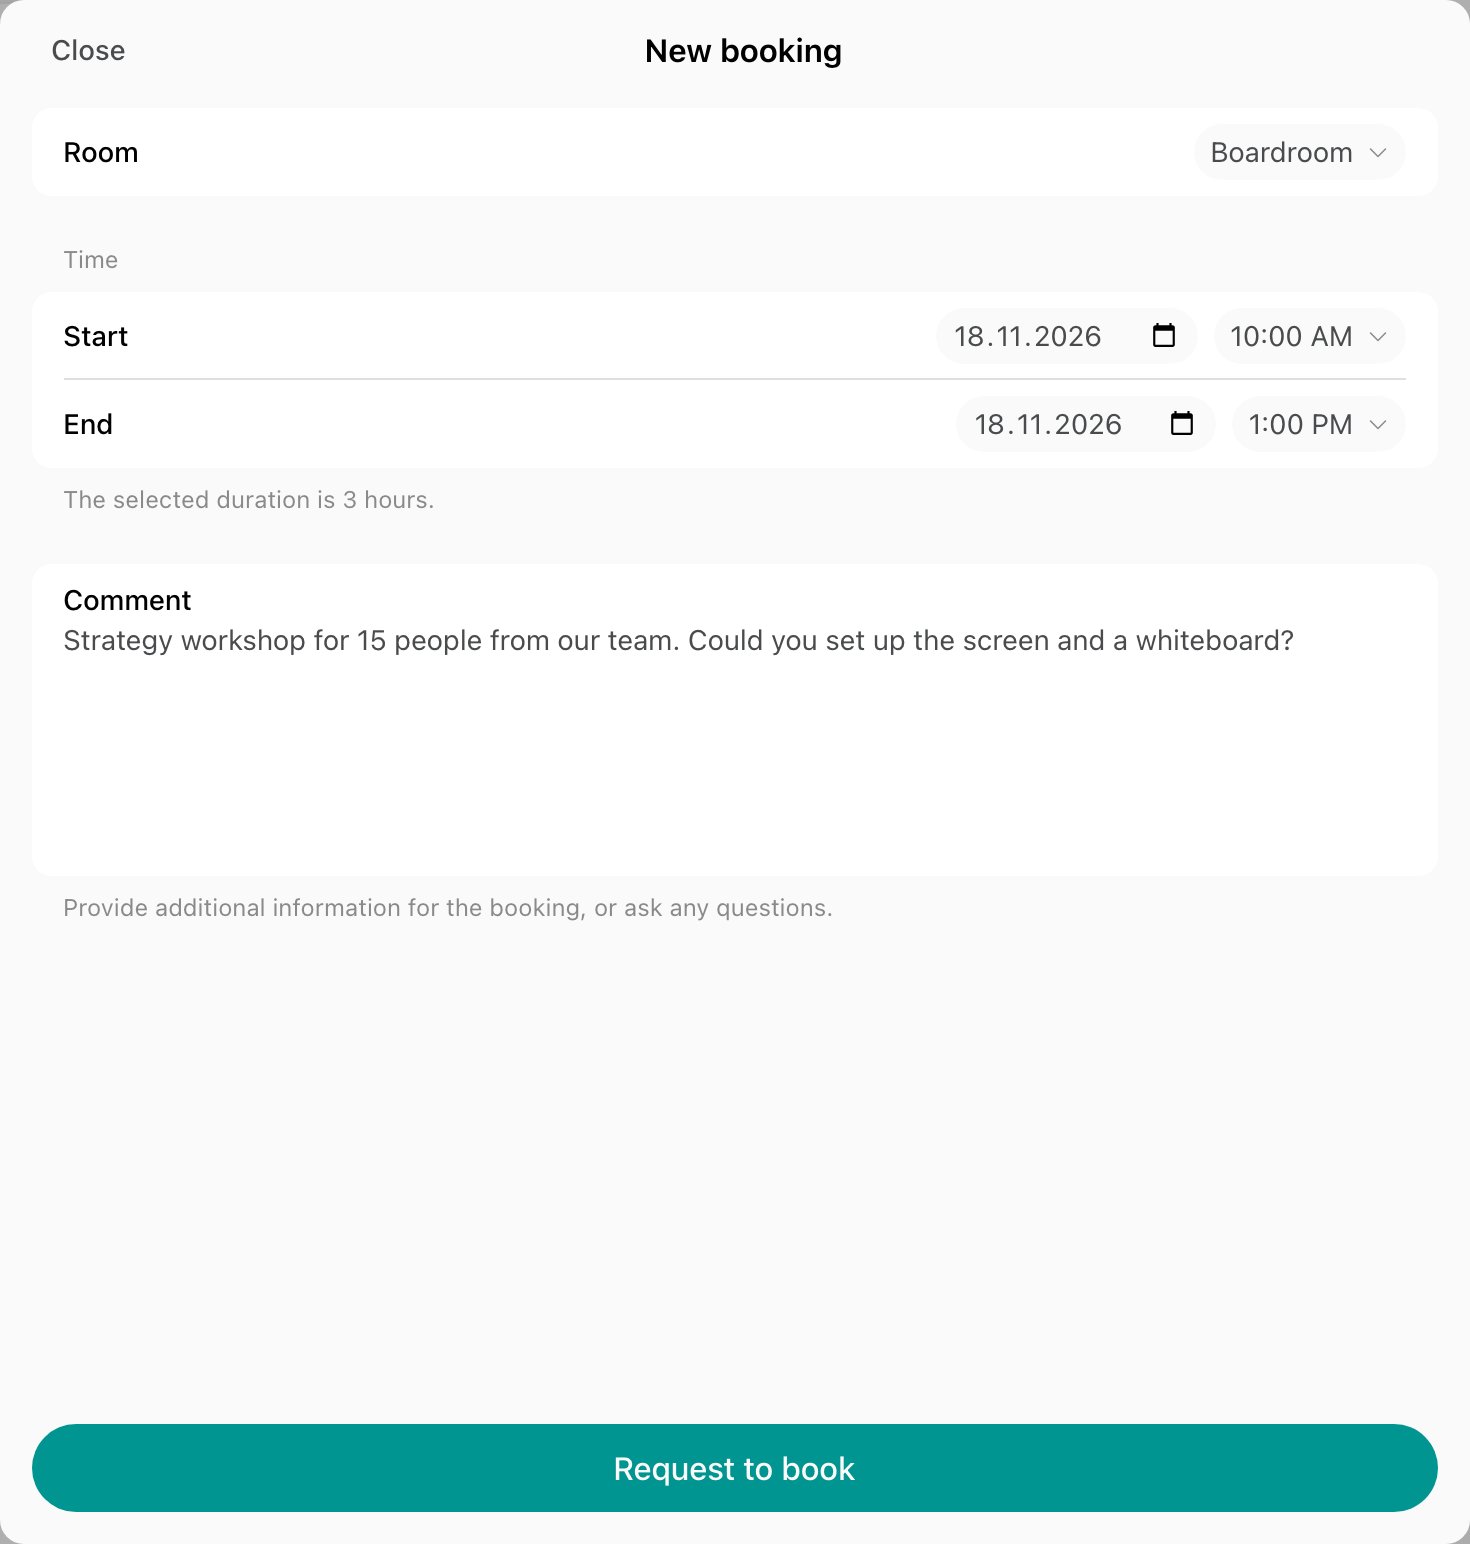
- If booking permission is set to administrators: Users will see a Request to book button and can request a booking for the preferred date and time.
How to handle rental requests and invoice customers
- When a user requests a rental, the request appears on the Bookings page with the Requested status, and the user becomes a nonmember if they weren’t a customer yet. To agree on the details, write to them in the Activities section of the request.
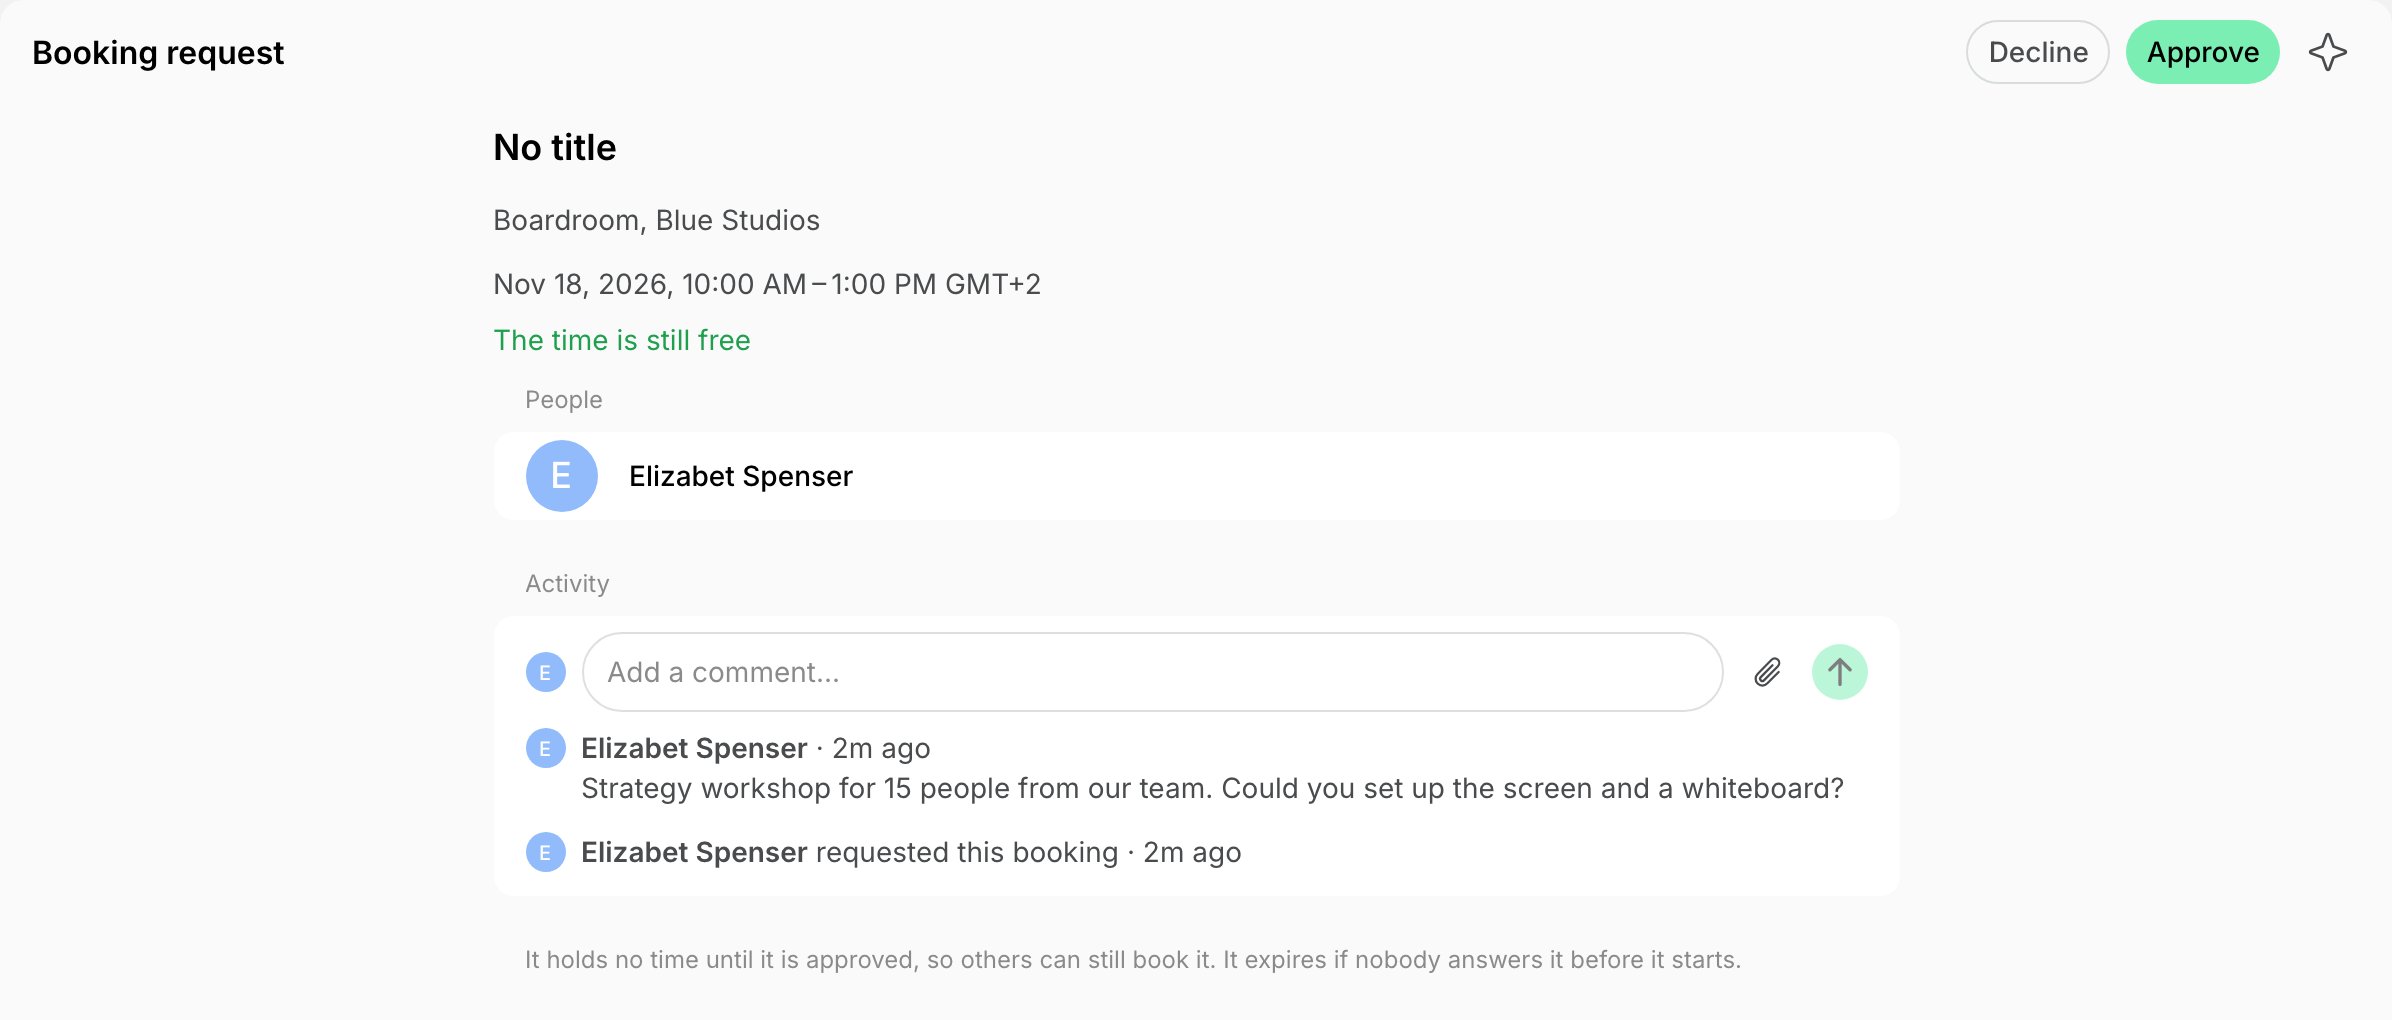
- Once the rental is confirmed, open the request and press Approve. The booking form opens with the requested time and the user as the booker.
- In the Payment section, choose Invoice.
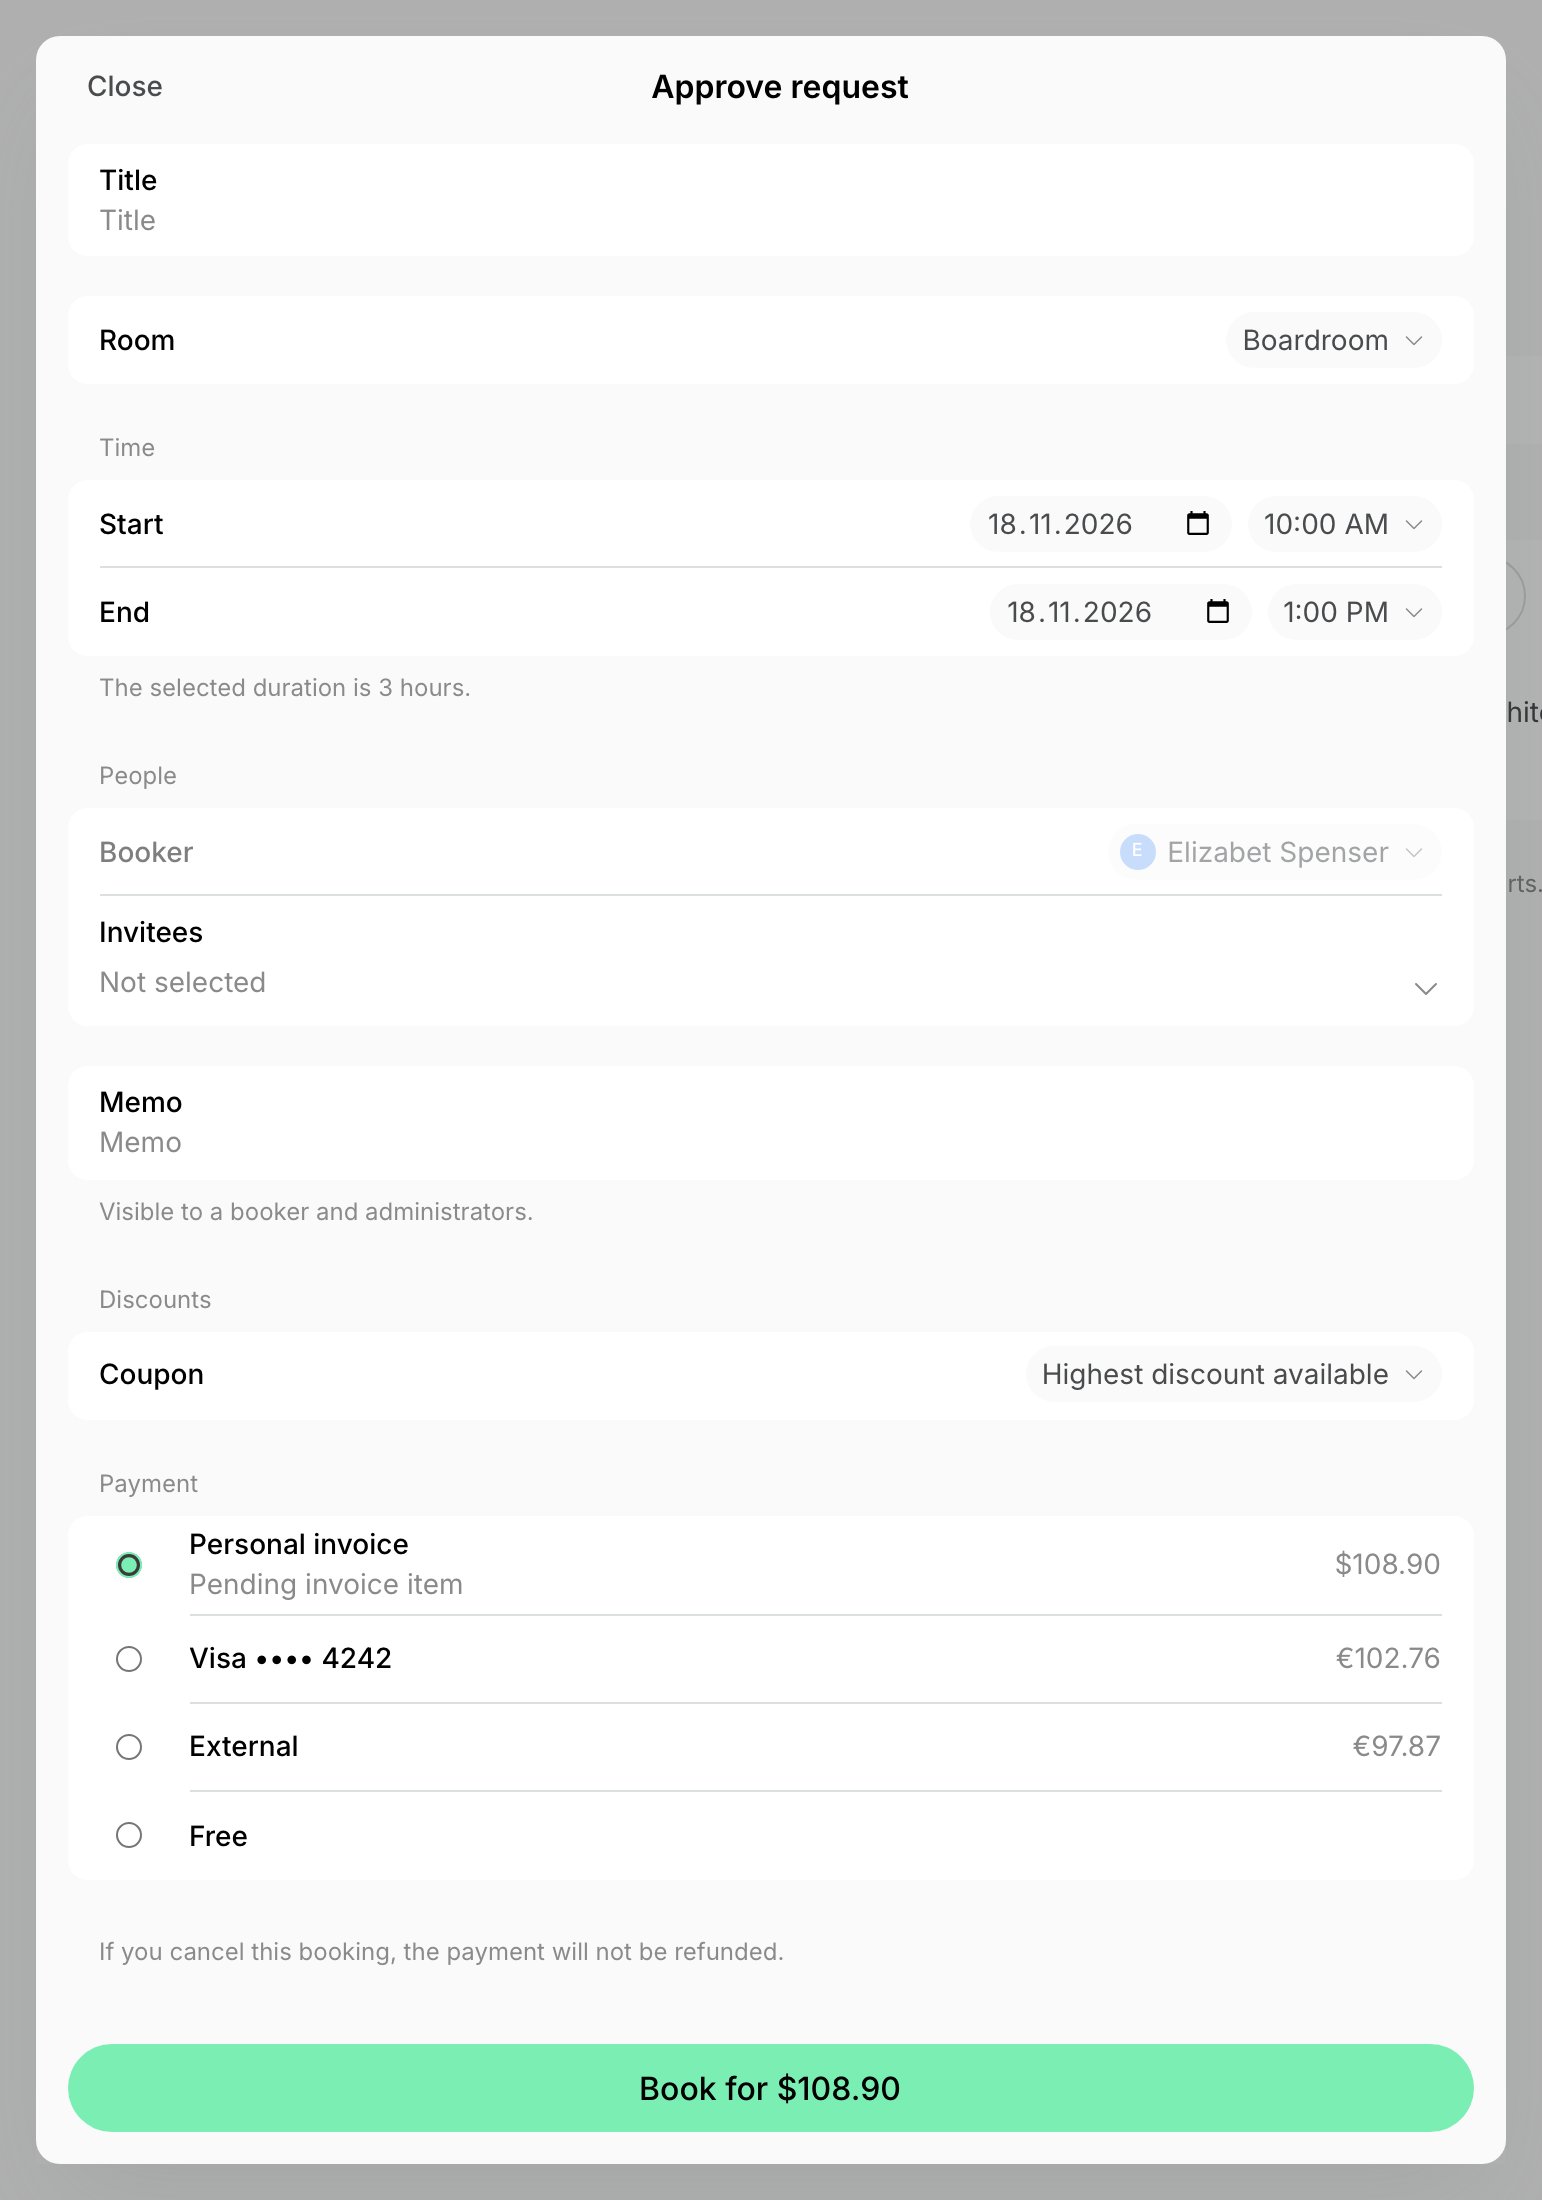
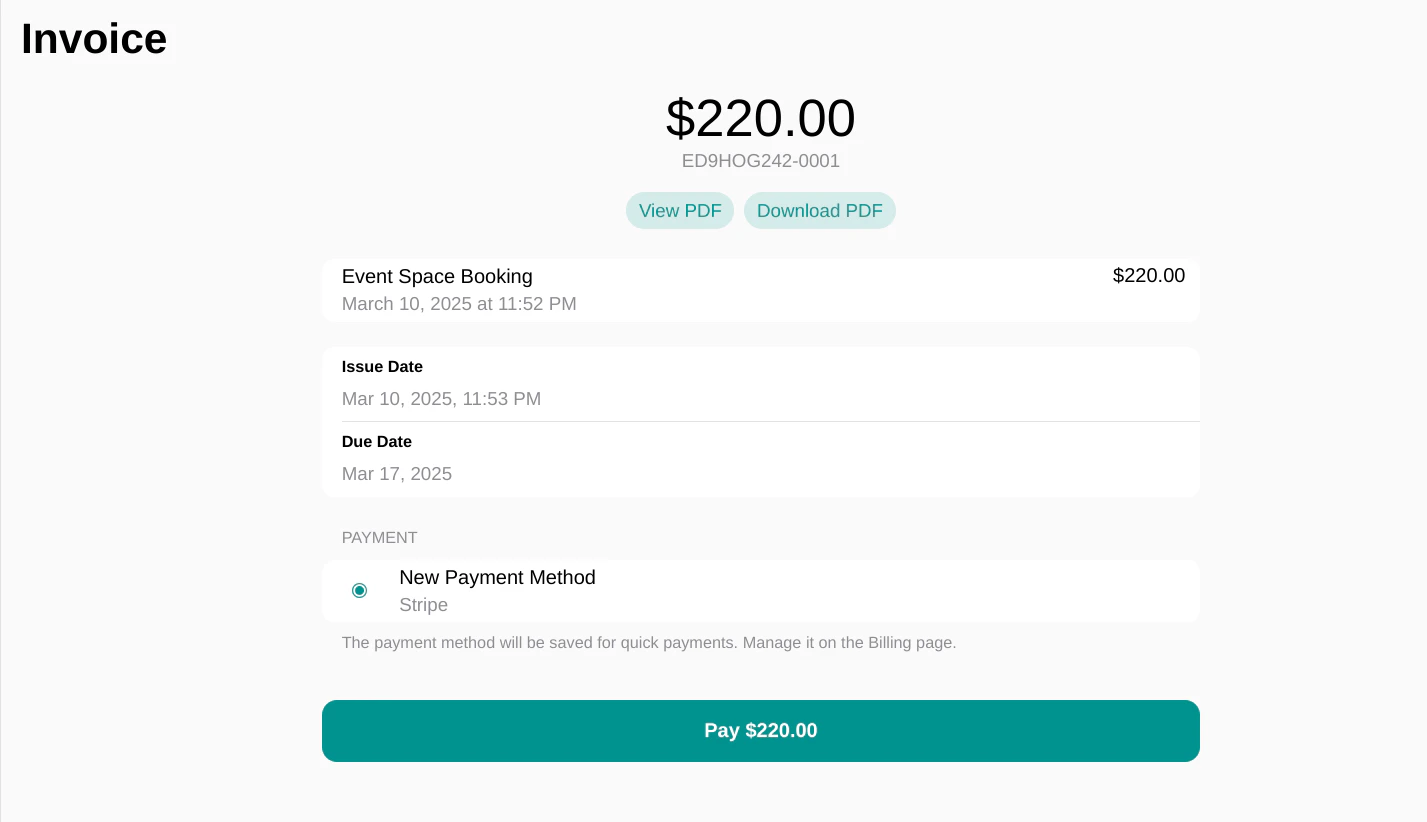
- Complete the booking and issue the generated invoice.
- The customer receives the invoice via in-app notifications and to their inbox and can proceed with payment.
Tips
- If you offer equipment rentals for events —such as chairs, microphones, or projectors—list them on the Equipment page. Consider adding links to equipment in the event space description to inform customers of available options and encourage upsells in addition to bookings.