Kisi is a distinct company not affiliated with us. For any inquiries regarding Kisi’s solutions, services, or pricing, please reach out to Kisi directly. We do not have the authority to provide information or support on behalf of Kisi.
Prerequisites
- Set up your Kisi account with all locks configured and added to access groups created exclusively for Spacebring.
Reusing access groups created for other applications may cause errors.
- Disable the Bluetooth requirement for locks in the Kisi dashboard.
If enabled, users won’t be able to unlock doors using the Access page in your member web portal or mobile app. Bluetooth unlocking is only supported via the Kisi app itself.
- Have access to the Kisi owner account.
Connect Kisi integration
- Press the menu (…) next to the location’s name > go to the Integrations page.

- Find the Kisi integration page and click
Connect.

- Enter your Kisi account details. In the “Email” field, use the email address of your Kisi account owner.
- Configure the Access page visibility.
- Select the Place where your Kisi locks are added > press
Save.
You can connect a separate Kisi account to each location in Spacebring.
Configure Kisi integration
The integration allows granting access based on:- Subscription
- Room booking
- Desk booking
- Office booking
- Equipment booking
- Parking booking
Access for subscriptions
For future new members
- For membership plans, open the plan settings > “Access” section > select the appropriate Kisi access group.
- For resource rentals, open the resource settings > “Access” section > select the appropriate Kisi access group.
- When you create subscriptions for customers or customers sign up by themselves, the user is automatically synced to the selected Kisi access group for the duration of their subscription.
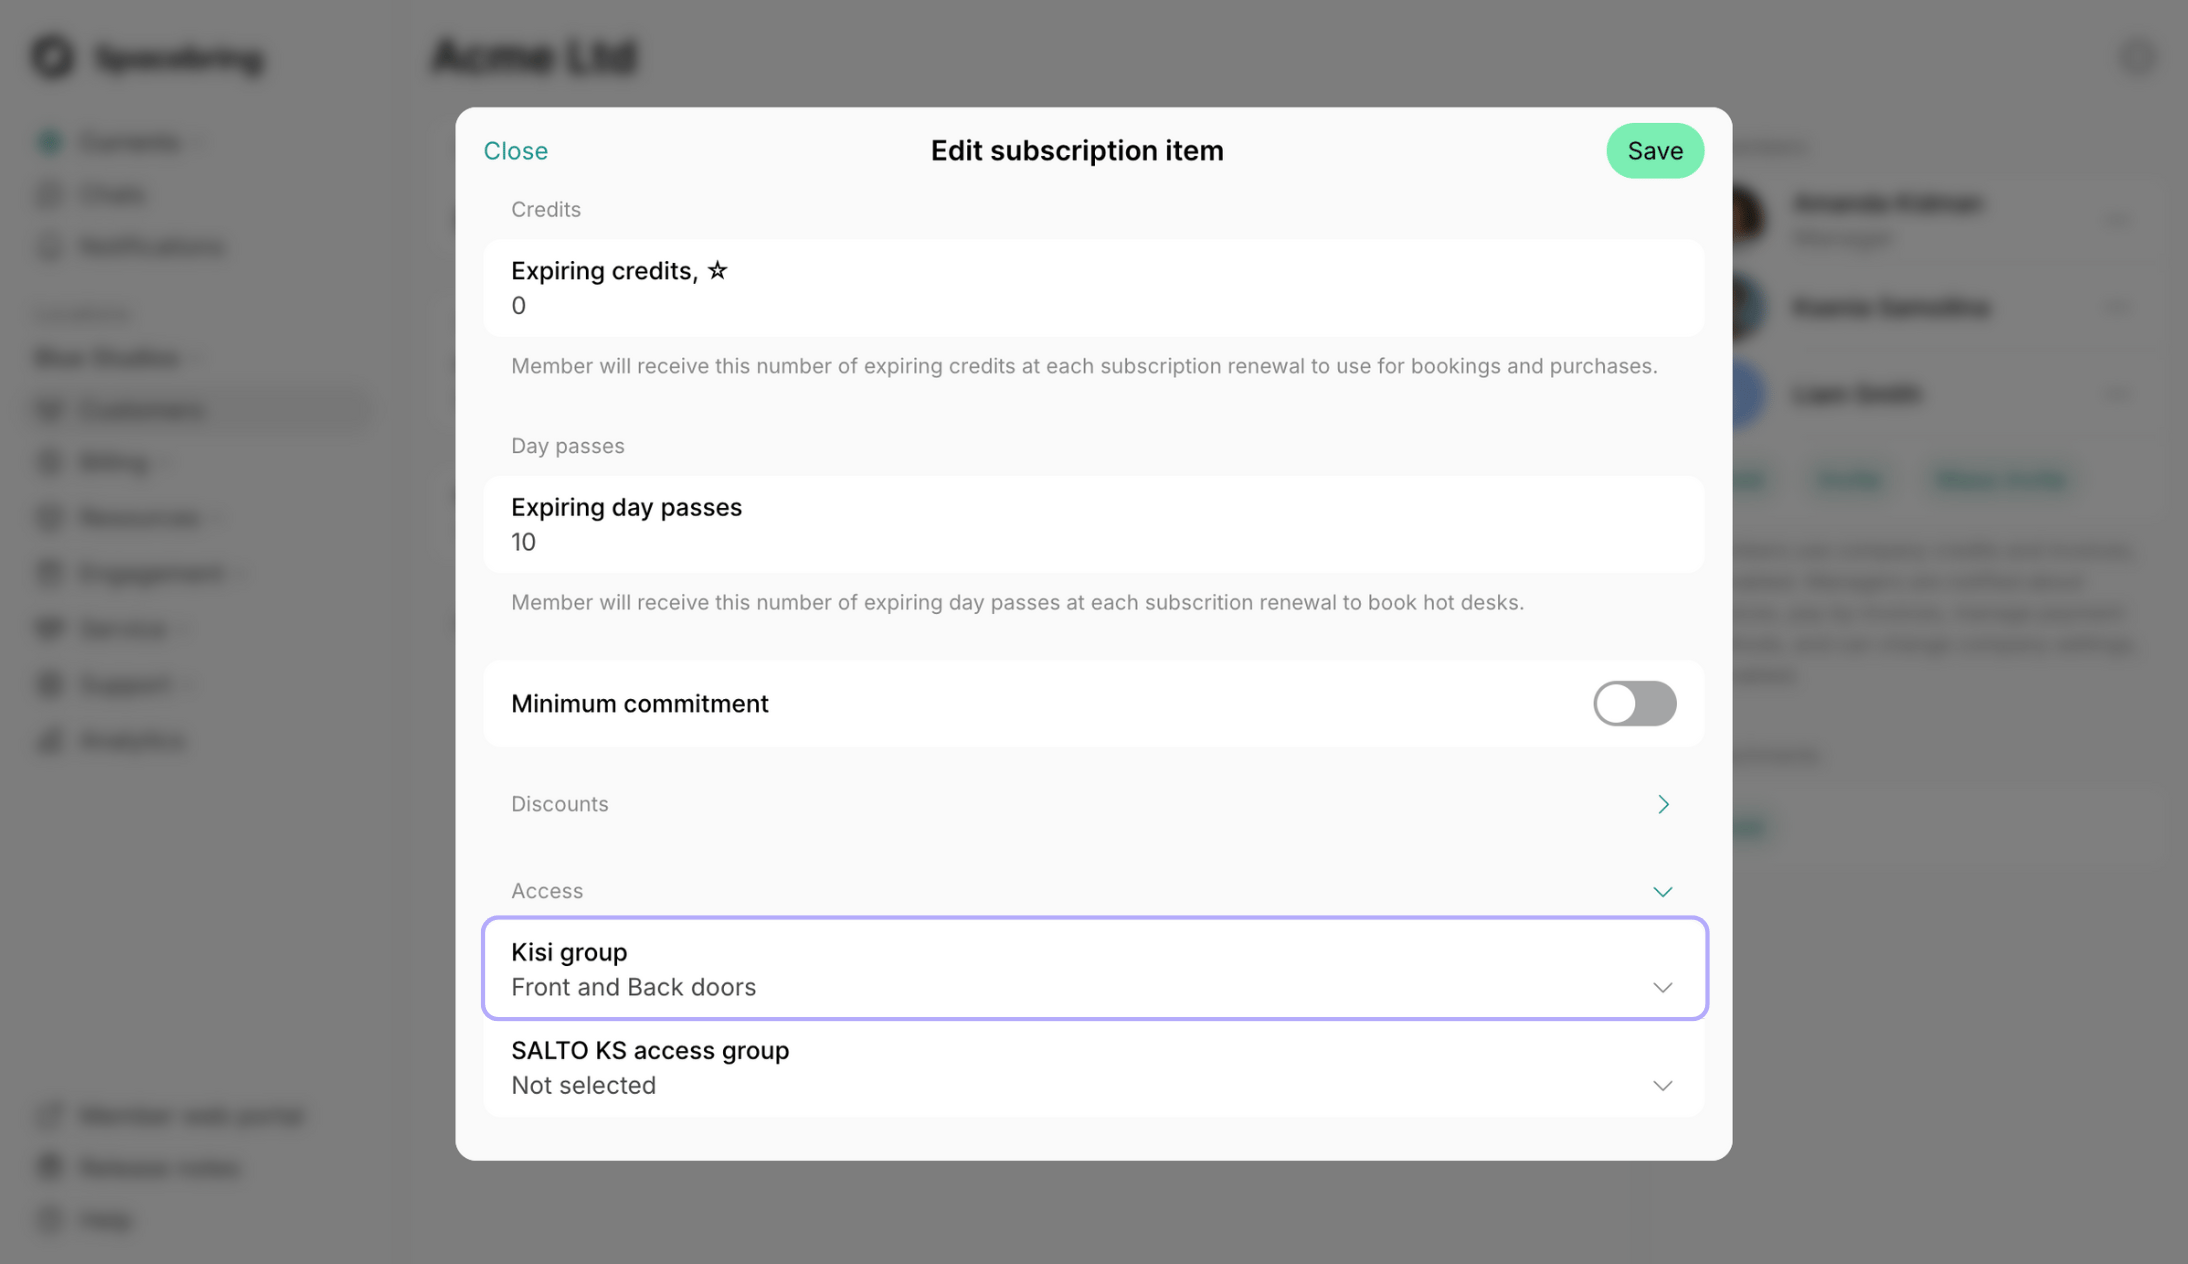
For existing members
- Open member’s subscription > open a specific item.
- In the “Access” section, select the appropriate Kisi access group.

Access for resource bookings
To automate access for resource bookings:- Go to Resources > Rooms, Desks, Offices, Parking, or Equipment page.
- Open the resource settings and select the appropriate Kisi access group in the “Access” section.

How Kisi integration works
Access based on subscriptions
- When a user gets a subscription, they are synced to the assigned access group for the entire subscription period.
- Company subscriptions grant access to all users within the company.
- Customers are synced to the access group at midnight (00:00) on their subscription start date.
- When a subscription expires or is canceled, access is automatically revoked.
Access remains active from the subscription start date until its end or cancellation date, regardless of the customer’s invoice payment status. To revoke access, schedule a subscription end, or cancel it.
Access based on bookings
- Users receive access to the assigned access group for the full duration of their booking.
- Invitees to room bookings also receive access.
- Users have a 30-minute grace period before and after the booking time:
| Booking time | Access window |
|---|---|
| 12:00 PM - 4:00 PM | 11:30 AM - 4:30 PM |
| 9:30 AM - 11:30 AM | 9:00 AM - 12:00 PM |
How users unlock doors
- Users who have an active subscription or booking open member web portal or mobile app.
- Go to the Access page.
- They see the locks they are eligible to access based on the access group in their booking or subscription.
- Tap the lock to unlock the door.

Inform customers how to unlock doors
Users do not receive automated emails from Kisi about access. Guide your customers how to unlock doors:- Add custom booking confirmation emails in resource settings (e.g., for nonmembers). Explain them that upon arrival, they can unlock doors via the Access page in your member web portal or mobile app.
- Create a “How to enter the space” guide. This way, all customers will be able to find instructions on unlocking doors on your Information and Support pages at any time.
Disconnect Kisi
- Press the menu (…) next to the location’s name > go to the Integrations page > Kisi.
- Press
Disconnectand confirm your choice.
When the integration is disconnected, access will not be granted for future bookings or subscriptions. Any access already granted remains active and must be revoked manually through the Kisi dashboard.
Troubleshoot Kisi access errors
"No locks"
"No locks"
Some users and companies may see the “No locks” message on the Access page.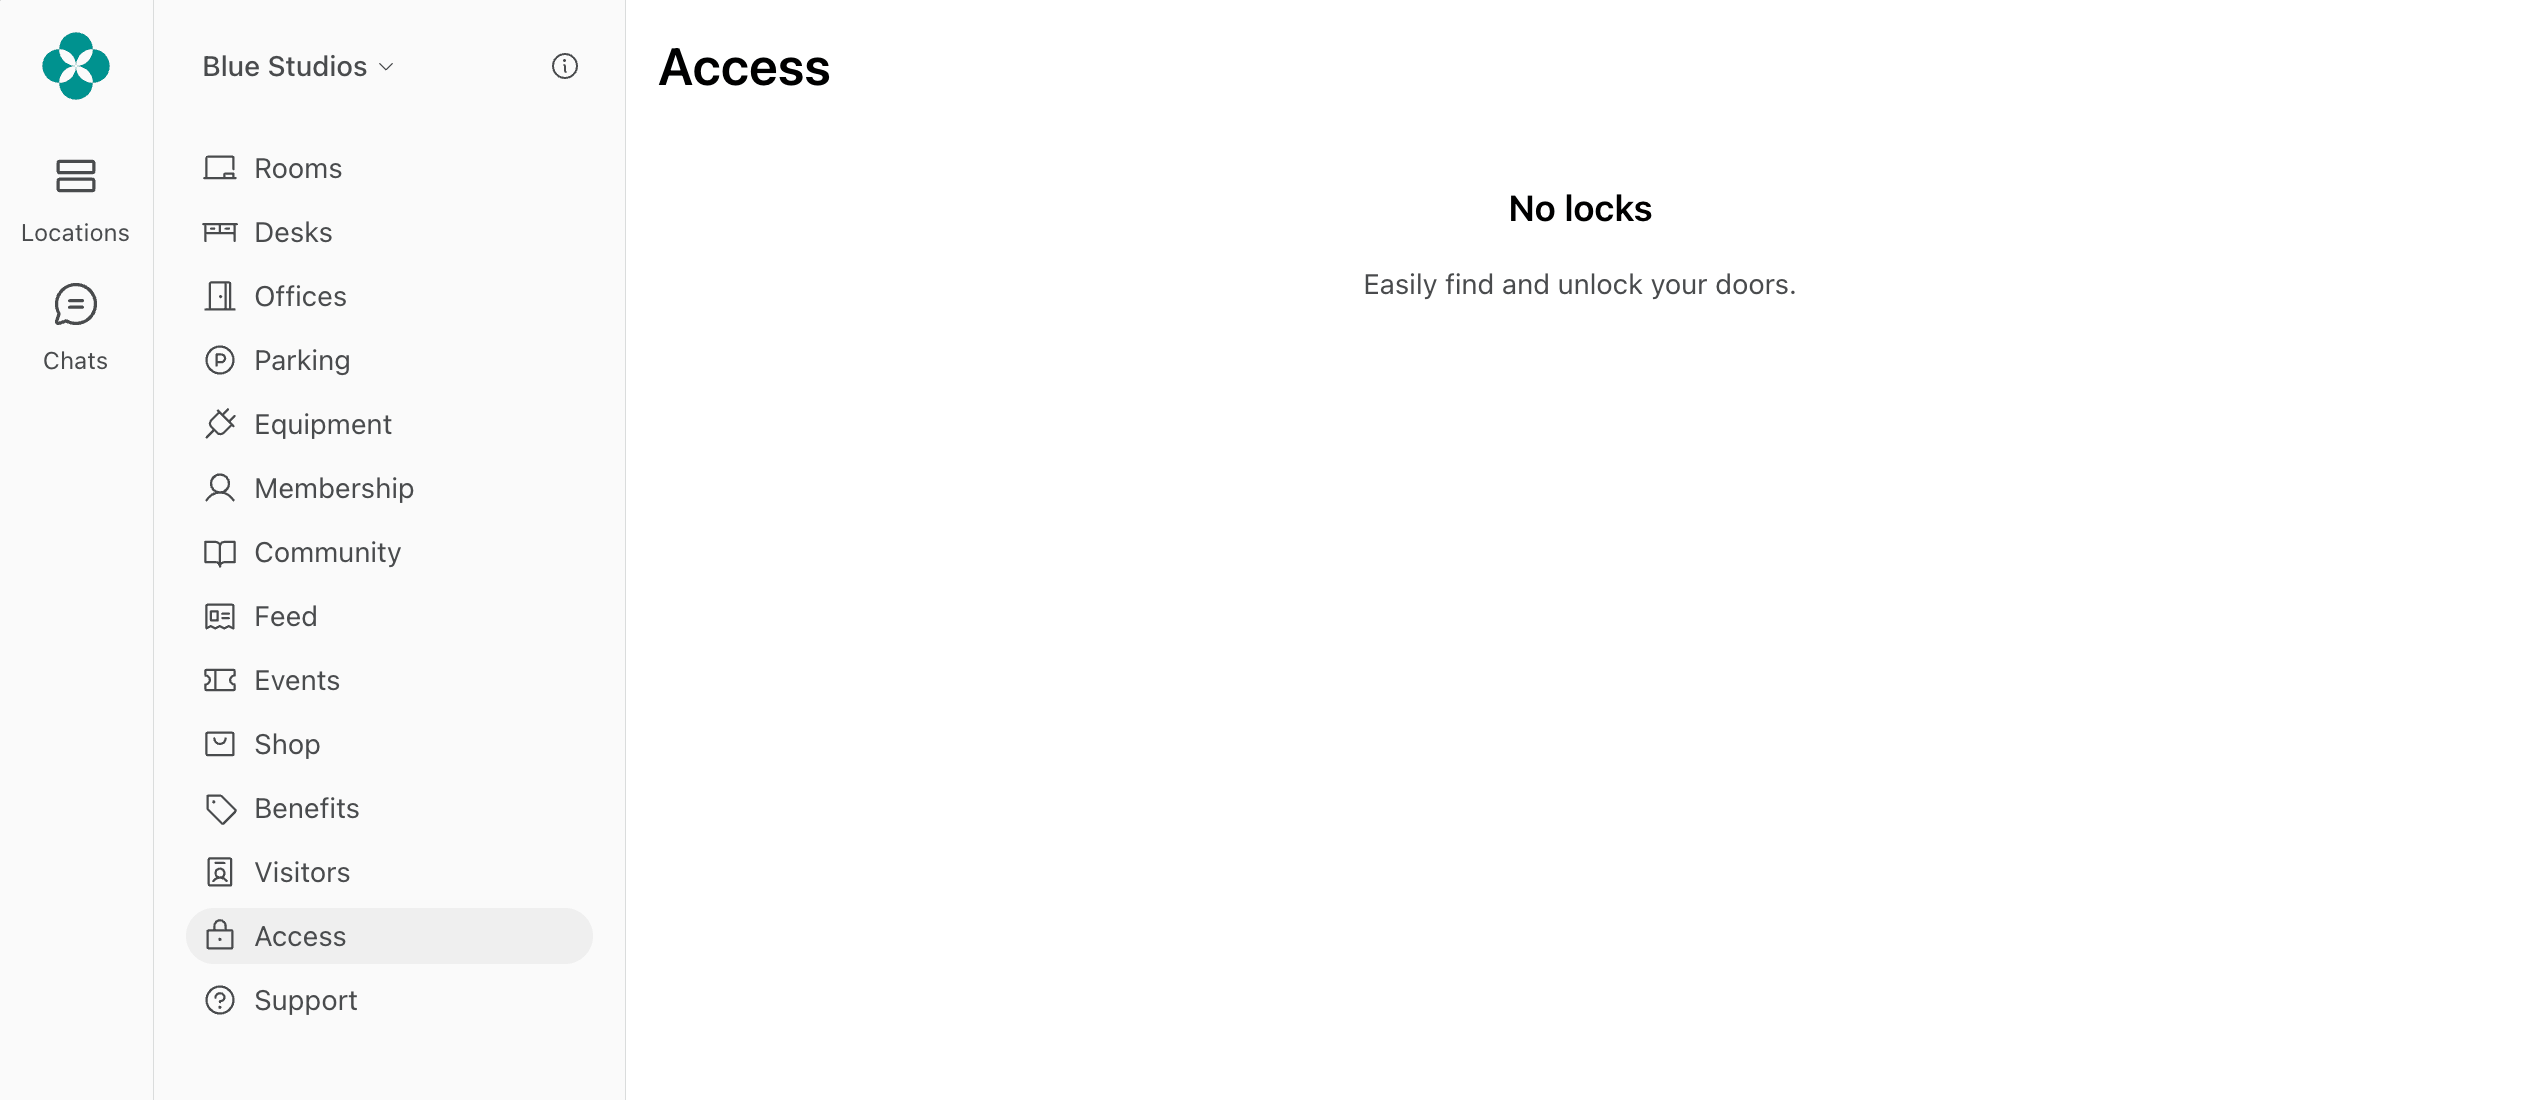
- No access groups sin plans or resources: Once you connected the integration to Spacebring, make sure to select access groups in plans’ and resources’ settings.
- Customer has no booking or subscription: For customer to be eligible for access and see locks, they must have a resource booking or plan subscription with a linked access group.
- Inactive subscription: If a customer’s subscription has a future start date, it is not considered active. Access to Kisi is granted only for active subscriptions—subscriptions that have already started.
- Incorrect email address: Access to Kisi is tied to the email address associated with the user’s account. If a user logs in with a different email than the one used for their invitation, they will not receive access.
- User not added to a company: Ensure the user is added to the appropriate company. Once added, they will receive all subscription benefits and gain access to Kisi.
- The necessary locks have not been created and/or added to the access group in Kisi. To fix this, do the following:
- Open the Kisi dashboard > add locks to the necessary Kisi group > save changes.
- Open Spacebring > go to Customers > open a customer profile > select a subscription > double-check the Kisi group in the “Access” section and tap
Save.
- Incorrect Place selected in Kisi integration settings: If a specific place is selected, users will see only the locks from that Place. If your locks are in a different Place, their visibility will be restricted. To fix:
- Go to Integrations > Kisi.
- In the “Place” dropdown, either:
- Select the place where your doors are added, or
- Choose “Not selected” to show locks from all places.
"Please ask an administrator to disable the Kisi Reader restriction."
"Please ask an administrator to disable the Kisi Reader restriction."
Users can see the “Please ask an administrator to disable the Kisi Reader restriction” error after trying to unlock a door on the Access page. This error message appears because your Kisi lock is configured to open only using Bluetooth.Spacebring sends a request to the Kisi server to open the lock through member web portal or mobile app; in this case, Bluetooth is not needed. To solve this issue:
- Open your Kisi dashboard.
- Disable the Bluetooth requirement for the lock in the Kisi app.
"You have to confirm your email address before continuing."
"You have to confirm your email address before continuing."
Users may see the message “You have to confirm your email address before continuing” when opening the Access page in the web portal or mobile app. This happens when a user is manually added to the Kisi dashboard by an administrator but has not confirmed their email in the invitation from Kisi.If the same user is later added to the member web portal or mobile app with an active subscription or booking, they may be synced to Kisi twice, and Spacebring cannot override the unverified email.The solution depends on how the user receives access:
If the user was given access to Kisi with a subscription:
- Go to your Kisi dashboard and remove the user from all Kisi groups.
- In Spacebring:
- Go to Customers, open the user/company profile, then open their subscription.
- In the “Access” section, choose “Not selected” and press
Save. - Reopen the subscription, select the necessary Kisi group, and press
Save.
If the user has made a future booking:
- Remove the user from all Kisi groups in your Kisi dashboard.
- The user’s data will sync to Kisi automatically, granting access correctly before the booking starts.
If the room booking has already started:
- Remove the user from all Kisi groups in your Kisi dashboard.
- In Spacebring:
- Go to Rooms, select the ongoing booking, and press
Edit. - Temporarily change the booking end time to a later time and press
Save. - Edit the booking again to restore the correct end time.
- Go to Rooms, select the ongoing booking, and press
- This forces the system to grant the user access anew.
"Group is not found."
"Group is not found."
Users may see the “Group is not found” error in the member web portal or mobile app if a Kisi access group selected in their subscription has been deleted in Kisi. To fix:
- Go to the Kisi dashboard and verify that all required access groups with the correct locks exist.
- Edit all existing subscriptions and select an existing Kisi group from the list.
- Ensure the correct group is selected for all plans and resources.
Can I give access to my existing members?
Can I give access to my existing members?
You can surely grant access to your existing members with ongoing subscriptions. For this:
- Open member’s subscription > open a specific item.
- In the “Access” section, select the appropriate Kisi access group.
Why is the Kisi integration failing to connect in Spacebring?
Why is the Kisi integration failing to connect in Spacebring?
To connect the Kisi integration to Spacebring successfully, make sure to avoid the following common mistakes:
- Wrong email, password, or domain name: Double-check the credentials of your Kisi account that you’re entering in Spacebring.
- The email you use doesn’t have the owner role in your Kisi account: Make sure to type the email address of the Kisi account owner. Entering the wrong email will result in an “Unauthorized” error.
- You have more than 10 active API connections/logins in Kisi, which prevents you from creating a new one. Contact Kisi and remove some existing connections to bring the total below 10.
How to set up access groups for different doors?
How to set up access groups for different doors?
Create multiple access groups in Kisi based on your space layout and then link them to the specific resources or plans in Spacebring:
- Front door lock: If you only have one main door, create a single access group and link it to all your resources and plans.
- Front door lock and Private offices locks: To give office tenants private access, create separate access groups for each individual office. Each access group can include the “Front door” lock plus that “Specific office” lock. Link each unique group to its corresponding office resource.
- Front door lock and locks for certain rooms:
- Create groups for each “Room” + “Front door”. Link each room to the access groups you created for it so users only access the specific room they booked.
- To provide access to desks, open spaces, or lounges, you only need one access group containing the “Front door” lock.
- Tiered access: For members on different plans, create groups with the same locks but different time restrictions. Link these groups to the corresponding plans — for example, a “9 AM – 6 PM” group for regular members and a “24/7” group for those on exclusive plans.
How do I give general entrance access to customers with subscriptions and access to specific rooms only to those who book them?
How do I give general entrance access to customers with subscriptions and access to specific rooms only to those who book them?
Create two access groups in your access control system dashboard:
- A general access group that includes only the main door(s). Assign it in plan settings so all members can enter the space.
- Room-specific access groups that include the main door(s) and the corresponding room. Assign them in individual room settings so users can unlock only if they book that room.
Will access groups conflict if a customer has both a subscription and a booking?
Will access groups conflict if a customer has both a subscription and a booking?
No, there is no conflict. Access permissions are combined:
- During the booking period, the user will see and be able to unlock locks from both their subscription and booking access groups.
- Outside of the booking time, they will only have access to locks included in their subscription access group.
Can I link two access groups to one plan or resource?
Can I link two access groups to one plan or resource?
No, you can only assign one access group to a plan or resource.If you need to grant access to multiple locks, create an access group that includes all required locks, and assign that group to the plan or resource. This way, customers will have access to all the locks they need through one group.