

- Rooms
- Desks
- Offices
- Parking
- Equipment
Add your Skype rooms, phone booths, meeting rooms, conference rooms, or event spaces to the Rooms page. This gives customers a convenient calendar view to check availability and make bookings.

Enable Rooms
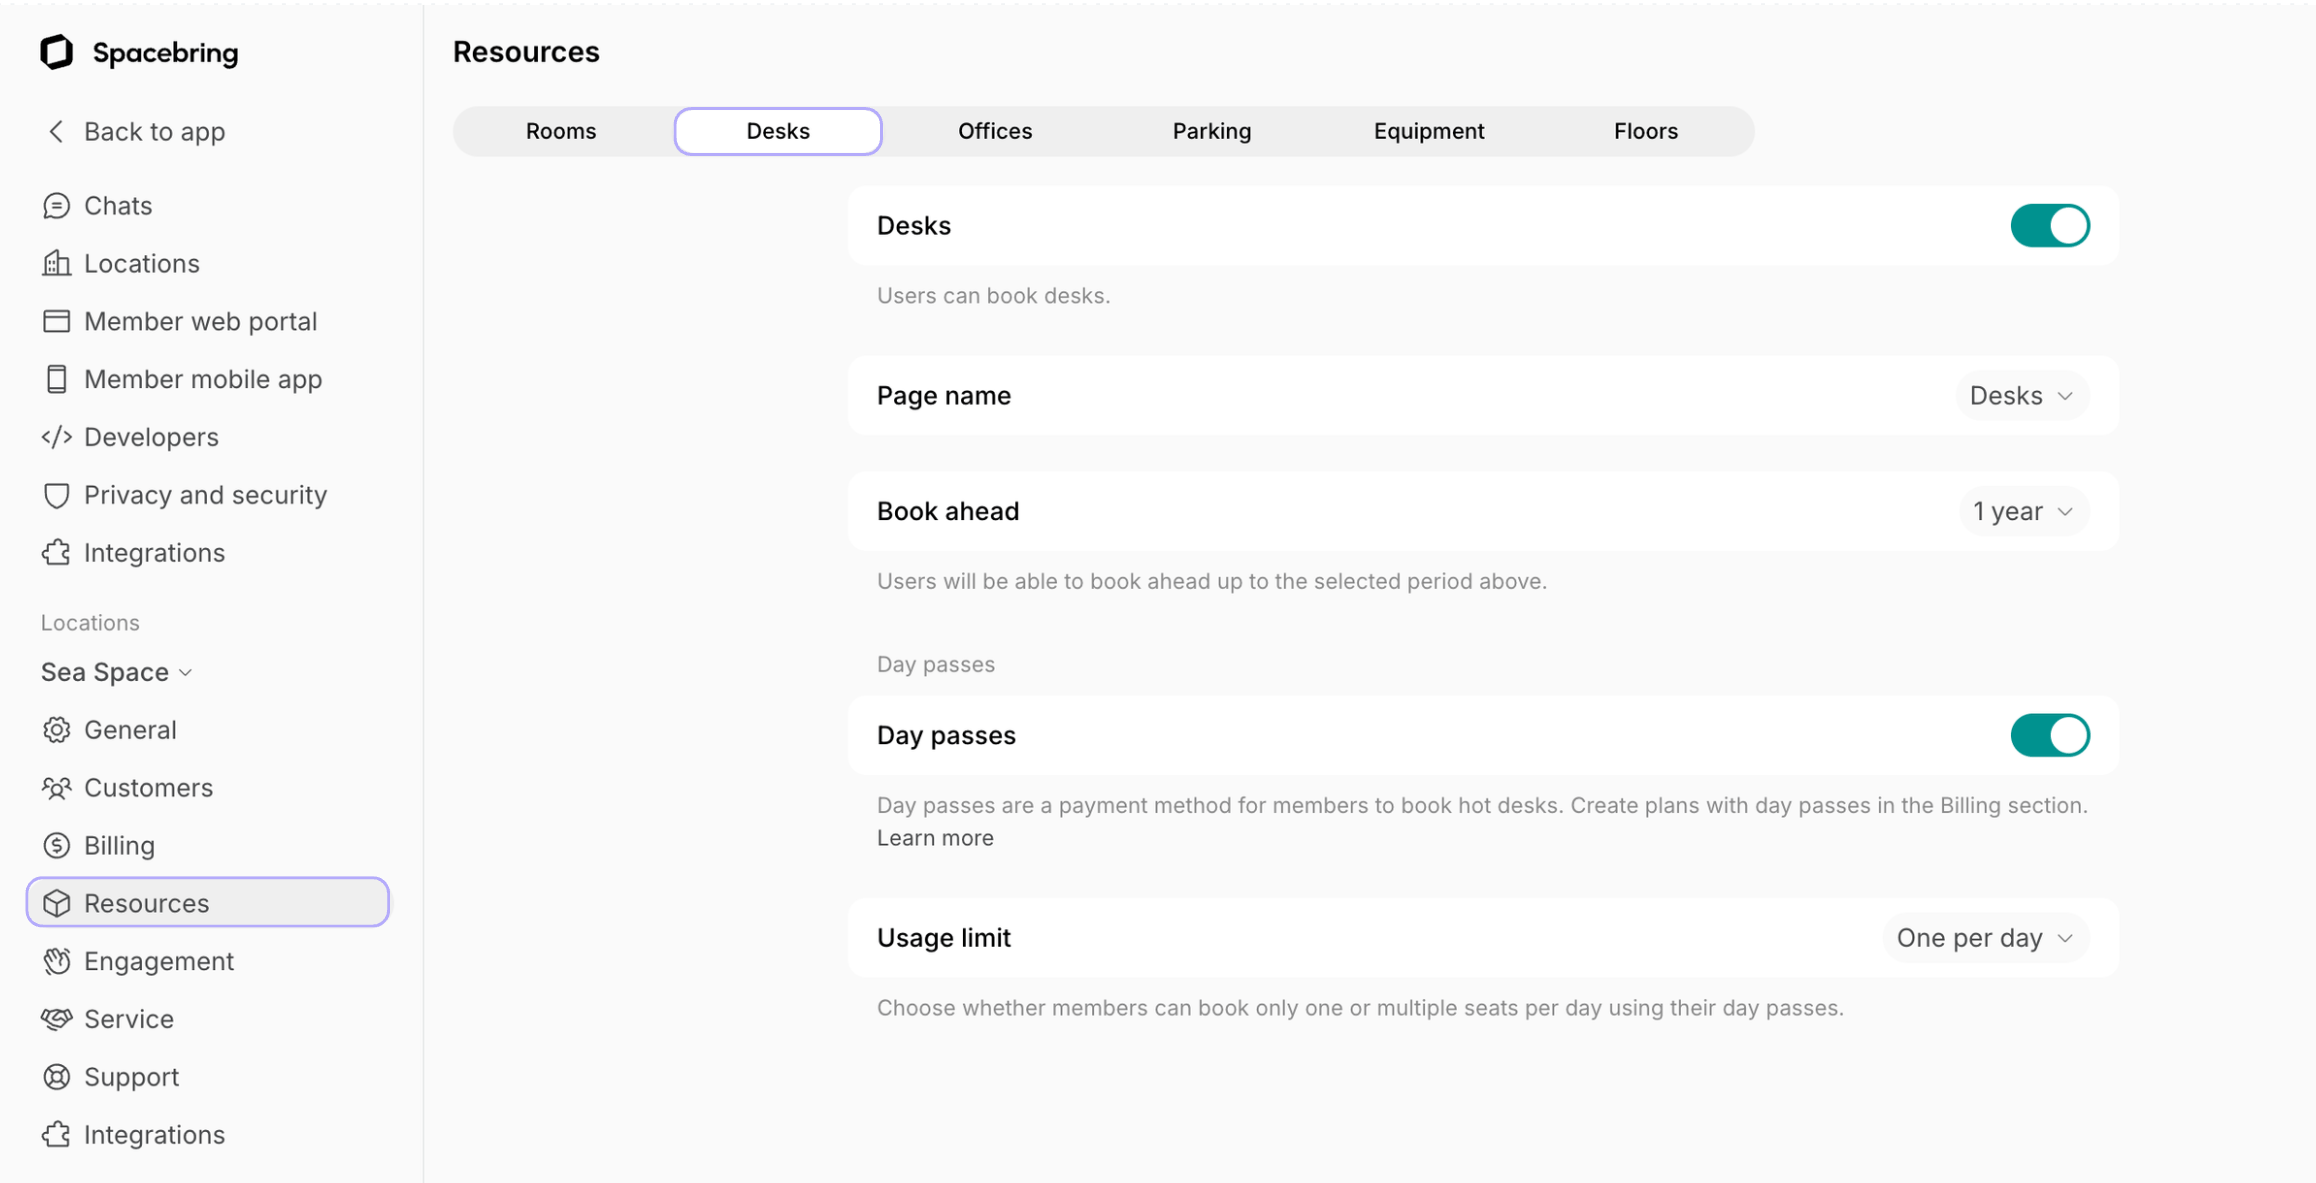
To start using the Rooms module:- In the left-side panel, click the menu (…) next to your location name.
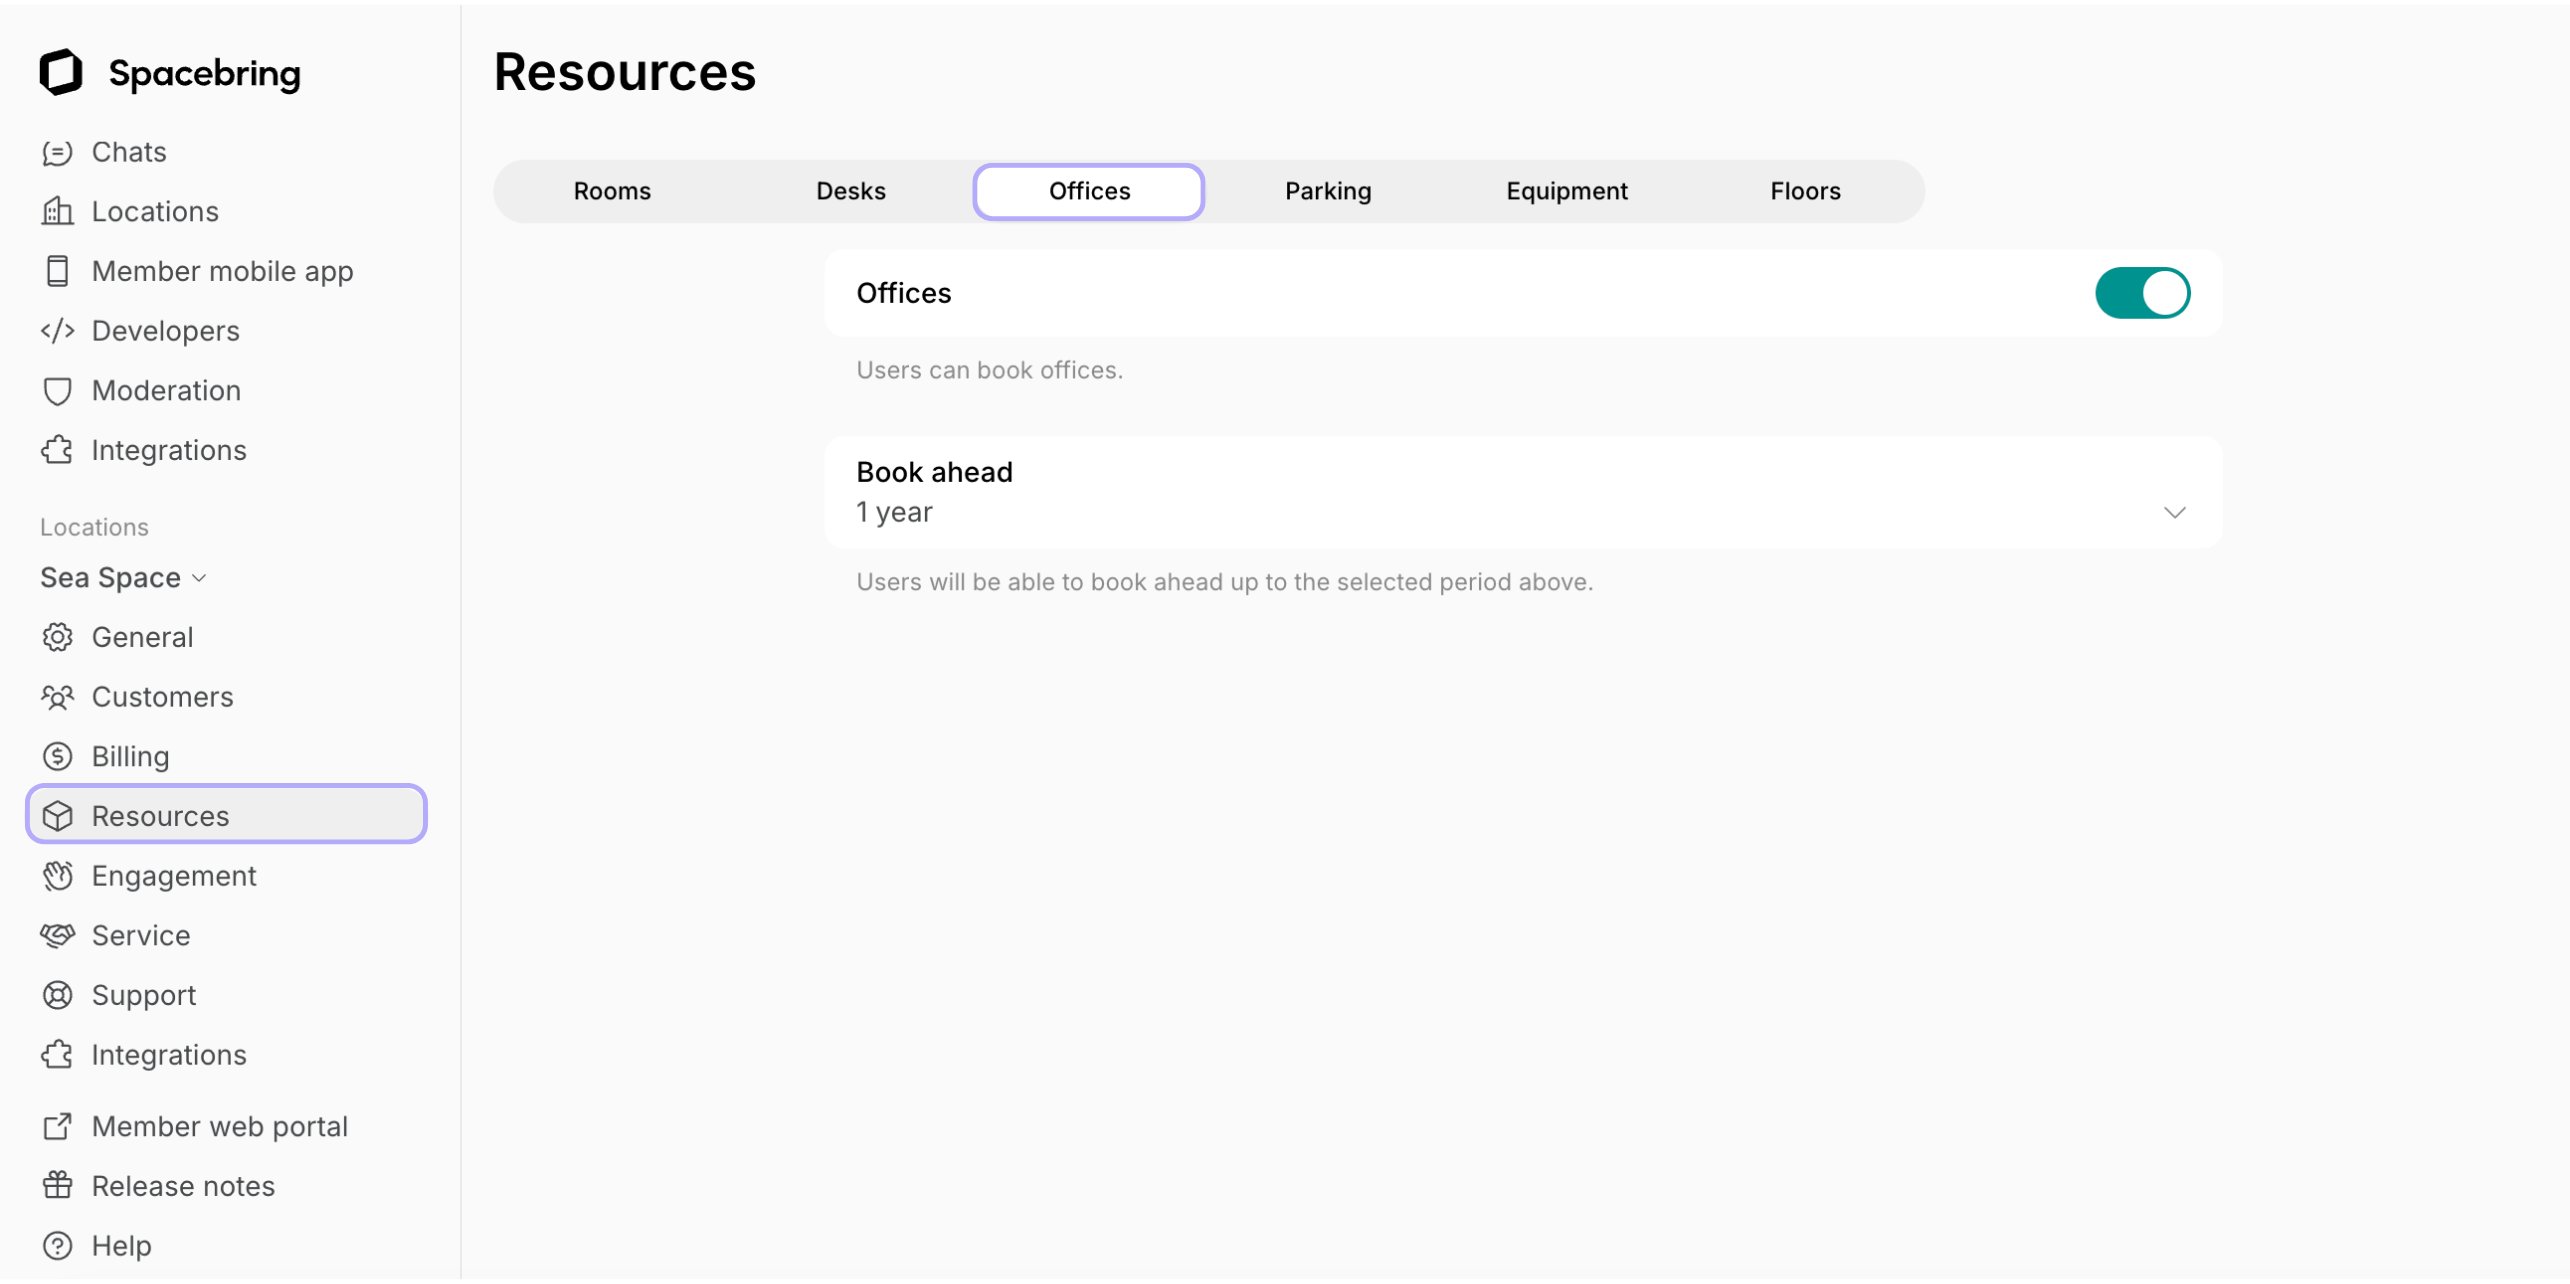
- Go to Location settings > Resources > Rooms and toggle the Rooms switch on.
- Page name — choose the best fit.
- Book ahead — set how far in advance users can book rooms.
The Book ahead limit also applies to recurring bookings. Every occurrence in a repeating booking must fall within the book-ahead window — if the series runs past it, the member portal shows the user up to which date they can book, and they have to adjust the End repeat setting of their recurring booking. Select Unlimited to let users book with no date limit and remove this restriction.
- Book for free — limit how many free bookings a user can have scheduled at the same time, if you have free rooms.
- One active
- Two active
- Three active
- Unlimited
- Each occurrence of a recurring booking counts against the limit, so users can set End repeat to Never only when the limit is Unlimited.
- Bookings of a room assigned to the user or their company never count toward the limit.
Add rooms
- Go to the Resources > Rooms page.
- Click Add room top right.
- Fill in the room details.
Edit a room
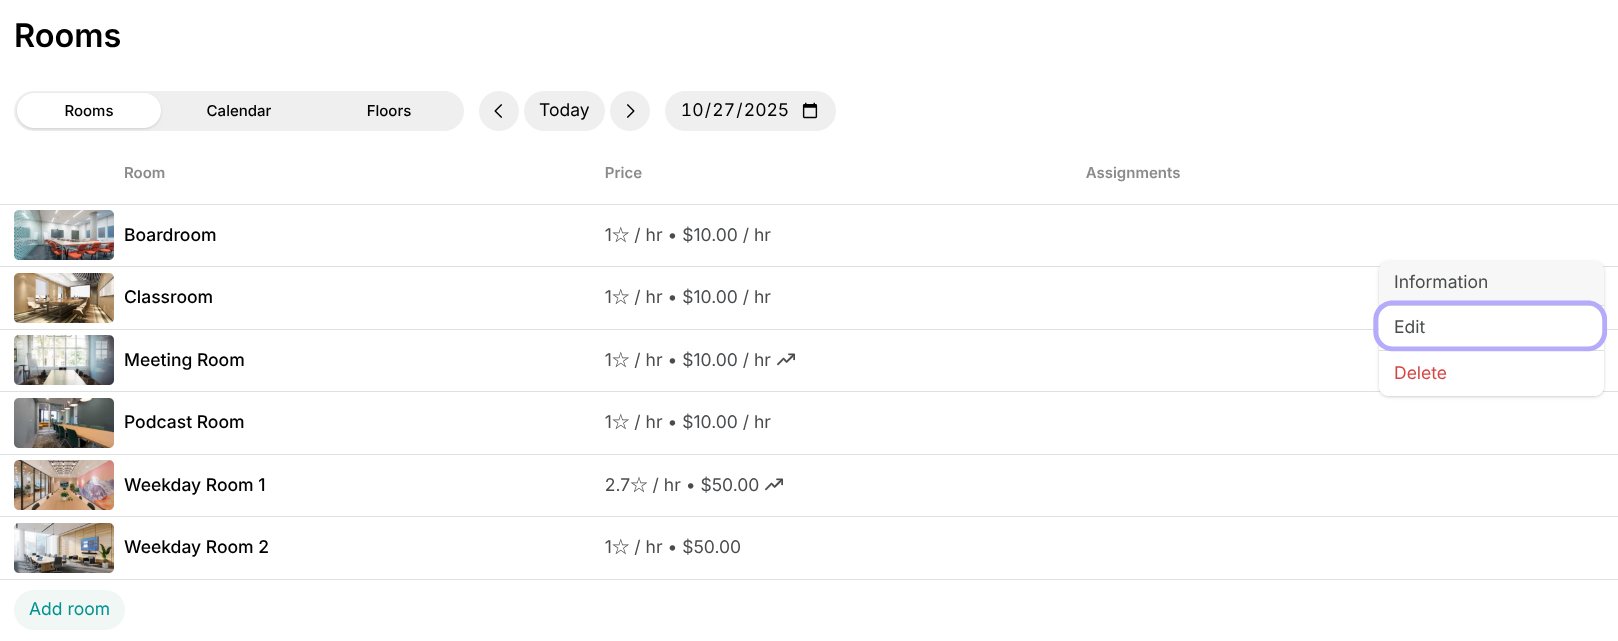
To update the settings of a room, follow these steps:- Navigate to Resources > Rooms.
- Find the room you need to edit and hover over it > click the menu (…) next to it > Edit.
- Adjust the room settings as needed.
- Press Save in the top right corner.
Changes to the price in any price tier and the rescheduling policy will apply only to future bookings created after the update.
Delete a room
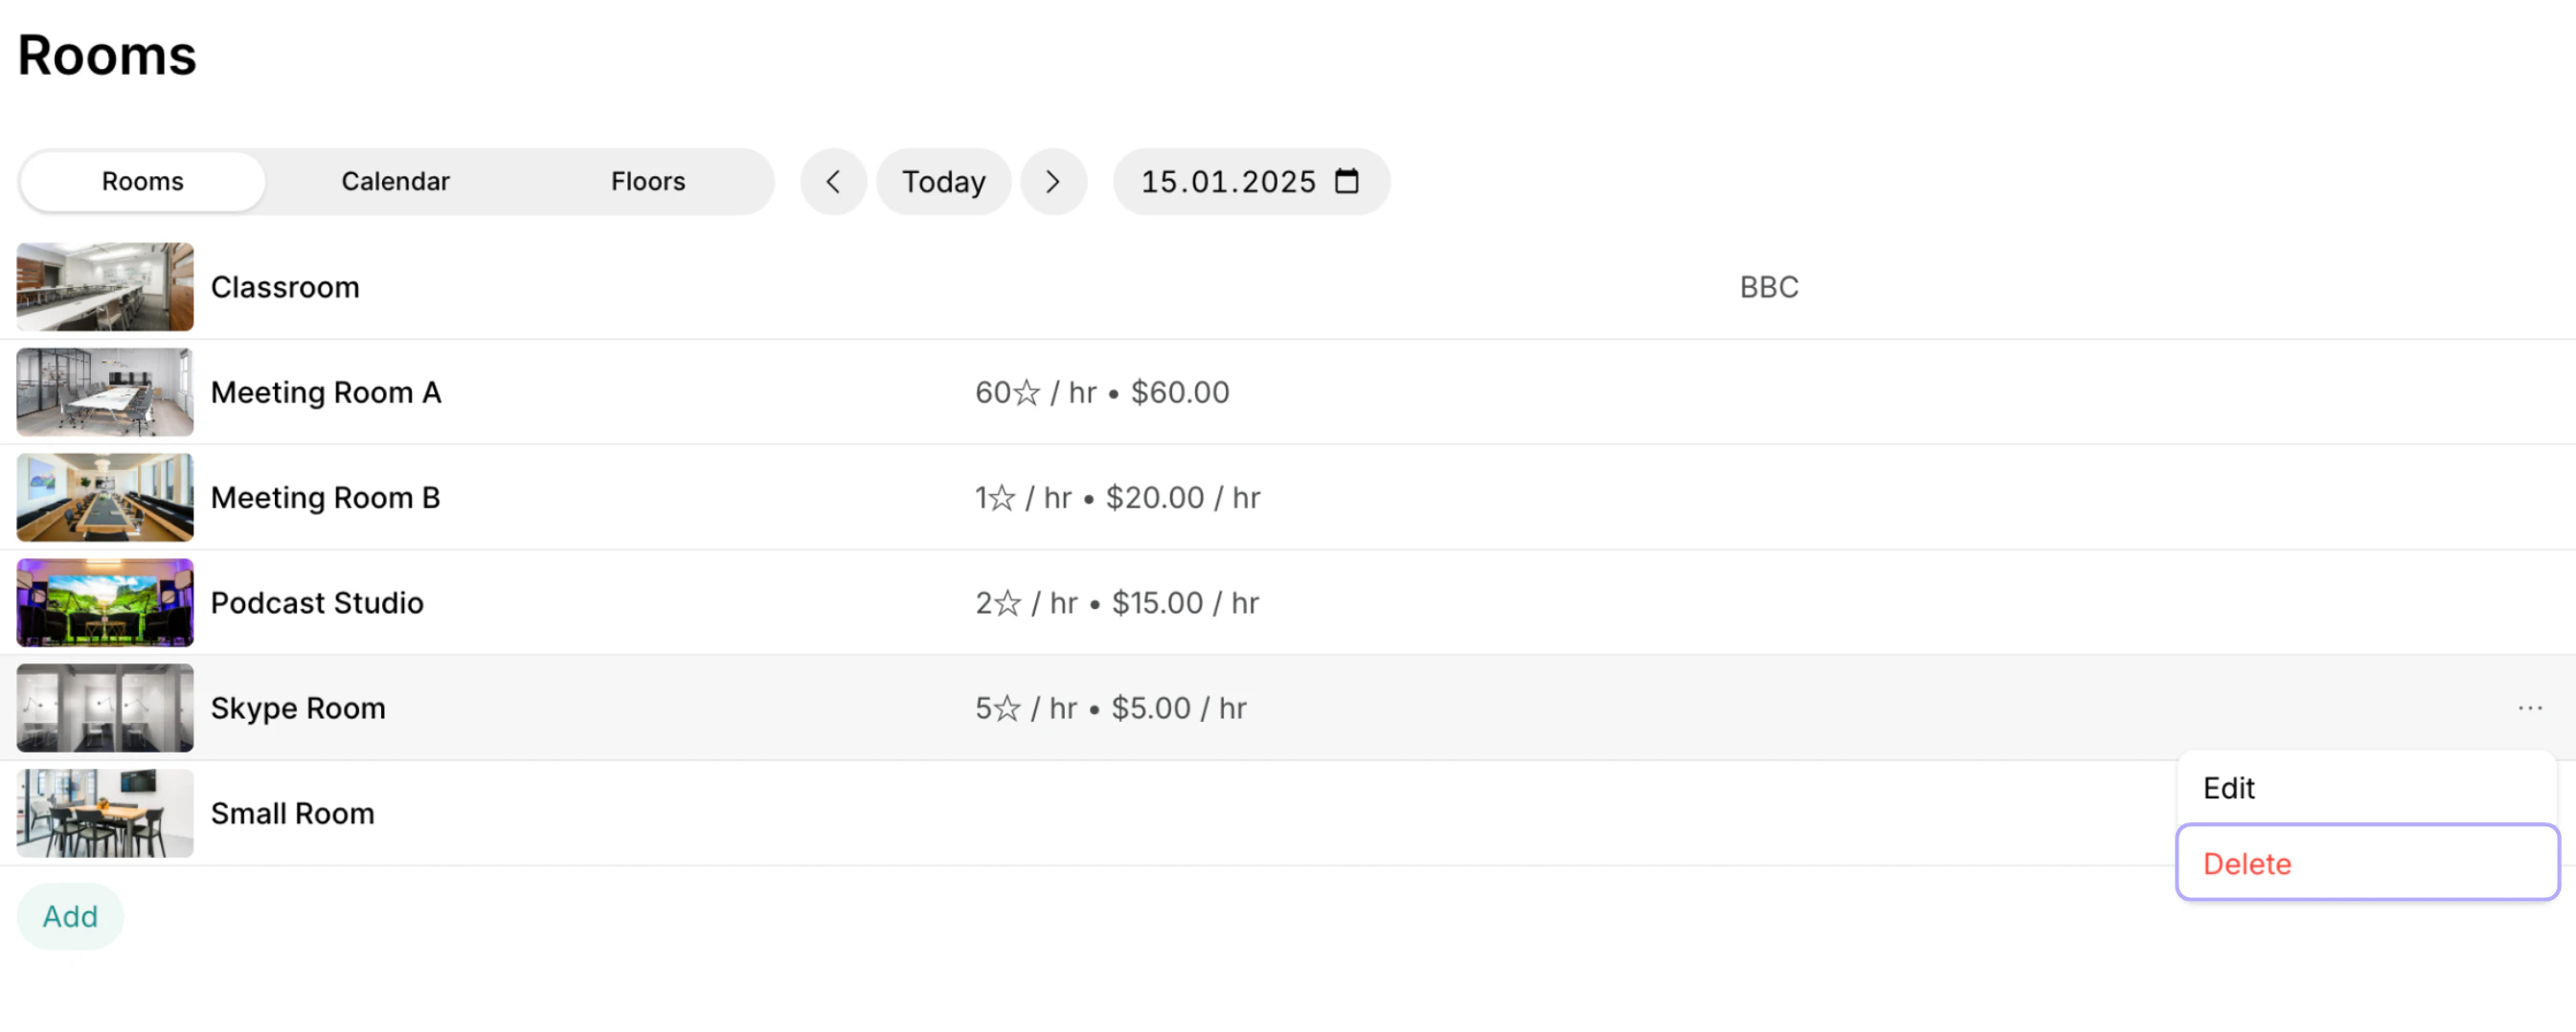
To permanently delete a room from Spacebring, follow these steps:- Navigate to Resources > Rooms.
- Find the necessary room and hover over it > click the menu (…) next to it > select Delete and confirm your choice.
Export a rooms report
On the Rooms page, click (…) in the top right corner > Export rooms as CSV or Export rooms as XLSX to download a report on all rooms.The report includes each room’s ID, title, type, seating capacity, price, and create date, and any customer it’s currently assigned to.FAQs
What should I add to the Rooms?
What should I add to the Rooms?
The Rooms page serves for your meeting and conference rooms, phone booths, and Skype rooms. If you have any photo or podcast studios, offer them on the Rooms page too.
How to define the room booking schedule for members and nonmembers?
How to define the room booking schedule for members and nonmembers?
You can either configure a location-wide schedule that applies to all resources or configure a custom schedule for a specific room if it needs different availability. Both support a Default schedule for location members and a Public schedule for nonmembers and network members. Configure the schedule
Why can't a customer see a certain room?
Why can't a customer see a certain room?
The customer might not see a room for the following reasons:
- The customer’s role may not meet the room’s visibility requirements. For example, if the room is visible only to Location members but the customer is a nonmember, it won’t appear for them. Check both the room’s visibility settings and the customer’s role.
- The room may be assigned to a specific customer. Everybody still sees such a room, but only the assigned customer can book it, so check whether the customer reports seeing it or booking it. On the Rooms page, see if a member or company name appears next to the room. To remove the assignment, edit that customer’s subscription, or delete the assignment on the Assignments page if it was created there.
- The customer may have logged in with a different email. If they are a member and should see the room, check the email tied to their member profile on the Customers page.
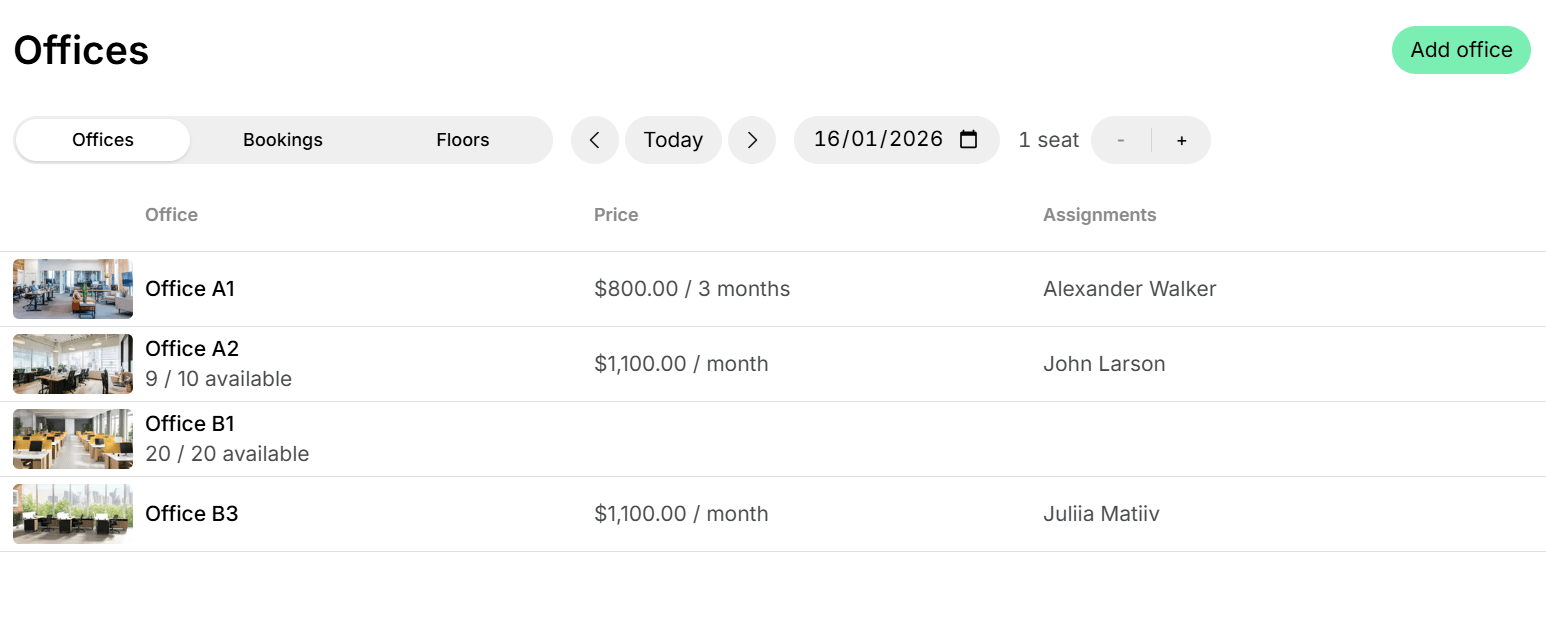
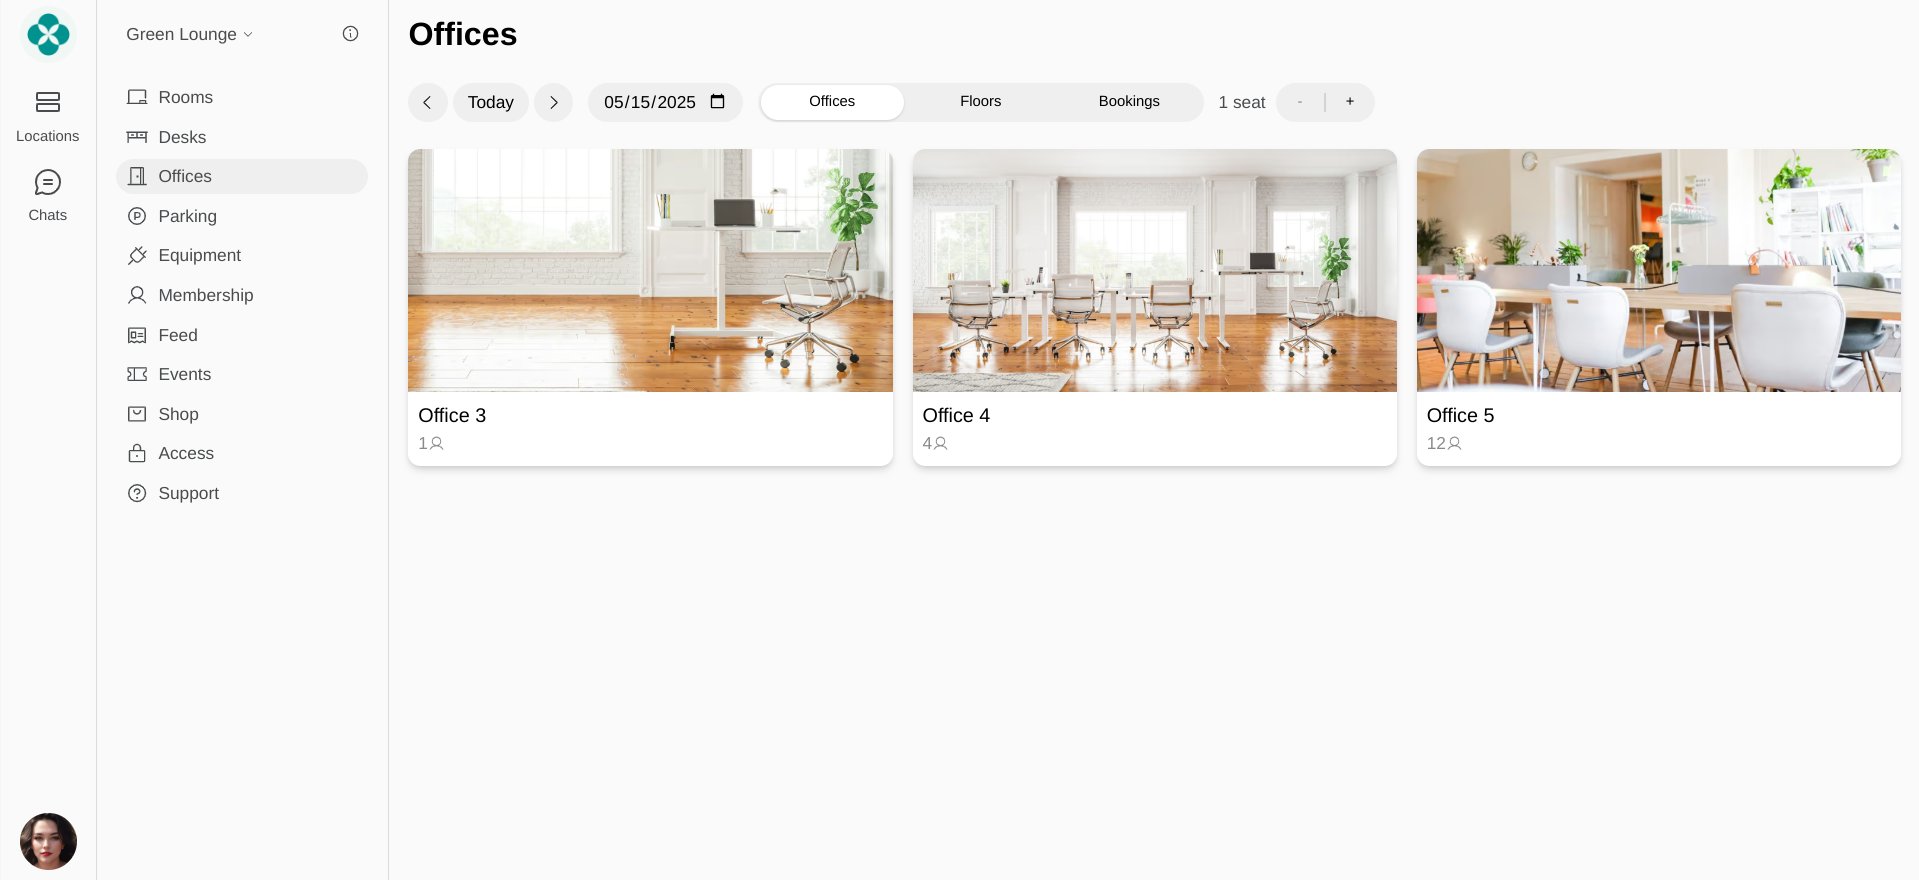
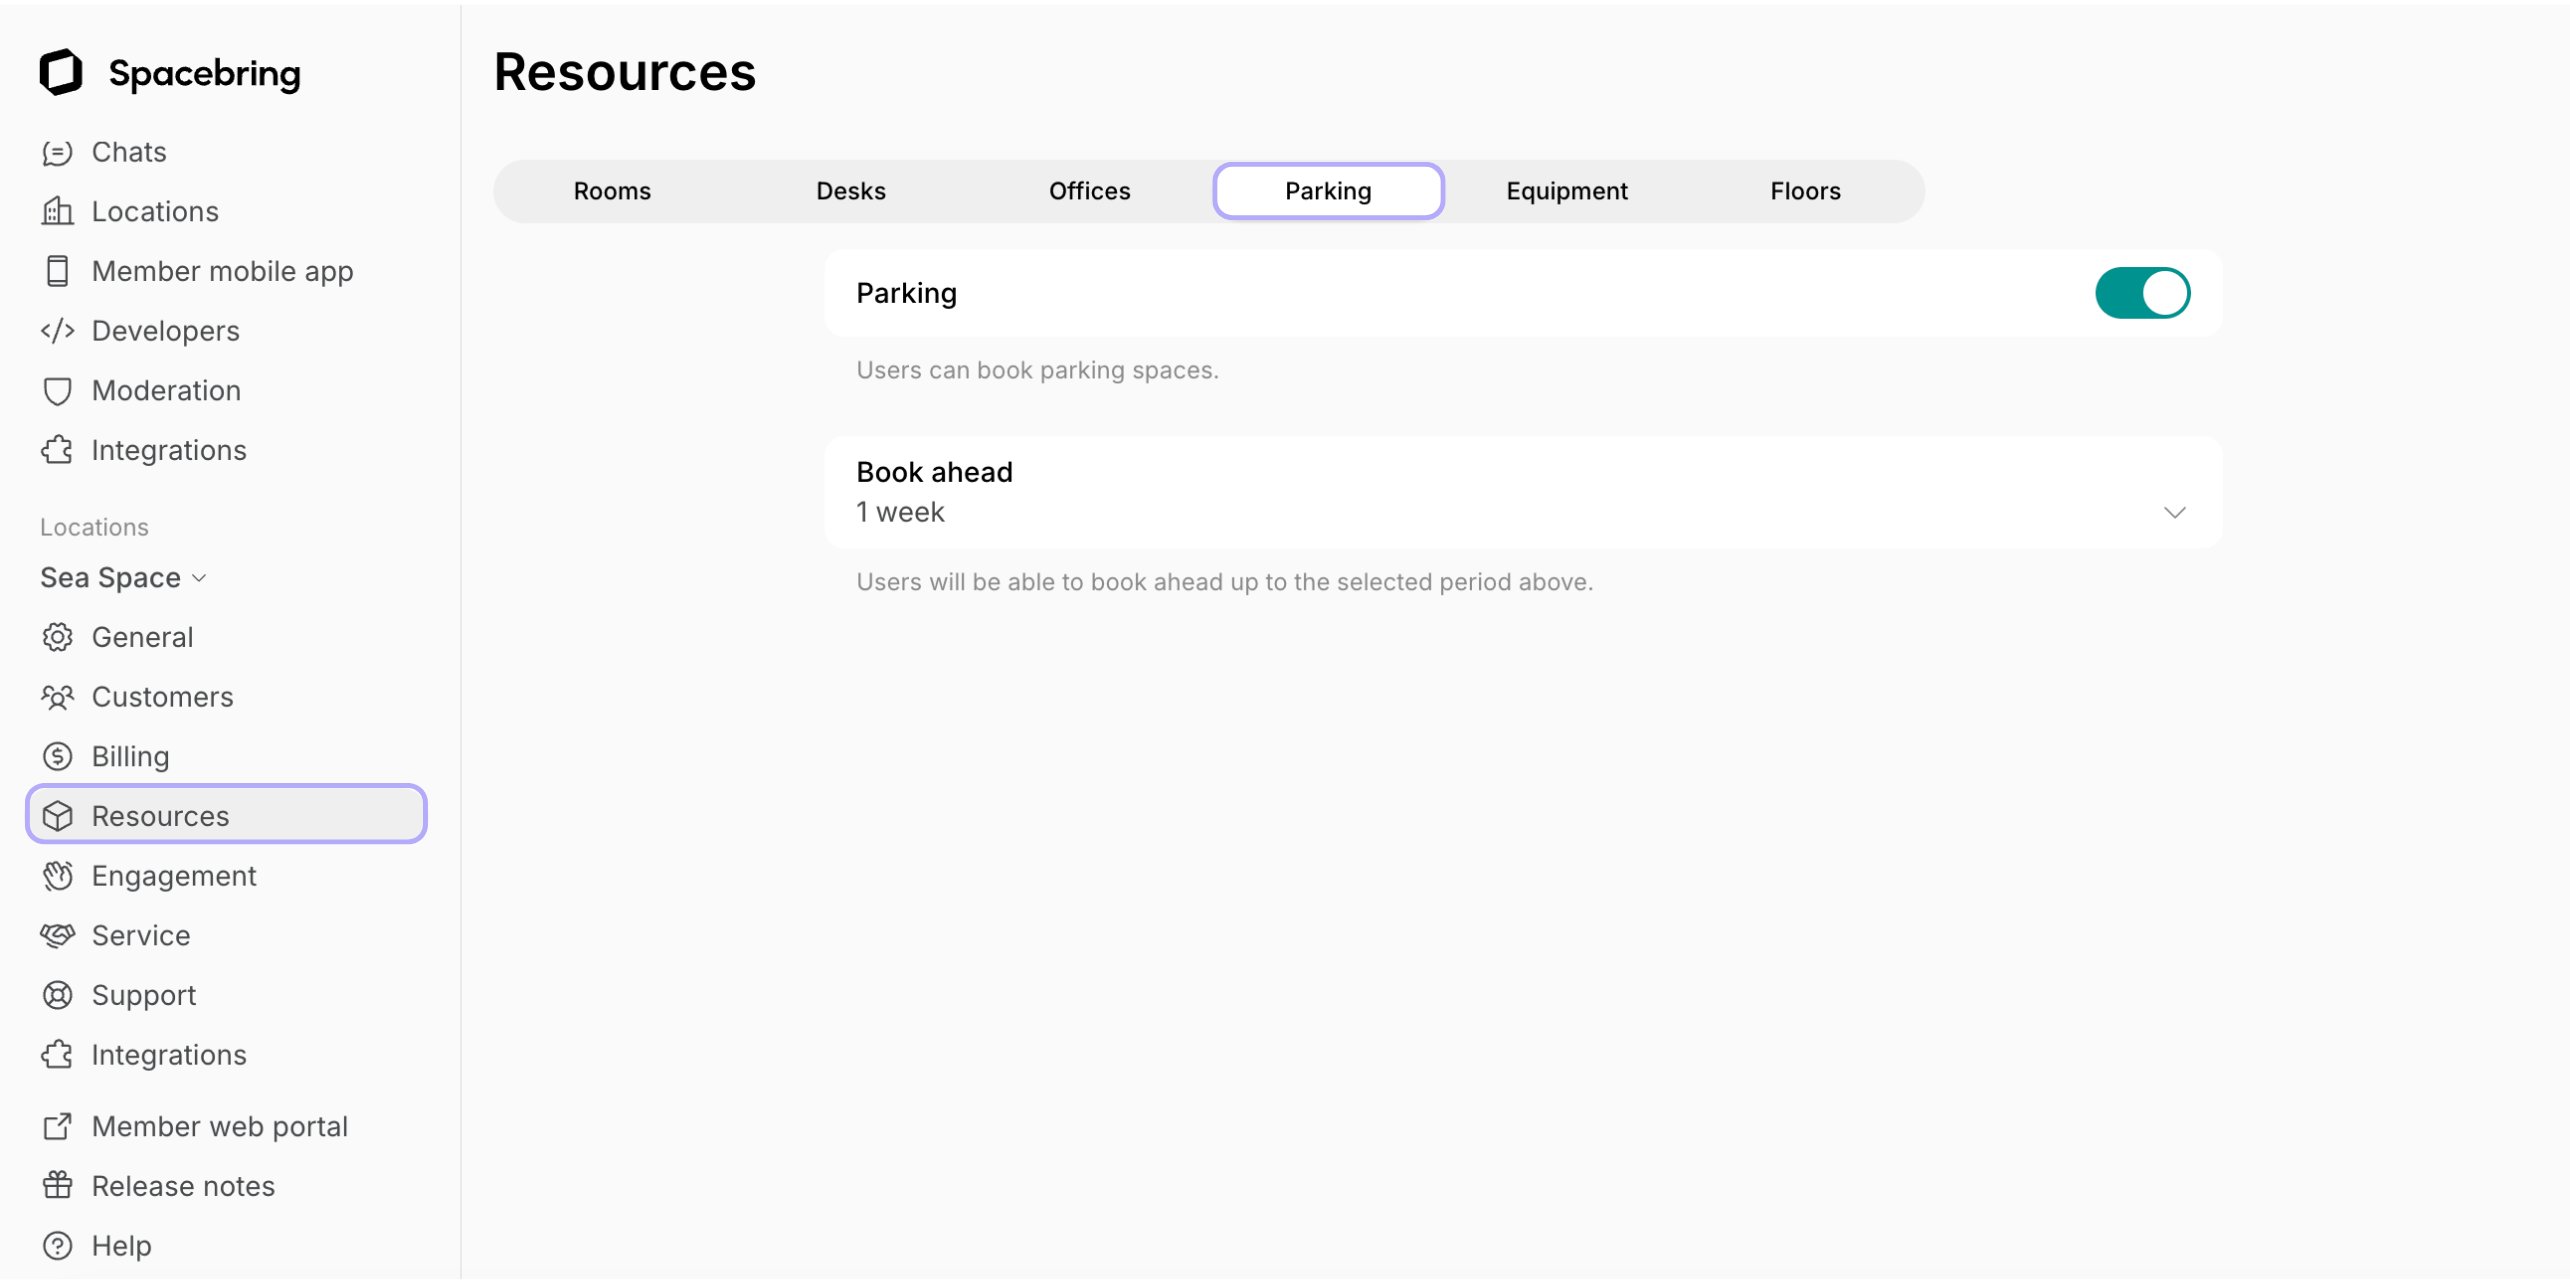
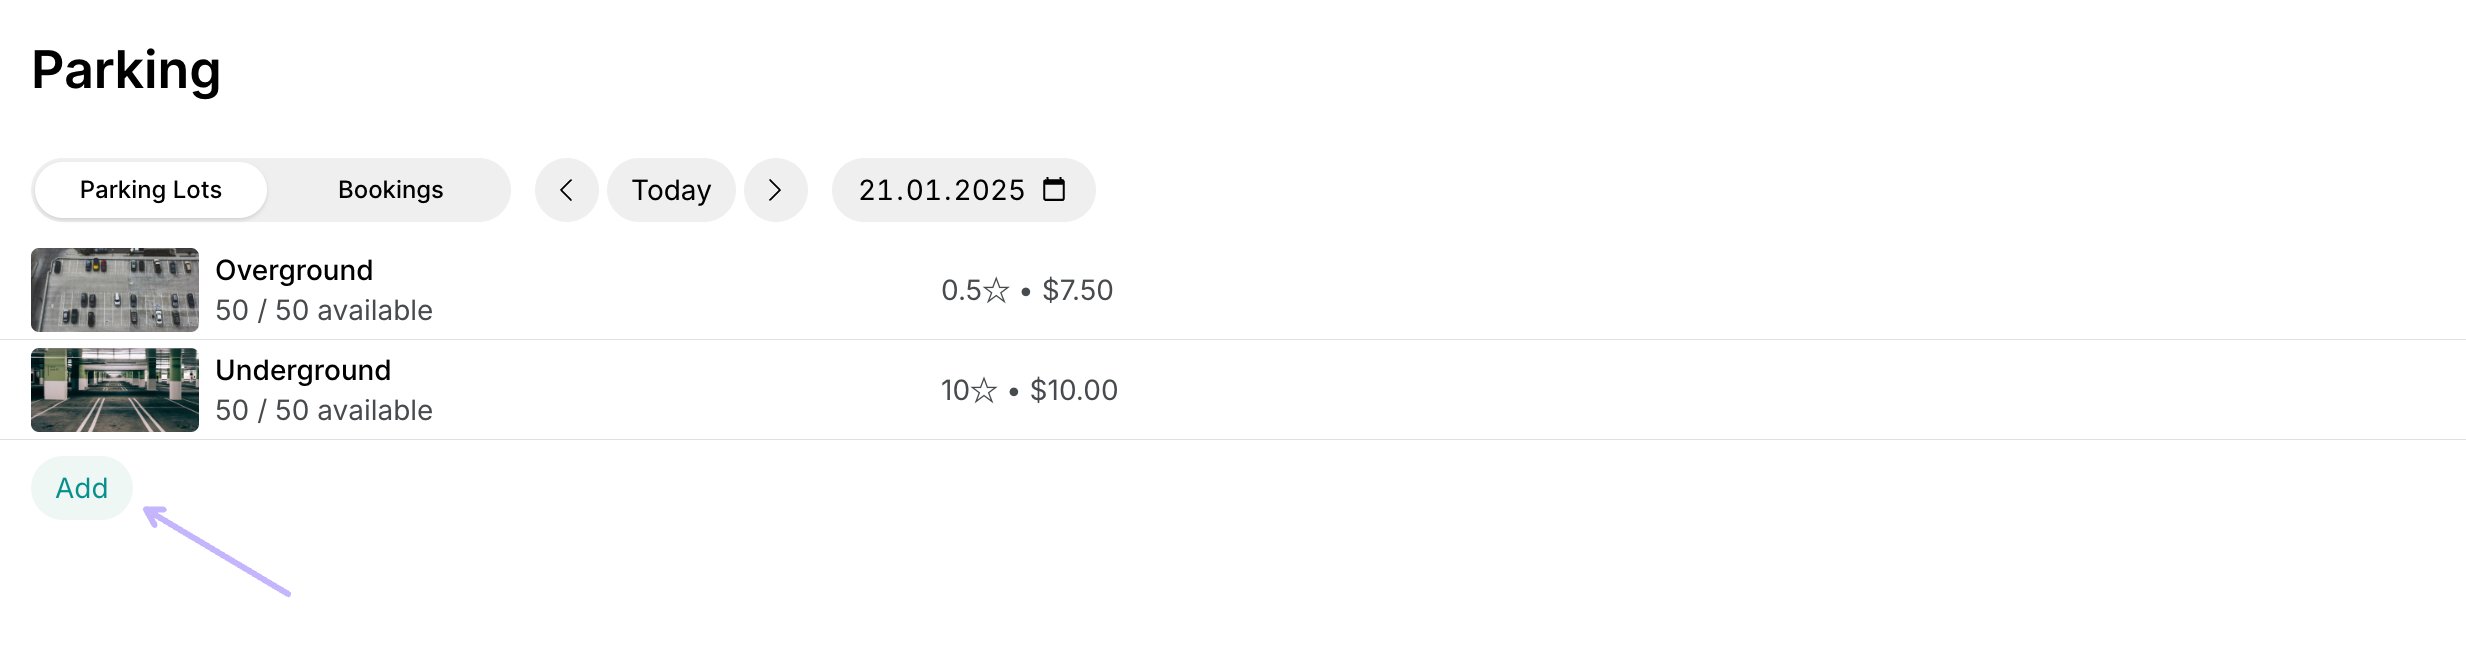
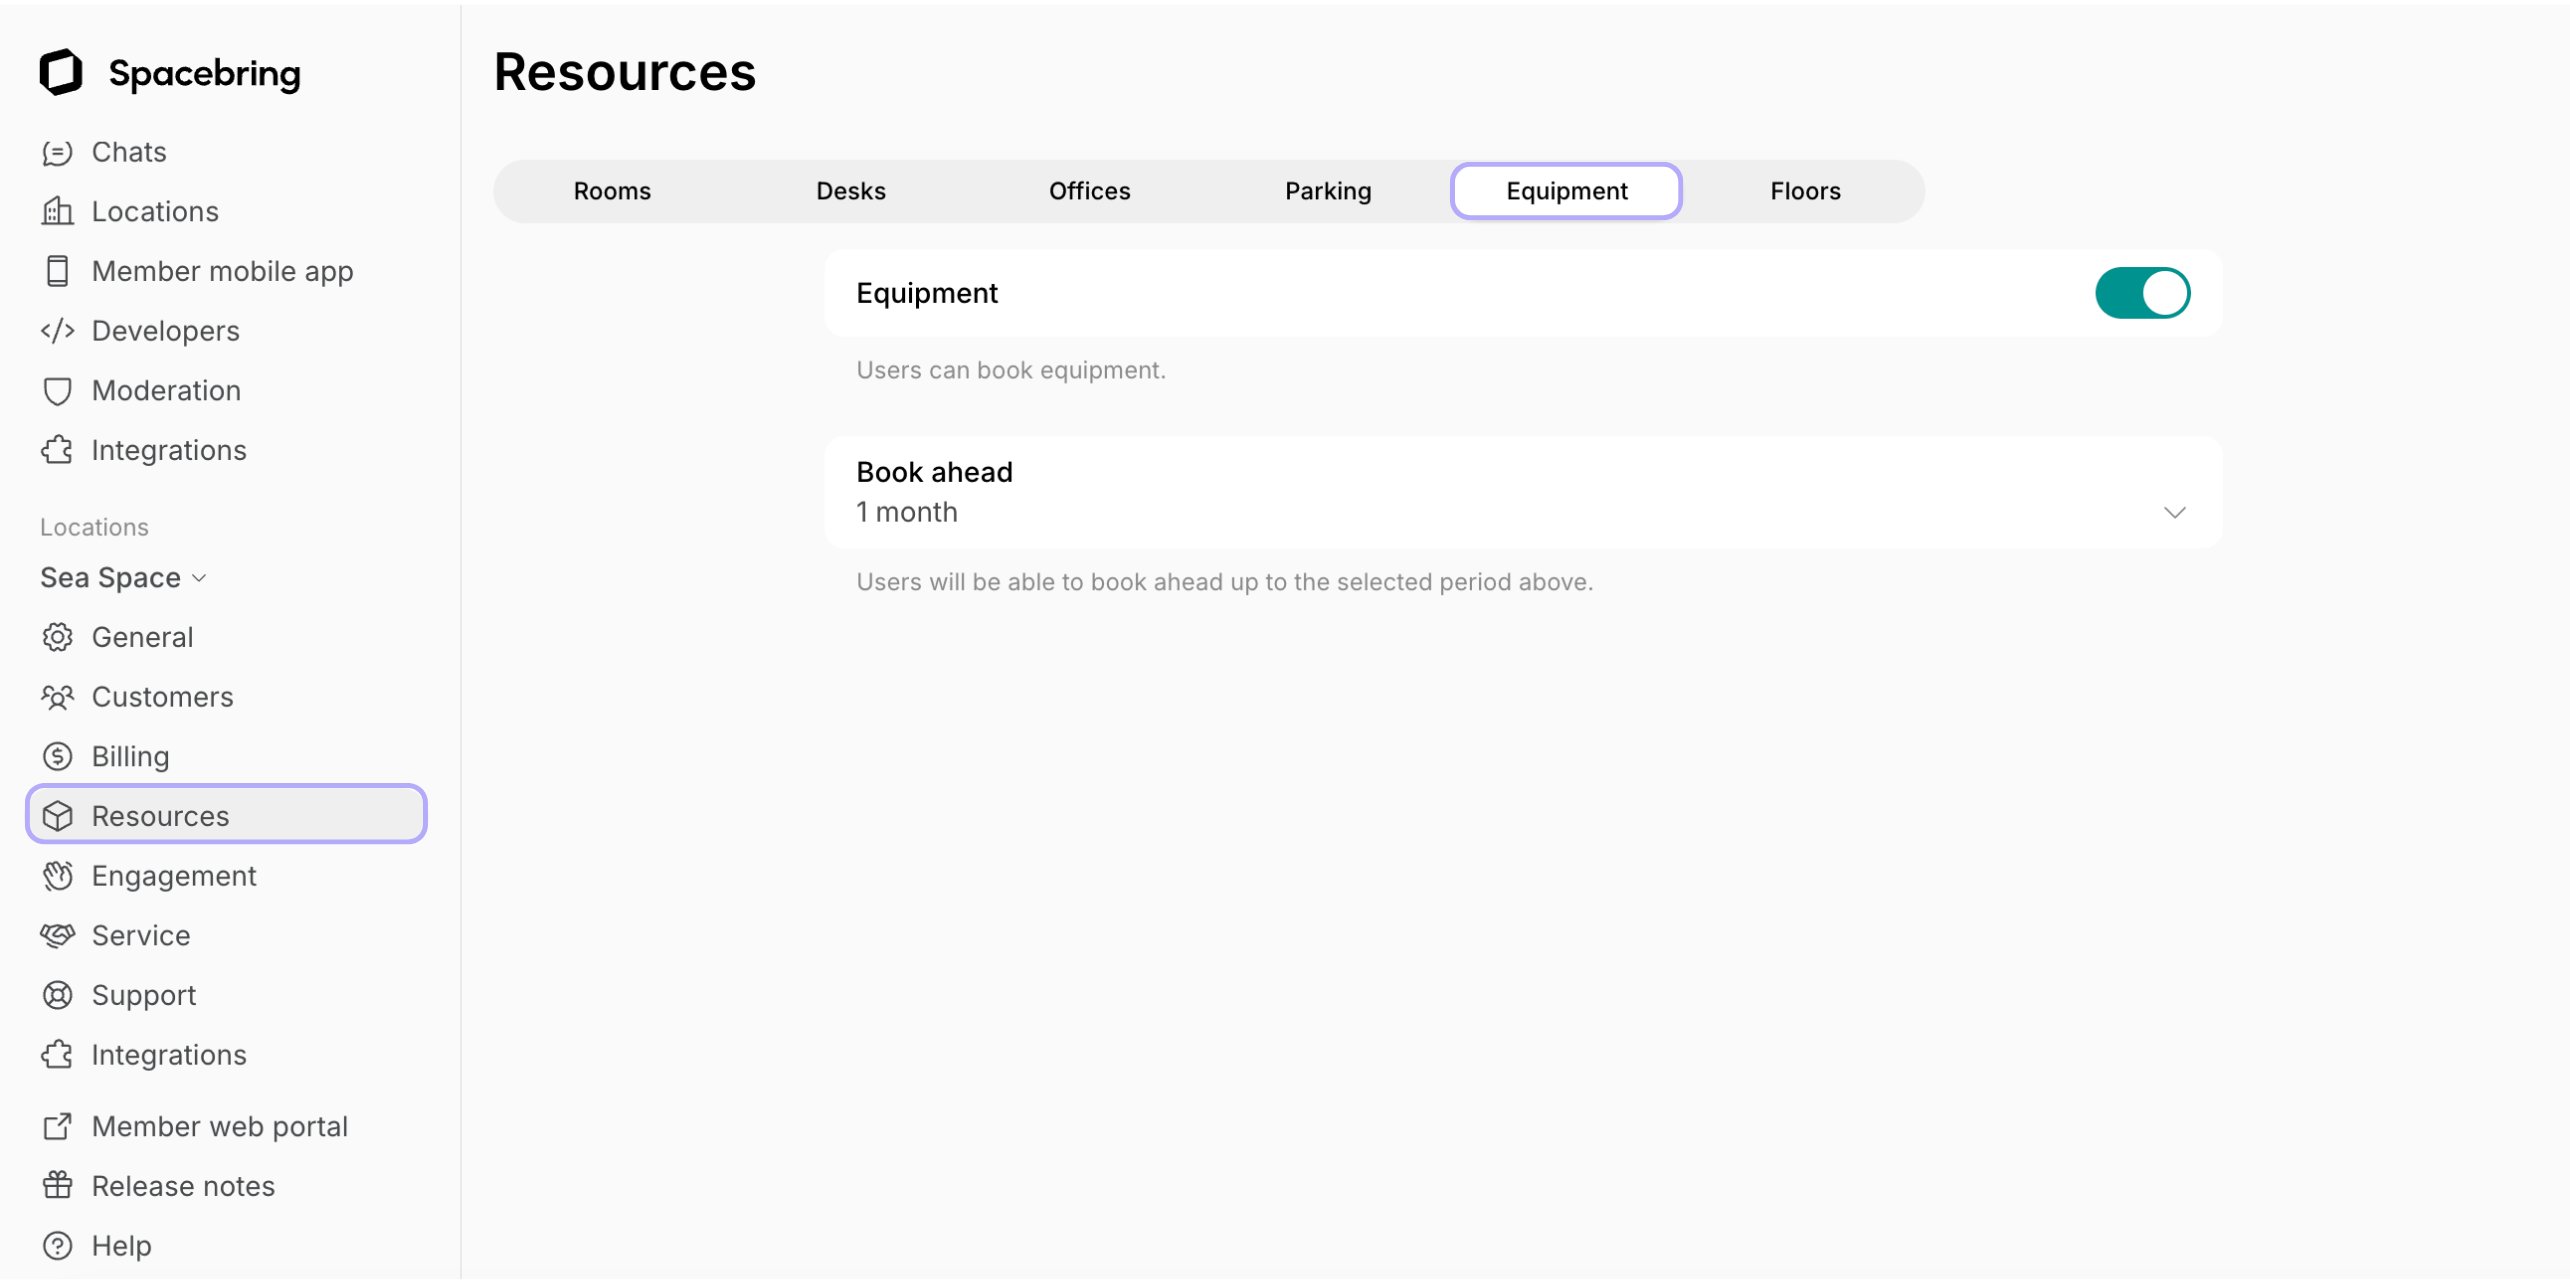
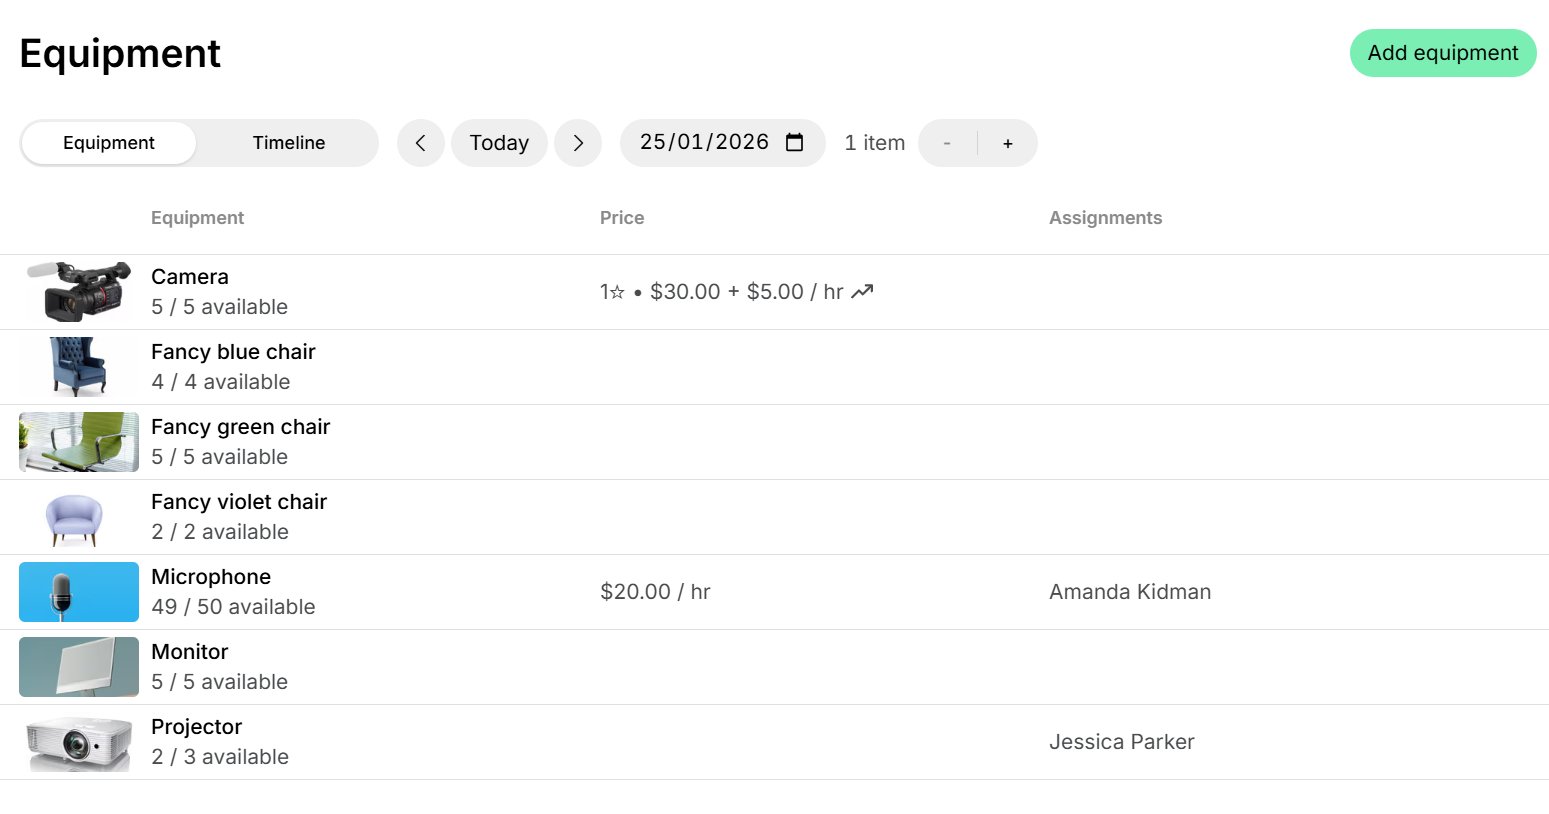
How can I change the order of rooms, desks, offices, parking lots, or equipment for customers?
How can I change the order of rooms, desks, offices, parking lots, or equipment for customers?
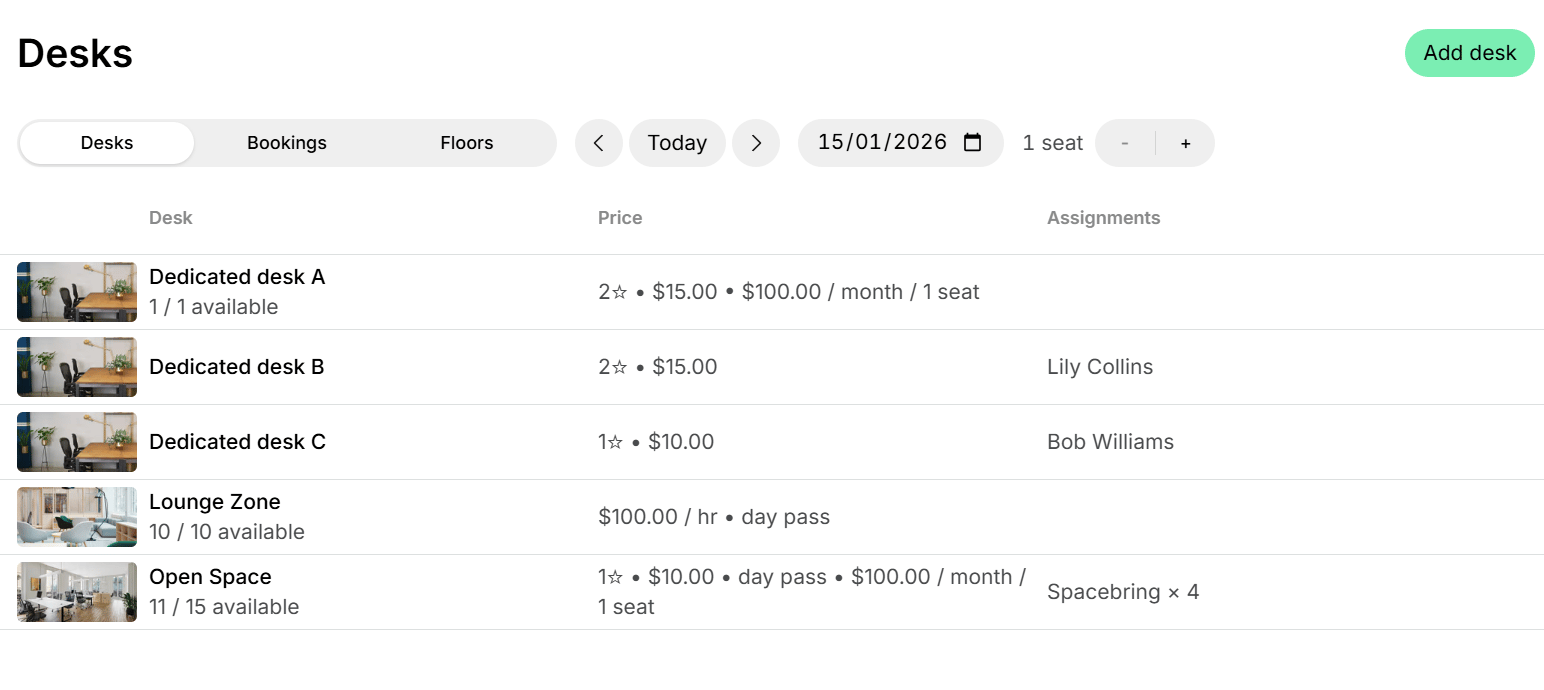
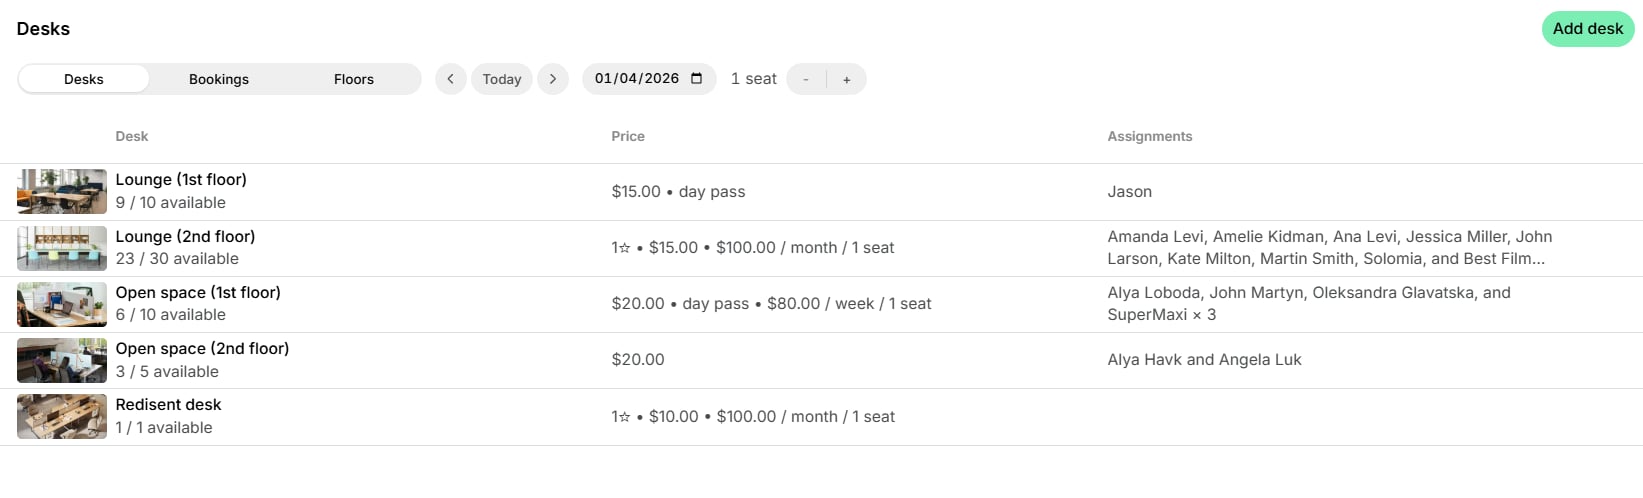
If you need to change the order in which rooms, desks, offices, parking lots, or equipment appear, add numbers to the beginning of their titles—for example, rename Large office to 01. Large office and Big office to 02. Big office to make Large office appear first.
How do I set only fixed booking durations, like 4-hour or 8-hour slots?
How do I set only fixed booking durations, like 4-hour or 8-hour slots?
Combine Min duration, Availability increment, and Max duration on a desk, office, parking lot, or equipment item to limit bookings to specific durations only. Min duration sets the shortest booking users can make, Availability increment sets the step to each following option, and Max duration sets the longest booking allowed.For example:
The values each setting offers depend on the resource type:
Rooms offer the shortest increments because they are designed for flexible, shorter hourly bookings. Min duration can never be shorter than Availability increment.