

Authorize.net is a distinct company not affiliated with us. For any inquiries regarding Authorize.net’s solutions, services, or pricing, please reach out to Authorize.net directly. We do not have the authority to provide information or support on behalf of Authorize.net.
Connect Authorize.net
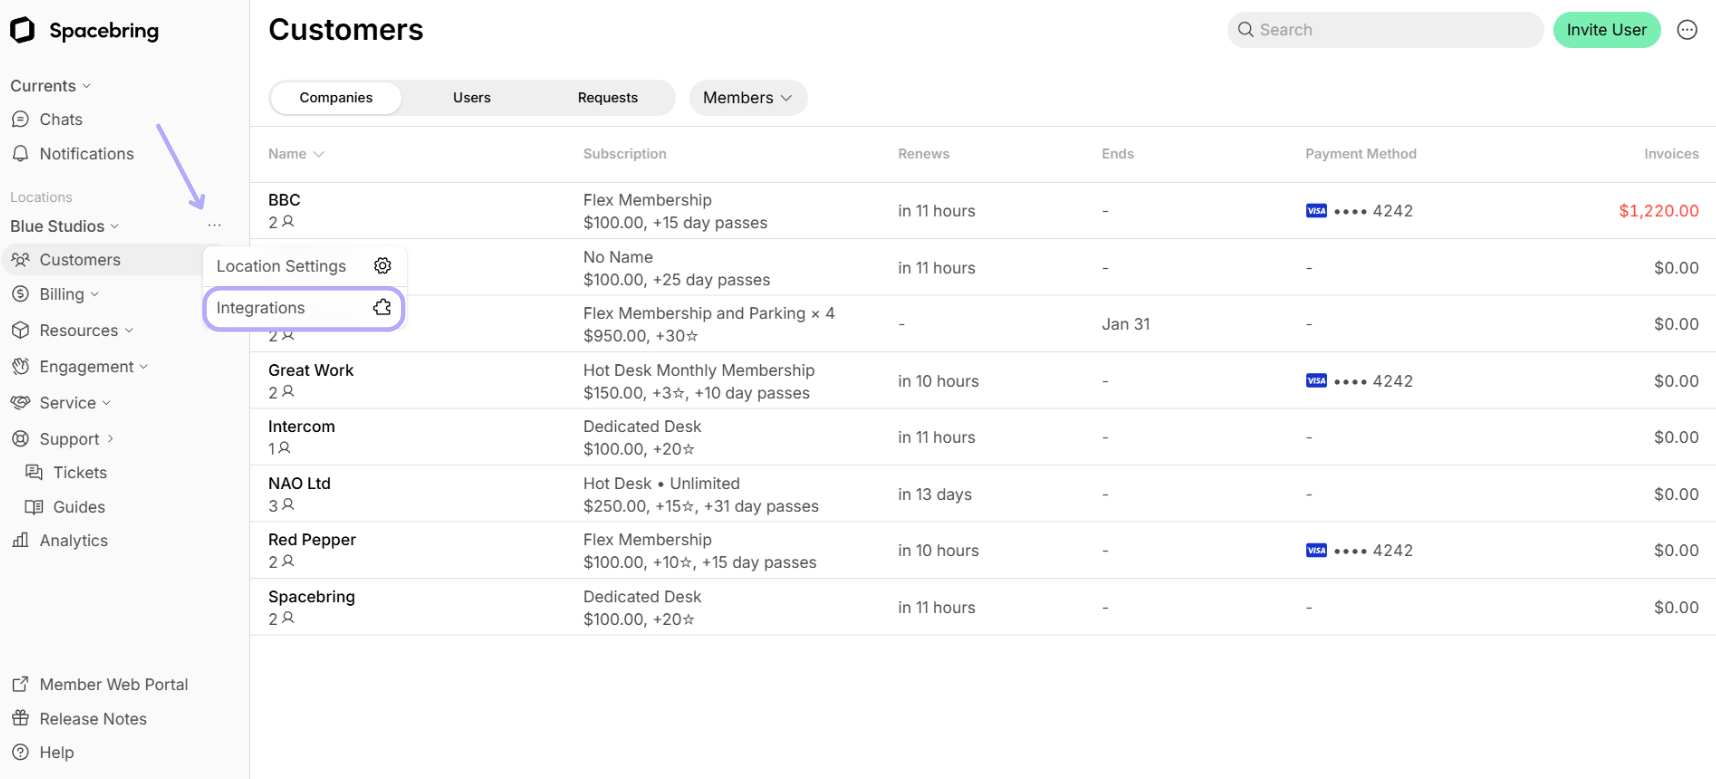
- Go to Spacebring, press the menu (…) next to the location’s name, and open the Integrations page.
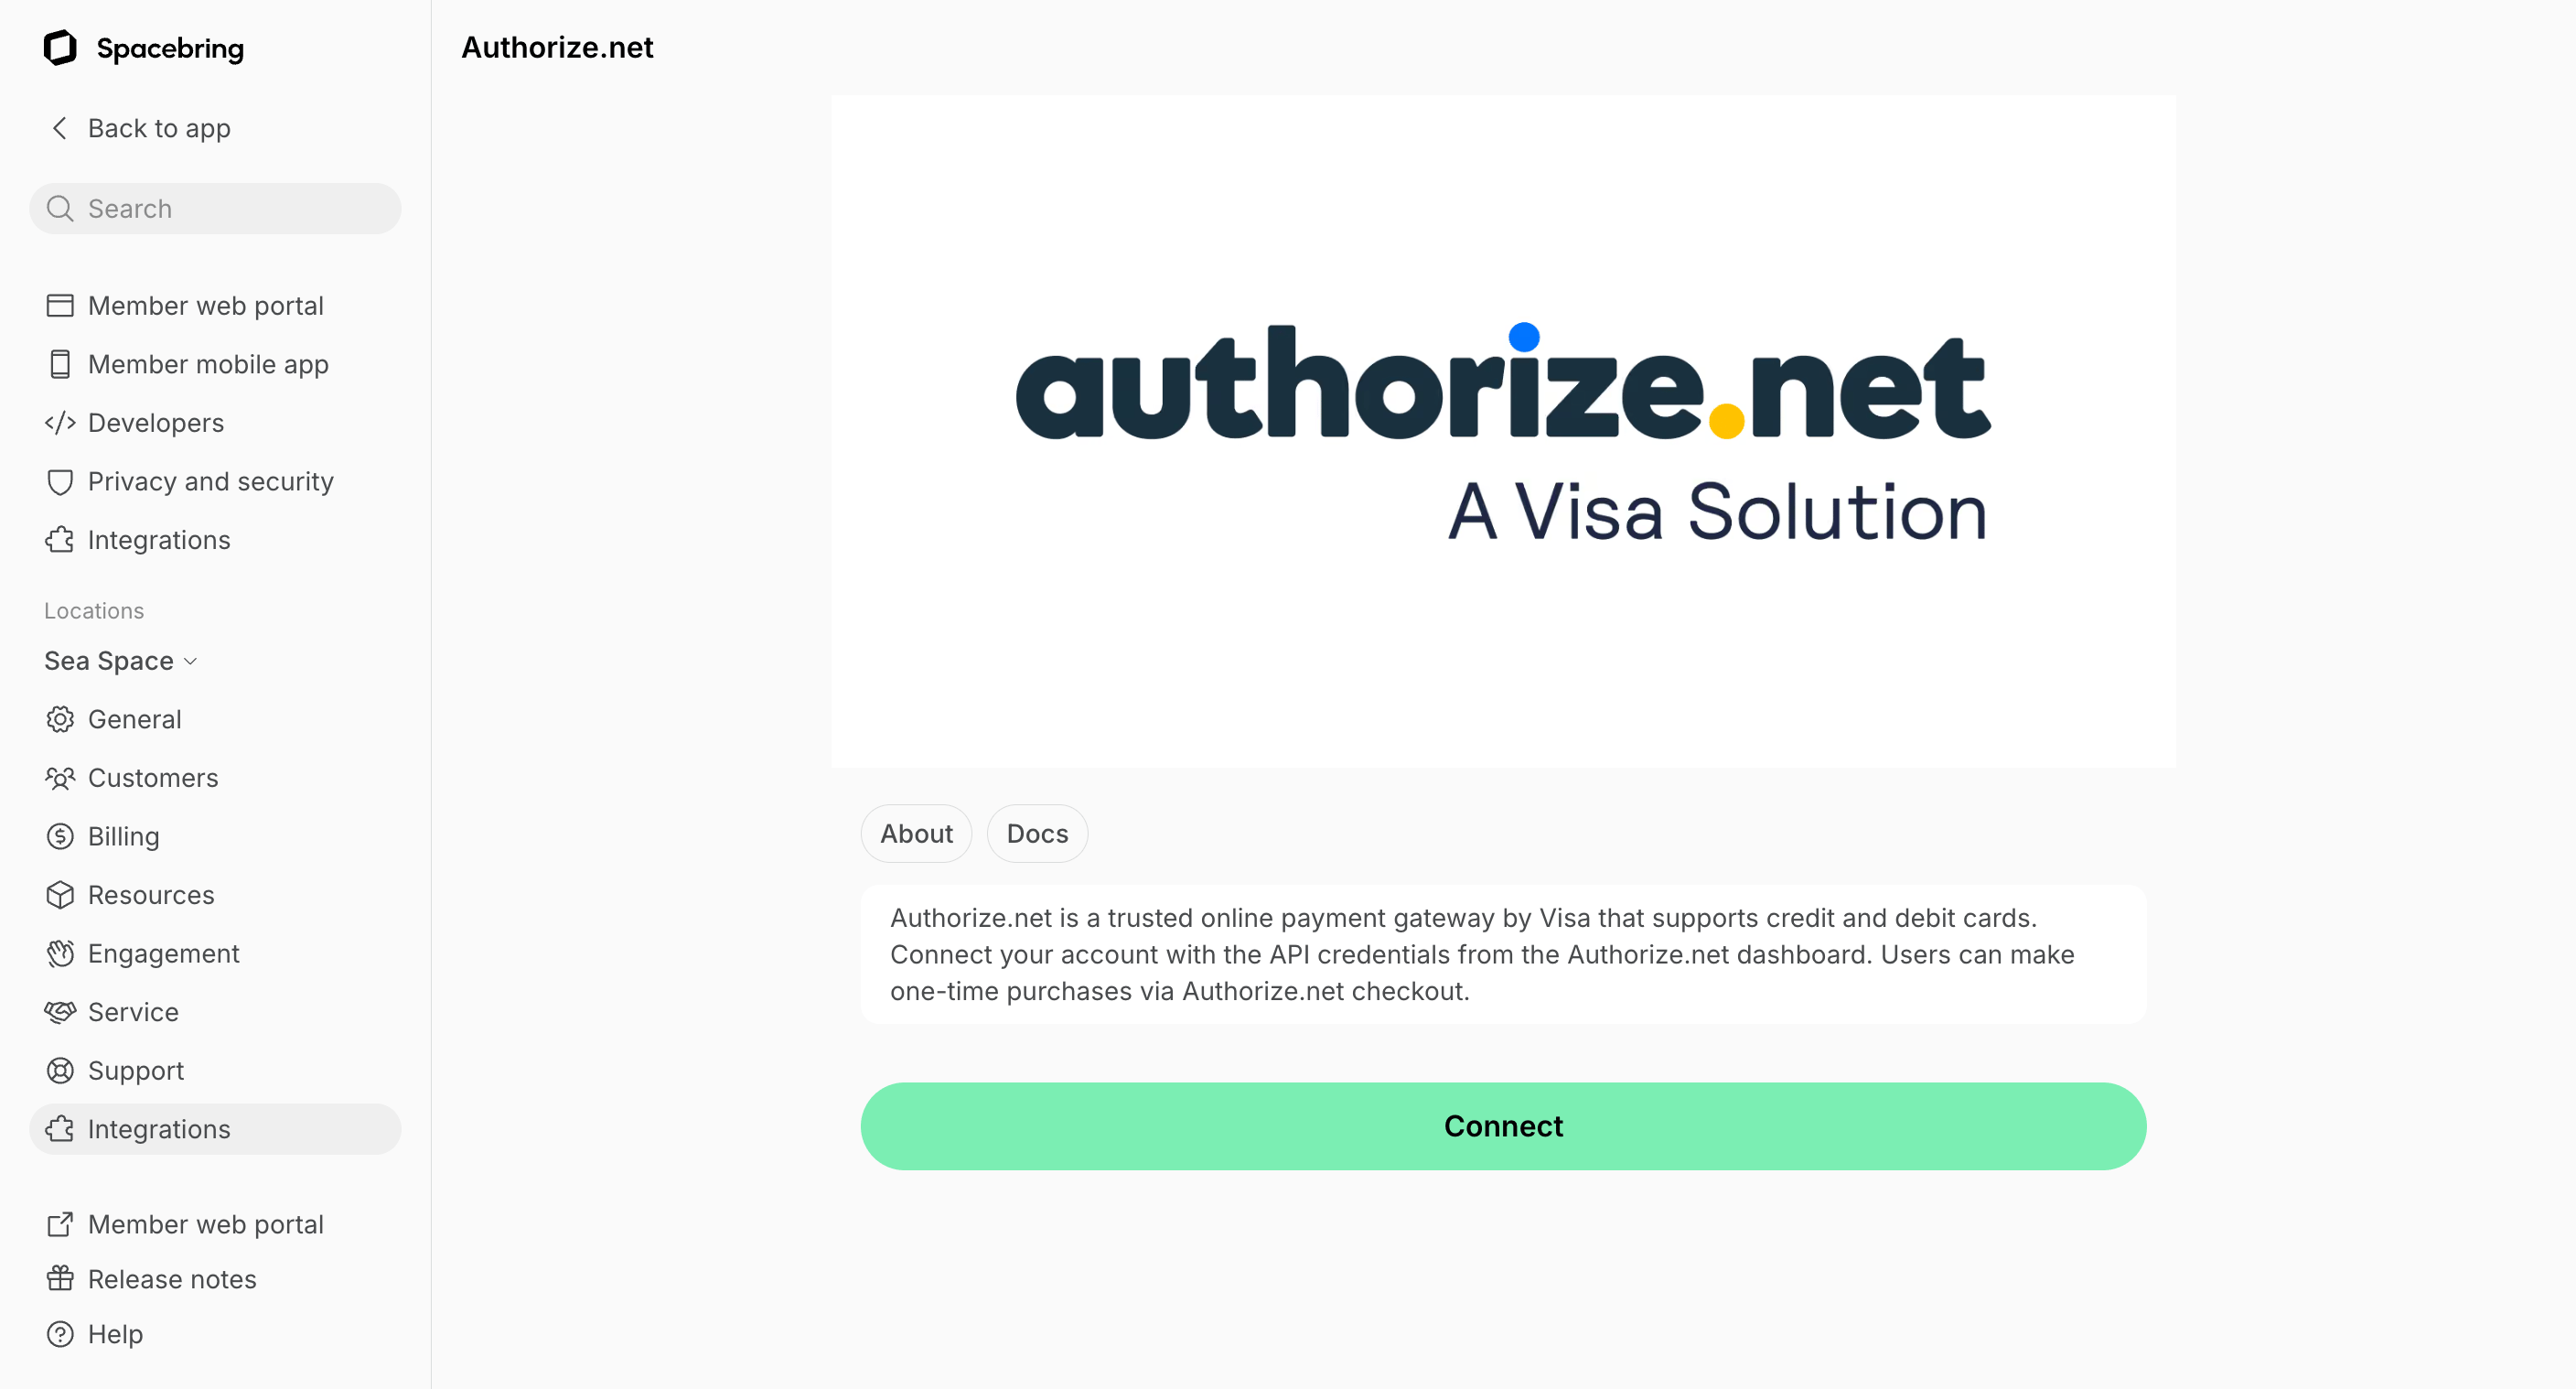
- Find the Authorize.net integration page and press Connect.
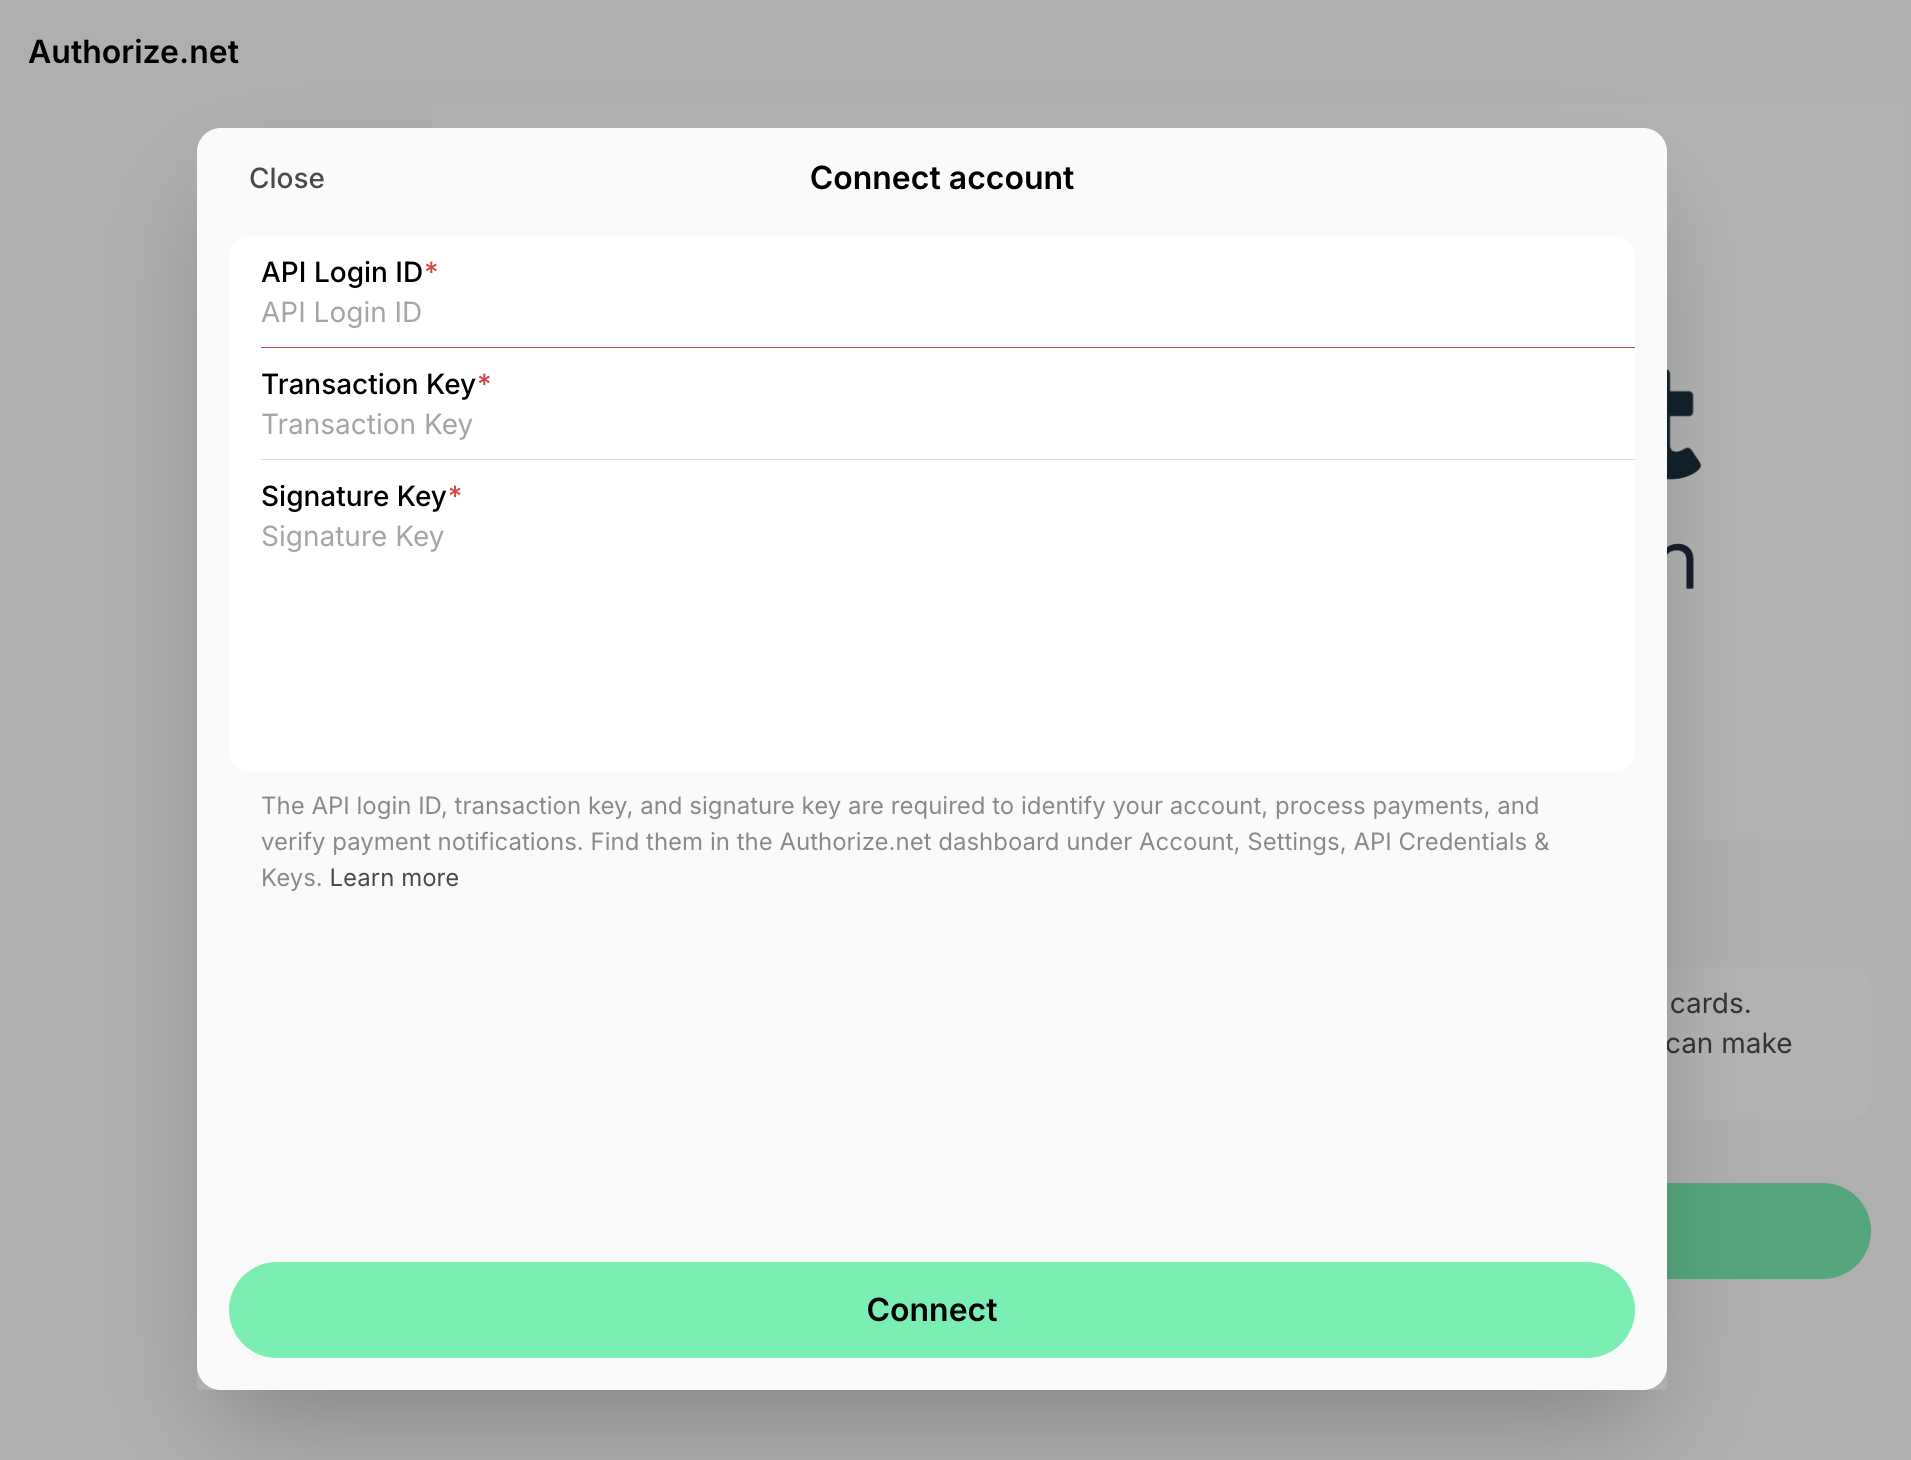
- Fill in the API Login ID, Transaction Key, and Signature Key. Find them in your Authorize.net dashboard under Account > Settings > API Credentials & Keys.
- Press Connect.
Configure Authorize.net
Select the services customers should be able to pay for via Authorize.net:- Bookings
- Event tickets
- Shop products
- Packages
- Invoices
How Authorize.net works
The integration adds the Authorize.net payment method to the Payment methods section around the member web portal and mobile app. Users selecting Authorize.net are redirected to Authorize.net’s hosted checkout page, where they enter their payment details. Customers can pay with a credit or debit card for every service you select. They can also pay an invoice from a bank account via ACH, which requires your Authorize.net account to be enrolled in eCheck.Net. A bank account payment can still be returned days after the checkout, so ACH isn’t offered for bookings, event tickets, shop products, and packages, which customers receive right away.Authorize.net supports one-time purchases only. Cards and bank accounts aren’t saved, so Authorize.net can’t be used for saved payment methods or invoice auto-charge.
Identify users’ transactions in Authorize.net
You can easily find users’ transactions in the Authorize.net dashboard using the following unique identifiers:- Time — coincides with the date and time of the transaction in the Authorize.net dashboard.
- Description — the types of purchases users make, such as room bookings, desk bookings, shop orders, etc.
Disconnect Authorize.net
To disconnect Authorize.net integration, follow these steps:- Go to Spacebring, press the menu (…) next to the location’s name, open the Integrations page, and open Authorize.net.
- Press Disconnect and confirm your choice.